Free Daisy Bucket Hat Crochet Pattern a Accent That Screams Style
Step into the Crochet Daisy Bucket Hat Pattern that's a cheerful, flower-filled hat with endless creativity for a handmade statement.
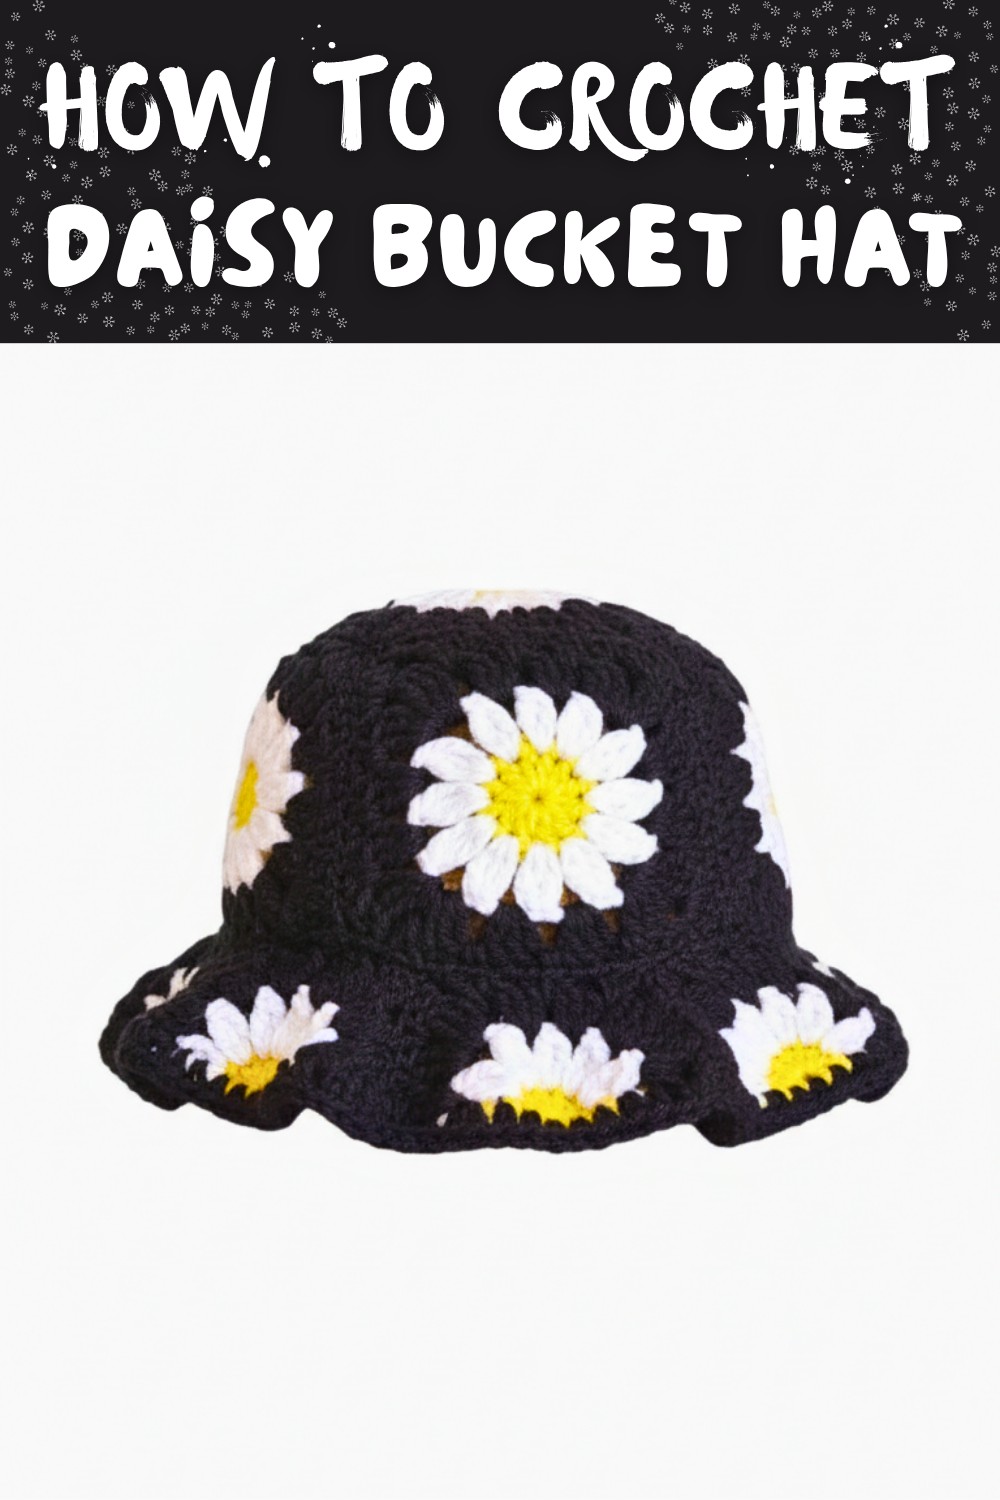
Bloom into style with the Crochet Daisy Bucket Hat Pattern, a delightful mix of creativity and practicality. This charming design combines the timeless bucket hat shape with vibrant daisy motifs, making it the perfect accessory for sunny days or seasonal flair.
Daisy Bucket Hat Free Crochet Pattern For a Fresh Look

With a playful approach to textures and colors, this pattern invites you to customize every detail-whether it's experimenting with bold hues or adding unique embellishments like beads or applique.

Ideal for crocheters of all experience levels, it's not only great for personal accessories but also makes thoughtful handmade gifts. Lightweight, fun, and utterly adorable, this hat is a wonderful way to crochet a wearable piece that's as cheerful as it is stylish.
Daisy Bucket Hat Crochet Pattern
Skill Level
Intermediate - Familiarity with creating granny square motifs, slip stitching, assembling squares, and working rounds on finished pieces is required.
Finished Size
- Fits an average adult head circumference of 22-23 inches (56-58 cm).
- Adjustments for size can be made by adding or removing squares or incorporating larger hooks.

Gauge
Approximately 16 double crochets (dc) = 4 inches (10 cm), and 6 rows = 4 inches (10 cm) using double-knit yarn and 4.5 mm crochet hook.
Materials
- Yarn:
- Double-knit (DK) yarn in chosen flower colors:
- Daisy: Yellow (center), White (petals) + brim color.
- Sunflower: Black (center), Yellow (petals) + brim color.
- Approximately 150-200 grams of yarn total.
- Double-knit (DK) yarn in chosen flower colors:
- Crochet Hook:
- 4.5 mm hook for the main squares.
- Optional: 4 mm hook to join squares tightly.
- Scissors:
- Sharp scissors for cutting yarn.
- Tapestry Needle:
- Used for weaving in ends seamlessly after completing each square.
Special Techniques
Treble Crochet (Tr):
- Yarn over twice, insert hook into stitch, yarn over, pull through.
- Yarn over, pull through first two loops, yarn over, pull through next two loops, and yarn over, pull through the final two loops.
Joining Squares (Slip Stitch Method):
- Insert hook into corresponding corner stitches of both squares.
- Yarn over and pull through all loops to join seamlessly.
Pattern Instructions
Step 1: Creating the Granny Squares (Make 5)
Each granny square features a daisy or sunflower motif in the center, framed by double crochets for a square shape.
Round 1: Center Circle
- For Daisy: Use yellow yarn.
For Sunflower: Use black yarn. - Start with a magic ring or chain 4 and sl st to form a circle.
- Ch 3 (counts as first dc), work 11 more dc into the ring. (12 dc total).
- Pull tight to close the ring and sl st into the top of the ch 3 to finish the round.

Round 2: Flower Petals
- Join white yarn for the petals in Daisy or yellow yarn for Sunflower.
- Treble Crochet Petals:
- Insert hook into any sp between dc stitches of Round 1.
- Ch 4 (counts as first tr), make 2 tr into the same sp.
- Yarn over and pull through all loops on hook to form one petal.
- Ch 3.
- Repeat in all 12 spaces around: (3 tr in next sp, pull through all loops, ch 3).
- Sl st into the top of the first ch 4 from the start to finish. Cut yarn and weave in ends. (12 petals)

Round 3: Background Square
- Join background yarn (black for Sunflower, white or desired color for Daisy).
- Ch 3 (counts as first dc) and work 3 dc into the space of any petal.
- Repeat 3 dc in next petal space.
- Work corner segments: (3 tr, ch 3, 3 tr) into the space between petals to form corners.
- Continue alternating 3 dc on petal spaces and corner clusters.
- Sl st to the top of the ch 3 from the beginning to complete.

Round 4: Growing the Square
- Continue working 3 dc clusters in each space, and (3 dc, ch 3, 3 dc) clusters in every corner.
- Add rows gradually to grow the square. For this pattern, work 4 rows total.
Tip: Check all squares against one another to ensure uniform size.
Step 2: Assembling Granny Squares
- Lay out 4 squares for the base of the beanie in a circle.
- Ensure all "right sides" are facing the same way for consistency in texture.
- Use a sl st method or a tapestry needle to sew squares together.
- Align corners and edges precisely.
- Leave the fifth square for the top of the beanie.

Step 3: Joining the Top
- Place the fifth square on top of the completed circle.
- Ensure that corners align with joints from the circular base.
- Use the sl st method to attach each edge of the top square to the adjoining base squares.
Step 4: Adding the Brim
- Join your yarn to any space along the bottom edge of the beanie.
- Work 2 dc into each space and 3 dc into corners to maintain structure and flare.
- Continue working in rounds for 3 rows or desired brim length.
- For the second and third rows, work 1 dc into each stitch.

Note: For a slouchy beanie, add extra rounds to extend the brim or use a looser crochet tension.
Final Words and Tips
Finishing the Pattern
- After completing the brim, ensure all yarn ends are woven into the beanie securely using a tapestry needle.
- Lightly steam or block the beanie to smooth out stitches and shape it appropriately.
Tips for Customization
- Size Adjustments:
- Add extra squares for larger sizes or use bigger hooks to create looser stitches.
- Color Variations:
- Experiment with different petal and square background colors to create unique combinations.
- Material:
- Cotton yarns add breathability and structure, while acrylic yarns provide stretch and warmth for colder weather.