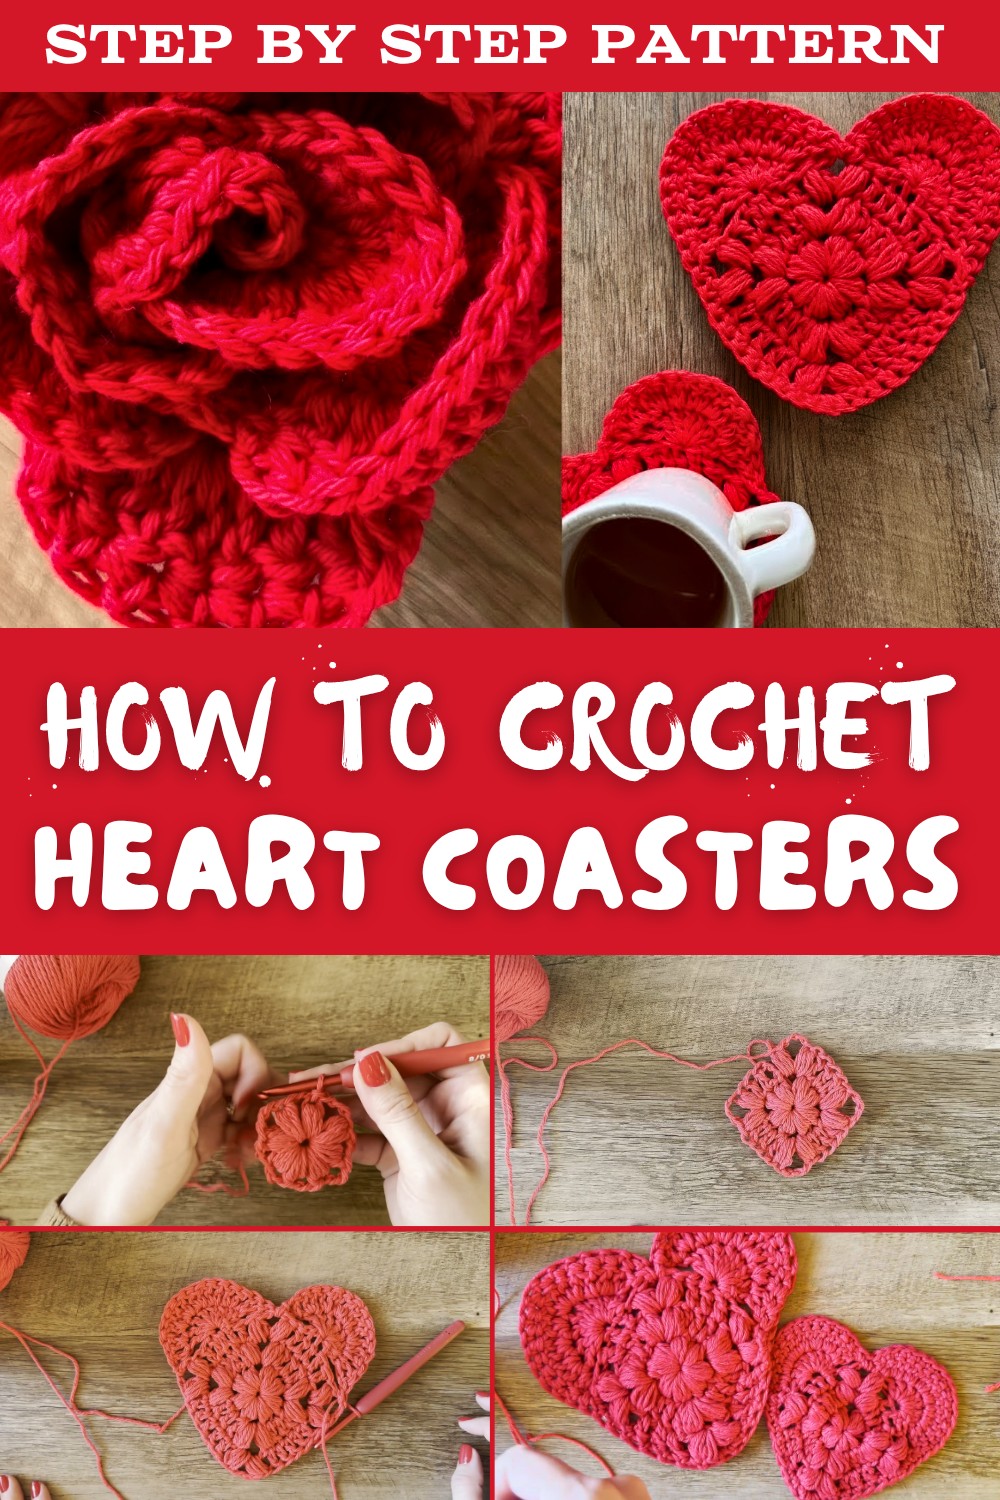
Granny Square Heart Coaster Crochet Pattern Free
Come and enjoy making a lovely granny square heart coaster with this free crochet pattern, perfect for decorating your home or gifting to loved ones.
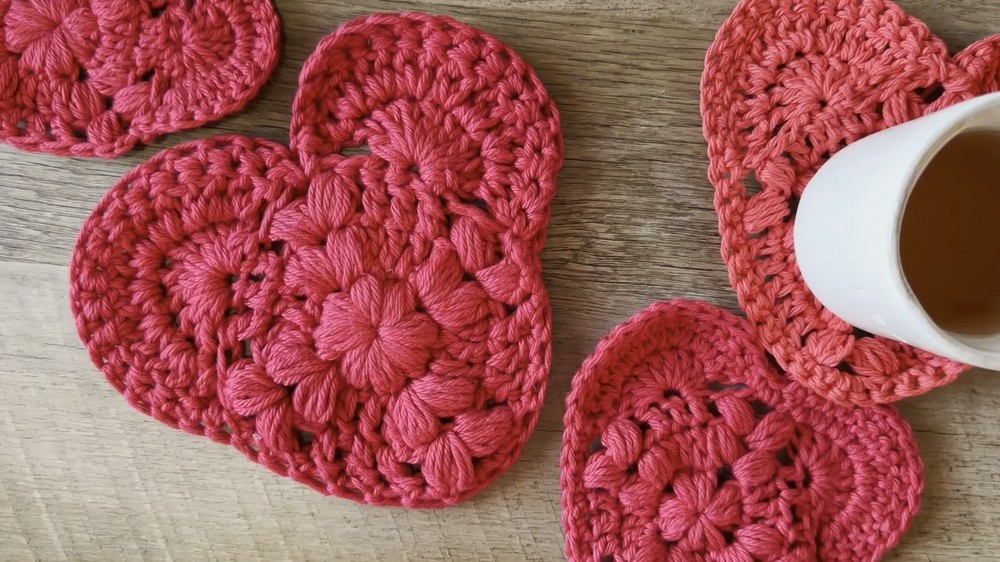
A crochet granny square heart coaster is a charming piece that instantly catches the eye with its delicate shape and soft texture. Shaped like a heart, it is both beautiful and useful, protecting surfaces from heat or spills while giving a touch of elegance to your home.
Free Crochet Heart Coaster Granny Square Pattern
Its colors can be customized to match any setting or mood, making each coaster unique and full of personality. This lovely coaster is perfect for cups, mugs, or small bowls, and it works wonderfully as a thoughtful gift to others.
With its compact size and warm design, it fits easily into your everyday life, adding a touch of style and warmth to your coffee table or kitchen counter. A simple and handy accessory, it combines beauty and function in one small, colorful piece.
Heart-Shaped Granny Square Coaster Pattern
Skill Level
Intermediate: Requires familiarity with basic stitches and the puff stitch. The puff stitch technique can be tricky for beginners, but a video tutorial is linked in the original video description for practice.
Materials List
Yarn:
- Cotton yarn, size 4 (medium/aran weight):
- Approximately 75-150g (depending on brand and coaster size).
- Yarn used: Loops & Threads Cotton, color "Tomato" for demonstration.
Crochet Hook:
- 5 mm crochet hook.
Additional Supplies:
- Scissors: For cutting yarn ends as needed.
- Tapestry needle: For weaving in ends.
- Stitch marker (optional): For marking specific sections of your work, such as corners.
- Clay pot (optional): For arranging coasters into a decorative rose shape.
Key Abbreviations (US Crochet Terminology)
- Ch: Chain
- Sl st: Slip stitch
- SC: Single crochet
- DC: Double crochet
- Puff: Puff Stitch (explained below)
- St(s): Stitch(es)
- Rep: Repeat
Special Notes
- Puff Stitch:
- Yarn over, insert hook into space, yarn over and pull up a loop.
- Repeat the process 4 times, pulling loops (a total of 9 loops on the hook).
- Yarn over and pull through all loops on the hook.
- Chain 1 to secure and close the puff stitch.
- Gauge: Gauge is not critically important for this project, but ensure consistent tension throughout for a uniform look.
- Customization: Use thicker yarn held double with a larger hook (7 mm) for a larger kettle coaster.
Pattern Instructions
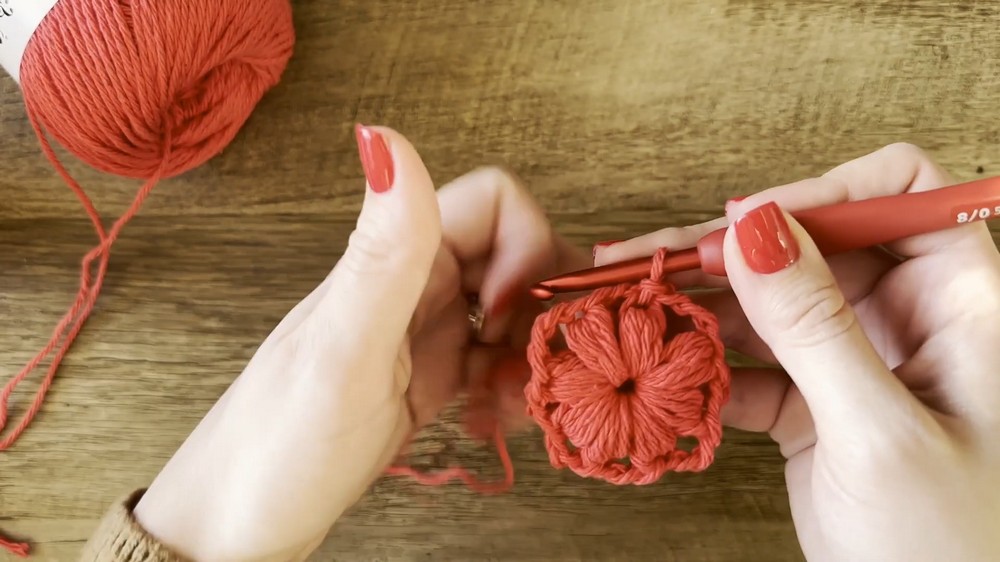
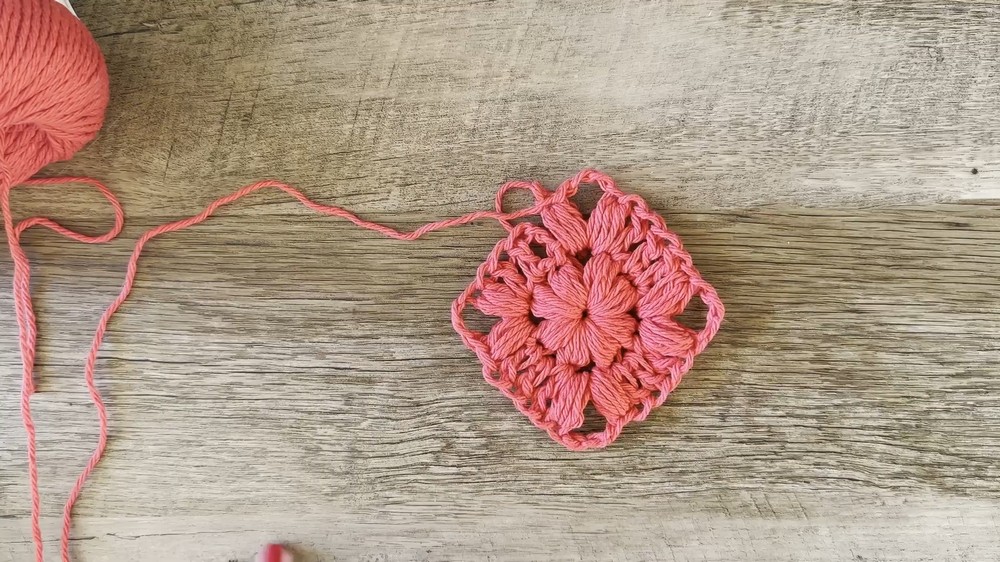
Step 1: Magic Circle & First Row
- Create a magic circle:
- Wrap the yarn around your fingers. Insert hook beneath the first strand and over the second strand, pulling it through to form a loop. Chain 1 to secure the circle.
- Begin with a puff stitch in the circle.
- Yarn over, insert hook into the magic circle, yarn over, and pull up a loop. Repeat 4 times. Yarn over and pull through all loops on hook. Chain 1 to close the puff stitch.
- Chain 1 again and work another puff stitch into the circle.
- Chain 1 to close the puff stitch, then create the first corner: Chain 2.
- Repeat the puff stitch + chain sequence three more times to form 4 sets of 2 puff stitches each.
- Between puff groups: Chain 2 for corners.
- Pull the magic circle string to tighten and close the center. This creates a square-shaped flower.
- Close the row: Slip stitch into the top of the first puff stitch.
Step 2: Row Two
- Chain 2 (counts as a DC).
- Work 3 DC as follows:
- Place the first DC between the first Chain-2 space.
- The second DC goes into the base of the second puff stitch from previous row.
- Place the third DC into the same space.
- Create a corner:
- Work 1 puff stitch using 4 yarn overs.
- Chain 3 for the corner.
- Then work another puff stitch into the same space. Chain 1 to close.
- Repeat the pattern for the remaining 3 sides:
- 3 DC into spaces.
- Corner: Puff → Chain 3 → Puff → Chain 1.
- Close row with Slip stitch into the second chain of your starting Chain-2.
Step 3: Row Three
- Chain 2 (counts as a DC).
- Work 4 DC evenly across the side:
- Work 1 DC in the puff stitch, 3 DC in the double crochet stitches, and 1 DC in the next puff stitch.
- Create the corner:
- Puff stitch → Chain 3 → Puff stitch → Chain 1.
- Repeat the sequence for the next 3 sides:
- 5 Double crochets per side.
- Corners: Puff → Chain 3 → Puff → Chain 1.
- Finish row with Slip stitch into the second chain of your starting Chain-2.
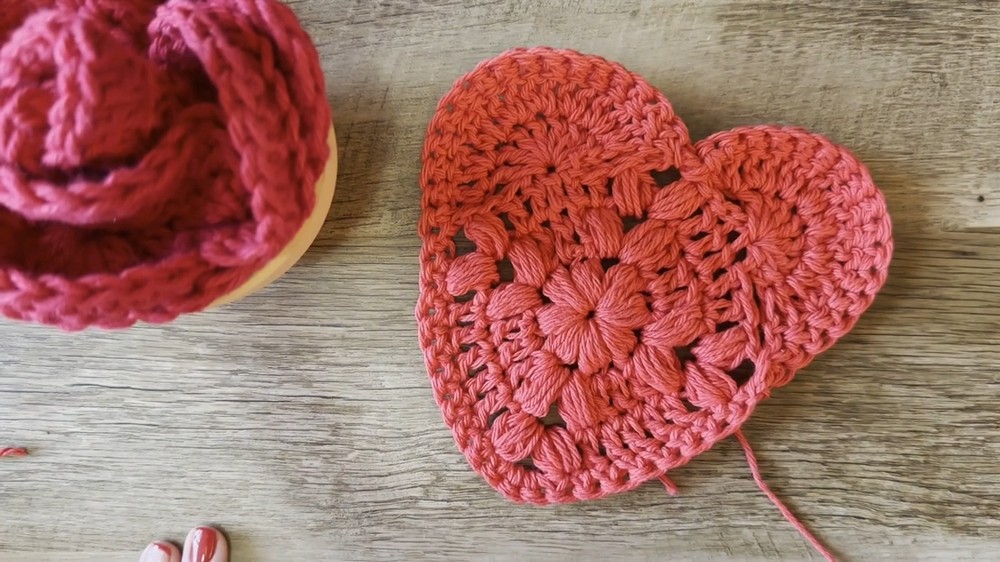
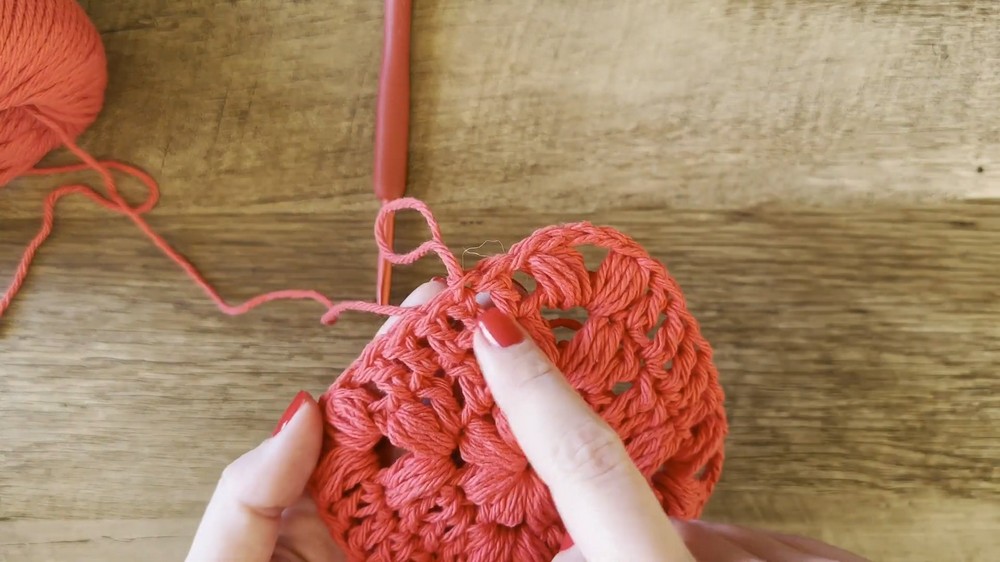
Step 4: Shaping the Heart
- Slip stitch across stitches until you reach the third DC on one side.
- Turn your work.
- Into the third DC: Work 8 double crochets (including the chain 2 as the first DC).
- Chain 2, then slip stitch into the opposite corner.
- Turn your work again.
- Into the Chain-2 space, begin shaping:
- Work 16 DC evenly: Work 2 DC into each stitch from the previous grouping (7 stitches) and chain spaces.
- Finish the side with a Slip stitch in the corner.
- Repeat the same heart-shaped steps on the opposite side:
- Either cut yarn and reattach in the same position or Slip stitch across to reach the corresponding third DC on the opposite side.
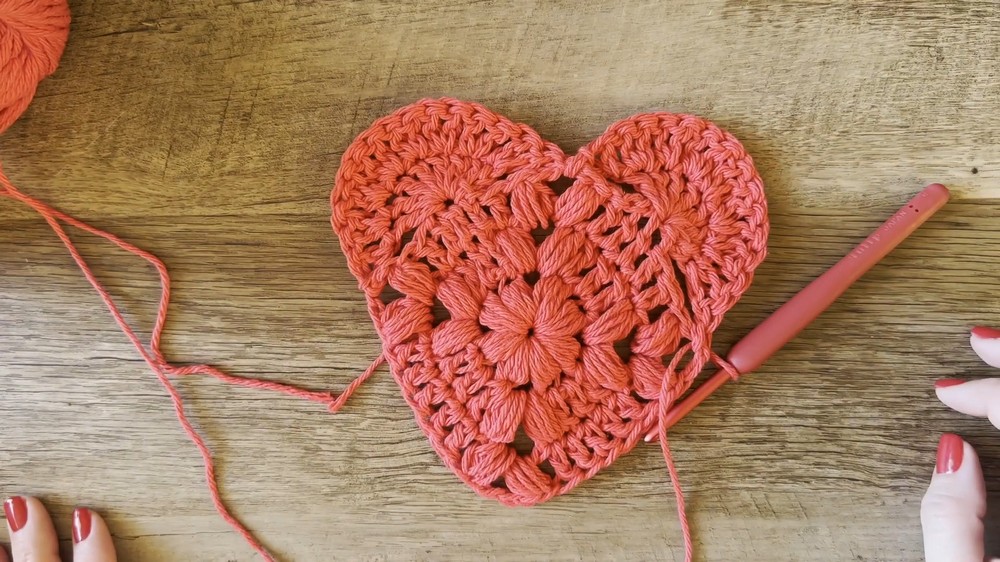
Step 5: Final Edging
- Chain 1 to begin the border.
- Work 1 single crochet (SC) into every stitch around the coaster.
- In the corners (chain spaces): Work 3 SC for smooth turns.
- Close the row with Slip stitch into the Chain-1.
Finishing
- Weave in all loose ends using your tapestry needle.
- For a larger coaster, hold yarn double and use a 7 mm hook.
- Block your work if necessary to achieve a flat, clean shape.

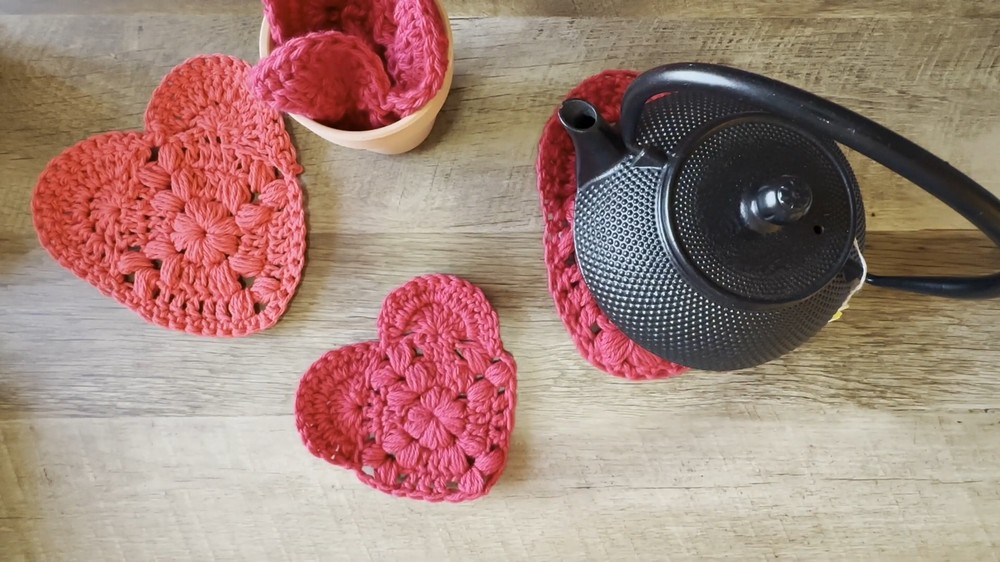
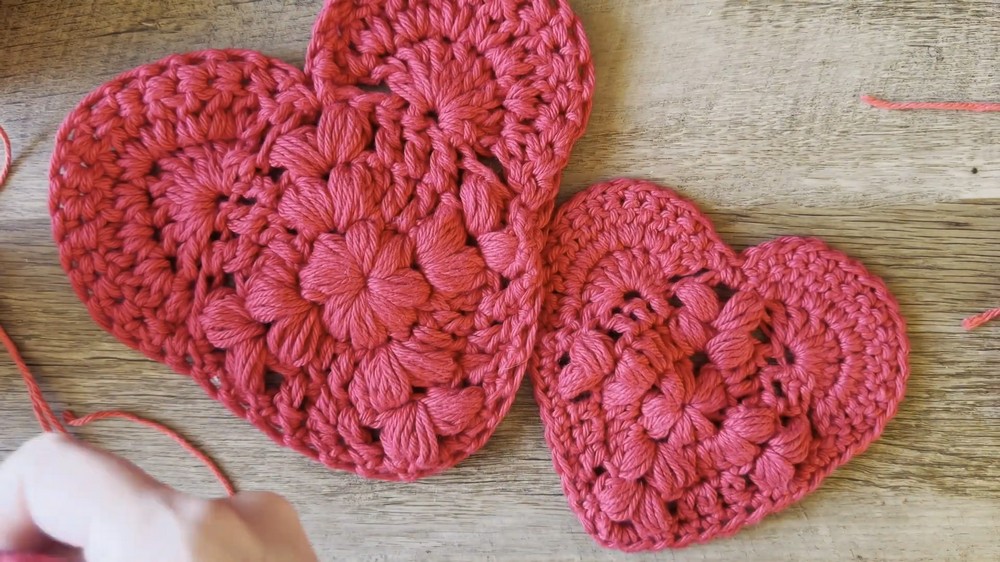
Decorative Rose Arrangement
To create a rose-shaped planter:
- Stack coasters:
- Place the largest coaster flat at the base of your clay pot.
- Loosely fold two smaller coasters and stack on top of the base coaster.
- Roll the smallest coaster tightly and place it in the center to mimic rose petals.
Conclusion
Congratulations on completing your heart-shaped granny square coaster! This versatile project makes for an elegant addition to any table setting or a thoughtful gift. Whether used as coasters or arranged as decorative roses, they'll undoubtedly add charm to your home.
Pattern Correction
Ensure puff stitches close fully by chaining after pulling through all the loops. If the shape doesn't look clean, double-check corner placement and adjust spacing consistency.
Tips
- Color Variations: Experiment with ombré or gradient yarns for a unique effect.
- Rose Arrangement: Adjust the size of coasters used to create a dynamic floral display.
- Durability: Use cotton for heat resistance if these coasters will be used for kettles or pots.