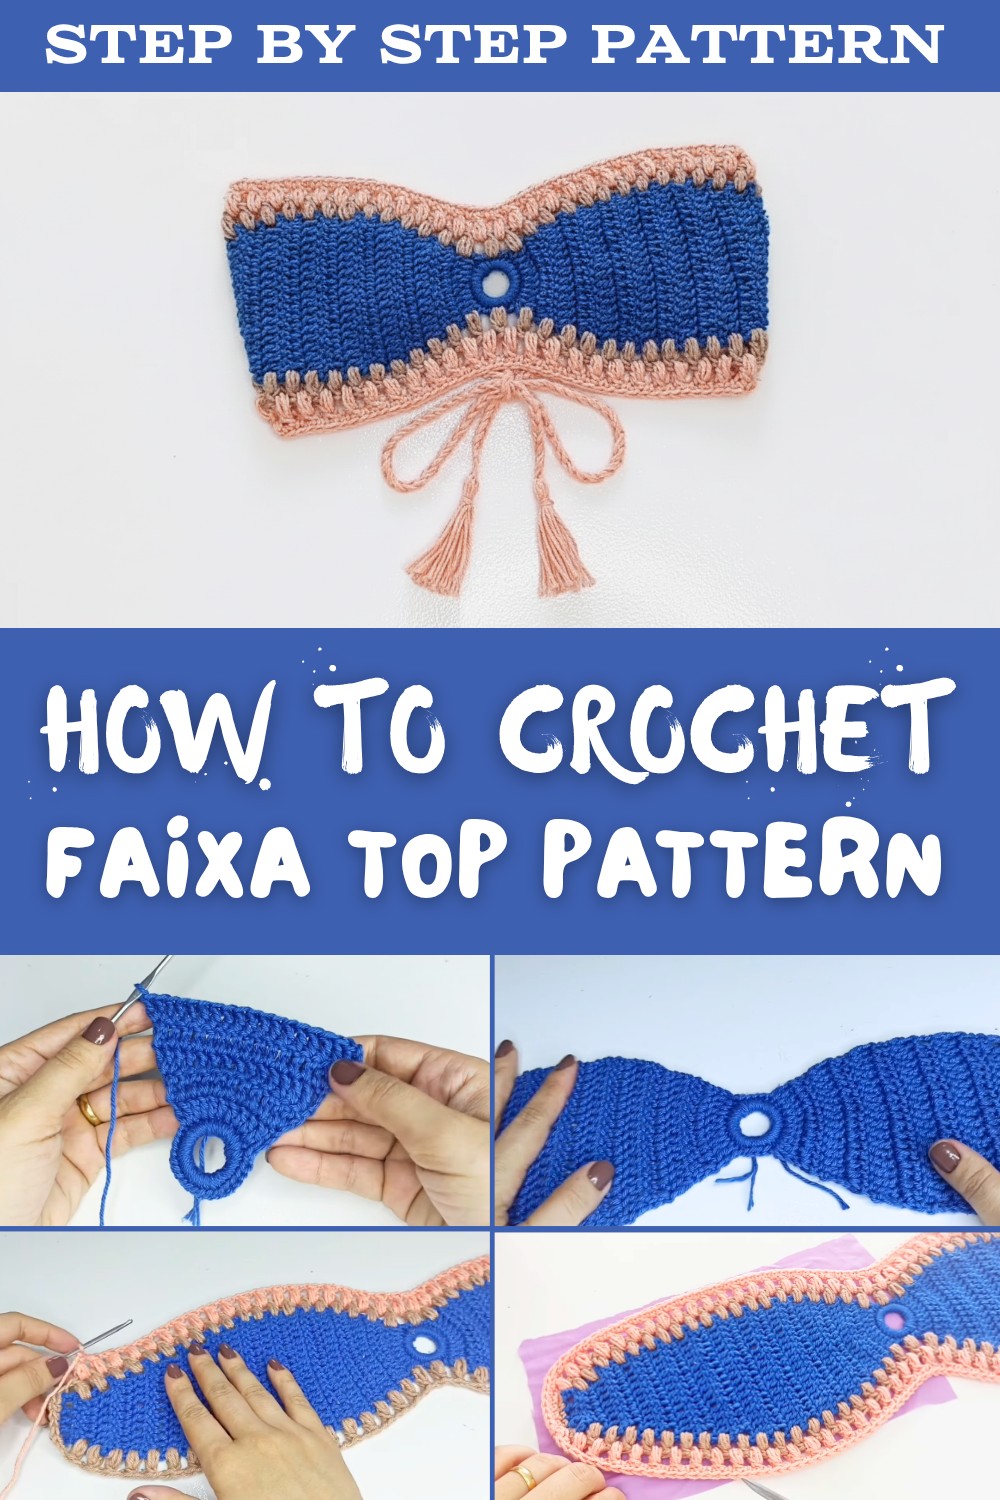
Free Faixa Top Crochet Pattern for Trendy Wardrobe Staples
Turn every outfit into a statement with the Crochet Faixa Top Pattern, featuring stylish versatility, lightweight charm, and endless creative possibilities.
On warm, breezy days, the search for clothing that merges comfort with style often leads to timeless pieces that are both practical and elegant. The Faixa Top embodies this concept through its simple yet striking bandeau-inspired design, making it an ideal addition to a wardrobe geared for versatility and personal expression.
Free Crochet Faixa Top Pattern for Stylish Summer Outfits
Featuring clean lines and customizable options, this crochet piece can be tailored to suit any taste-whether through bold color choices, textured stitches, or intricate finishes like tassels and lace edges. Its lightweight construction allows for breathability, making it perfect for summer outings, music festivals, or casual gatherings.
Yarn selection plays a key role, with cotton being favored for its softness and bamboo for its eco-friendly appeal. Paired effortlessly with flowing skirts, high-rise jeans, or layered under jackets, the Faixa Top offers endless styling possibilities while showcasing the artful beauty of handmade clothing.
Versatile Crochet Top with Ties - Step-By-Step Pattern
Skill Level
Beginner to Intermediate: Basic knowledge of crochet stitches such as chains, slip stitches, double crochets, and basic shaping (increments and decrements) is required.
Materials Required
- Yarn:
- 100% cotton or similar yarn with Tex 590 (String No. 4).
- The project works well with leftover yarns or yarn of any thickness.
- Example colors: Royal Blue, Kaki, and Peach.
- Crochet Hook:
- 3 mm hook for Tex 590 yarn or adjust according to the thickness of your yarn.
- Optional Materials:
- Measuring tape: To ensure accurate measurements.
- Scissors: For cutting excess thread.
- Acrylic ring: 2.5 cm in diameter (or create a chain-based substitute as demonstrated in the instructions).
- Padding or lining (optional):
- 100% polyamide fabric (commonly used for bikinis).
- Sewing needle and thread for sewing in the lining.
- Bulges (optional): For padding.
- Safety pins (optional): To hold fabric or cords in place during customization.
Gauge
- Approximately 11 double crochets and 5 rows = 4 cm (1.57 in). Adjust the hook size as needed to achieve the desired gauge.
Finished Measurements
- Cup size: Designed for size P (small). Instructions for customization to adjust for all sizes are provided.
- Example: For a standard size P, the dimensions are approximately 5 cm (1.97 in) height for the bust shaping before starting the straps.
Special Notes
- Threads & Hooks: You can use yarn of any thickness. Adjust the number of stitches in the foundation chain and total rows for other yarn types.
- Ring Alternative: If an acrylic ring is unavailable, create a chain-based ring (8 cm circumference or 2.5 cm diameter).
- Customization: The straps are adjustable and removable. Multiple strap configurations are demonstrated (e.g., halter neck, double straps, cross-back).
Pattern Instructions
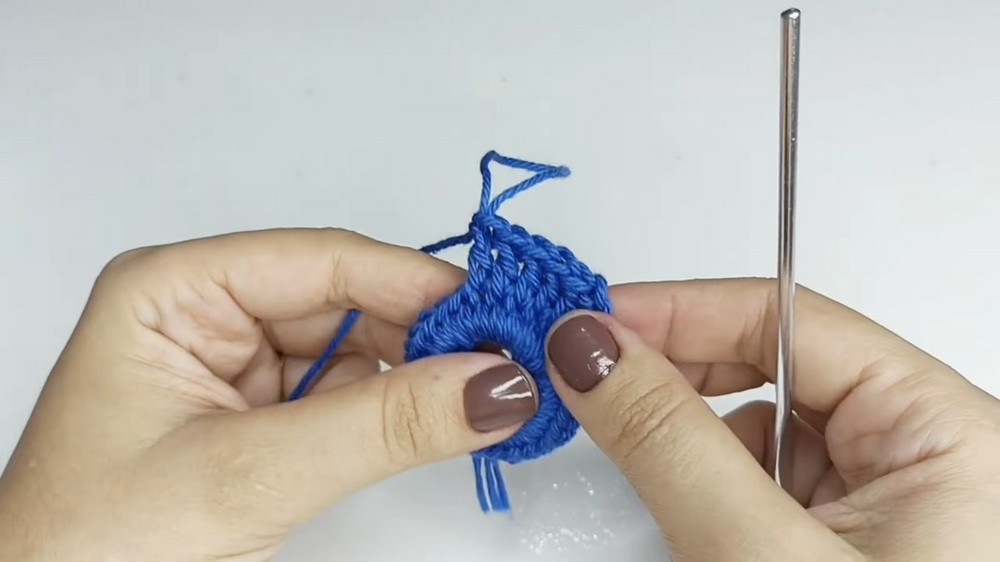
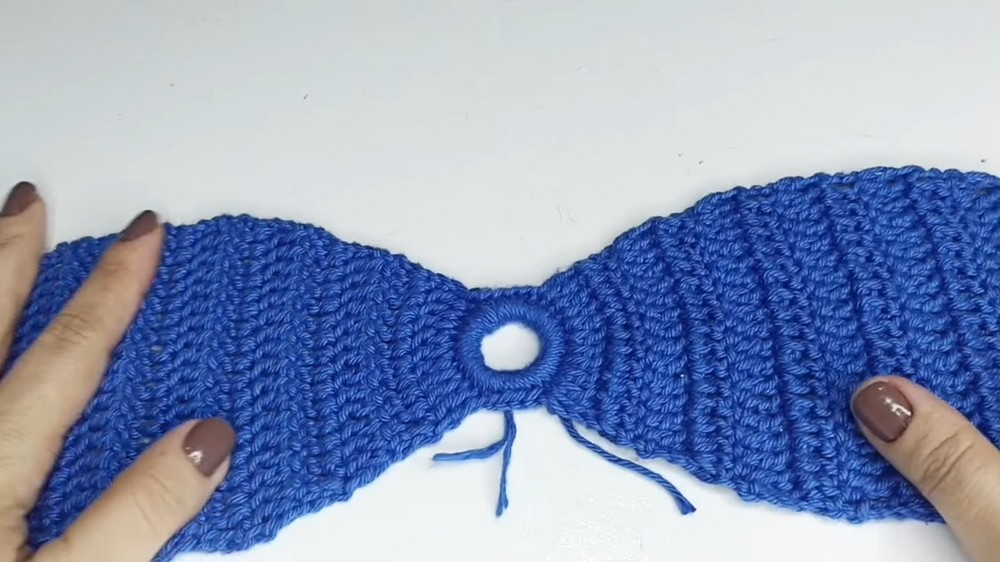
Foundation Ring
- Using the acrylic ring or create a chain-based ring as follows:
- Chain until the circumference measures 8 cm (for a 2.5 cm diameter).
- Slip stitch into the first chain to close the loop.
- Work the first row of double crochets:
- Attach yarn to your ring or chain circle with a slip knot.
- Chain 1 to secure, and then chain 2 more to count as the first double crochet.
- Work 29 double crochets (dc) into the ring for a total of 30 dc.
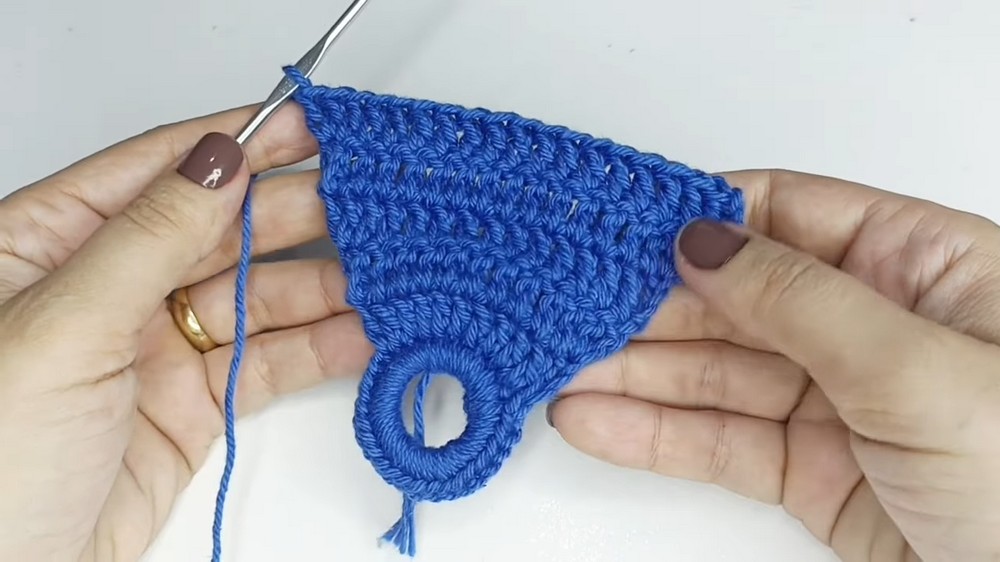
Cup Shaping
Increase Rows
- Row 1:
- Chain 3 (counts as the first dc).
- Work 1 dc in each stitch across for 11 dc total (or ~4 cm wide).
- Row 2:
- Turn, chain 3 for the first stitch.
- Work 2 dc in the first stitch (increase).
- Dc across and work 2 dc in the last stitch (increase on both ends of the row).
- Total stitches for this row = 13 dc.
- Subsequent Increase Rows:
- Repeat the same pattern by increasing 2 stitches on each row (1 at the beginning and 1 at the end).
- Continue until your cup's desired width/height is achieved. Refer to the size calculations below.
Size Adjustments:
- Use this formula to calculate the total height of increases:
Total Cup Height = (Bust Width / 2) - 20 cm, then divide by 4.
Example for 80 cm bust:- (80 cm ÷ 2) - 20 cm = 20 cm.
- 20 cm ÷ 4 = 5 cm (increase rows should equal ~5 cm in height for an 80 cm bust).
No-Increase Rows
- Work dc across all stitches without increases for the same number of rows as the increase rows.
- For example: If you worked 5 increase rows, complete 5 rows without increases.

Decrease Rows
- Row 1:
- Turn.
- Chain 3, skip the second stitch, and work dc across until 1 st remains. Skip the second last st, work 1 dc in the last stitch.
- Decrease 1 stitch at the start and end of the row (total decrease of 2 dc).
- Rows 2 Onward:
- Continue decreasing 1 stitch at the beginning and end of each row until you return to the stitch count of the foundation row (e.g., 11 stitches, or adjust to your padding/support design).
- Final Rows:
- If the total number of stitches is odd, continue decreasing until only 5 sts remain. For even stitch counts, decrease until 4 sts remain.
Second Cup
Repeat the same steps for the second cup, ensuring the decreases are on the same side as the first. Match the number of stitches, rows, and dimensions exactly.
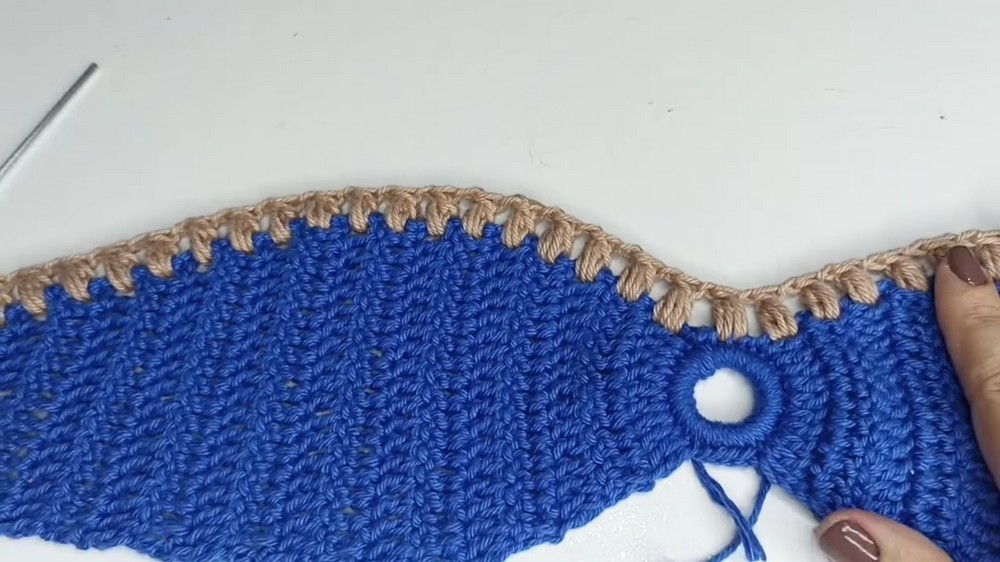
Borders with Puff Stitch
- First Border Row:
- Attach a new color yarn to the start of the base of one cup.
- Chain 3 (counts as the first dc) and make 2 dc in the first stitch. Continue across the base of the cup with 1 dc in each stitch.
- Add Puff Stitches:
- Work 1 puff stitch into each row along the curved edges of both cups. Place the puff stitches between the rows of the cups, with 1 chain between each puff stitch.
- In the center stitch of the ring, work a puff stitch by splitting the center stitches as needed to even the gap.
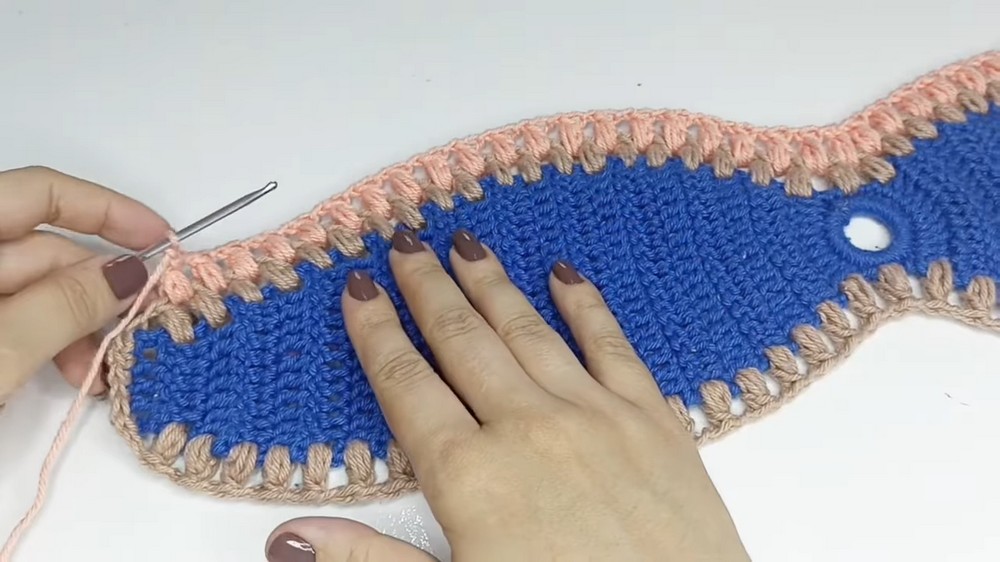
- Second Border Rows:
- Work additional puff stitch rows as desired, changing yarn colors if you want a colorful, tiered border.
- After completing the desired puff stitch rows, finish with sc around the entire piece for a clean edge.
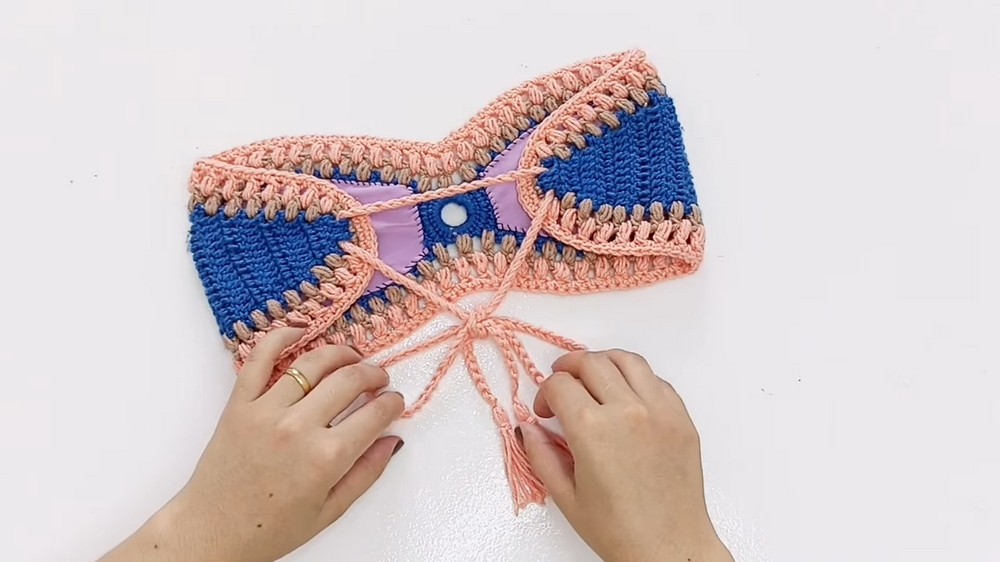
Removable Adjustable Ties
- Cord Construction:
- Use two threads held together for a sturdy tie if applying tassels at the ends.
- Chain until the cord matches your desired length, leaving extra allowance for tassels.
- Tassels: (Optional)
- Cut threads twice the desired length for tassels.
- Secure the tassels at the ends of the cords.
- Threading the Ties:
- Pass the ties through the top edges of the cup, near the puff stitches, and through the back.
- Use these ties as halter straps, back straps, or decorative ties per your preference.
Optional: Applying Lining or Padding
- Use 100% polyamide fabric (swimsuit fabric) for lining.
- Sew padding first if adding both lining and padding. Position and tack down the cups with small stitches for an inconspicuous finish.
- Attach the lining with even stitches only to the closed dc rows at the base, avoiding puff stitches.
Tips for Customization
- Color Play: Use contrasting or gradient colors for the ties or puff stitch rows to make the top more vibrant.
- Support: Add both lining and padding for extra support and modesty.
- Strap Styles:
- Create unique strap placements like cross-back, halter straps, or simple neck ties to vary the look.
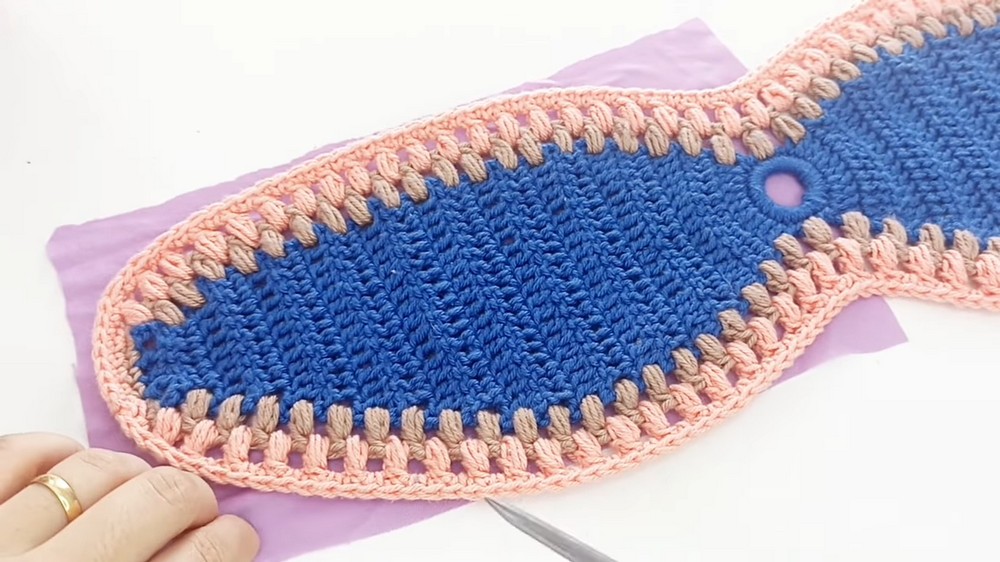
Conclusion
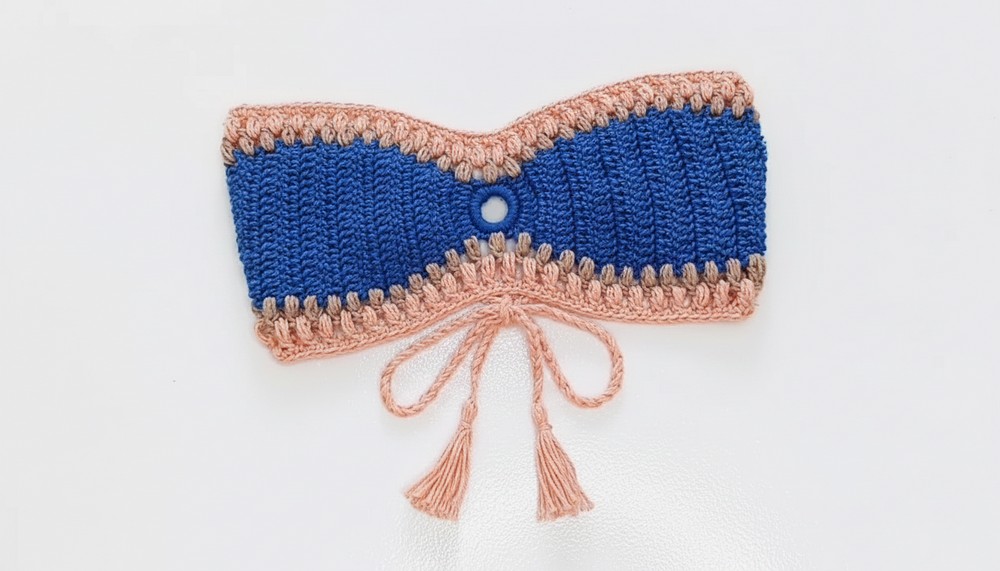
This versatile adjustable crochet top is now complete! You can wear it in multiple ways, experiment with colors or accessories, and make it perfectly suited for your style. Its lightweight, breathable design makes this piece ideal for casual summer wear. Perfectly economical, this pattern is an excellent project for using up your leftover yarn.
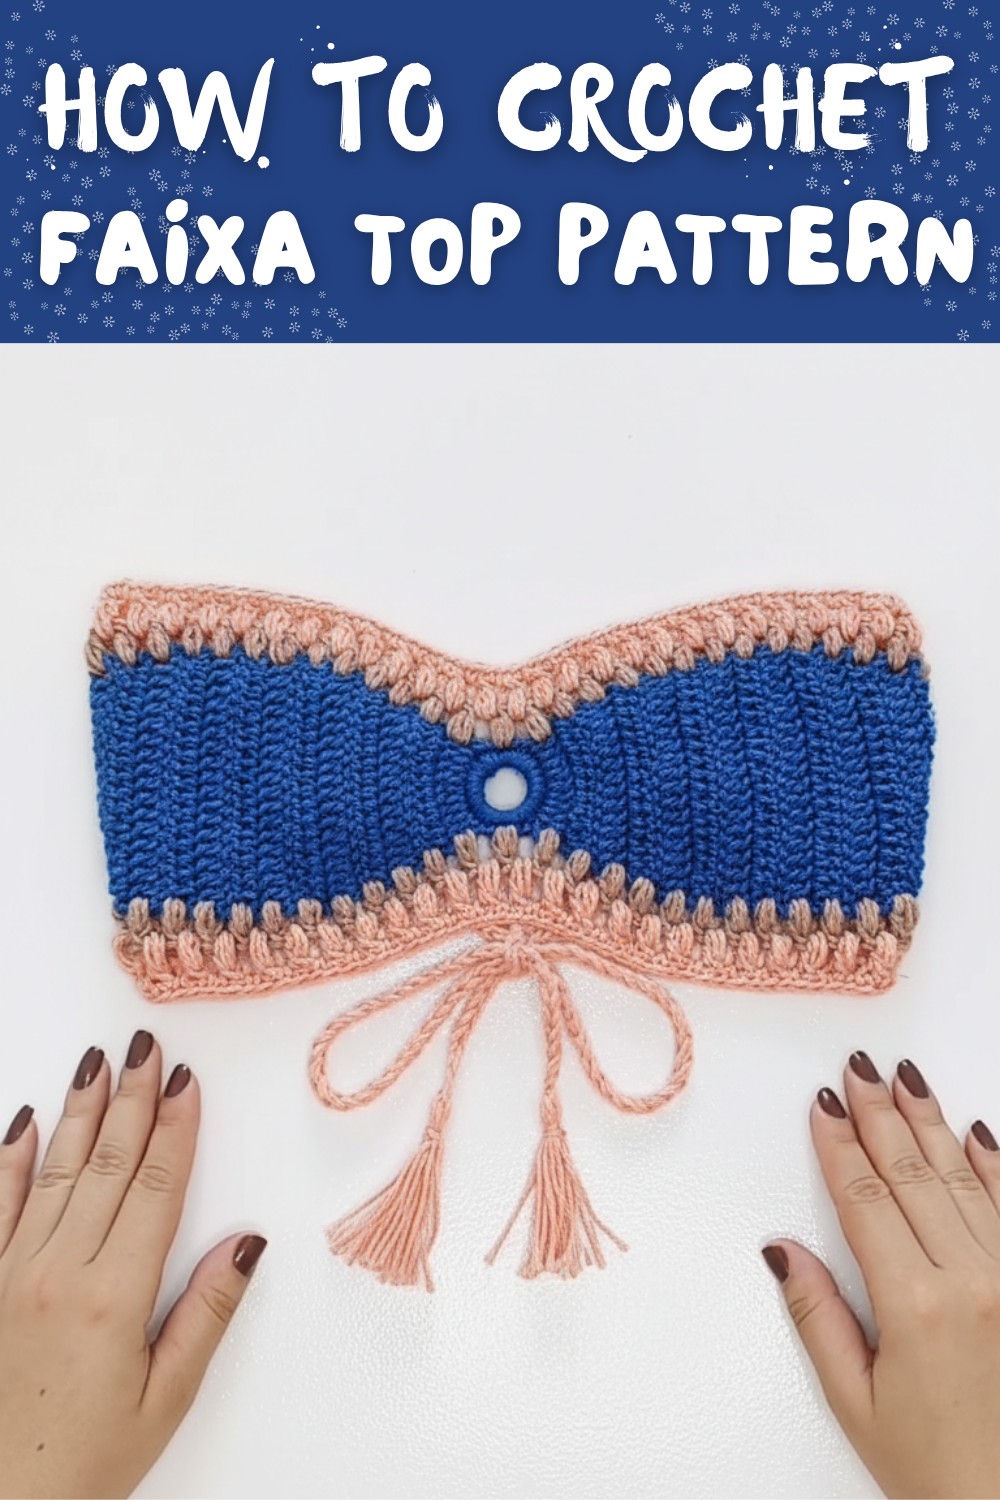
Final Look
- A chic, lightweight top with:
- Adjustable ties for flexibility.
- Puff-stitch borders for texture.
- Optional lining or padding for additional customization.