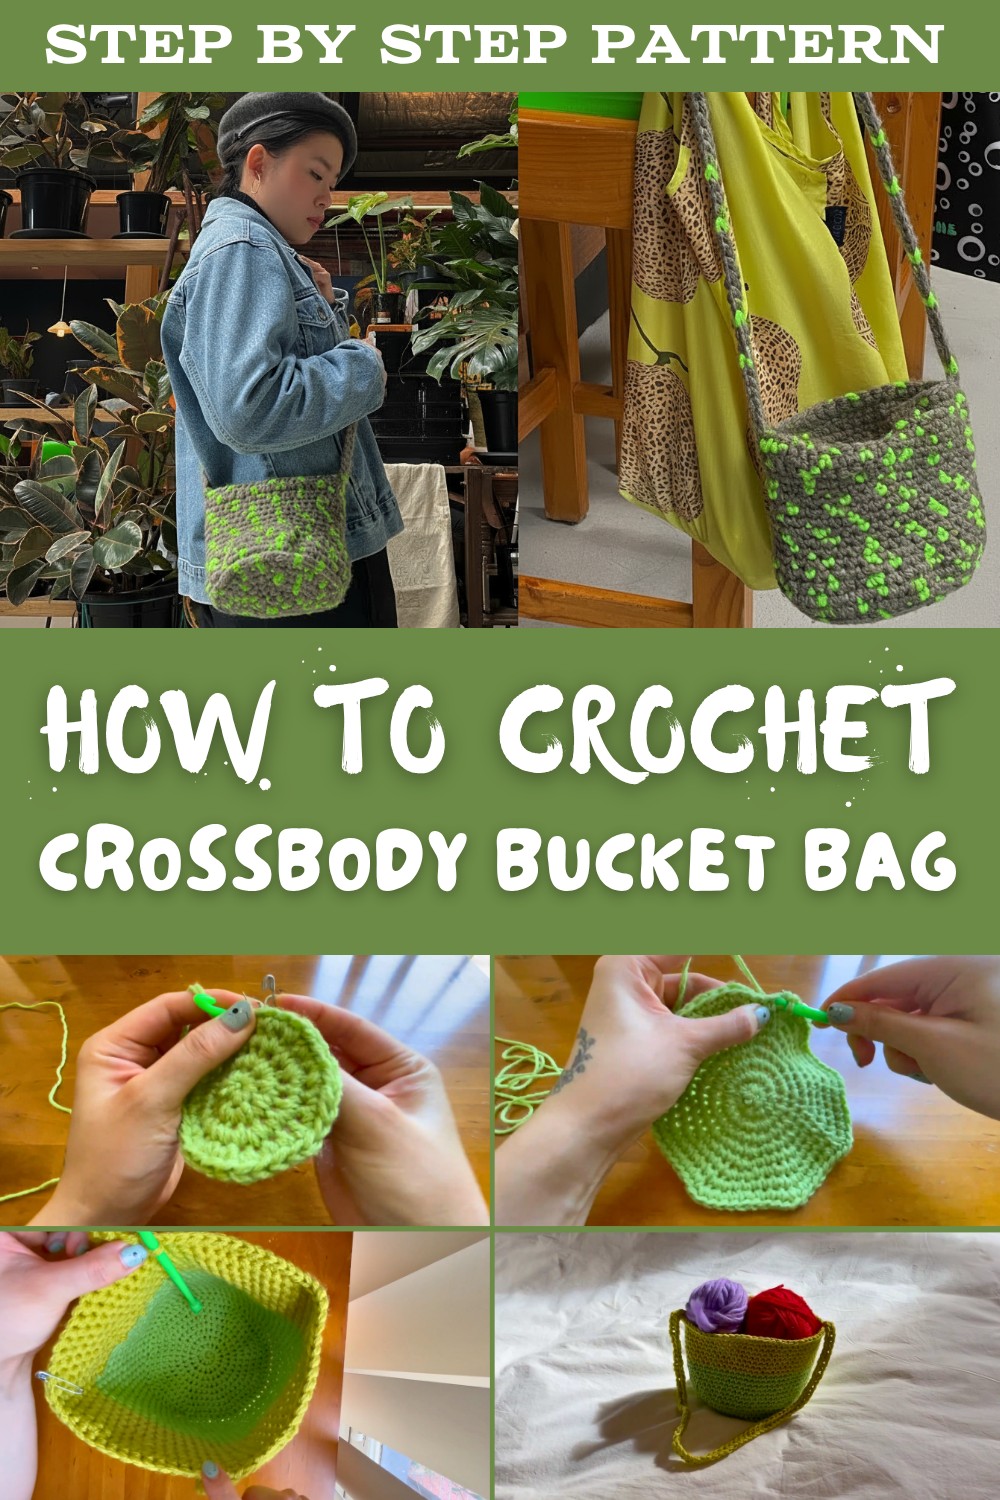
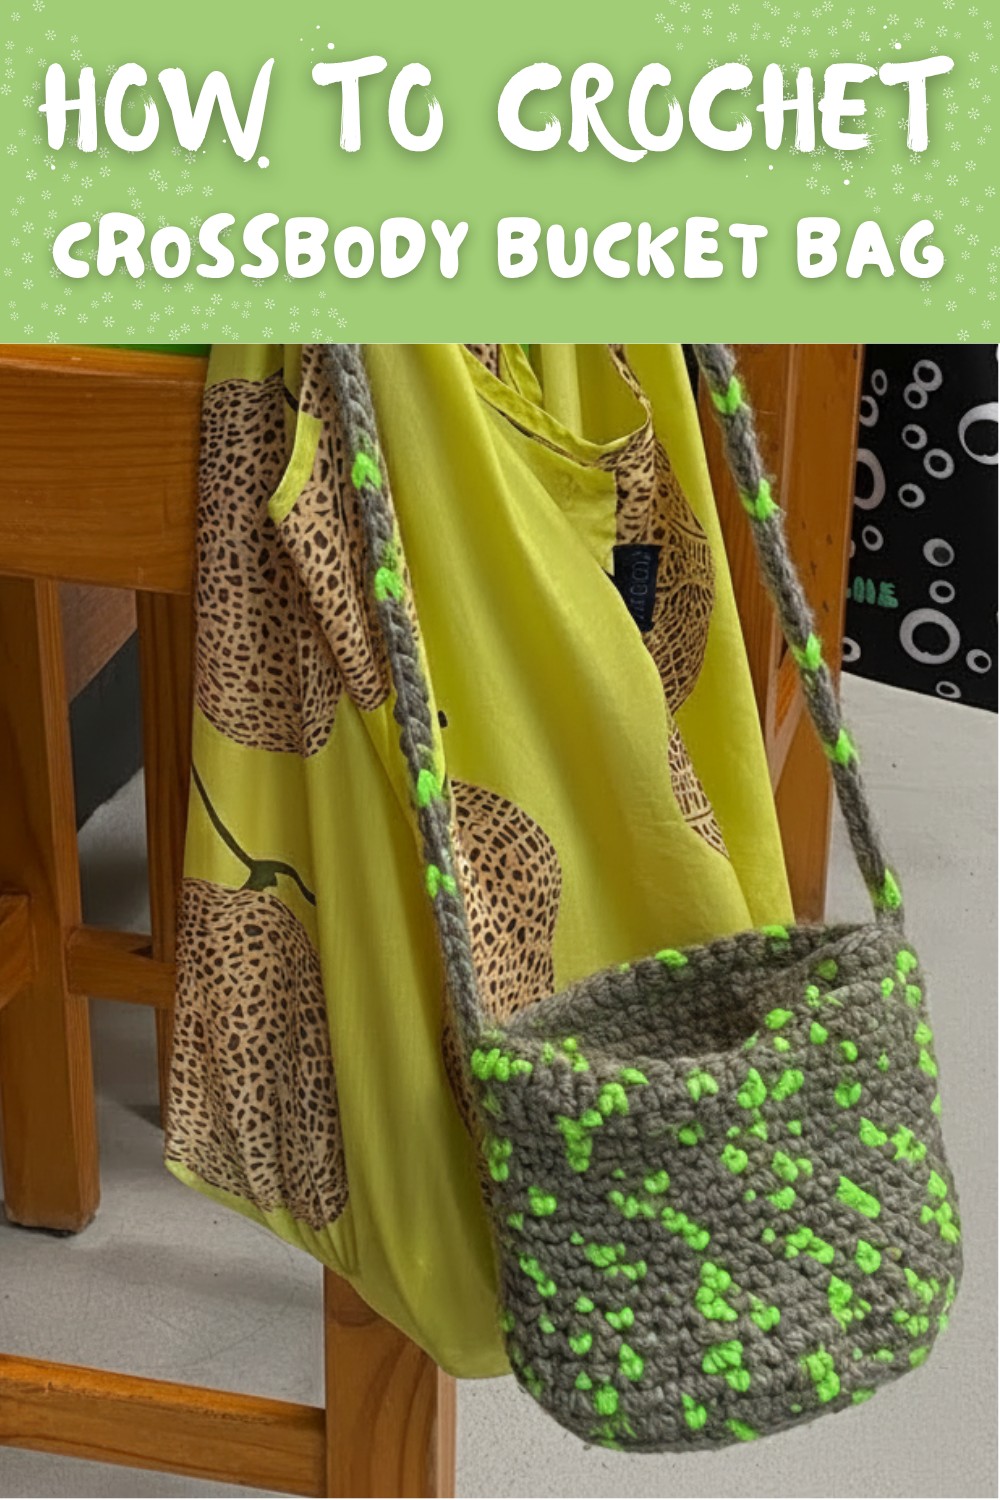
Trendy Crochet Crossbody Bucket Bag with This Easy Pattern
Create a stylish and functional crochet crossbody bucket bag with this fun pattern, featuring endless customization options for a truly unique accessory.
There's something incredibly satisfying about creating an accessory that's both stylish and practical. A crossbody bucket bag hits all the right notes with its spacious design, hands-free strap, and endless opportunities for customization. It's the kind of project where you can let your creativity run wild-think bold color choices, textural stitch combinations, or even fun extras like tassels or beads.
Crochet Crossbody Bucket Bag - Perfect for Daily Essentials
Perfect for carrying everyday essentials, this bag transitions effortlessly from casual errands to weekend outings. It's also a fantastic way to explore different crochet techniques, from sturdy bases to decorative stitchwork that adds personality. Whether you're gifting it or keeping it, this project offers a fun balance of functionality and flair, making it a rewarding piece to work on and show off.

Crossbody Bucket Bag (Honeypot Bag) - Crochet Pattern
Skill Level
Intermediate to Advanced: Skills required include working in the round, back post crochet, increasing stitches, color changes, and basic strap construction.
Materials List
- Yarn: Approximately 100 g of bulky or chunky yarn, or combine two strands of lighter-weight yarn. If using a secondary color for details, ensure it blends or contrasts well with the main color.
- Example: Recycled T-shirt yarn, chunky, or variegated yarn for texture.
- Approximately 200 g total (you will use less than half of this).
- Hook Size: 7 mm crochet hook for the main stitching.
- Optional Items:
- Smaller crochet hook: For weaving in tails.
- Measuring tape: To ensure accurate measurements.
- Stitch markers: To mark the start of each round.
- Scissors: For cutting yarn at the end.
- Yarn Needle/Darning Needle: For weaving in ends.
Finished Measurements
- Bag Base Diameter: ~160 mm (~6.29").
- Bag Height: ~140 mm (~5.51").
- Strap Length: ~120 cm (~40.15") or 80 chain stitches (adjustable).
Abbreviations (US Terminology)
- ch: Chain
- sl st: Slip Stitch
- sc: Single Crochet
- inc: Increase (2 sc in the same stitch)
- st(s): Stitch(es)
- blo: Back Loop Only
Special Notes
- This bag is worked in continuous rounds without joining (a spiral method). Use a stitch marker to track the beginning of each round.
- Always check your tension, especially when holding two strands of yarn or transitioning between colors.
- The base of the bag may initially appear octagonal due to increases. Do not worry; this will even out as you continue working.
Pattern Instructions
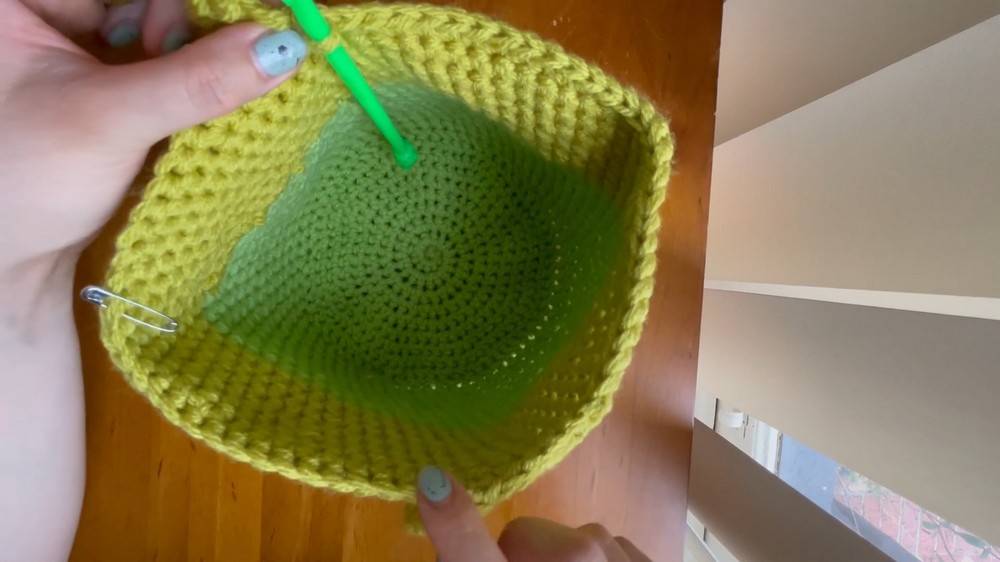
Starting the Base
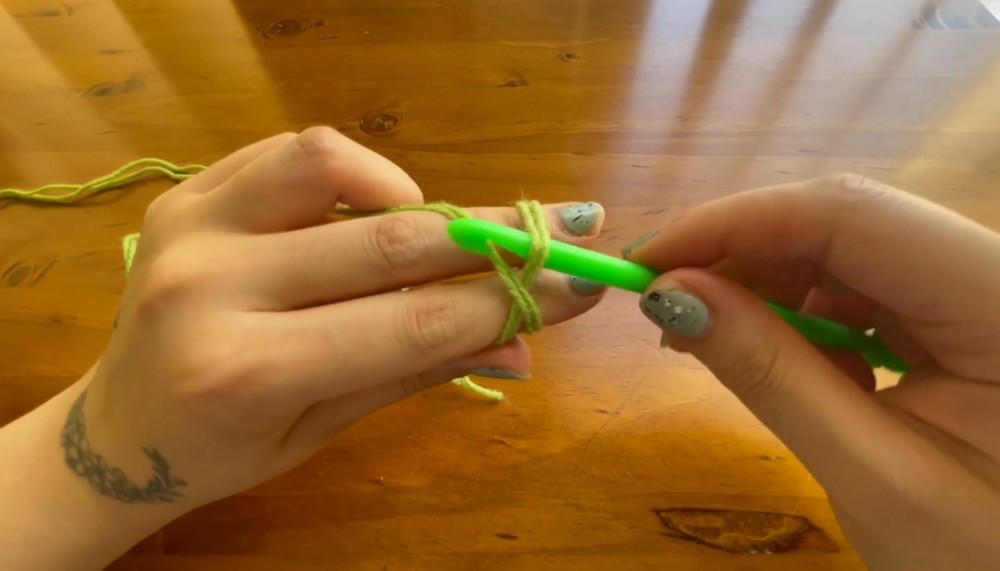
- Round 1: Create a magic ring. Inside the ring, work 8 sc. Pull the ring tight. (8 sts)
- Tip: If working with two yarn strands simultaneously, go slowly and keep your stitches loose to avoid tangling.
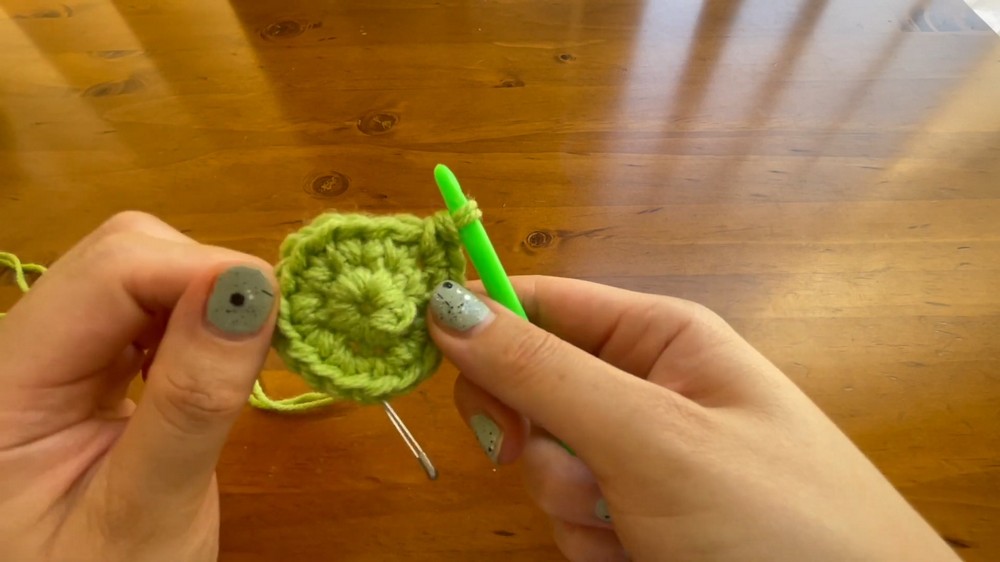
- Round 2: Work 2 sc (inc) into each st (increase into every stitch). (16 sts)
- Round 3: Work 1 sc in the first st, 2 sc (inc) in the next st. Repeat this pattern around (1, inc, 1, inc). (24 sts)
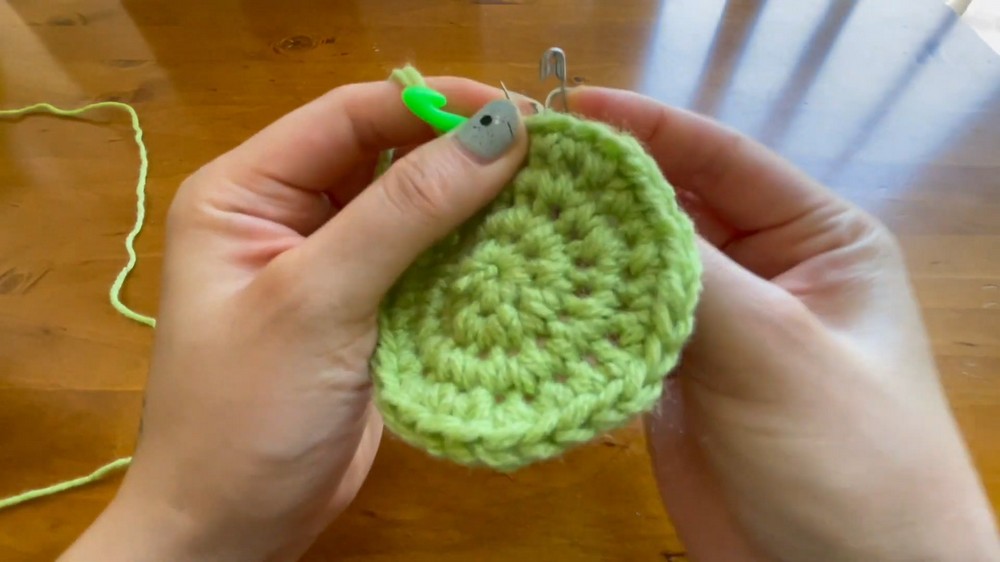
- Round 4: Work 1 sc in the first 2 sts, 2 sc (inc) in the next st. Repeat around (1, 1, inc). (32 sts)
- Round 5: Work 1 sc in the first 3 sts, 2 sc (inc) in the next st. Repeat around (1, 1, 1, inc). (40 sts)
- Continue Increasing:
- For each subsequent round, increase the number of single crochet stitches between increases. For example:
- Round 6: Work 4 sc, inc.
- Round 7: Work 5 sc, inc.
- Round 8: Work 6 sc, inc.
- Stop increasing when your base measures approximately 160 mm (~6.29") in diameter.
- For each subsequent round, increase the number of single crochet stitches between increases. For example:
- Last Rounds for Base: Work 1 round of sc (no increases) to smooth out the octagonal edges.


Building Height
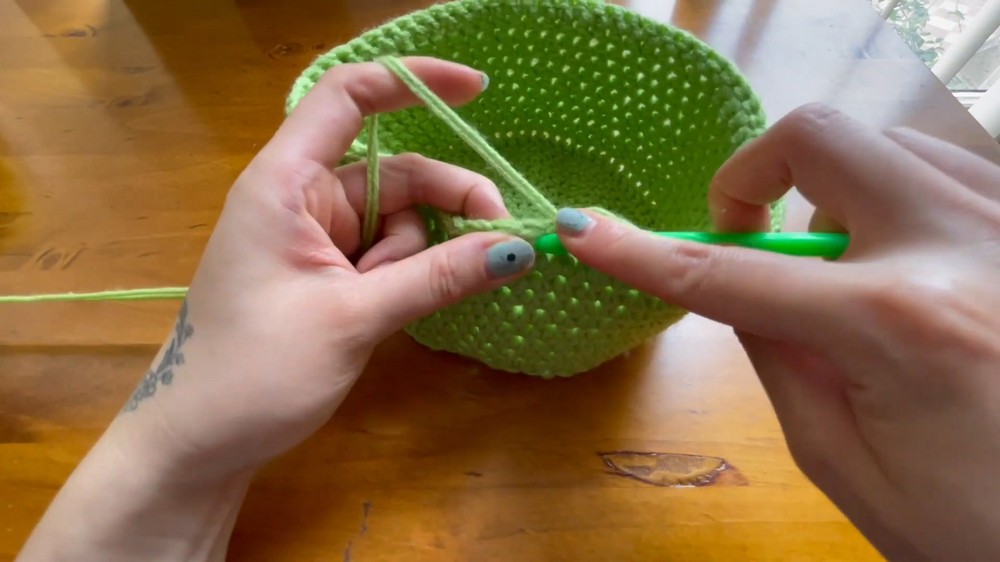
- Back Post Transition Row:
- Chain 1.
- Work sc through the back loop only (blo) into each stitch around. This row will create a foundation for the bag walls by "pushing out" the bottom of the bag.
- Tip: If you're unfamiliar with blo crochet, insert your hook through the back loop of the stitch only, leaving the front loop free.
- Continue Working in the Round:
- Work sc stitches continuously in the round until your bag reaches a height of 140 mm (~5.51").
- Use a secondary color to add stripes if desired. To switch colors:
- Do not complete the last pull-through of your sc.
- Drop the current yarn color and pick up the new color.
- Complete the stitch with the new yarn and continue crocheting.
Strap Creation
- Attach Yarn to the last row of your bag.
- Crochet the Strap:
- Begin a chain from the edge of your bag. The tutorial suggests approximately 80 chains (~120 cm) for a crossbody strap. Adjust the chain length as desired.
- Join the Strap:
- Once the chain reaches the desired length, join it to the opposite side of the bag with a sl st.
- Thicken the Strap:
- To make the strap sturdy, work 1 row of sc across all chain stitches.
- Once you complete the strap, resume working sc stitches across the bag rim to even out the edges.
- Final Round:
- Slip stitch into the first sc to secure the strap and finish the bag. Chain 1 and fasten off.
Finishing Touches
- Weave in Ends:
- Using a yarn needle or a smaller crochet hook, carefully weave in all loose yarn tails. Work through multiple stitches to secure them.
- Block the Bag (Optional):
- Steam block the bag base and sides to even out any irregularities and set the shape.
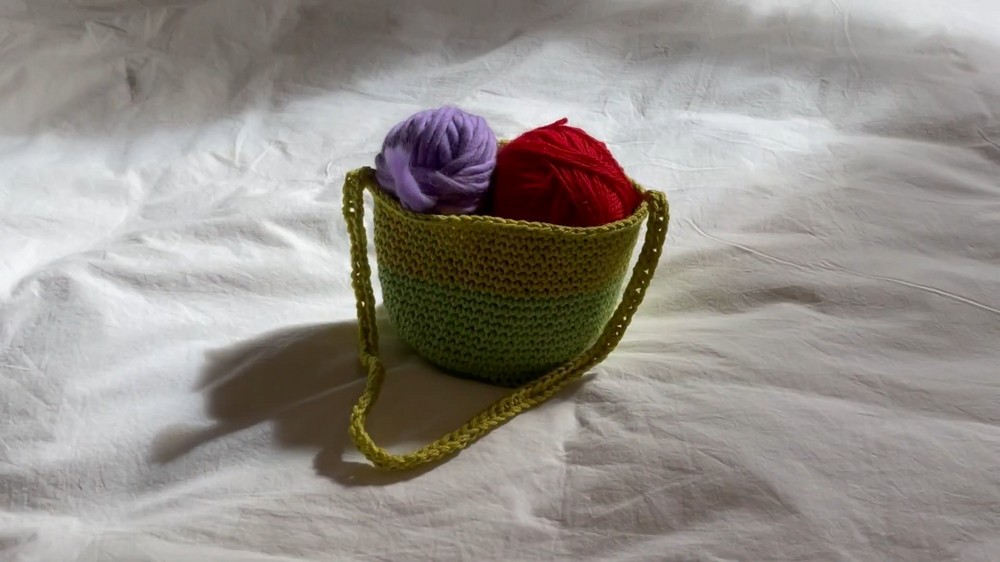
Conclusion
You've successfully created your very own Honeypot Bag! This crossbody bucket bag is practical, stylish, and offers endless opportunities for customization with yarn colors and textures. Its compact yet spacious design makes it an excellent everyday accessory.
Pattern Corrections
- If your base looks lopsided, re-check your increase pattern.
- If working with multiple yarn strands is challenging, consider untangling the skeins as you progress or using yarn balls pulled from separate skeins.
Pro Tips
- Durability: If your yarn is stretchy or less durable, consider lining the bag with fabric to prevent sagging.
- Customization: Add decorative tassels, pom-poms, or beading for a personalized look.
- Maintenance: Gently hand wash the bag and lay it flat to dry. Avoid overloading it to maintain its shape.