Free Crochet Vest Pattern for Any Season
Simple instructions help you enjoy a free crochet vest pattern, for any style or season adding a personal and stylish touch to your wardrobe.
Making something beautiful by yourself can be a lovely experience and a crochet vest pattern helps you do exactly that. This pattern turns yarn into clothing that is light to wear yet adds style and warmth to your outfit any time of year. You can choose your favorite shade and design so the vest is totally your own. Many people enjoy using a crochet vest pattern because it can be simple for beginners or interesting for those with more skill.
Free Crochet Vest Pattern With Step-by-Step Instructions

The finished vest is easy to slip on over a t-shirt or dress, which means it works for all seasons. There's also joy in gifting a vest made with your own hands to someone you love. Following this pattern helps save money while letting your unique taste shine. Anyone can find a size that fits, so no one misses out on the comfort and fashion a crochet vest brings.
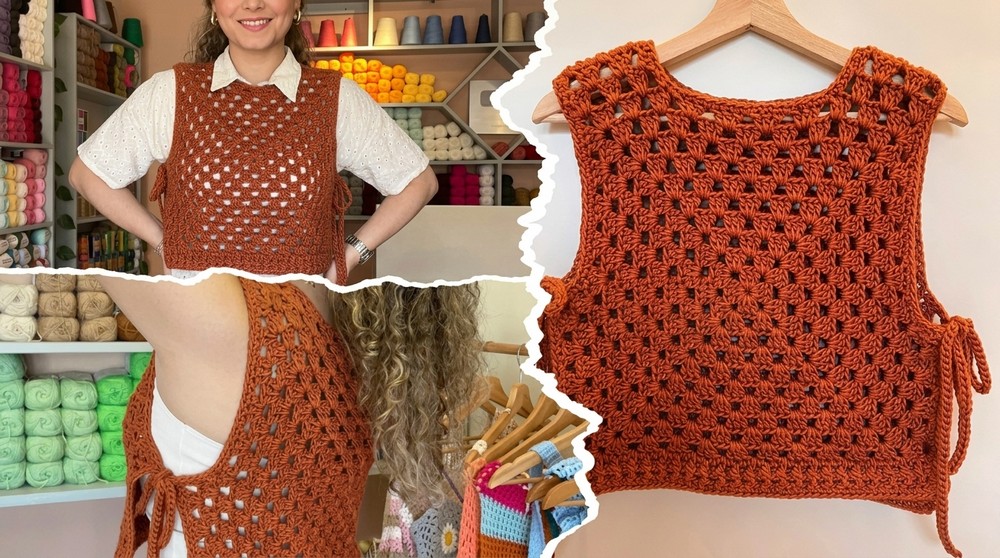
Simple Two-Granny Square Vest Crochet Pattern
Materials
- Yarn: 500g Miratex Sweet (50% viscose, 50% acrylic) or similar soft worsted/aran weight yarn
- Crochet Hook: 4.5 mm
- Scissors
- Measuring Tape
- Yarn Needle: For finishing and seaming
Key Abbreviations (US Terms)
| Abbreviation | Stitch Name |
|---|---|
| ch | chain |
| sl st | slip stitch |
| sc | single crochet |
| dc | double crochet |
| fpdc | front post double crochet |
| bpdc | back post double crochet |
| st(s) | stitch(es) |
Special Notes
- Each granny square is worked to width: 36 cm (about 14 in) for size M. Adjust size as required.
- Ribbing provides structure at hem and arm openings.
- Side cords secure vest at underarms for adjustable fit.
- Pattern can be easily modified for larger sizes by working more rounds.
Pattern
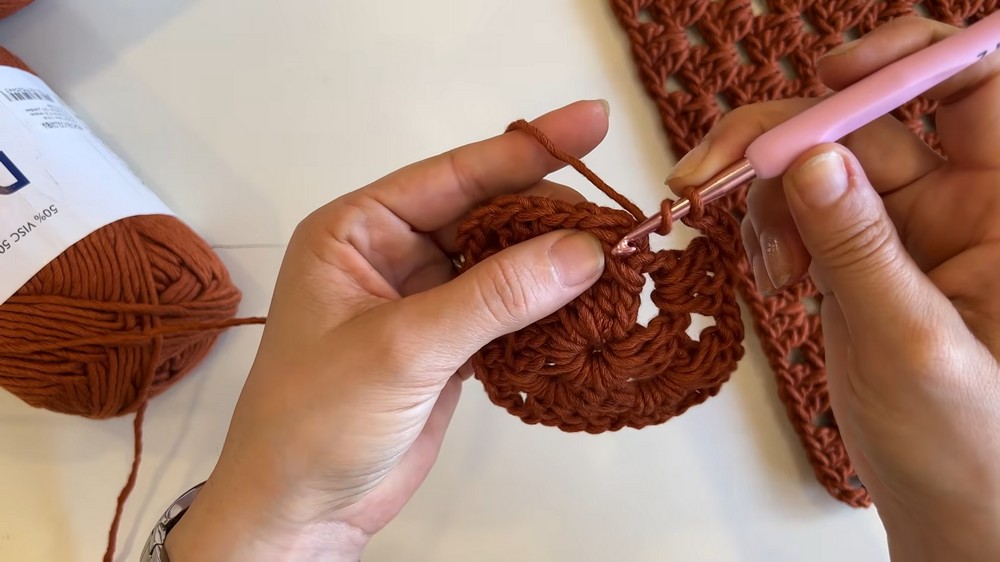
Granny Squares (Make 2)
Foundation
- Make a slip knot and ch 6.
- Sl st into the first ch to form a ring.
Round 1
- Ch 2 (does not count as a dc).
- 3 dc into ring.
- Ch 3, 3 dc in ring, ch 3; repeat a total of 4 times.
- Sl st into top of first dc to close round. Fasten off.
Round 2
- Join yarn in a corner ch-3 space.
- Ch 2 (does not count as dc), 2 dc in same space.
- Ch 1, 3 dc in next ch-1 space, ch 1; in corner ch-3 space, 3 dc, ch 3, 3 dc. Repeat around.
- At end, ch 1 after last corner, sl st to first dc. Fasten off.
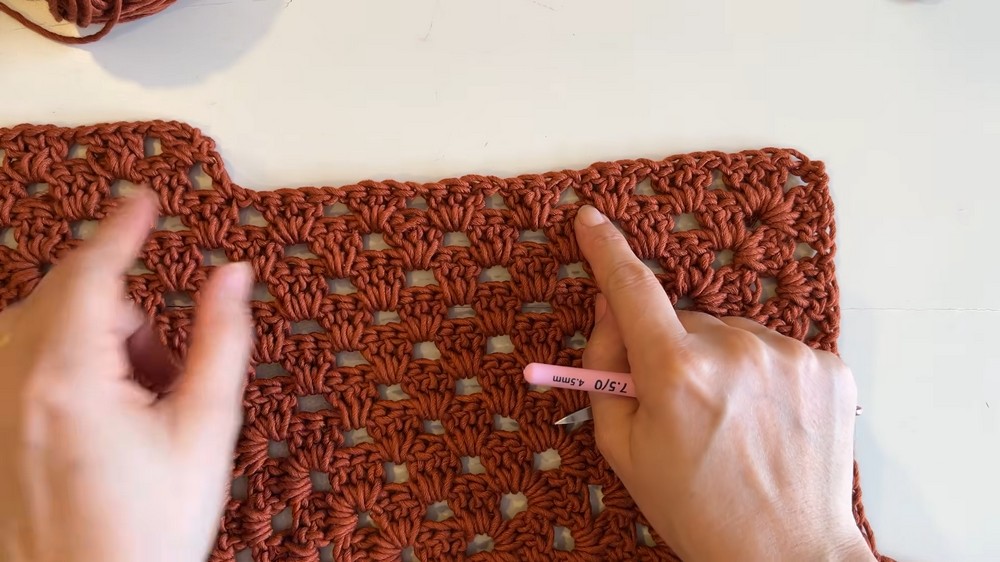
Round 3 and Onwards
- Join yarn in any corner, ch 2 (not counted as dc), 2 dc in same space.
- Ch 1, 3 dc in next ch-1 space, ch 1; in corner ch-3 space, 3 dc, ch 3, 3 dc.
- Repeat step 2 for each round. Continue working in chain spaces (corner: ch-3, sides: ch-1).
- Each round grows with more chain spaces and clusters. Repeat until square reaches the desired width (36 cm for M, more for larger sizes). Sample worked 10 rounds.
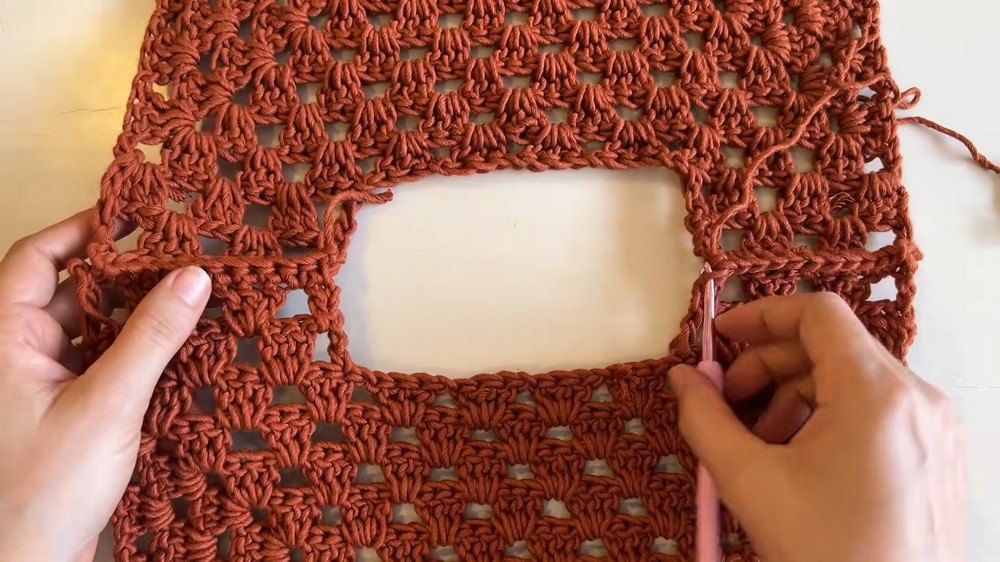
Side Extensions (Armholes)
Do not cut yarn after finishing main square.
- Ch 2, in next ch-1 space, 3 dc.
- Ch 1, in next ch-1 space, 3 dc; repeat up to first corner.
- At corner, 3 dc (do not work ch-3). Do not turn corner.
- Ch 2, turn.
- Dc in top of first dc, ch 1; in next ch-1 space, 3 dc, up to end.
- Continue working turning rows until desired length for side coverage.
- Fasten off.
Repeat for opposite side of same square.
Shoulder Extensions
- Attach yarn at top corner.
- Ch 2, 3 dc in same space, ch 1.
- In next ch-1 space, 3 dc; repeat for desired shoulder width (usually 3 groups).
- Fasten off.
Repeat for opposite shoulder.
Assembly
- Place both granny squares, right sides facing out.
- Seam shoulders: Use sc, sl st, or sewing method. Join shoulder tabs at the top.
- Try on the vest and check shoulder and armhole placement.
Neckline Finishing
- Attach yarn at neck edge.
- Sc evenly around neckline.
- At end, sl st to join, ch 1, fasten off.
Ribbing (Hem)
- Attach yarn at bottom edge.
- Ch 2.
- Dc in each st across.
- Turn, ch 2.
- Alternate fpdc and bpdc across row for ribbed effect.
- Repeat for 2-3 rows for desired width.
Repeat for back piece's hem.
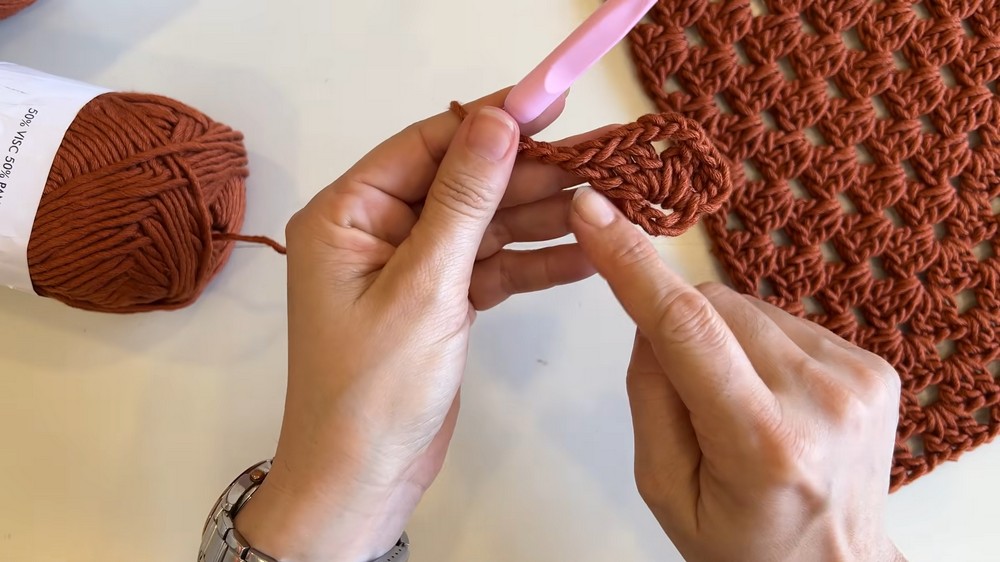
Side Cord Ties
- At armhole corner, ch 70 (or desired length).
- Work sl st back along chain for a sturdy cord.
- Sc in same corner, continue sc around armhole to next corner.
- Repeat at opposite side for second cord.
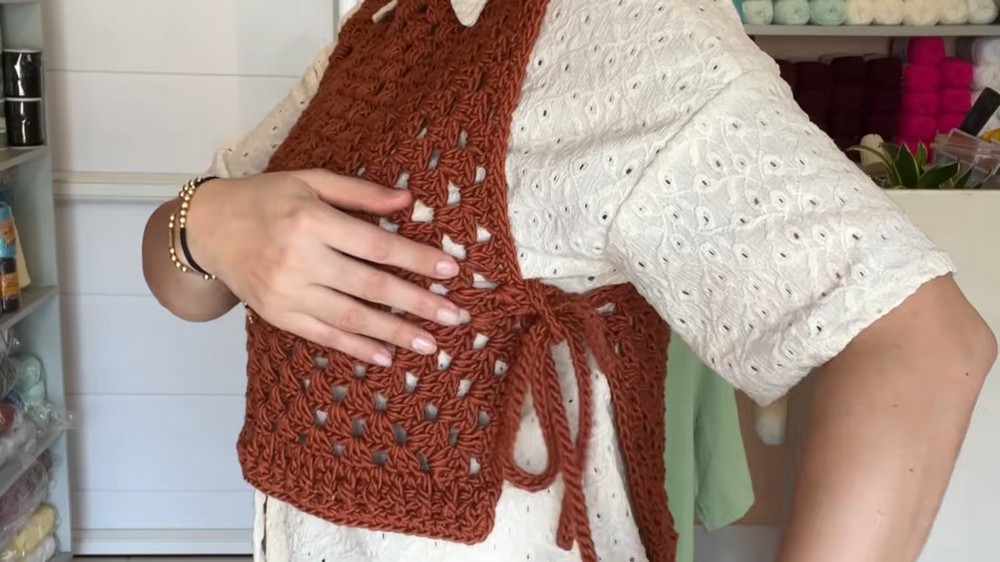
Conclusion
Your soft two-granny square vest is complete! This relaxed vest is quick and customizable, ideal for using soft yarns with a gentle sheen. Side ties allow adjustment for perfect comfort.

Pattern Correction
- Ensure to measure your squares as you crochet; sizing depends on yarn, hook, and tension.
- If ribbing puckers, increase stitch count slightly or use a larger hook for ribbed sections.
Tips
- Try the vest on as you assemble to adjust length and fit before final seaming.
- Block granny squares for best drape and consistent edges.
- Fasten ribbing with fpdc/bpdc for maximum elasticity.