
Summer Ready: Free Strawberry Crop Top Crochet Pattern
Wear summer happiness with free crochet strawberry crop top pattern that guides you to a fresh style that everyone will love to show off.
Plain tops can sometimes feel a bit boring and bring no excitement to your clothes. Making a crochet strawberry crop top pattern turns a simple outfit into something full of joy and color. This pattern shows how to add small strawberries to your top making it look sweet and charming for every day. People of all ages can wear this and feel happy because the bright little berries look friendly and fun. It is easy for anyone to try even if they have not made clothes before.
Trendy Strawberry Crop Top Crochet Tutorial (Free Pattern)
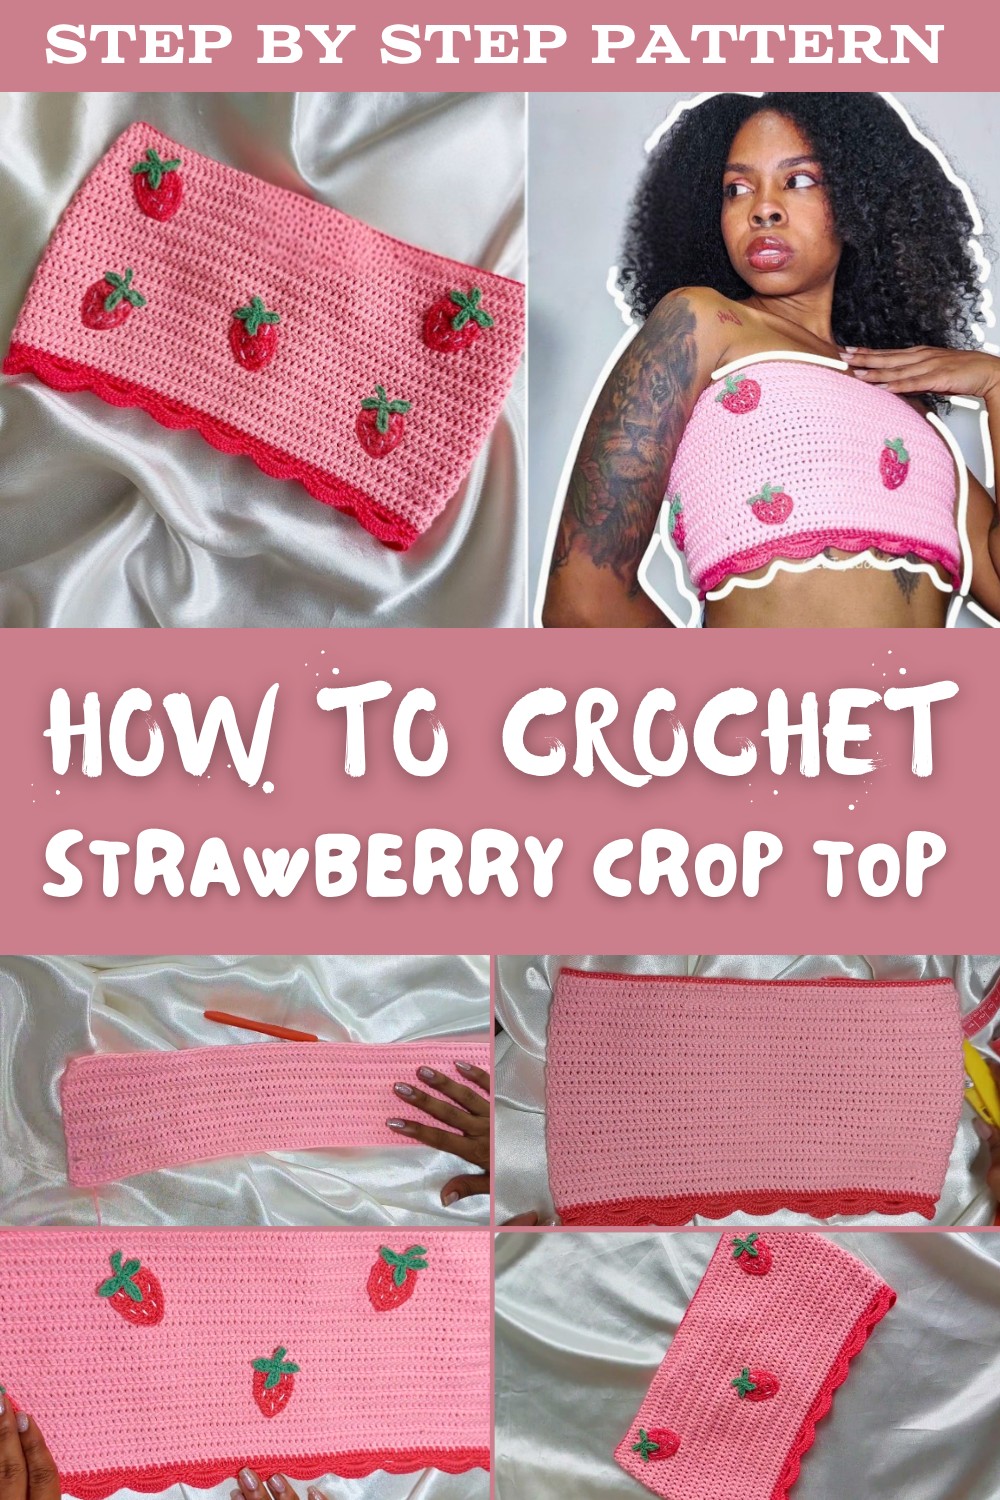
A handmade crop top like this is good for both hot weather and cool days as you can wear it alone or with a shirt underneath. Using the crochet strawberry crop top pattern helps you create a piece that is perfect for gifts and for your own wardrobe. It is soft feels nice on the skin and brings smiles to anyone who sees it. With just some yarn and a little time you can make magic with your hands.

Strawberry Crop Top Crochet Pattern
Materials
- Yarn:
- Main Yarn: Copito brand mercerized acrylic (thin, slightly shiny)
- Accent Yarn: Nube brand acrylic (less mercerized, pinkish tone)
- Strawberry Body: Pink, red, or any desired color (acrylic)
- Strawberry Leaves & Stem: Pastel or regular green (acrylic)
- Embroidery Thread: White (for strawberry seeds)
- Crochet Hook: 3 mm (US D/3)
- Needles:
- Yarn needle for sewing and embroidering
- Optional: Smaller needle for finer embroidery
- Scissors
- Measuring Tape
- Optional: Buttons (if desired for fastening)
Key Abbreviations
- ch: chain
- sl st: slip stitch
- sc: single crochet
- hdc: half double crochet
- dc: double crochet
- st(s): stitch(es)
- beg: beginning
- rep: repeat
Special Notes
- Adjust chain length for crop top size.
- Pattern features buttonholes for corset-style back.
- Strawberries are worked separately and sewn on for decoration.
Crop Top Body
Foundation Chain & Sizing
- Measure your back and decide the length:
- Sizes 30-32: Start with a 50 cm chain
- Size 34: Start with a 55 cm chain
- For larger sizes, add 5 cm increments for each size up.
- Back of crop top will be exposed; add extra length for more coverage as desired.
- Start:
- Make a slip knot.
- Using 3 mm hook, ch to the measurement needed (e.g., ch until length is approx. 50 cm).
- Add 3 ch to raise for the first row.
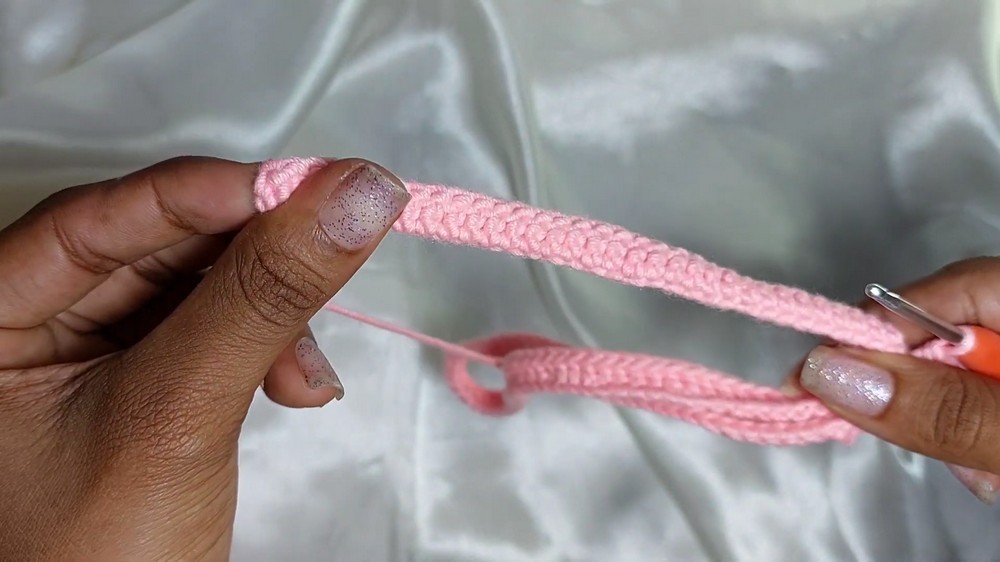
Row 1: Double Crochet
- Into Third Chain from Hook:
- Yarn over, insert hook, pull up a loop (3 loops on hook)
- Yarn over, pull through two loops
- Yarn over, pull through last two loops
- Rep in each chain across.
- Weave in ends as you go for neatness.
Row 2: Double Crochet
- Turn.
- Ch 2 (or 3; ch 2 recommended for a tighter edge).
- Skip the first st, dc in the second st and each st across.
Row 3: Buttonhole Row
- Turn.
- Ch 2 (or 3).
- Ch 2 more (for buttonhole gap).
- Skip one st, dc in the next st.
- Continue dc in each st to the last three sts.
- At third-to-last st: dc, then ch 2, skip one st, dc in last st.
- You should now have small gaps at each end for buttonholes.

Rows 4-13: Double Crochet
- Work even rows (dc in each st across).
- Repeat for 10 rows (approx. 8 cm).
- Measure for accuracy.
Row 14: Buttonhole Row
- As in Row 3, create buttonhole gaps at both ends with ch 2 and skipping one st.
Rows 15-24: Double Crochet
- Work even rows for another 10 rows (approx. 8 cm).
Row 25: Buttonhole Row
- Repeat buttonhole gaps at both ends as previously.
Final Row & Color Change
- For added contrast or if running out of yarn, join a new color at the end of previous row (as you pull through last dc).
- Crochet 1 more row in new color.
- Hide ends as you crochet.
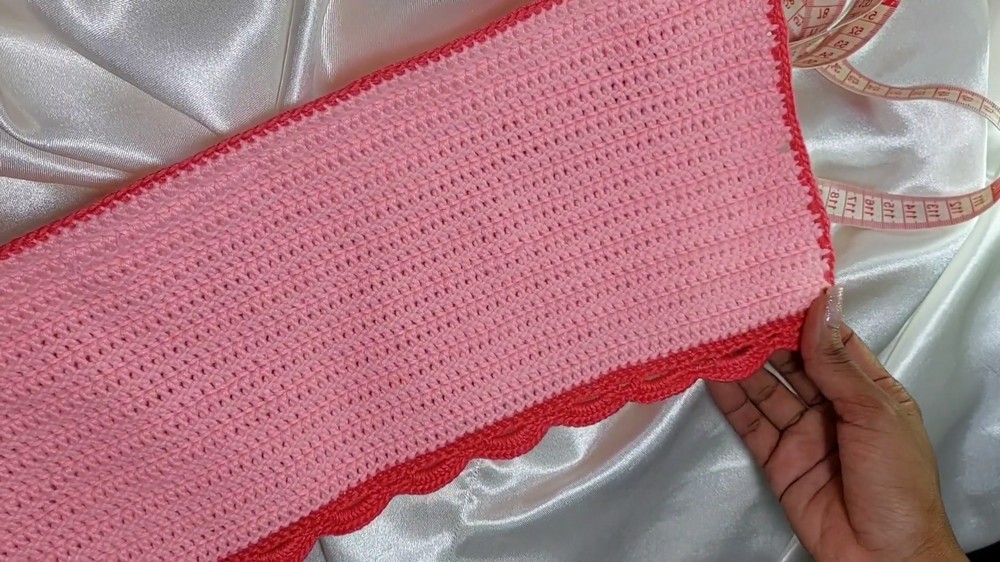
Edging
- Chain Loop Edging:
- Ch 4, sl st in fourth ch from hook, rep across edge to create decorative loops.
- Fan Border (Optional):
- In each chain loop, work 10 dc to form a fan, then sc in next ch loop to secure, rep across.
- Single Crochet Edging:
- Work sc evenly around all edges of the crop top, including the buttonholes.
- When turning corners, add 2 extra ch to prevent puckering.
Strawberry Motifs
Strawberry Body
- With pink or red yarn, make a slip knot.
- Foundation: Ch 3.
- Row 1:
- Work 3 hdc in first ch (third from hook).
- Row 2:
- Ch 2, turn.
- Work 2 hdc in first st (increase), 1 hdc in mid st, 2 hdc in last st (increase).
- You have 5 hdc.
- Row 3:
- Ch 2, turn.
- Work 2 hdc in first st (increase).
- 1 hdc in each mid st.
- 2 hdc in last st (increase).
- You have 7 hdc.
- Rows 4-5:
- Ch 2, turn.
- Work 1 hdc in each st across (no increases).
- Row 6: Decreases
- Ch 2, turn.
- Decrease: Yo, insert hook, pull up a loop, yo, pull through two loops, leave last loop on hook, yo, insert in next st, pull up a loop, yo, pull through two loops, leave remaining loops on hook, yo, pull through all 5 loops.
- Work hdc in mid sts.
- Decrease at end with same method.
- Fasten off.
- Edging:
- Work sc evenly around strawberry, adding extra sc at corners.
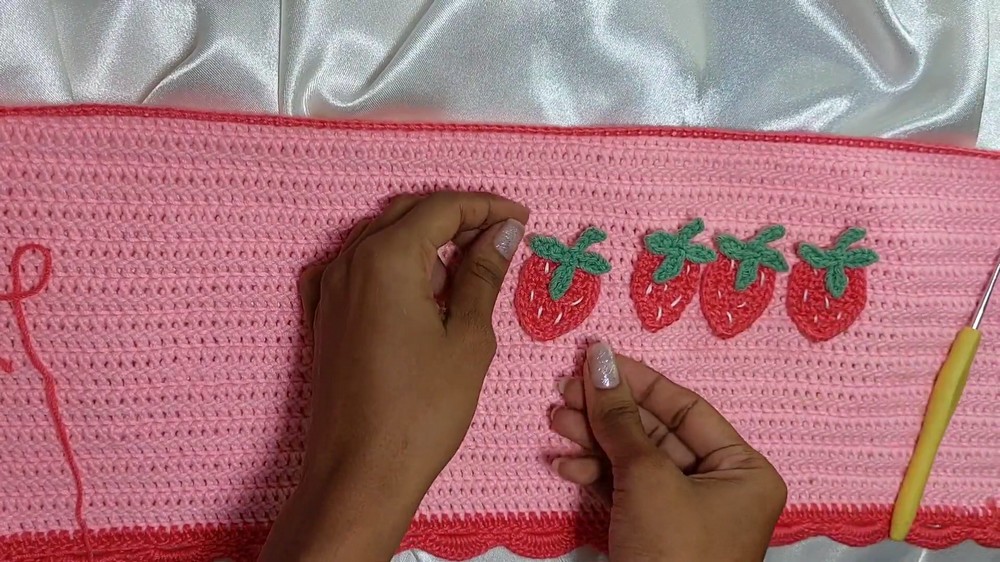
Strawberry Stem & Leaves
- Using green yarn, make a magic ring.
- Ch 5.
- In second ch from hook, sl st.
- Next two ch: work 1 hdc in each.
- In last ch: sl st.
- Sl st in magic ring to anchor.
- Rep steps 2-6 for 2 more leaves (total 3 leaves).
- For the stem: Ch 5, sl st in next 3 ch, sl st in magic ring to anchor.
- Fasten off, secure, and hide ends.
Strawberry Seeds
- With white embroidery thread and needle, make random short straight stitches as seeds across each strawberry.
Attaching Strawberries
- Sew strawberries to top using a yarn needle and appropriate thread, positioning them as desired.
- Ensure the stem is centered slightly away from the strawberry tip.

Back Cord
- Use two strands of yarn for added thickness.
- With a larger hook, ch to 117 cm (or adjust to fit your top and comfort).
- Fasten off.
- Weave through buttonholes in corset-style.

Finishing
- Weave in all ends securely.
- Block and shape if needed.
Conclusion
This crop top pattern combines classic crochet stitches with fresh, vibrant strawberry motifs and a stylish corset back. Feel proud of your unique creation! Adjust length, width, or decoration to personalize.

Pattern Correction
- Ensure buttonholes are consistent in size for easy threading of the cord.
- If buttonholes are too small, add an extra ch in the gap.
- For a longer top, increase the number of rows between buttonhole rows.
Tip
- Hide yarn ends as you crochet for neater edges.
- Use a stitch marker to identify corners and buttonhole gaps.
- Make strawberries in varying shades for a playful finish.