Cute Free Crochet Cat Beanie Pattern That’ll Keep You Cozy
Stay cozy in unique style with this Free Crochet Cat Beanie Pattern that's ideal for casual looks, thoughtful handmade gifts, or showcasing your playful flair.
A playful accessory can instantly add charm to your wardrobe while showcasing your creative skills. The Free Crochet Cat Beanie Pattern combines comfort and personality with its adorable cat ear design, making it an ideal project for anyone who loves handmade touches. Perfect for casual wear, themed outfits, or even thoughtful gifts, this beanie is both functional and fun.
Free Crochet Cat Beanie Pattern You'll Adore Forever

Its customization options allow you to experiment with colors and textures, creating a piece that reflects your individual style or fits any occasion. Lightweight yet cozy, it offers warmth while standing out as a unique statement. Whether you're crafting it for yourself or a loved one, this pattern is beginner-friendly and quick to complete, making it a rewarding and creative addition to any crochet project list.

Simple Crochet Cat Beanie Pattern
Finished Size
- The beanie's size is entirely customizable based on individual head circumference measurements.
- Example: For a circumference of 54 cm, divide by 2 (27 cm) to determine the foundation chain's stretched length.
Materials Needed
- Yarn:
- Acrylic Yarn, Worsted Weight (Category 4).
- Approximately 170g for one beanie (adjust if using multiple colors).
- Hook Size:
- 4.5 mm crochet hook.
- Notions:
- Tape measure for measuring circumference and stretched chain length.
- Stitch marker for marking the first stitch in each round.
- Darning needle for weaving in ends.
- Scissors for cutting yarn tails.
Gauge
Gauge is not critical for this pattern. You will measure the foundation chain against your desired circumference when stretched.
Skill Level
Beginner.
Key Abbreviations (US Terminology)
- ch: chain.
- dc: double crochet.
- sl st: slip stitch.
- rep: repeat.
- st: stitch.
- y/o: yarn over.
Special Techniques
- Foundation Chain Measurement: Ensure your chain stretches to the desired circumference of half your head measurement.
- Slip Stitch Join: Used to create seamless rounds.
- Color Changes: Transition between colors using a clean slip stitch method, securing the yarn tightly.
- Weaving in Ends: Secure loose yarn tails by threading them through stitches using a darning needle.

Pattern Instructions
Step 1: Create Foundation Chain
- Start with a slip knot:
- Place the yarn on your fingers as demonstrated in the transcription (wrap around two fingers). Secure by pulling the tail through the loop and inserting your hook into the loop.
- Chain desired length (half of head circumference):
- Example: For a 54 cm circumference, chain until length when stretched equals 27 cm.
- Remember to stretch your chain while measuring, ensuring proper fit.
- Add 2 more chains:
- These extra chains provide the height for the first row of double crochets.
Step 2: Begin First Round (Double Crochet Across)
- Start double crochet in the third chain from the hook:
- Yarn over and insert your hook into the third chain, under the loop.
- Pull up a loop, yarn over, pull through the first two loops, yarn over again, and pull through the remaining two loops.
- Place 1 dc in each chain across the foundation chain.
- At the end of the chain: Work 3 dc into the last chain space to allow transition to working along the opposite side of the foundation chain.
- Turn your work and repeat 1 dc into each chain along the opposite side of the chain.
- Join to the first stitch:
- Insert your hook into the first double crochet, yarn over, and pull through both the stitch and loop on your hook (sl st).
Step 3: Round Two
- Chain 2:
- Provides height for the round, but does not count as a stitch.
- Place 1 dc into each stitch around following the same method as before.
- Join:
- Use a slip stitch to join the last stitch of the round to the top of the first dc.
Step 4: Color Changes (Optional)
- To change colors:
- Insert your hook into the first stitch.
- Place the new color yarn on your hook and pull through the stitch and loop (sl st).
- Pull the original color to tighten the join.
- Proceed with chaining 2 to begin the next round.

Step 5: Repeat Rounds (Expand Beanie Length)
- Repeat Round Two for the desired length of your beanie.
- Example: Complete 18 rounds for a longer beanie with a fold-up brim.
- For shorter beanies, reduce the number of rounds.
- Try on the beanie periodically to adjust the length as needed.

Step 6: Finishing
- End the last round:
- Slip stitch into the first stitch of the round.
- Chain 1 and pull up a large loop of yarn. Cut the loop, leaving a tail, and pull tightly to secure it into a knot.
- Weave in ends:
- Use a darning needle to thread the tail into the stitches on the inside of the beanie.
- Ensure tails are hidden securely and do not affect the stretch of the beanie.


Customization Suggestions
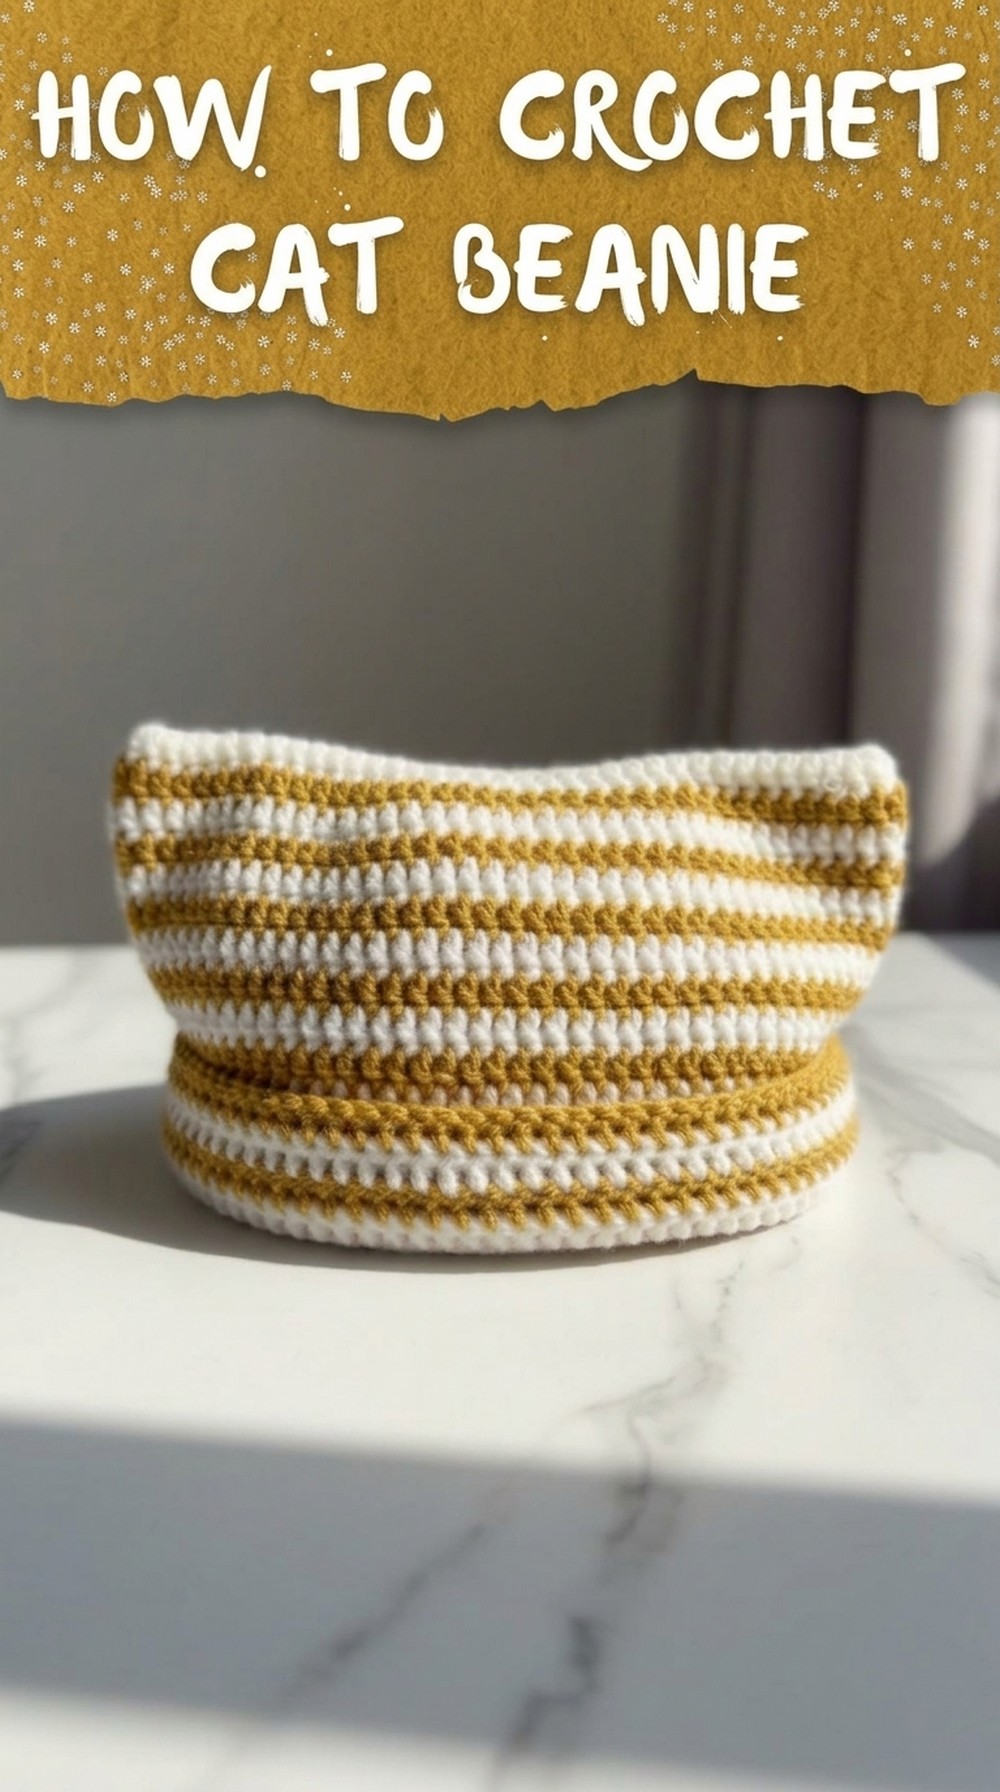
- Color Variety: Alternate between multiple colors for the rounds to create stripes in your beanie.
- Different Yarn Types: Use chunky yarn for a thicker effect or experiment with variegated yarns for unique patterns.
- Folded Brim: Add more rows to create a foldable brim at the bottom for a stylish look.
- Sizing: Adjust the foundation chain and number of rounds for children or larger adult sizes.
Tips for Success
- Mark Your Starting Stitch: Use a stitch marker to mark the first stitch of each round for easier tracking.
- Count Your Stitches: Ensure the stitch count remains consistent for each round to avoid uneven edges.
- Stretch Foundation Chain During Measurement: Prevent size miscalculations by stretching the chain while measuring.
Final Words
Congratulations on completing your Cat Beanie! This project is beginner-friendly yet rewarding, offering room for creativity with colors and yarn types. Its rectangular construction makes it stylish and modern, and the fold-up brim adds charm to the piece.