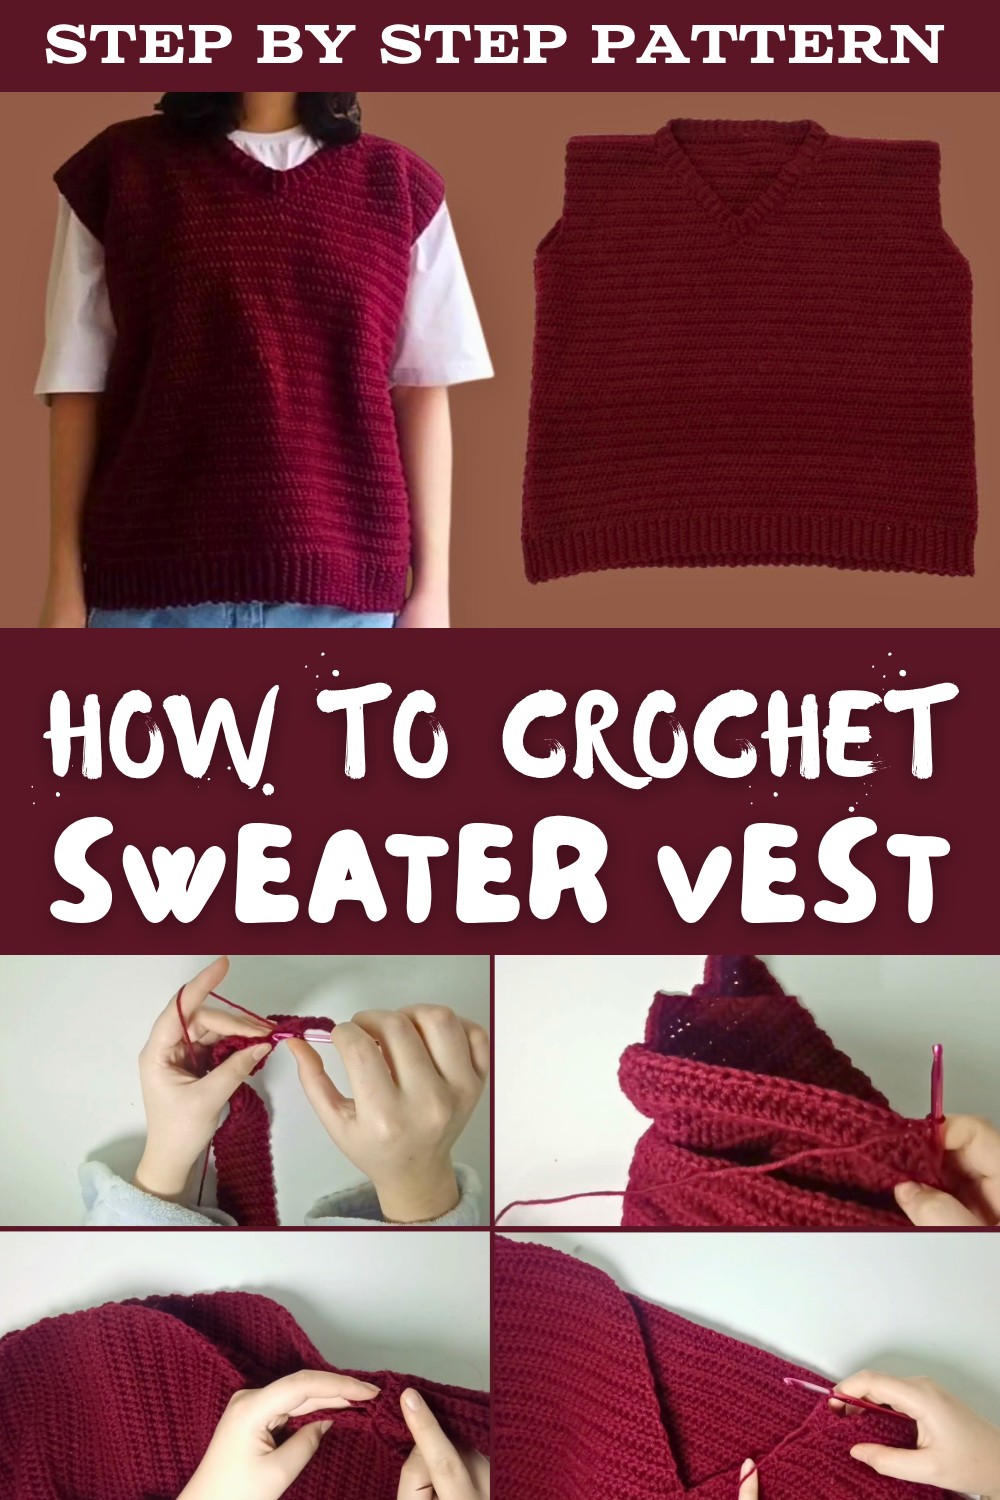
Easy & Free Crochet Sweater Vest Pattern You'll Love to Make
Enjoy making a cozy and cute sweater vest that's simple to crochet and adds a splash of fun and style to your outfits all year round.
This soft and stylish handmade vest serves as a warm yet lightweight layer, perfect for any season. It can be worn over a shirt or t-shirt, offering comfort while maintaining a neat appearance. The free crochet sweater vest pattern provides simple stitches and clear, easy-to-follow steps for creating this chic piece. With a smooth front and back, along with clean edges around the neck and armholes, the vest has a tidy and modern look.
Free Crochet Sweater Vest Pattern Perfect for All Seasons
The length is customizable, allowing it to sit at the waist or fall a bit lower for added coverage. You can choose to crochet it in a calm, single color for a minimalist vibe or in bright stripes to suit your mood and outfit. This versatile vest pairs effortlessly with jeans, skirts, or dresses, making it perfect for school, work, home, or casual outings.
It's a low-cost, handmade garment that showcases personal style while offering a calming and enjoyable crafting experience. The finished vest is truly special-a unique, thoughtful piece to wear proudly or gift to someone you care about.
Crocheted Sweater Vest (Trendy Ribbed Sweater)
Skill Level
Intermediate (Some shaping, sewing, and working in rows and rounds.)
Materials
- Yarn: Approximately 350g (8 ply/Double Knit recommended, but any suitable yarn may be used.)
- Hook: 4.5 mm crochet hook
- Darning needle (for sewing and weaving in ends)
- Scissors
- Stitch marker (optional)
Key Abbreviations - US Crochet Terms
| Abbreviation | Description |
|---|---|
| ch | chain |
| sl st | slip stitch |
| sc | single crochet |
| hdc | half double crochet |
| hdc dec | half double crochet decrease |
| BLO | back loop only |
| FLO | front loop only |
| st(s) | stitch(es) |
| RS | right side |
Special Notes
- The ribbing sections are made using single crochet worked through the back loop only for elasticity.
- The body is shaped using half double crochet and decrease techniques.
- Front and back panels are joined with a tapestry/darning needle for neat seams.
- All shaping is explained in rows; customize sizing by adjusting row/chain counts.
- Pattern is worked flat and then sewn.

Pattern Instructions
Step 1: Bottom Ribbing
With 4.5 mm hook and desired yarn:
- Make a slip knot.
- Ch 10 (If a longer ribbing is desired, chain more.)
- This will make your ribbing approximately 5 cm wide.
- Row 1:
- Skip the first chain, sc in the second chain from hook and in each chain across. (9 sc)
- Turn.
- Row 2:
- Ch 1, sc BLO in each stitch across. (9 sc)
- Turn.
- Rows 3-86:
- Repeat Row 2 (Ch 1, sc BLO in each st, turn).
- Each row is counted as a stitch for your sweater width.
- After 86 rows, your ribbing should measure approximately 60 cm. Adjust row count for desired fit.

Step 2: Body Panel (Front)
- Ch 1, turn.
- Row 1 (Body setup):
- Work 1 hdc in the top of each row of the ribbing (i.e., along the long edge).
- You should have the same number of stitches as rows in ribbing (e.g., 86 hdc).
- Turn.
- Rows 2-40:
- Ch 1, hdc in each st across, turn.
- Repeat for a total of 40 rows.

Step 3: Shaping the Armhole and V-Neck
Row 41 (Armhole and Neckline Start):
- Begin and end the row with hdc dec (half double crochet decrease):
- hdc dec at first two st, hdc across to last two st, hdc dec in last two st.
- Turn.
Row 42:
- Repeat as Row 41:
- hdc dec at both ends.
- Turn.

Row 43 (Divide for V-Neck & Armholes):
- Begin with hdc dec.
- hdc across to the middle st.
- Divide stitches into two halves (for 86 sts minus 4 decreased, now 82 sts. Split into 41 per side).
- End half with hdc dec.
Fasten off.
- Repeat for the second shoulder (attach yarn at the middle, mirror decreases).
Step 4: V-Neck Shaping
For each shoulder (Rows 46-60):
- Ch 1, turn.
- hdc dec at neck edge only (do not decrease at armhole).
- hdc across remaining st.
- Continue until Row 60.

Fasten off with a long tail for sewing.
Step 5: Back Panel
- Repeat all steps for the front panel, EXCEPT for the neckline shaping:
- Do not decrease for v-neck; shape only armholes as above.
- After armhole decreases (Rows 41-45), continue in hdc for Rows 46-60.
Fasten off.
Step 6: Assembly - Joining Panels
Shoulder Seams:
- Use a darning needle and long tails to sew front to back panels at shoulders, matching stitch for stitch.
Side Seams:
- Repeat with darning needle, starting from ribbing and sewing up to armhole. Match stitches for neat finish.
Fasten off and weave in all ends.
Step 7: Neckline Ribbing
- Flip sweater to RS.
- Attach yarn at any neckline point.
- Ch 5 (for ribbing depth; make longer if desired).
- Row 1:
- Skip first ch, sc in next 4 ch.
- Sl st into next 2 neckline sts (attach ribbing to neckline).
- Row 2:
- Ch 1, turn.
- Skip 2 sl sts, sc BLO in each ribbing st.
- Sl st into next 2 neckline sts.
- Repeat Row 2 all around neckline.
Fasten off with a long tail.
- Use darning needle to sew ends of ribbing together.

Weave in remaining tails and finish.
Conclusion
You have now finished a modern, fitted S-Weist Sweater with ribbed bottom and neck details. Perfect for layering or as a stand-alone piece, this pattern balances warmth and style.
Pattern Correction and Tips
- Correction: For proper fit, always adjust row counts and ribbing chain length as needed to match your body and yarn gauge.
- Tip: Use stitch markers to keep track of shaping rows, especially for neckline and armhole decreases.
- Tip: Count stitches carefully after decrease rows to ensure symmetry.
- Tip: Block finished panels for easier seaming and a professional look.
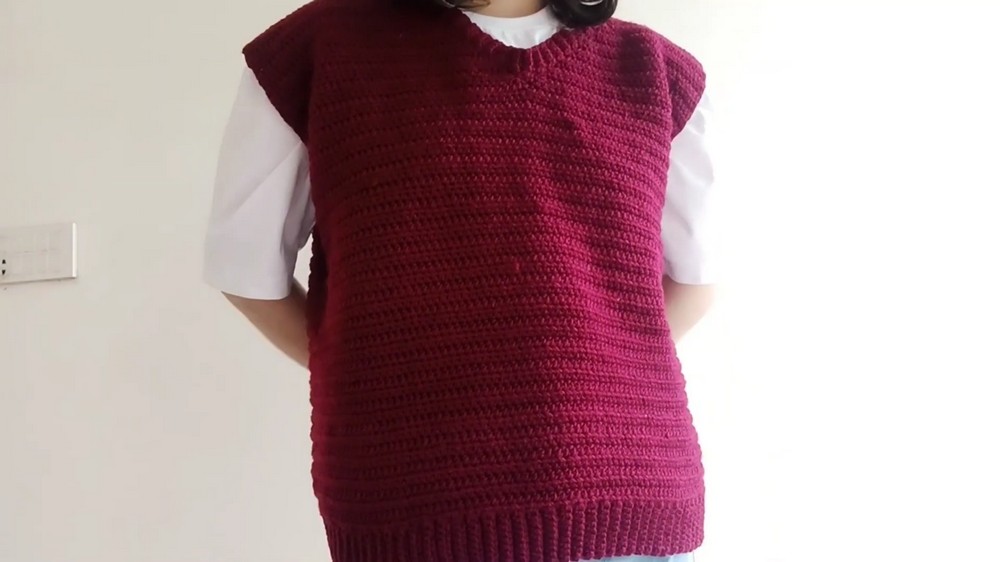
Final Look
Your sweater should feature vertical ribbing along the waist, neat decreases at armholes and neckline, and a stretchy neckline ribbing for comfort and style.