
Free Crochet Granny Bag Pattern: Simple & Beautiful Design
Learn how to make a simple and colorful granny bag that is perfect for carrying your daily essentials while adding a beautiful handmade touch to your day.
Carrying a bag that is both beautiful and practical, designed to meet your everyday needs while adding a touch of handmade charm. This crochet granny bag is simple yet stylish, with its unique square pattern and colorful design that catches the eye. It is roomy enough to store your essentials like books, groceries, or even your crafting supplies. Its lightweight material and cozy feel make it easy to carry and perfect for casual outings or trips to the market.
Free Crochet Granny Bag with a Vintage Touch
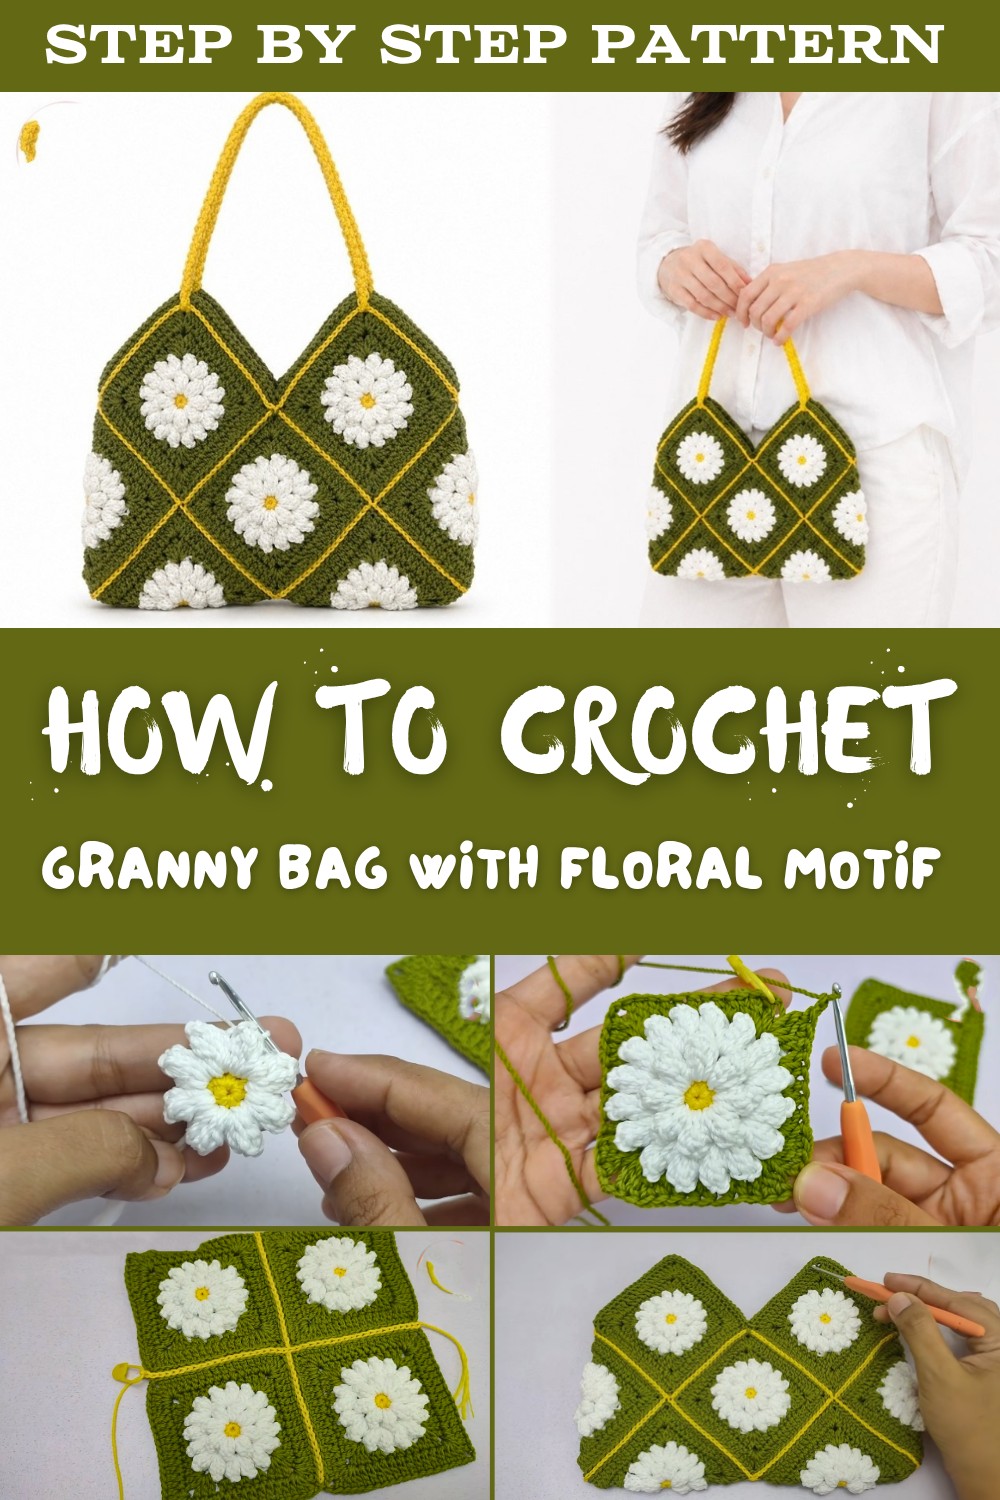
The granny bag stands out because of its creative look and vintage vibe, which never goes out of fashion. The colorful squares that make up the design can be customized to match your favorite shades, turning it into a personalized accessory that fits your style.
Making this bag is fun and rewarding. The pattern uses basic crochet techniques, so even beginners can enjoy creating it step by step. You'll learn to join small squares together to form the bag's shape, giving it strong edges and a soft texture. This thoughtful project brings together beauty and usefulness, making it a perfect addition to your collection or an amazing handmade gift for someone special.

Granny Square Floral Motif Bag - Step-by-Step Pattern
Materials
- Yarn: Worsted weight or DK cotton/acrylic in:
- Yellow (flower center & decorative detail, ~small amount)
- Natural White (flower petals, ~small amount)
- Army Green (background & edging, sufficient for seaming and border)
- Crochet hook: 4.0 mm (G-6) or size to obtain gauge and a consistent, firm fabric
- Tapestry needle: for sewing pieces and weaving in ends
- Removable stitch markers (optional)
- Scissors
- Bag lining, charm, or fabric (optional)
- Romanian Cord handle (crocheted or purchased, about 25 cm/10 inches)
- Blocking tools: Board, pins, spray bottle (optional)
Gauge
- Each finished granny square: 9 x 9 cm (3.5 x 3.5 inches) after blocking.
- Gauge is not critical but will affect the overall bag size.
Finished Size
- Bag panel (before seaming): Approximately 18 x 27 cm (7 x 10.5 inches), not counting border or handle.
Key Abbreviations (US Crochet Terms)
- MR: Magic ring
- sc: single crochet
- dc: double crochet
- hdc: half double crochet
- sl st: slip stitch
- ch: chain
- pc: popcorn stitch
- st(s): stitch(es)
Special Techniques
- Popcorn stitch: Work 5 dc into the specified stitch. Remove your hook, insert it into the first dc of the group, grab the loop you dropped and pull through (or, sl st to close).
- Standing dc: Start a new color with a slipknot on hook, yarn over, insert into st, pull up loop, and complete a dc as usual.
- Romanian Cord (for handle): Sturdy, decorative crochet cord. Many tutorials available online.
Instructions
A. Granny Square With Raised Flower Motif
Round 1: Center (Yellow)
- Begin with a magic ring (MR).
- Work 8 sc into the ring.
- Sl st to first sc to close the round.
- Pull magic ring tail to tighten center.
- Fasten off yellow and weave in end.
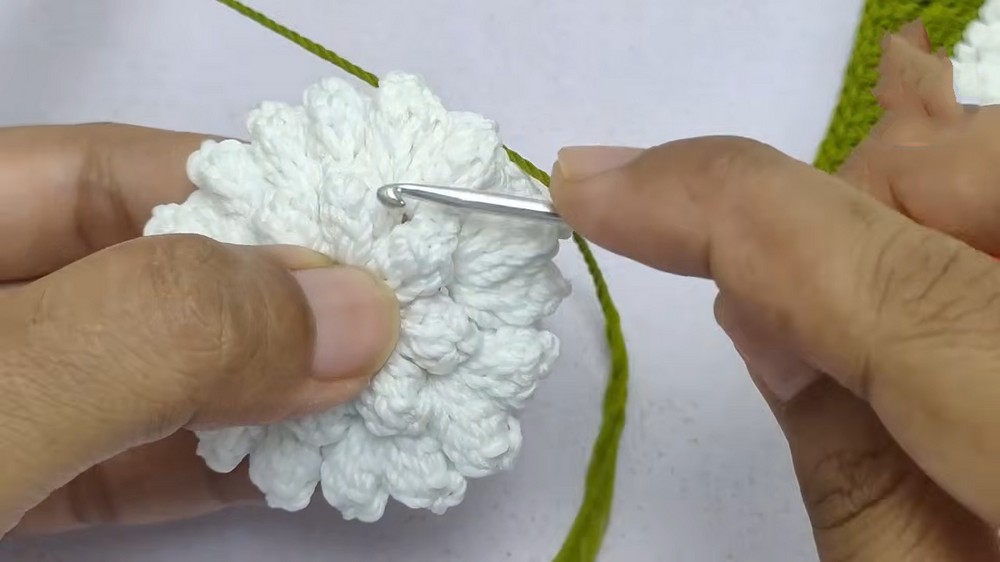
Round 2: Flower Petals Base (Natural White)
- Join natural white in any sc with a standing dc (or ch 3 = dc).
- In the same st: 4 more dc (total 5 dc in one st).
- Remove hook, insert into first dc (front to back), pick up working loop, pull through to close as popcorn. This is Popcorn Stitch (pc).
- Ch 2 (forms petal spacing).
- Repeat [pc, ch 2] in each sc around (8 popcorn petals in total).
- Sl st to first popcorn to close.
- Do not fasten off.

Round 3: Second Petal Layer (Natural White Continues)
- Sl st to nearest ch-2 space.
- Ch 3 (counts as 1 dc), then 4 dc in same ch-2 space, make popcorn (as above).
- Ch 2.
- In same ch-2 space, 5 dc, make popcorn, ch 2 (2 popcorns in corner).
- Repeat [2 popc, ch 2] in each ch-2 space around (total 16 popcorns now).
- Sl st to first popcorn to close.
- Fasten off and weave in ends.
Round 4: Background/Start Square (Army Green)
- Join army green in a ch-2 space at the "straight side" (between second round petals):
- Standing dc, dc in same sp, dc in same sp (3 dc).
- Next 3 ch-2 sps: [2 hdc in each] (makes the square's sides).
- In fourth ch-2 space (corner): [3 dc, ch 2, 3 dc] (forms square corner).
- Repeat pattern around: Each side-3 dc, three sets of 2 hdc, then a corner [3 dc, ch 2, 3 dc].
- Continue until you have a 4-sided square, ending with 1 hdc in remaining space (to even side count if needed).
- Sl st to first dc to close.
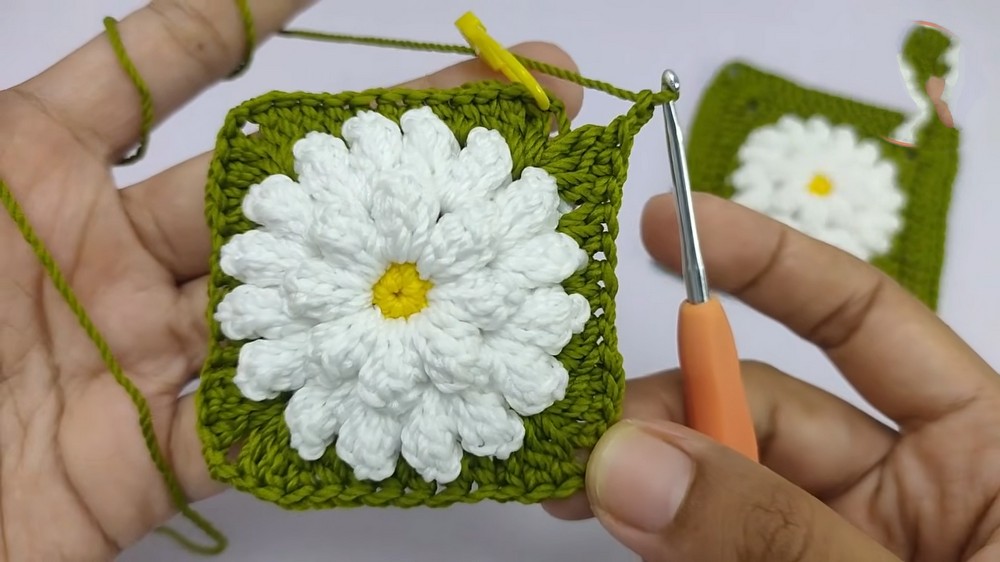
Round 5: Square Edging (Army Green)
- Ch 3 (counts as 1 dc), dc in next 2 sts (for a total of 3 dc at start of side).
- *Dc in each st along the side (should be 12 dc per side before corner).
- At corner ch-2 sp: [3 dc, ch 2, 3 dc].
- Repeat [dc in each st] and [corner: 3 dc, ch 2, 3 dc] around for all sides.
- Sl st to first dc to close.
- Fasten off and weave in ends.
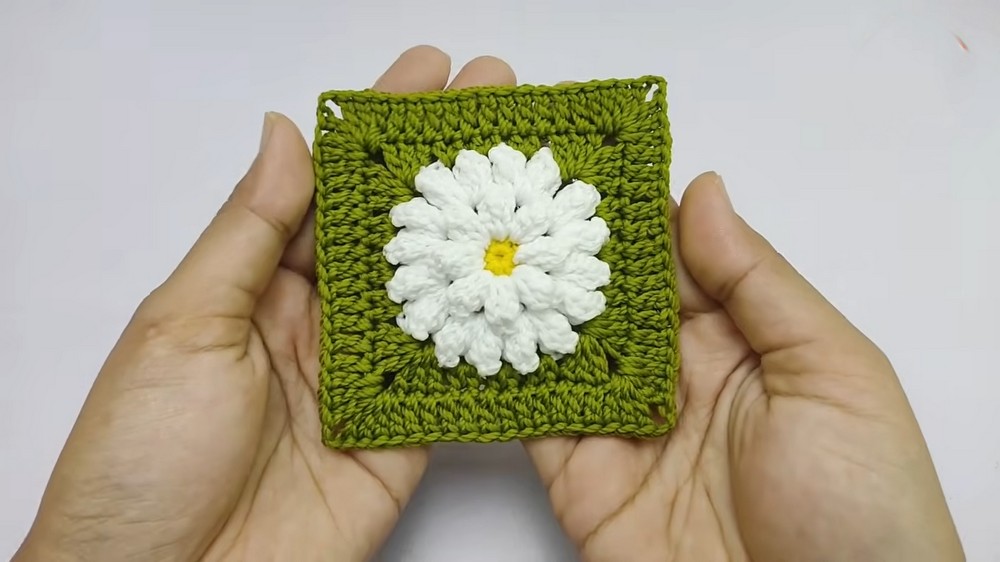
B. Make 10 Granny Squares
- Repeat the granny square instructions above ten times.
- Block each square to 9 x 9 cm (3.5 x 3.5 in) using pins and a spray bottle for crisp edges and easy seaming.

C. Layout & Seaming
Recommended Layout (from video):
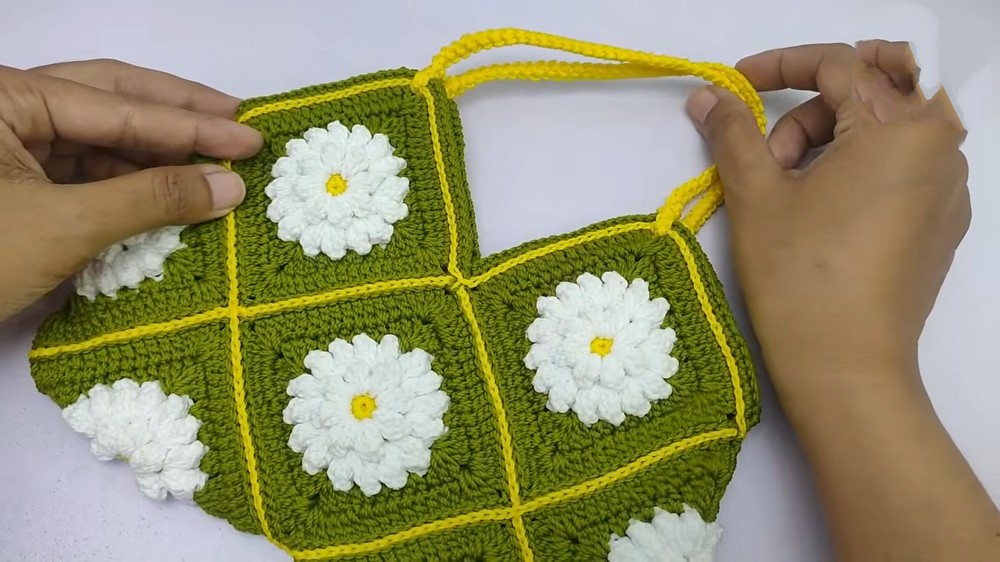
- Arrange squares in a 2-3-2-1-2 formation as shown.
Seaming (Slip Stitch Seam)
- With yellow yarn, hold two squares right sides facing out.
- Insert hook into the outer loop only of the corner ch of both squares.
- Sl st through both squares to join.
- Continue along all corresponding edges, joining the outside loops only with slip st for a flat, decorative seam.
- When a side is complete, fasten off, chain to secure, and cut yarn.
- Seam in all directions until your bag's panel is assembled according to your chosen layout.
- Fold your work along indicated lines and seam remaining unjoined sides (edges only).

D. Bag Border
Step 1: Green Single Crochet Edging
- Attach army green to the outer edge, beginning at a corner.
- Work 1 sc in each st along the edge, with 3 sc in each corner to keep edge flat.
- On each side: 18 sc, 3 sc in corner; continue around entire opening.
- Sl st to first sc to finish the round.
- Fasten off and weave in ends.
Step 2: Yellow Decorative Slip Stitch Row
- Join yellow yarn in any dc edge stitch (already covered with sc in previous step).
- [Sl st, ch 2, sl st] at top edge to create chain-like decorative effect.
- At every corner, sl st once.
- Sl st in each dc along all sides.
- Join and finish row. Secure and weave in ends.

E. Bag Handle (Romanian Cord)
- Crochet or sew a 25 cm (10 in) Romanian Cord (search tutorials online if needed).
- Thread the cord through holes at the top edges.
- Ensure it is not twisted, secure by sewing the ends together inside the bag for a sturdy handle.
F. Finishing
- If desired, add a fabric lining for durability: sew a simple rectangle and hand-stitch inside bag.
- Add a magnetic clasp or snap for closure.
- Optionally attach a bag charm for personalized touch.
- Block the entire bag again for a crisp finish.
Tips and Customization Ideas
- Color choices: Use contrasting center, petal, and background colors for dramatic effect.
- Size: For a larger bag, use a thicker yarn and correspondingly larger hook, or increase the number of granny squares.
- Handles: Use purchased handles, braided yarn, or a crocheted chain as alternatives.
- Seaming: Try invisible seaming or visible decorative whipstitch for different looks.
- Embroidery: Add beads or embroidery to granny flower centers for extra flair.
Conclusion & Final Remarks
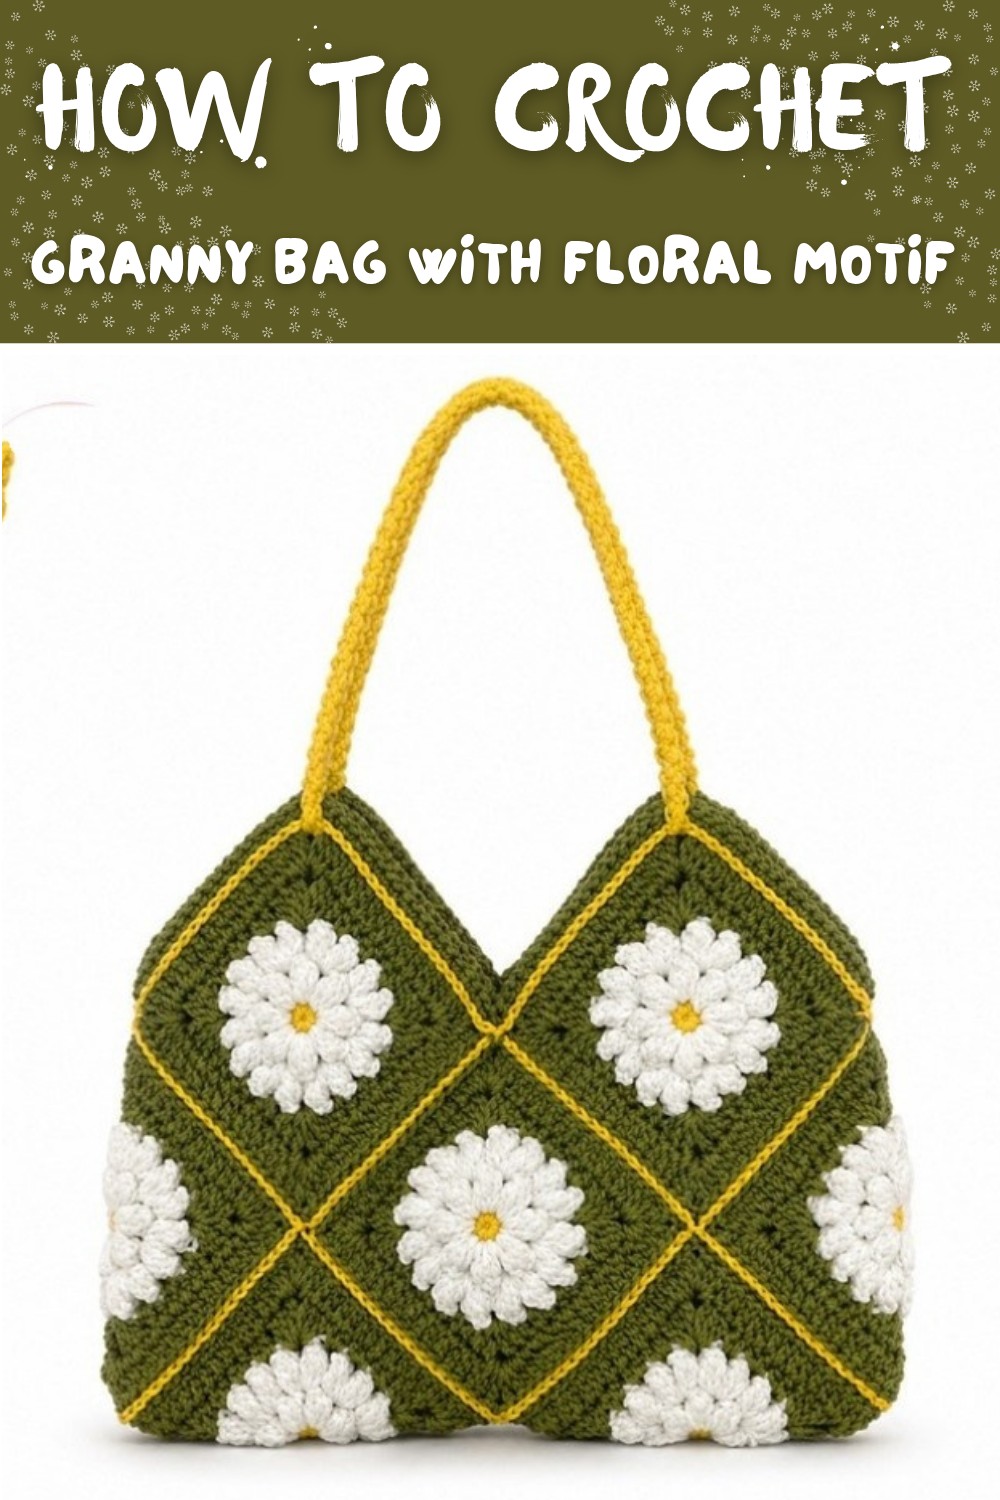
This floral granny square bag is a sophisticated project, blending classic techniques with a contemporary raised-motif look. When assembled, the bag shows off detailed 3D flowers with an elegant chain-seamed structure, a crisp border, and a sturdy handle.