
Bright Free Crochet Rose Keychain Pattern for Stylish Bags
Catch a blooming red treasure with this free crochet rose keychain pattern that lets you make a soft and beautiful rose perfect for any bag or keys.
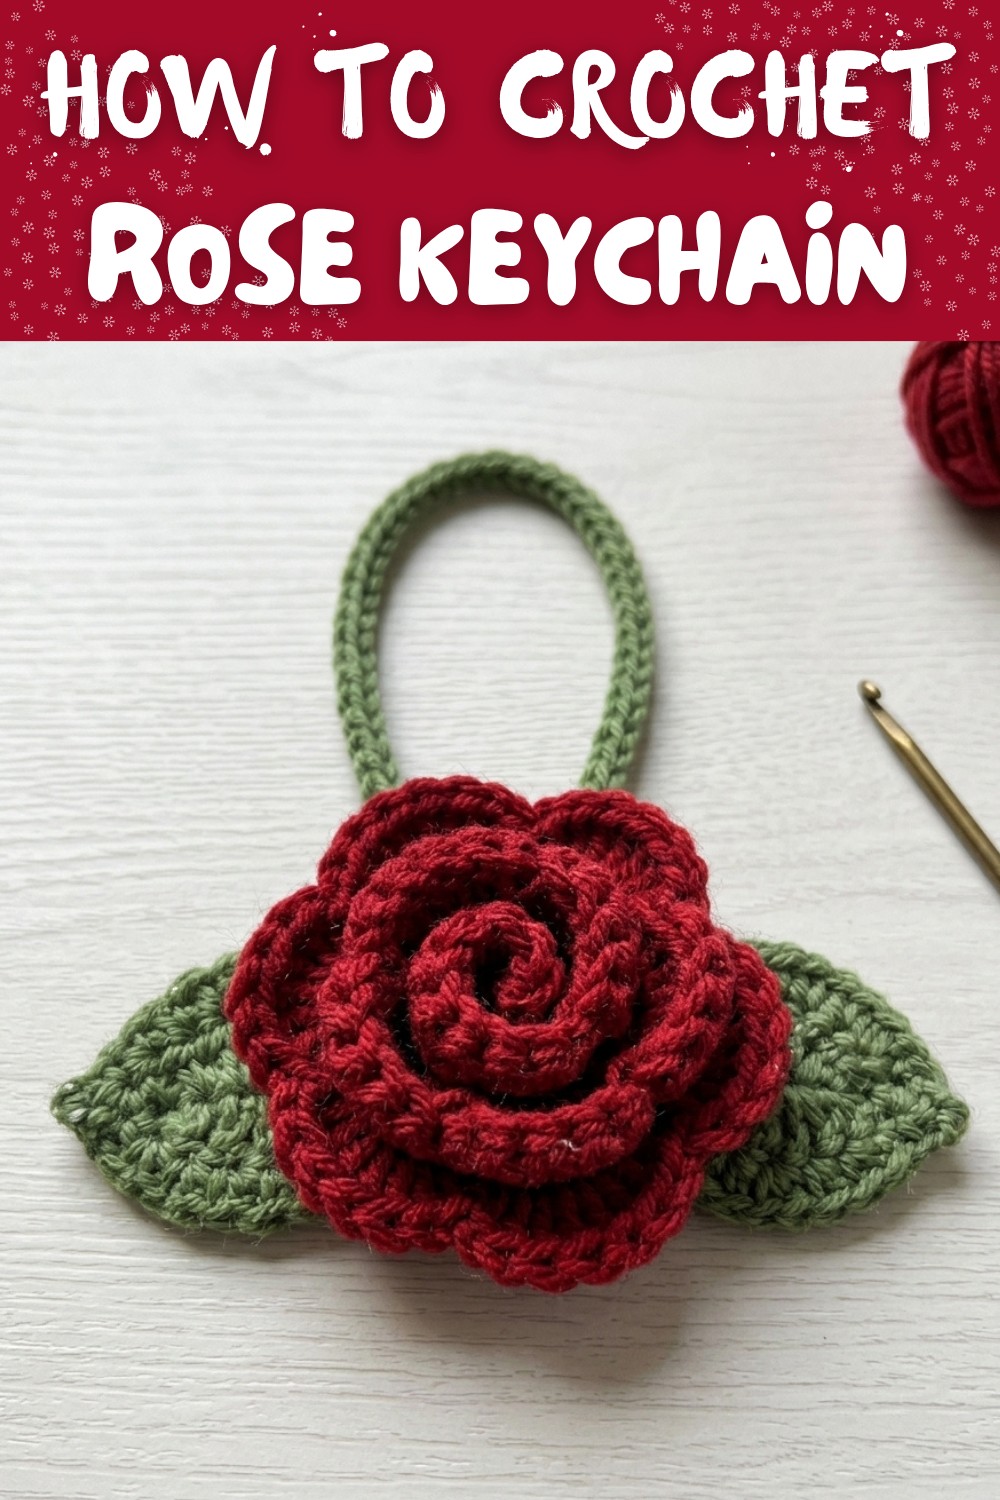
Having a tiny flower hanging from your bag brings a touch of beauty to your everyday life. With this Crochet Rose Keychain Pattern, you can make a small, bright rose using simple yarn and enjoy carrying it everywhere. The rose has soft, rolled up petals that form a thick and pretty shape, making it feel wonderful to hold. Its bright red color and elegant design will catch everyone's eye, looking just like something you would find in a fancy store.
Brighten Any Keyring with This Free Rose Keychain Pattern
This rose isn't just beautiful-it's practical too. Hanging it on your keys or backpack makes them easier to spot and adds personality to your belongings. You can finish this project quickly and even try making roses in fun colors like pink, yellow, or purple. It's lightweight and sturdy, so you can carry it around all day without worrying about it losing its charm.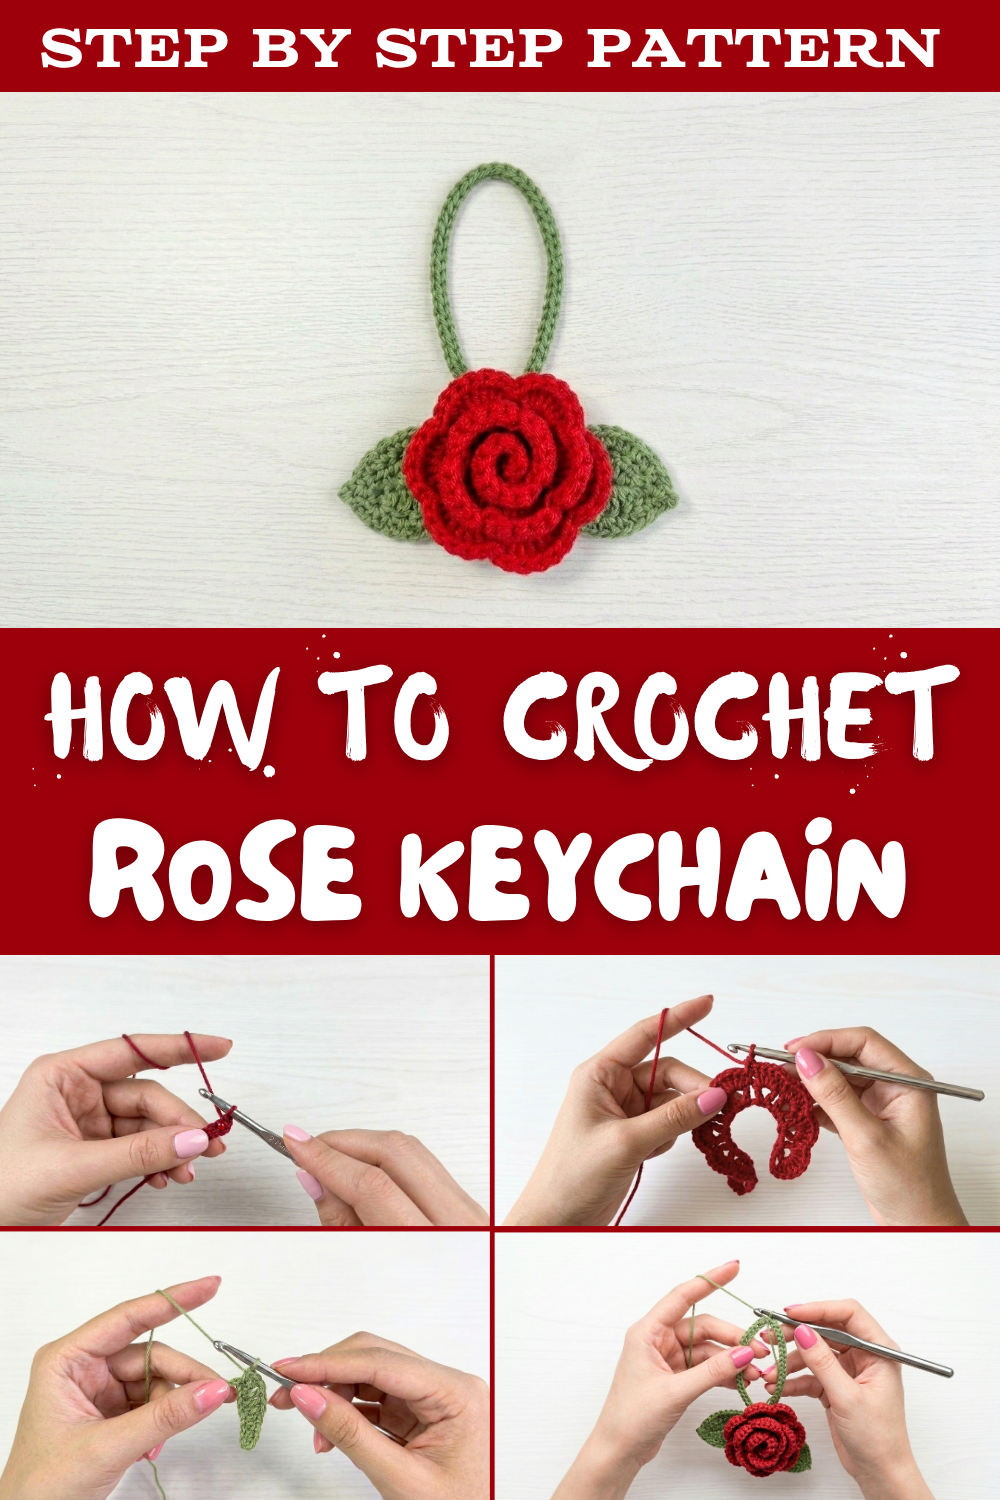
This small flower will bring a smile to your face every time you use it. It's a perfect way to show off your style and brighten up your day. Carrying this charming rose is sure to make your keys look amazing and add a cheerful touch to your backpack.
Crochet Rose Keychain Pattern
Materials Needed
- Yarn:
- Red: For the rose.
- Green: For the leaves.
- Optional: Brown or beige for additional decoration (stem or filler element).
- Crochet Hook:
- Use an appropriate crochet hook size based on the yarn's thickness (commonly a 3.0mm-4.0mm hook for medium/worsted weight yarn).
- Keychain Ring:
- A simple metal ring to attach the completed rose.
- Scissors: For trimming yarn ends.
- Tapestry Needle: To sew in ends and assemble the pieces.
- Glue or Jump Ring (optional): For attaching the crochet rose securely to the keychain ring.
Step by Step Guide
Section 1: Creating the Rose
- Foundation Chain:
- Start by chaining 40 chains.
- If you want a larger or smaller rose, adjust the chain length by increments of 10.
- Row 1: Single Crochet Base
- In the second chain from the hook, make 1 single crochet (sc).
- Continue single crocheting into every chain across. This forms a sturdy base for the rose petals.
- Row 2: Building the Petals
- Begin by chaining 3 (counts as the first double crochet).
- Skip the next stitch and make 3 double crochets (dc) in the following stitch.
- Skip one stitch, then in the next stitch make 1 slip stitch (sl st).
- Repeat this sequence (ch 3, skip 1 st, 3 dcs, skip 1 st, sl st) across the row to form petal clusters.
- Row 3: Adding Texture
- Go back to the start of the petal row and work alternating half double crochets (hdc) or picot stitches along the edges of each petal for added texture.
- Rolling the Rose:
- Once the petals are complete, gently roll the strip into a spiral shape to create the rose.
- Start at one end and roll tightly for a small, compact rose or loosely for a fuller rose.
- Use a tapestry needle and matching yarn to secure the rose base by sewing through layers from the back.


Section 2: Creating the Leaves
- Foundation Chain:
- Use green yarn and chain 8 stitches.
- Row 1: Leaf Shape
- In the second chain from the hook:
- Work 1 single crochet (sc), 1 half double crochet (hdc), 1 double crochet (dc), then 1 hdc.
- Continue by working 1 sc into the next stitch.
- For symmetry, repeat the same stitch pattern backwards on the other side of the chain: hdc, dc, hdc, sc.
- End with a slip stitch (sl st) into the foundation chain.
- In the second chain from the hook:
- Make 2 or 3 leaves for a more decorative keychain.

Section 3: Assembly
- Attach the Leaves:
- Using a tapestry needle and green yarn, sew the leaves to the back of the rose.
- Position them symmetrically for balance.
- Attach to Keychain Ring:
- Use a jump ring or stitch the rose securely to the keychain ring.
- Thread the ring through the back of the rose or sew it on with strong yarn to ensure it's firmly attached.
- Optional Stem or Decoration:
- If desired, crochet a small chain of green yarn (15-20 stitches) to act as a stem between the rose and the keychain ring.
- Alternatively, add additional embellishments.


Finishing
- Weave in Ends:
- Use a tapestry needle to weave in any loose ends so your rose looks neat and tidy.
- Secure with Glue (Optional):
- If you're worried about durability, consider applying a small amount of fabric glue to the back where the rose is attached to the keychain ring.
- Check for Stability:
- Tug gently on all parts to ensure that the rose keychain is firmly constructed.
Final Words
Congratulations, You've now created a beautiful crochet rose keychain. This makes for a great gift, practical accessory, or even a charming decoration.
Tips to Maintain Your Crochet Rose Keychain
- Cleaning:
- Spot clean gently with a damp cloth if the yarn gets dirty.
- Storage:
- Avoid exposure to moisture or direct sunlight, as it may deform the keychain or fade the colors over time.
- Reinforcement:
- If the keychain starts loosening over time, consider re sewing or applying more glue.
- Personalization:
- Add beads, charms, or embroidered initials to further customize your keychain.