
Your Ultimate Guide to Crochet Magic Ring — Free Pattern
Practice a popular crochet method with this free crochet magic ring pattern that is used in many creative and colorful crochet ideas.
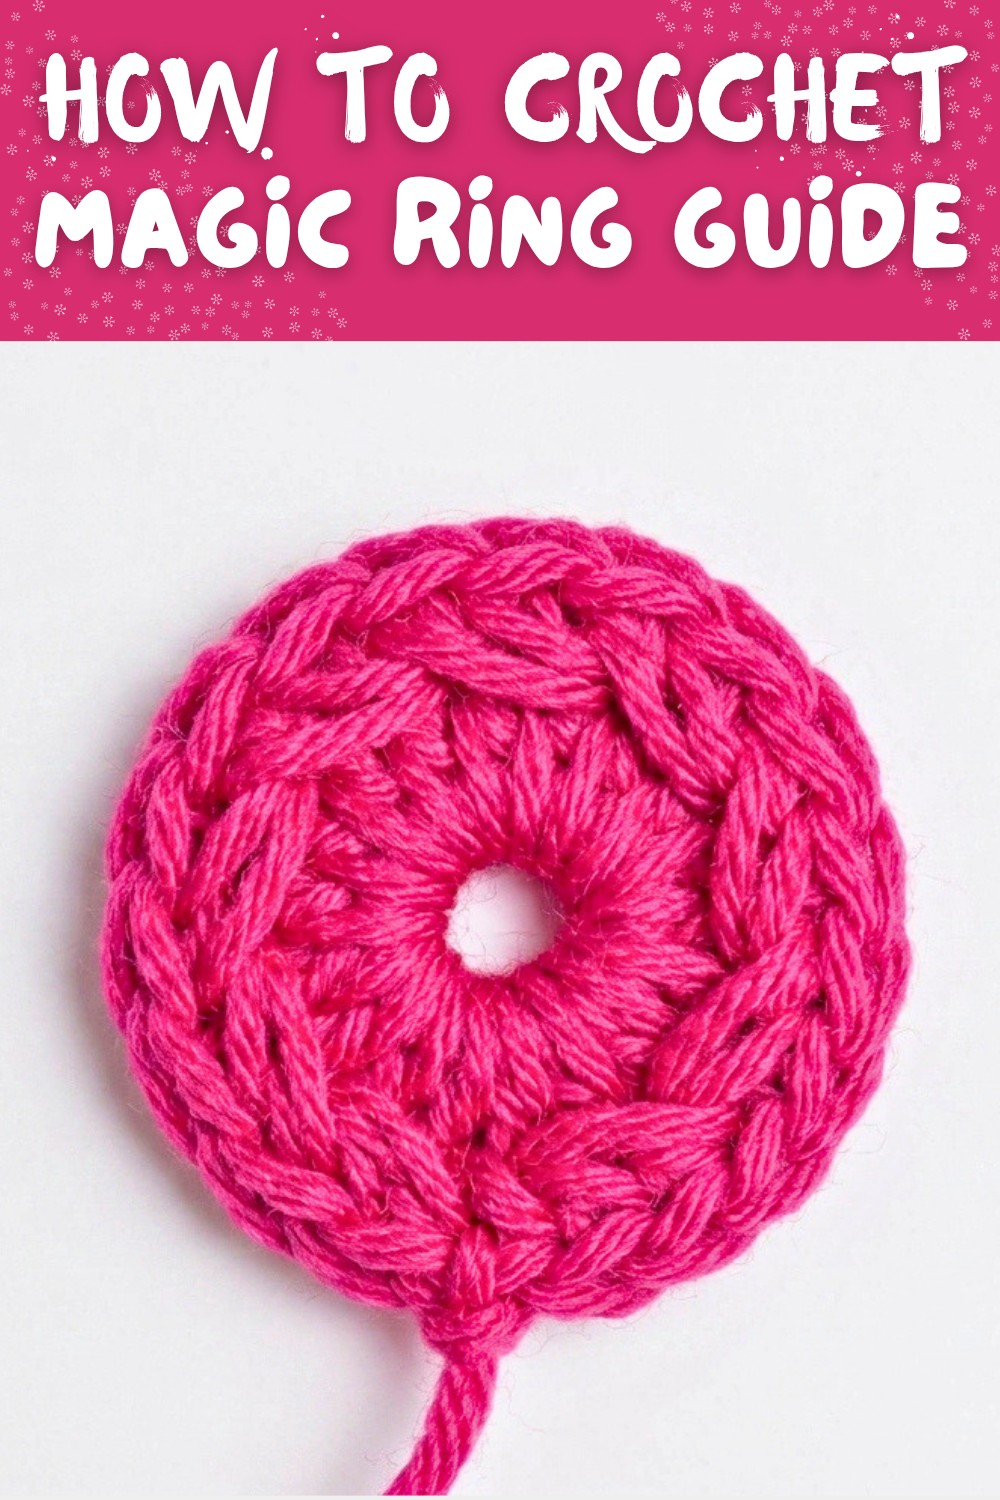
Crocheting might seem tricky at first, but when you learn how to create a magic ring, it becomes much simpler and way more exciting. The magic ring is a special technique in crochet that helps you make a perfect circle. It is like the starting point for making all kinds of fun things. This includes flowers, coasters, cushions, and even cute little dolls called amigurumi. It is super easy to learn, and you can do so much with it.
The magic ring is different because it starts with a loop instead of a chain. This means you can pull the loop closed, leaving no hole in the center of your work. That's why it's perfect for projects like round coasters or the base of crochet bags. It gives your project a clean, professional look that everybody will admire.
Free Crochet Magic Ring Pattern to Kickstart Gorgeous Projects

There are three main ways to make a magic ring: the double loop method, which makes a strong and tight ring; the single loop method, which is easy to adjust; and the chain based method, which works well with delicate or fancy yarns. Each one has its own advantages, and you can choose the one you like best.
Most importantly, the magic ring makes crocheting simple and fun, especially for beginners. You can see your work come to life right from the start. No more knots that don't hold. No more messy starts. Just a neat, secure ring that's ready for your creativity.
If you are just starting to crochet or want your work to look amazing, learning the magic ring is a must. It is your key to making beautiful and exciting crochet creations.
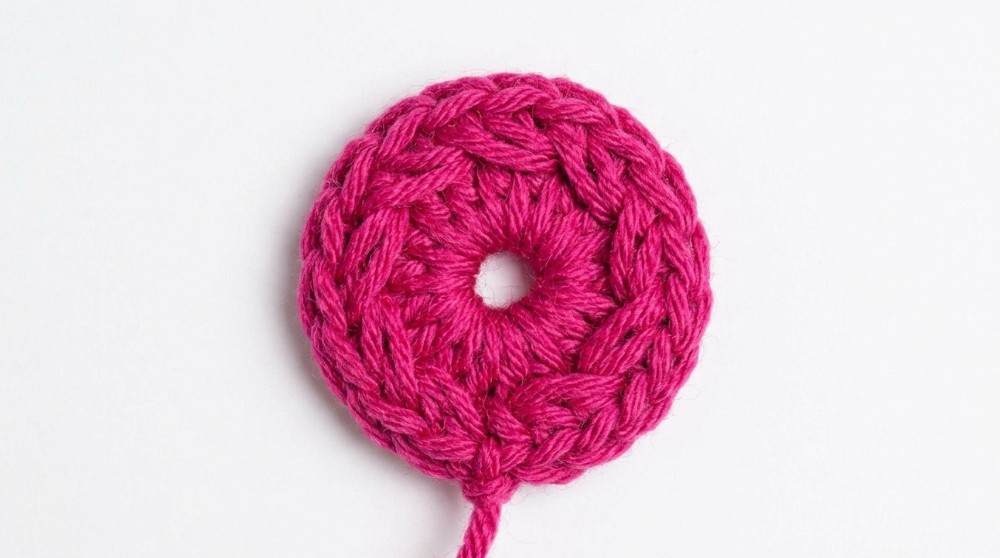
Useful Crochet Magic Ring Pattern
Materials Required
To successfully follow this tutorial, gather the following materials:
- Crochet hook (select the hook size based on your yarn thickness).
- Yarn (choose appropriate yarn for your project, ensuring it's not too stiff or fragile).
- Stitch marker (to keep track of your rounds).
- Scissors (for trimming yarn tails).
- Optional: Circular object for ring based patterns (if required).
Special Techniques Used
- Magic Ring Creation - Three methods (double loop, single loop, chain based).
- Single Crochet (sc) - Basic stitch used for completing the rounds.
- Stitch Marker Placement - Useful for keeping track of the first stitch in every round.
- Tightening and Adjusting the Ring - Ensuring a sturdy base or flexibility.
Step by Step Instructions
1. Double Loop Magic Ring
- Prepare the Yarn:
- Take a yarn tail approximately 10 cm long. Ensure it is not too short.
- Place the yarn tail on your palm and hold it between your thumb and middle finger.
- Create the Loops:
- Wrap the yarn tail around your left index finger.
- Form two loops. Tuck the yarn tail behind your index finger and pinch the loops between your fingers.
- Slip the Loops Off Your Finger:
- Hold all the loops tightly and adjust your grip to leave the center open.
- Insert Hook and Yarn Over:
- Insert your crochet hook into the center of the loops. Yarn over and pull the thread through the center of the loops to form a knot (this knot does not count as a stitch).
- Start Crocheting:
- Make a turning chain first.
- Work the first round of stitches by inserting your hook into the center of the ring. For demonstration purposes, crochet 6 single crochets into the ring. Adjust the ring's size while crocheting to maintain control.
- Mark the First Stitch:
- After the first stitch, place a stitch marker to keep track of the initial stitch in your round.
- Pull and Tighten:
- After completing the first round, pull the strand that tightens the ring to close it. Pull the yarn tail simultaneously to finalize the round.
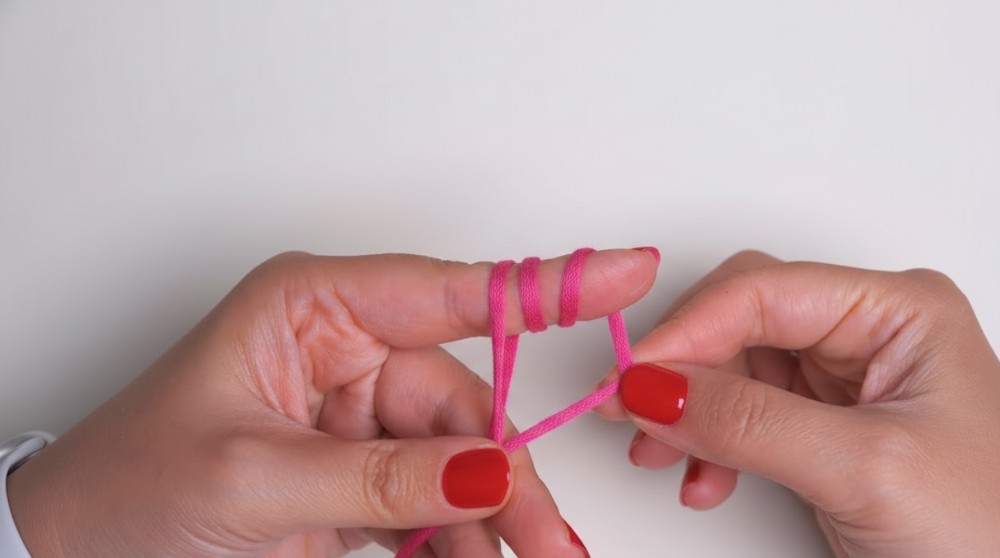
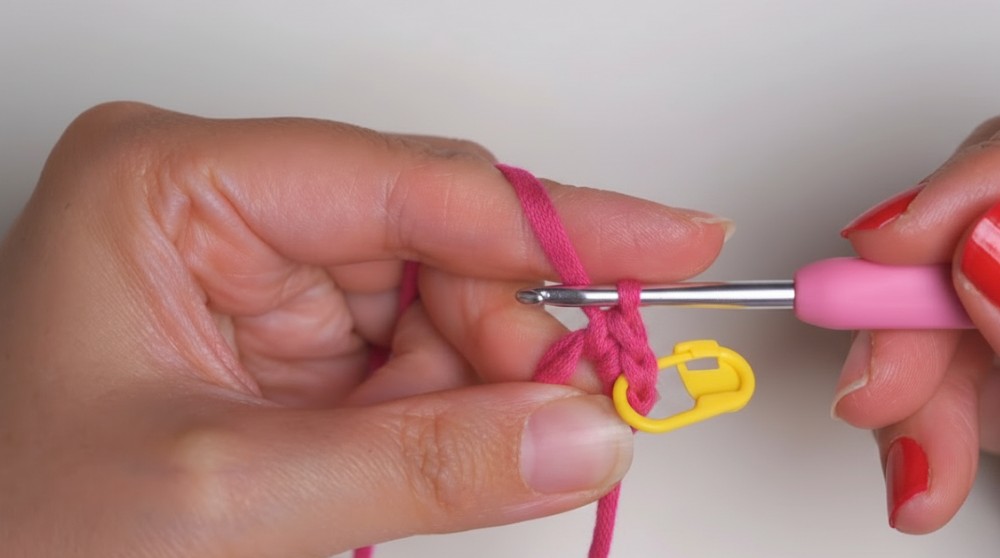
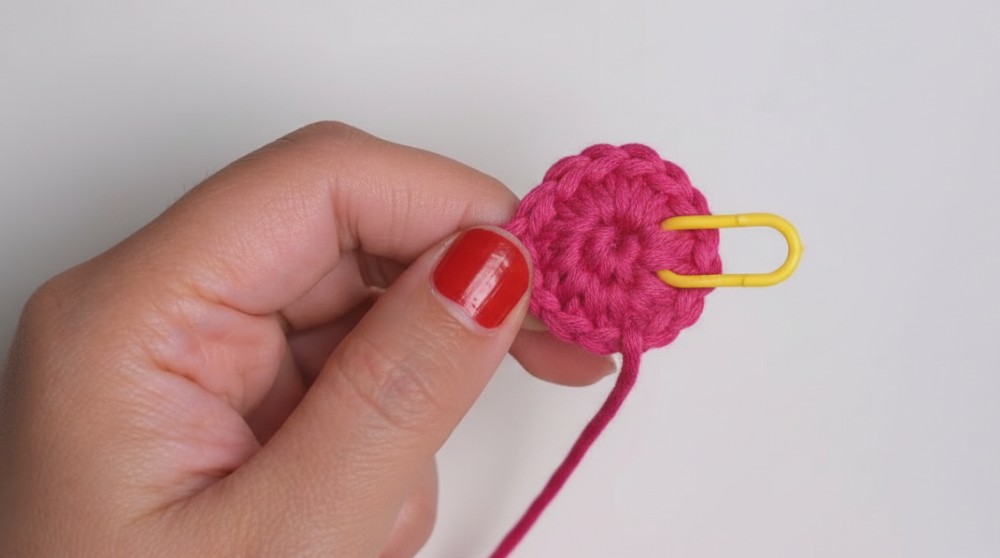
2. Single Loop Magic Ring
- Prepare the Yarn:
- Pull the yarn tail slightly longer than usual.
- Wrap the tail around your middle finger once to form a loop. Hold the cross with your thumb.
- Insert Hook and Yarn Over:
- Insert the hook under the loop, yarn over, and pull the thread through the loop. Yarn over again and pull through the loop.
- Slip the Loop Off:
- Remove the loop from your finger carefully. The single loop magic ring is now formed.
- Crochet the First Round:
- Pinch the yarn tail along with the ring while crocheting.
- Crochet 6 single crochets into the ring, ensuring the stitches enclose both strands.
3. Chain Based Magic Ring
- Start with a Foundation Chain:
- Create a foundation chain. Chain 2.
- Locate the Back Bump:
- Turn the chain to locate the back bump of the first chain from the hook. This serves as the ring for the magic ring.
- Crochet 6 Single Crochets:
- Work 6 single crochets into this back bump loop. This will feel crowded, but persevere to complete the round.

Finishing the Pattern
- Reinforce the Ring:
- For double and single loop rings, tighten the ring using the yarn tail. Ensure the base is sturdy, and trim the excess yarn.
- For chain based rings, trim the yarn carefully, as the center cannot be tightened. Accept the small hole in the center as part of this method.
- Final Touches:
- Evaluate the ring to ensure it matches your project requirements. If creating coasters, amigurumi, or flowers, use the ring as the foundation and work additional rounds as needed.
Tips to Maintain the Pattern
- Keep Stitch Markers Handy: Always mark the first stitch of each round to keep track of your progress.
- Practice the Techniques: For beginners, the single loop magic ring may be easier to master initially. Transition to other methods as you gain confidence.
- Adjust Yarn Tension: Ensure steady tension throughout the process to avoid uneven stitches or loose loops.
- Choose the Right Yarn: Softer yarns work best for standard magic rings, while the chain based method is better for stiff or delicate yarns.
Final Words
This tutorial explored three versatile methods for creating magic rings, a fundamental technique in crochet. Whether you're working on coasters, amigurumi dolls, or textured surfaces, these rings provide a sturdy and flexible base for your project. With a bit of practice, you'll discover which method suits your style and needs best.