Free Crochet Sakura Flower Pattern for Beginners
Bloom beautiful petals with free crochet sakura flower pattern, perfect for decorating accessories home projects or thoughtful spring touches.
A cherry blossom has the power to add a gentle sense of peace and beauty to any space, even when it's made from nothing but yarn. Using a carefully designed crochet sakura flower pattern, anyone can produce a delicate floral accent that is perfect as a hairpin, a bag charm, or a touch of joy on a keychain or desk. With simple step-by-step instructions, the process stays accessible-no advanced techniques or lengthy reading required, just clear guidance and a willingness to try.
Crochet Sakura Blossoms - Free Flower Pattern

One sakura flower, shaped slowly and thoughtfully, becomes a unique decoration that can brighten your day or serve as a heartfelt handmade gift for someone special. This small blossom not only adds color but also warmth and character to everyday life. Bringing it to life offers a quiet, calming pastime that helps the mind relax and hands stay busy at the same time. Whether you keep it for yourself or share it with someone dear, every yarn sakura holds its own special meaning, making your creation treasured and memorable.

Crocheted Cherry Blossom Pattern
Finished Size
- Approximately 3.5-5 cm (1.5-2 inches) in diameter
(Size will vary depending on yarn, hook, and tension.)
Materials
- Yarn: Cotton or acrylic yarn in Turmeric (for petals) and a small amount Pistachio (for stamen)
- Crochet hook: Matching your yarn weight (e.g., 2.5-3.5 mm for fine yarn to 4 mm for DK cotton)
- Tapestry needle: For sewing and weaving in ends
- Scissors
Special Techniques & Abbreviations
- MR: Magic Ring
- CH: Chain
- SL ST: Slip Stitch
- Back Loop Only: Insert hook under only the back loop of a chain
- YO: Yarn Over
- Petal Stitch: This is a mini-Tunisian style stitch as described; see "Petal Stitch Construction"
- Stamen Embroidery: Use tapestry needle to sew stitches for flower center
Written Instructions
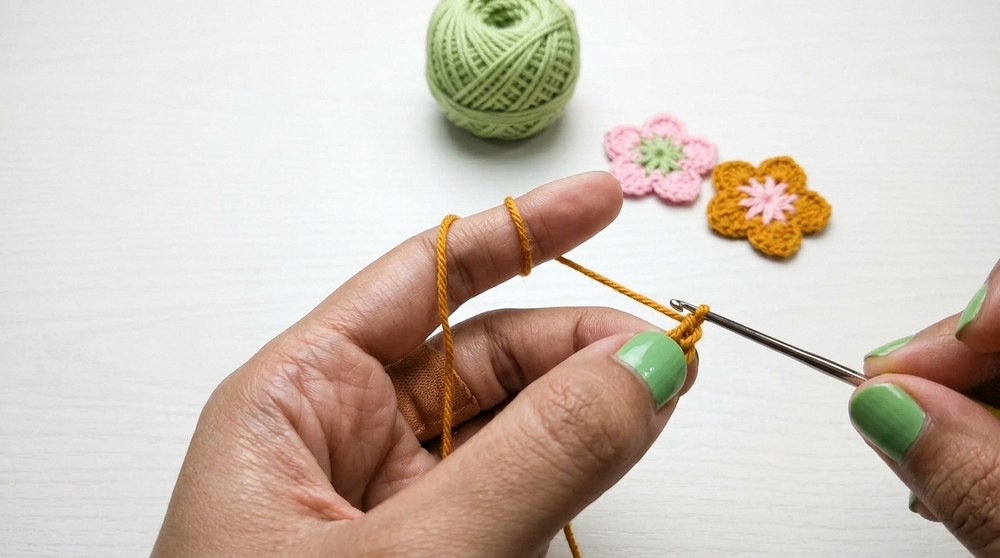
1. Start the Cherry Blossom
- Make a Magic Ring (MR).
- Petal 1:
- CH 4 loosely.
- Tip: Making this chain loose will make it easier to work into the back loops later.
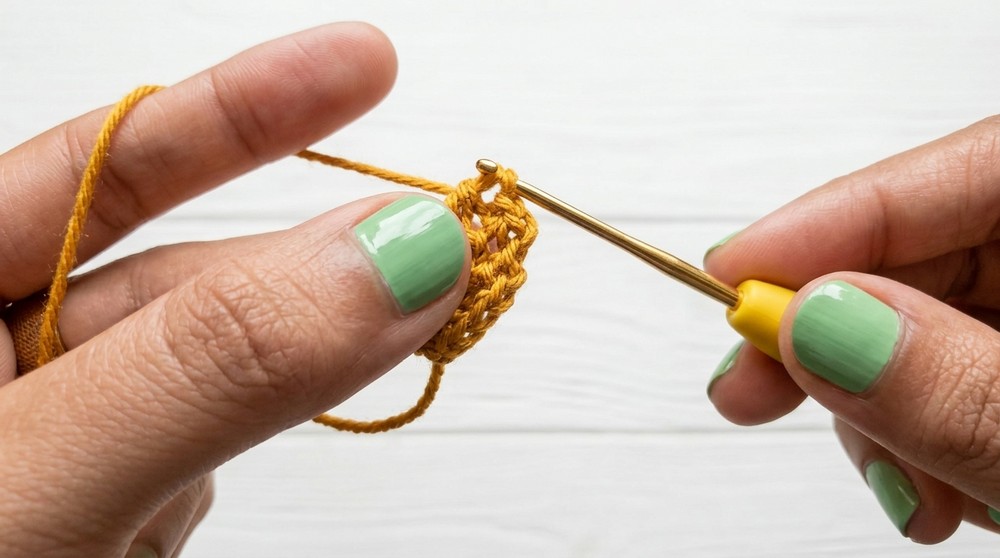
- Turn, and insert your hook into the back loop only of each chain, one at a time. Do NOT complete any stitches yet; leave the loops on the hook.
- After you have 4 loops on the hook (1 from MR, 3 from chains), insert your hook into the MR (so 5 loops on the hook). YO and pull up a loop - now 6 loops on hook.
- Working off the loops: YO and pull through 2 loops at a time, repeating this 5 times until 1 loop remains.
- CH 1.
- CH 4 loosely.
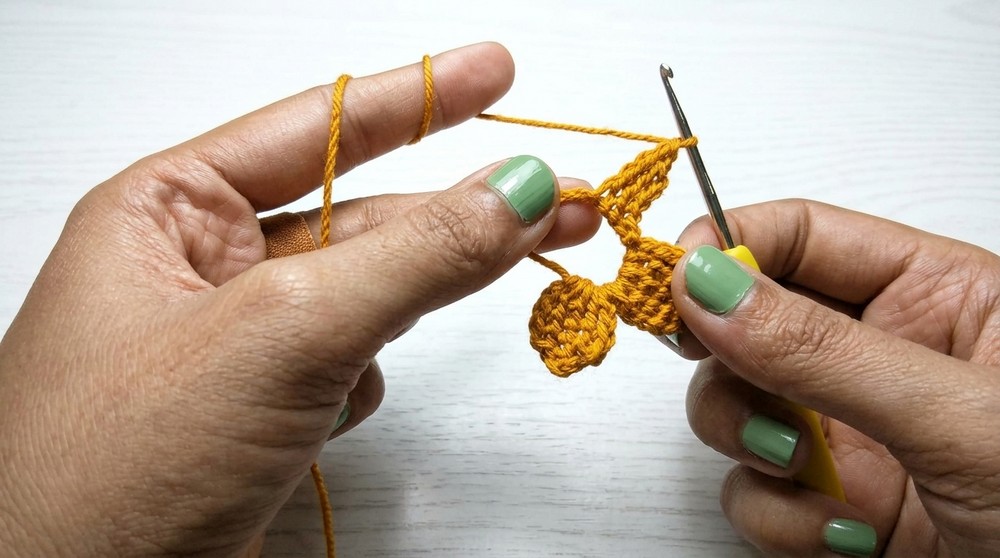
- Petal 2:
- CH 4 loosely.
- Turn, working into back loops only, repeat the previous steps:
- For each back loop, YO and pull up a loop (hold the loops on the hook).
- After last chain, insert hook into MR, YO and pull up a loop- now 6 loops on hook.
- YO, pull through 2 loops at a time until 1 remains.
- CH 1.
- Repeat Step 3 to create a total of 5 petals.
- After the last petal, do NOT chain 1.
- To finish the round, CH 4 and make a SL ST into the MR. This closes the motif.
- If your blossom is not laying flat, you may gently flatten the petals with your fingers.
2. Finishing
- Fasten off the yarn and leave a tail to weave in.
- Pull the tail of the magic ring tight so the center closes neatly.
- Use a tapestry needle to weave in all stray ends securely behind the blossom.
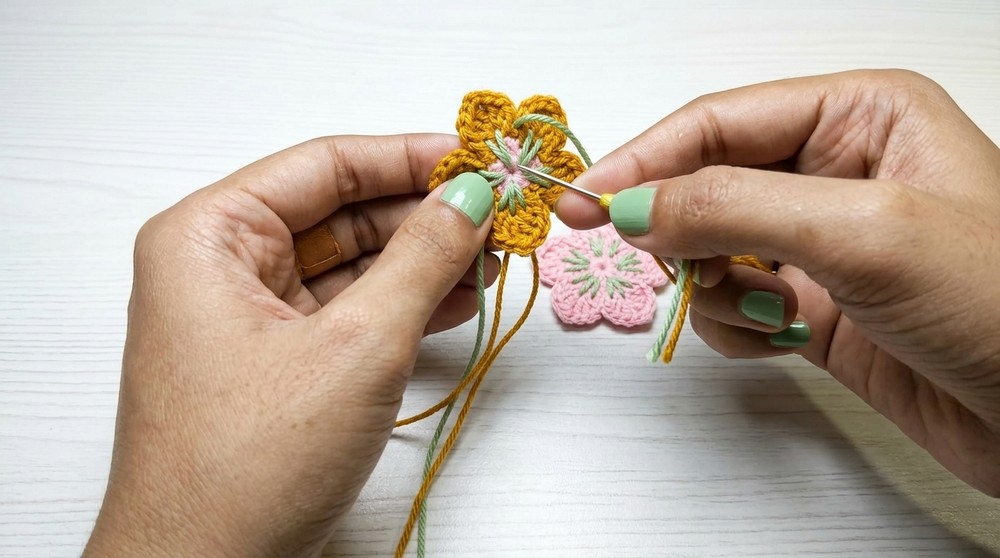
3. Stamen Embroidery (Flower Center)
- Thread your needle with a small piece of Pistachio yarn.
- Insert the needle through the center of the magic ring and make several short straight stitches radiating outward to simulate stamens.
- Typically 5-7 stitches, one for each petal, looks natural.
- Secure and weave in the ends at the back.
Tips & Suggestions
- Keep Chains Loose: Loose chains at the start of each petal will make working in the back loops much easier.
- Form of Petals: When pulling through the "petal loops," do it gently and evenly to keep the petal shape neat.
- Yarn Choice: Soft cotton provides the best definition for the petals, but you may experiment with finer or slightly textured yarns for a different visual effect.
- Center Embellishments: For additional detail, add a tiny bead in the center or embroidery more intricate stamen lines.
- Larger Flowers: For larger blossoms, increase the starting chain and add more petals as desired.
Pattern Suggestions & Customization
- Use Multiple Shades of pink for a gradient blossom effect.
- Make Multiple Blossoms to string together or attach as bag charms, brooches, or appliqué on clothing/hats.
- Change Flower Size by adjusting your hook size and yarn thickness.
Final Words
Congratulations on completing your crocheted cherry blossom! With its delicate petals and easy assembly, this project is perfect for beginners and experienced crocheters alike. These blossoms can be used as embellishments for accessories, home décor, or gifts.

Tips to Maintain the Pattern:
- Always check your tension, especially when working small motifs.
- If you plan to use these flowers frequently (e.g., on bags), consider sewing the petals down near the base for extra stability.
- Store your finished flowers flat or gently shaped to maintain their form.