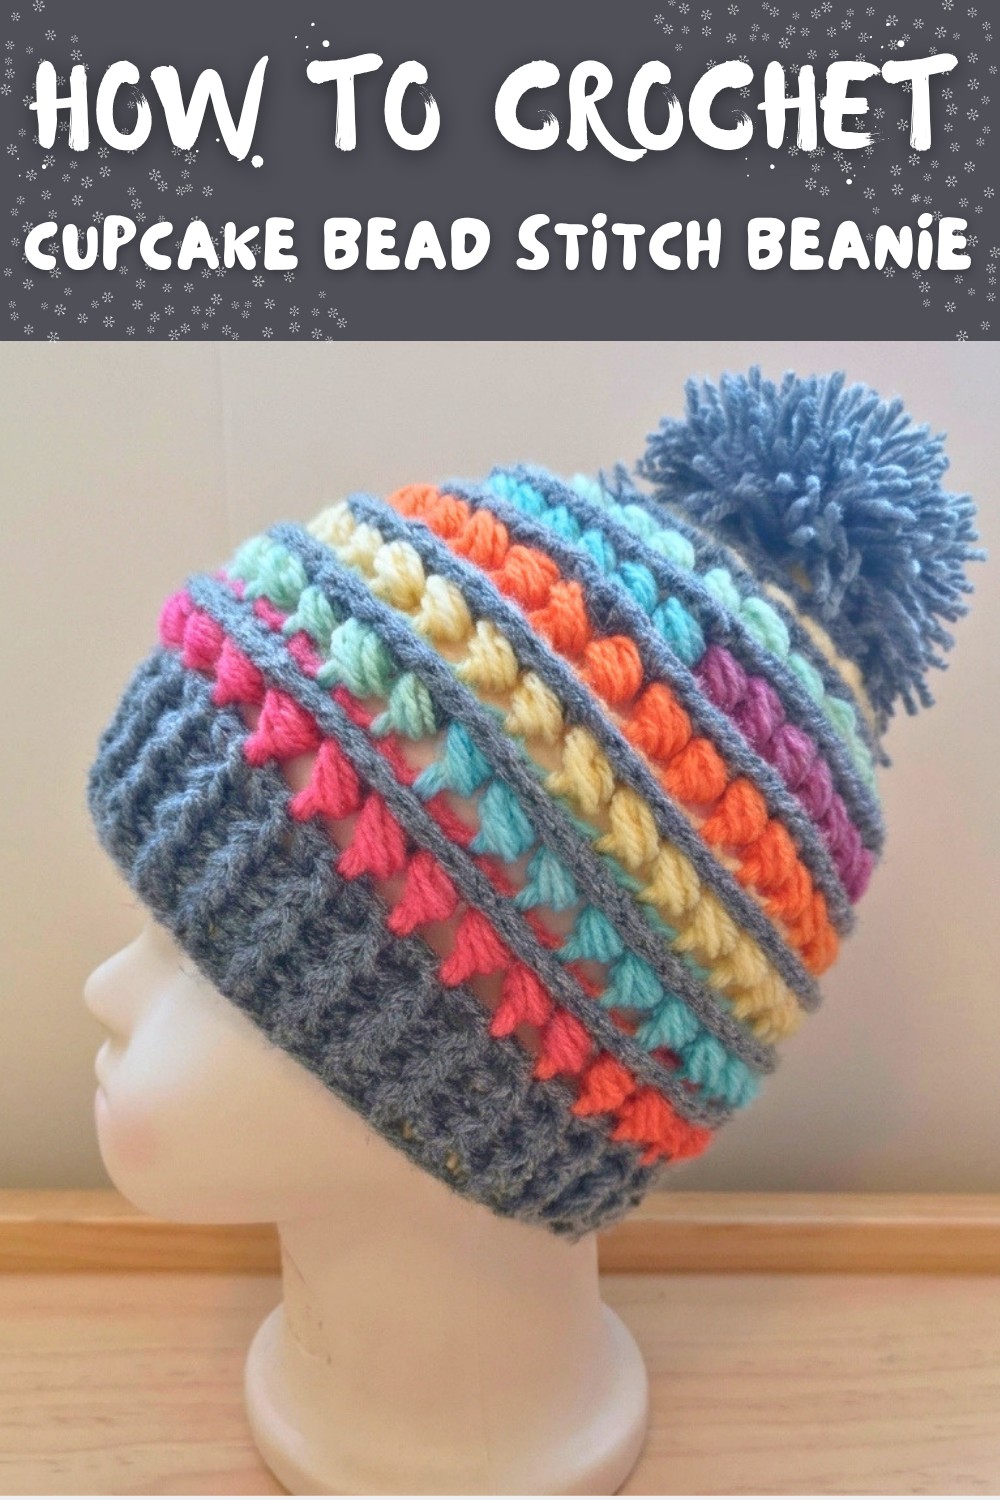
Crochet Cupcake Bead Stitch Beanie Pattern for Fun & Warmth
Find warmth and style in this free crochet cupcake bead stitch beanie pattern designed with textured layers for beginner-friendly fun.
Crocheting can be such a satisfying and rewarding project, and this project is no exception. This beanie is not just any hat it's a clever mix of textures and stitches that give it a distinct, "cupcake-inspired" pattern that's both cozy and eye-catching. Whether adorned with a playful pom-pom or left as a stunning standalone design, this pattern is perfect for those crisp winter months or as a thoughtful handmade gift for loved ones. Using bead stitches as the highlight of the design, paired with front post double crochets (FPDC) and front post half double crochets (FPHDC), this pattern creates a beautifully textured, ribbed finish that's both modern and fun. While the bead stitch is the star of this pattern, these techniques can also be used to crochet scarves, headbands, or textured throw blankets for your home.
One of the best things about this pattern is its beginner-friendly nature. The use of ombre yarn adds a subtle, gradual color change to the design, giving it a soft, gradient effect, while plain or variegated yarns help customize the look even further. The pattern even explores the difference between ombre and variegated yarns, helping you make the best choice for your project. You'll also learn how to shape the beanie, work in rounds, and close the top seamlessly for a neat and polished look.
By following this pattern, you'll not only learn how to make this beautiful beanie but also gain confidence in trying out post stitches, bead stitching, and changing colors seamlessly. These skills can go a long way in creating a variety of crochet projects, from cowls to textured pillow covers. Beyond the pattern, you'll discover the joy of adding your own creative flair to each piece.
Free Crochet Bead Stitch Beanie Pattern That's a Sweet Treat for Your Wardrobe
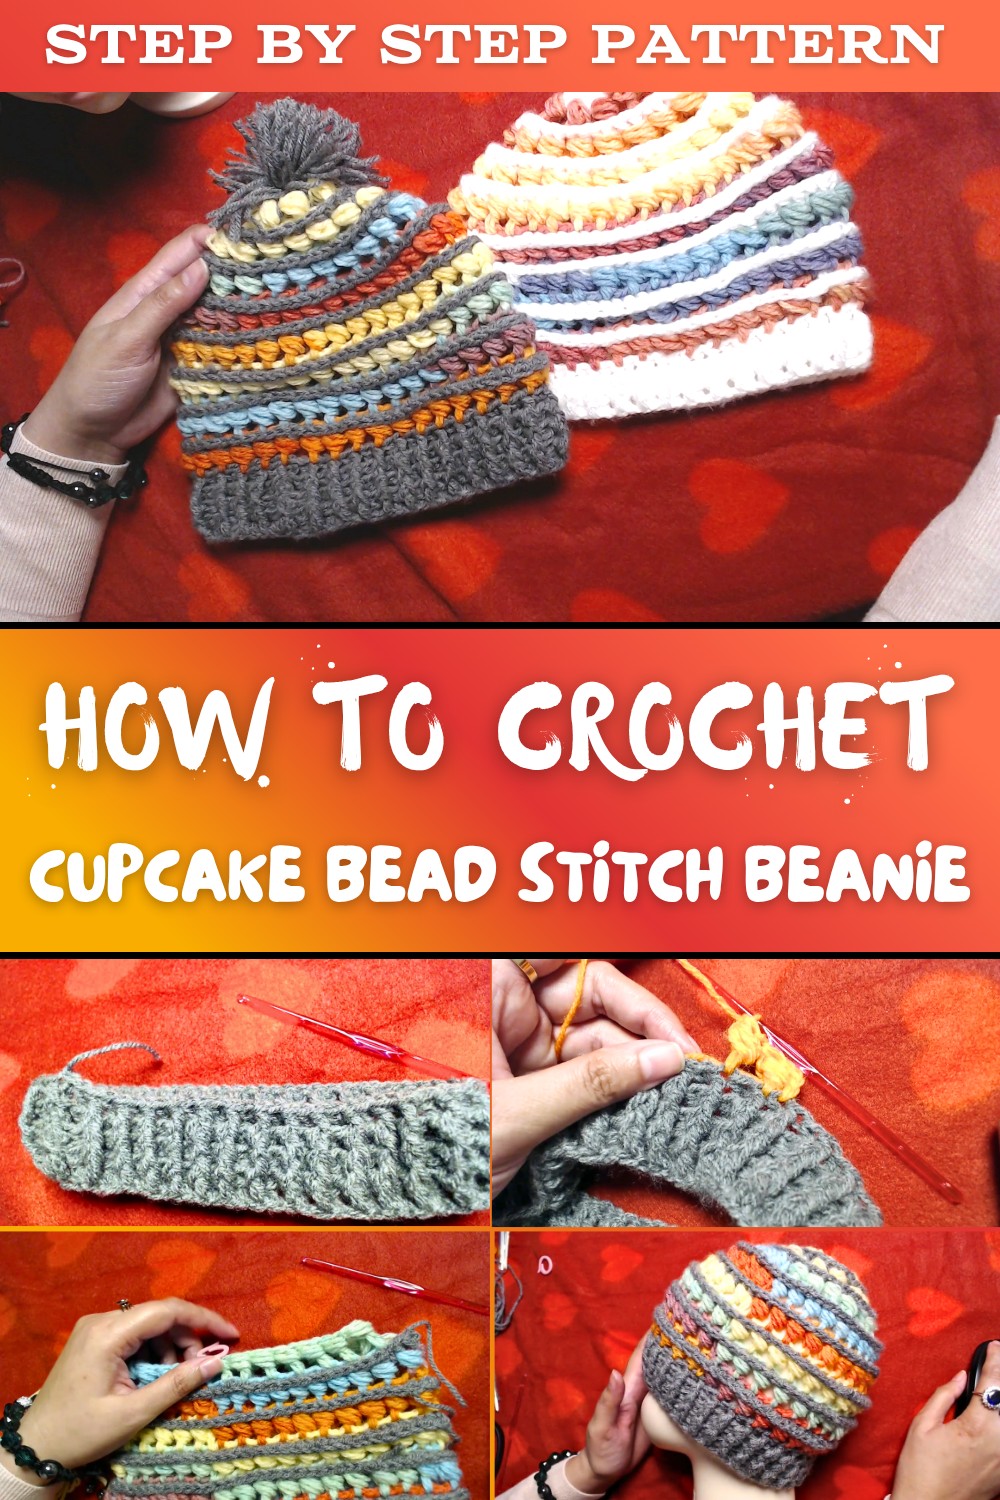
Free Crochet Cupcake Bead Stitch Beanie Pattern
This Free Crochet Cupcake Bead Stitch Beanie Pattern is a gorgeous and versatile accessory design that looks cute, cozy, and stylish. Combining vibrant yarn colors (ombre and plain) with features like bead stitches and ribbing, the pattern stands out with a cupcake-like design topped optionally with a pom-pom. Whether you are a beginner keen on exploring new textures or an advanced crocheter perfecting unique stitch combinations, this pattern is a must-try. It is crafted bottom-up and integrates clever detailing, such as the front post double crochet (fpdc) and bead stitches, to create a structured and visually appealing look. Let's dive into the step-by-step process and make this cozy, fun, and trendy beanie!
Table of Contents
- Introduction
- Supplies You'll Need
- Special Techniques & Abbreviations
- Step-by-Step Pattern
- Foundation Ribbing
- Adding Bead Stitch Rounds
- Creating Alternating Pattern Rounds
- Shaping and Decreasing Rounds
- Finishing the Beanie
- Special Features of this Beanie
- Tutor's Notes, Suggestions, and Tips
- Conclusion and Final Remarks
- What We Learned from This Pattern
Introduction
This pattern blends simple and textured stitches, making it an engaging project for beginners who have mastered basics like double crochet (dc) and want to advance into post stitches and bead stitches. It's perfect for crocheters looking to make personalized gifts or elevate their winter wardrobe. The beauty of the beanie lies in its textured design, soft ombre shade transitions, and optional pom-pom detailing. You can follow every carefully explained step and even customize colors, sizing, or finishing details as per your preference.
Supplies You'll Need
- Yarn: Ombre yarn (e.g., Magic Light by Ice Yarns) and plain yarn (100 grams, 360 meters per skein). The tutor suggests using two shades-one ombre and one plain or variegated yarn.
- Hook: 4mm crochet hook.
- Tapestry needle: For sewing and weaving in ends.
- Stitch markers (optional): To secure your work in progress.
- Scissors: To trim any extra yarn.
- Pom-Pom Maker (optional): For embellishing the top of the beanie.
Special Techniques & Abbreviations
Special Stitches Used in this Pattern
- Bead Stitch (bdst): A decorative stitch worked around the post of a double crochet.
- Yarn over, insert the hook around the post of the dc, pull up loops three times to create seven loops on the hook, yarn over, pull through six loops, yarn over, and pull through the last two loops.
- Front Post Double Crochet (fpdc): A textured stitch worked by inserting the hook around the post of a stitch.
Abbreviations
- ch: Chain
- dc: Double Crochet
- fpdc: Front Post Double Crochet
- bpdc: Back Post Double Crochet
- fp-hdc: Front Post Half Double Crochet
- sl st: Slip Stitch
- rep: Repeat
- st/sts: Stitch/Stitches
Step-by-Step Pattern
1. Foundation Ribbing
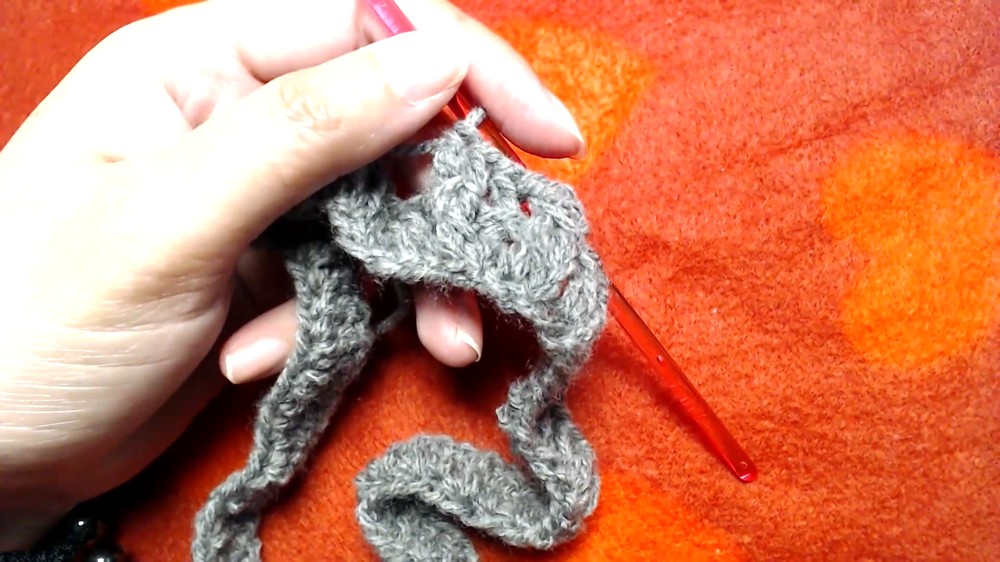
- Chain a base of 70 (or any even number divisible by two).
- Join the chain in a round using a sl st (be careful not to twist).
- Chain 3 (does NOT count as a stitch), make 1 dc in each chain around.
- Slip stitch to the top of the first dc and chain 3 again (does NOT count as the first stitch).
Rounds 2-4: Creating Ribbing
- Work fpdc in the first dc.
- Work bpdc in the next dc.
- Alternate between fpdc and bpdc around.
- Slip stitch to the top of the first fpdc.
2. Adding Bead Stitch Rounds
- Attach your ombre yarn to any stitch of the ribbing.
- Chain 3, which does NOT count as a stitch. Make 1 dc into the same stitch.
- Work your first bead stitch around the last dc post:
- Yarn over, insert the hook around the dc, pull up loops three times, and complete the bead stitch as described.
- Skip the next st and make a dc in the next st. Repeat the bead stitch around the post of this dc.
- Continue alternating between bead stitches and skipping stitches until the end of this round.
- Slip stitch to the first dc, chain 3, and secure the end of the ombre yarn with a stitch marker.
3. Adding Front Post Half Double Crochet Rounds
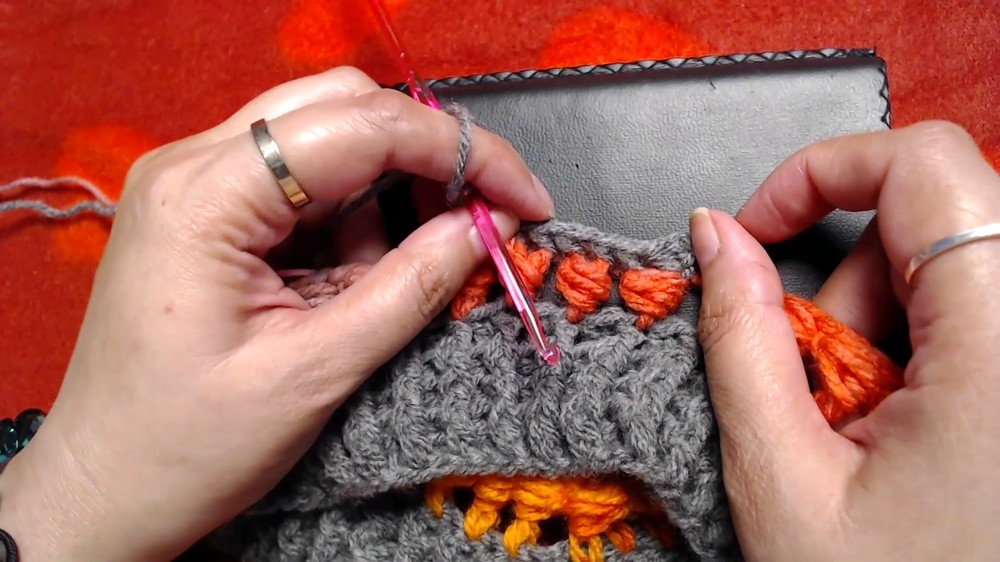
- Switch to plain yarn.
- Join your plain yarn at any bead stitch top, pushing the bead loops downward for clarity.
- Chain 2, make 1 fp-hdc around the bead stitch.
- Continue alternating fp-hdc around each bead stitch and dc from the previous round.
- Slip stitch to the first fp-hdc to close the round.

4. Shaping and Decreasing Rounds
Round 1 (Decrease):
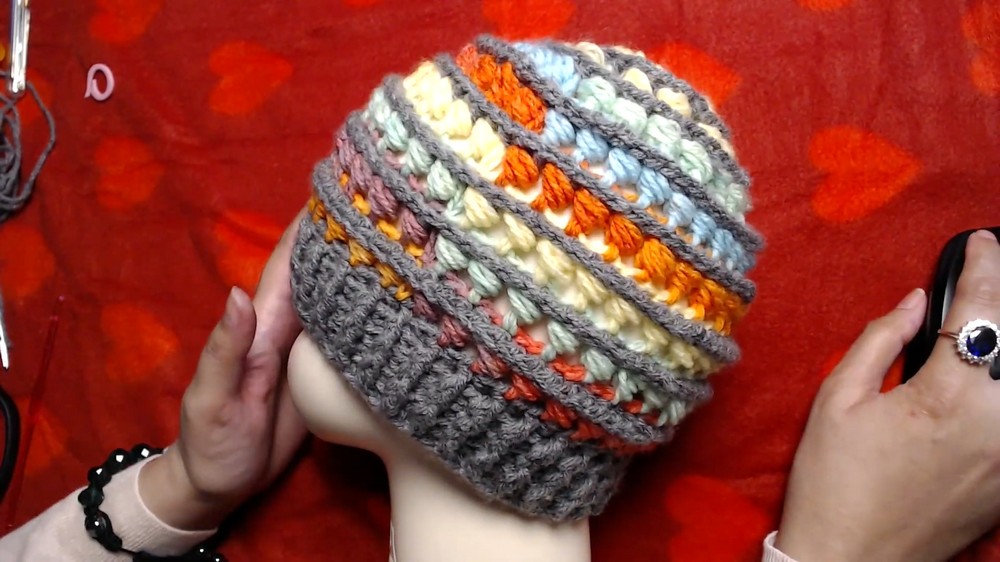
- Work bead stitches, but skip two stitches instead of one to decrease.
5. Finishing the Beanie
- Add extra rounds with decreasing bead stitches, as needed, shaping the top of the beanie.
- Cinch the top hole by threading yarn using a tapestry needle and weaving around the top edge. Pull taut to close the hole completely.
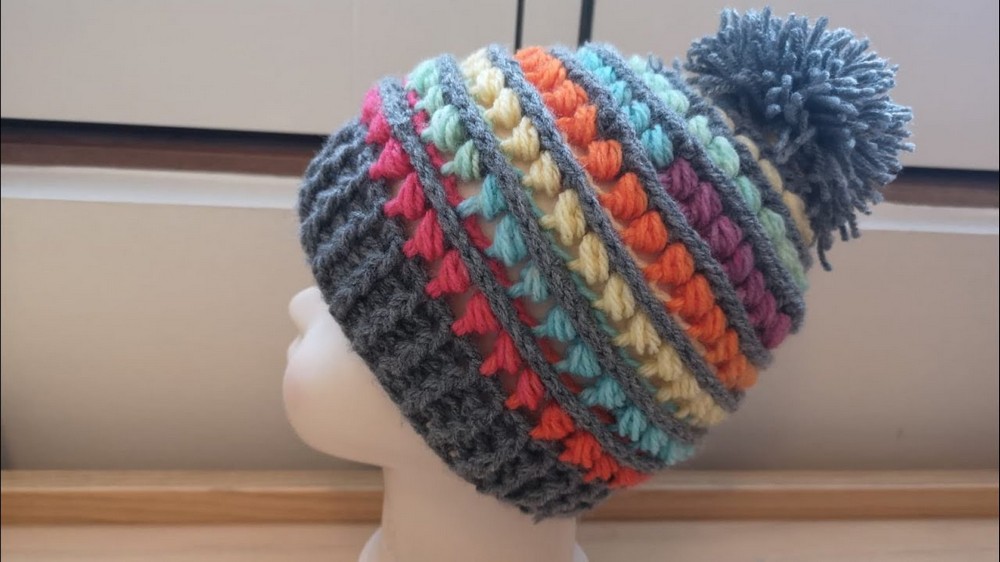
- Optional: Add a pom-pom to the top of the beanie for a playful finish.
Special Features of This Beanie
- Textured Patterns: Bead stitches and post stitches create eye-catching textures.
- Customizable Design: Change colors or customize the length and circumference.
- Versatility: Perfect as a winter accessory or as a thoughtful handmade gift.
Tutor's Notes, Suggestions, and Tips
- Choose Yarn Wisely: Ombre yarn gives a beautiful gradient effect, while plain colors provide balance.
- Stitch Calculations: Ensure your starting chains are multiples of two for even bead placement.
- Tension Matters: Maintain consistent tension, especially for the bead stitches, to keep the design neat.
- Pom-Poms are Optional: While pom-poms add charm, the beanie looks great with or without it.
- Experiment: Combine different yarn contrasts or add embellishments like buttons and embroidery to make it personalized.
Conclusion and Final Remarks
This Crochet Cupcake Bead Stitch Beanie is the perfect blend of simplicity and creativity. With its unique bead texture and easy-to-follow pattern, it caters to crocheters of all skill levels. There's a sense of pride that comes with wearing or gifting something crafted with your hands, and this beanie is no exception. Its structure ensures a snug fit while standing out as a trendy handmade accessory.
What We Learned from This Pattern
This pattern highlights the elegance of textured crochet stitches, like bead stitches and front post double crochets, turning simple yarn into functional artwork. I learned how to balance plain and ombre yarns for a stunning visual effect and how combining stitches adds dimensional beauty to projects. This pattern also taught me how crucial attention to detail is, from maintaining tension to securing ends, ensuring a polished final result.