
Free Crochet Granny Square Headband Pattern for Cute Accessories
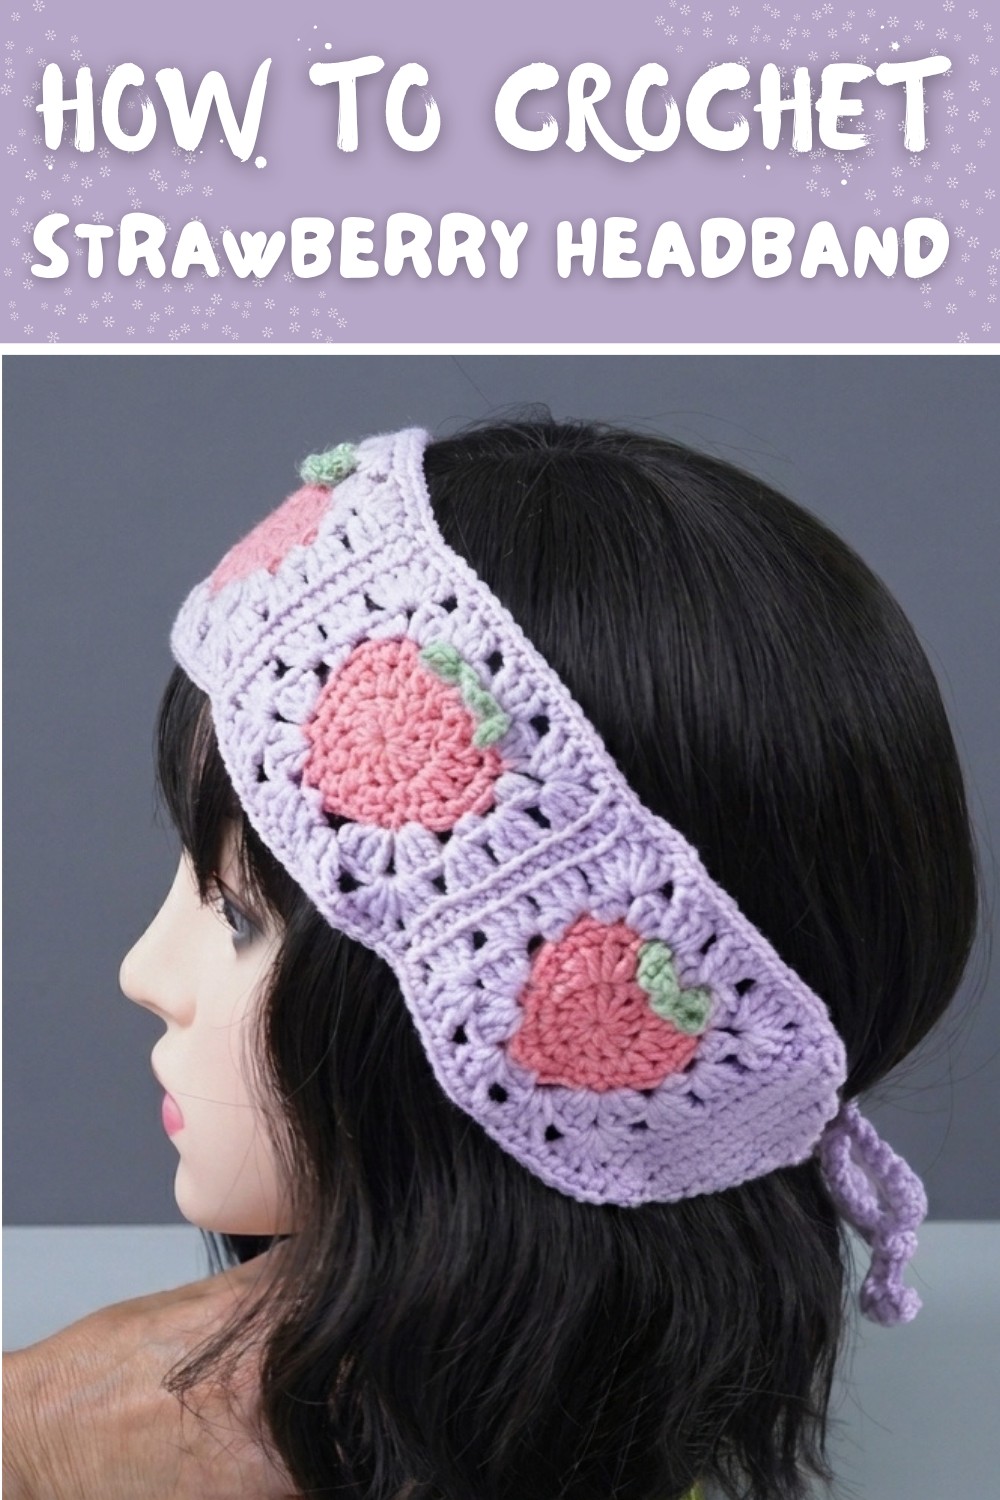
Create stylish charm with a Crochet Granny Square Headband Pattern that blends creativity and function into a customizable accessory perfect for any occasion.
Experimenting with the timeless charm of granny squares, a colorful headband is a fresh way to use this classic crochet motif. The crochet granny square headband pattern transforms small squares into a stylish and functional accessory that's perfect for any season. This delightful project not only allows you to showcase your crochet skills but also lets you create an entirely customizable piece-play with bold hues, subtle tones, or mix and match patterns to suit your personal style.
Crochet Granny Square Bow: Perfect for Unique Gifts

It's a great option for beginner crocheters, as granny squares are simple to make and easy to connect, offering an approachable yet rewarding challenge. Headband made with this pattern are both practical for keeping hair neatly in place and versatile for enhancing casual or festive looks.

Interesting enough, this project is a fantastic stash buster, letting crocheters repurpose leftover yarn into something beautiful. Whether gifted as a thoughtful present, used to elevate everyday outfits, or worn to express handmade charm, a crocheted granny square headband is sure to turn heads and spark compliments.

Strawberry Granny Square Crochet Headband - Step-by-Step Pattern
Materials
- Yarn:
- Worsted weight cotton or acrylic in:
- Color A: Red or pink (Strawberry body)
- Color B: Green (Leaves/accents)
- Color C: White or cream (Background/edging)
- Color D (Optional): Yellow/tan (for "seeds"/embroidery)
- Worsted weight cotton or acrylic in:
- Hook: 3.5-4 mm crochet hook (adjust for your yarn and tension)
- Notions: Tapestry needle, scissors, measuring tape, optional stitch markers
Gauge
- Not critical but aim for consistent tension.
- Each completed strawberry square should measure approx. 5-6 cm across for a standard headband.
Key Abbreviations (US Terms)
- ch: chain
- sl st: slip stitch
- sc: single crochet
- hdc: half double crochet
- dc: double crochet
- st(s): stitch(es)
- rep: repeat
Special Techniques & Suggestions
- Magic ring: Start motifs with a magic adjustable loop for a neat center.
- Increasing: Most "in one stitch" instructions mean increase (work all sts into the same st).
- Color changing: Always switch colors at the yarn-over before the color change.
- Use "invisible join" or careful weaving for neatness.
- This project is great for advanced beginners working in the round and with motifs.
Instructions
STRAWBERRY MOTIF (Make as many as needed to fit headband length)
Strawberry Center (Color A - e.g., Red):
Round 1:
- Begin with a magic ring.
- Ch 3 (counts as first dc).
- Work 11 dc into ring.
(12 dc total) - Close ring, sl st to top of first ch-3.

Shape the Strawberry
Round 2 (Color A):
- Ch 1.
- Hdc in same st.
- (2 dc) in next st.
- (2 dc) in next st.
- (Hdc, sc) in next st.
- Sc in next st.
- (2 sc) in next st.
- (2 hdc) in next st.
- (2 sc) in next st.
- Sc in next st.
- (Sc, hdc) in next st.
- (2 dc) in next st, twice.
- Hdc in next st.
- Sl st to first st.
You should have a rounded heart/strawberry shape.
Round 3 (Color A):
- Ch 1, sc in 1st st.
- (2 sc) in next st.
- (2 sc) in next st.
- (2 sc) in next st.
- Sc in next 5 sts.
- (Sc, hdc) in next st.
- (Hdc, sc) in next st.
- Sc in next 5 sts.
- (2 sc) in next st, repeat 3 times.
- Sc in next st.
- Sl st to first st.
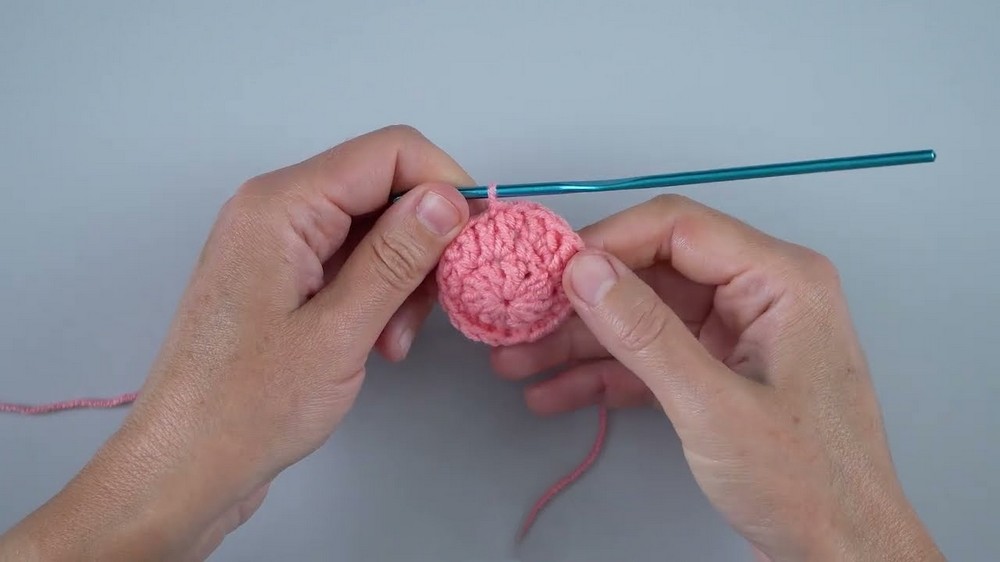
On this round, sides will become more "squared" for the motif.
STRAWBERRY ACCENTS
Leaves and Background (Color B then C):
Round 4
Attach Color B (Green).
- Ch 1, sc in next st.
- Ch 1, (3 dc) in next st (corner leaf).
- Ch 1, (3 dc) in next st (corner leaf).
- Ch 1, (3 sc) in next st.
- Ch 1, (3 sc) in next st.
- Ch 2, (3 hdc) in next st.
- Ch 2, (3 hdc) in next st.
- Ch 2, 2 hdc in next st.
- Ch 2, (3 hdc) in next st.
- Ch 2, (3 sc) in next st.
- Ch 1, (3 sc) in next st.
- Ch 1, (3 dc) in next st (corner leaf).
- Ch 1, (3 dc) in next st (corner leaf).
- Ch 1, sc in next st.
- Sl st to first st.
This creates the leafy top and square off the motif.
Optional: Embroider Seeds
- With yellow, make surface stitches or French knots randomly on the red strawberry body to mimic "seeds."
SQUARE MOTIF FINAL ROUND (Color C: White or background shade):
- Attach contrasting color (C) at any corner.
- Ch 3, 2 dc in same st.
- Ch 3, 3 dc in next space.
- Ch 1, 3 dc in next space.
- Continue: ch 1, 3 dc in next, (repeat) for all sides.
- Ch 3 for corners, ch 1 for sides.
- At end, sl st to join. Fasten off.

Your strawberry granny square is now complete. Make as many squares as needed for your head size or desired headband length.
HEADBAND BAND & ASSEMBLY
Join Strawberry Squares
- Join squares with a tapestry needle using whipstitch or by slip stitching with a crochet hook.
- Continue until length equals head circumference minus 2 cm for stretch.
- Standard (adult) head: ~54-56 cm. Adjust number of squares accordingly.
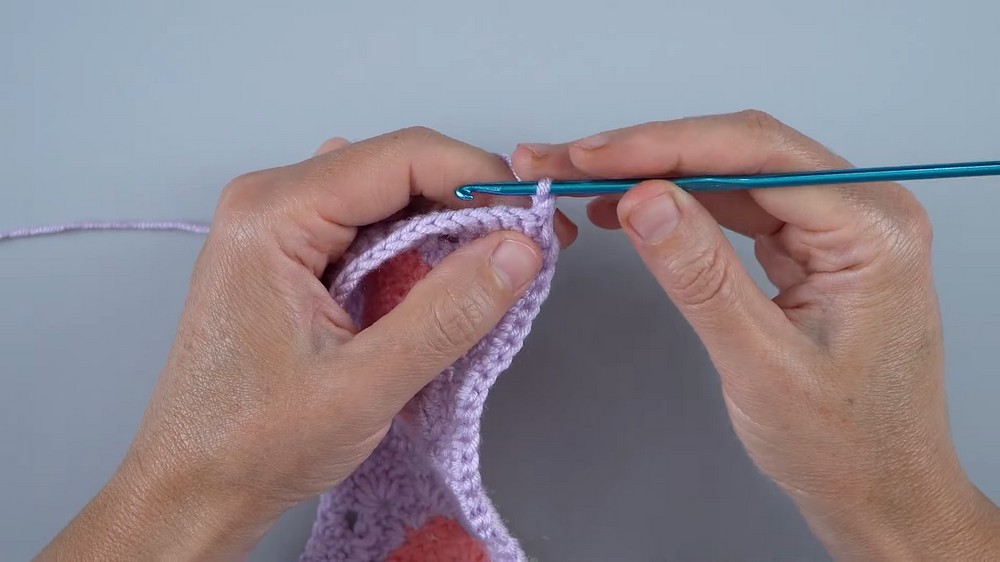
Band (Optional for extra width & comfort):
- With Color C or a shade to match background, ch 50
- Row 1: Sc in 2nd ch from hook and in each ch (49 sc).
Sl st to join for a loop (ensure not twisted). - Repeat for the desired width; typically, 2-3 rows for a narrow headband.

Finishing Edge
- Row 1: Ch 1, sc evenly around entire band (or squares if joined directly), sl st to first sc.
- Row 2: Rep around for neatness, if desired.
Decreasing for Shaped Fit
- Row 2: Ch 1, [sc, sc2tog], sc in next 15 sts, sc2tog; repeat around. (Decreases every 16 stitches)
- Row 3: Ch 1, [sc, sc2tog]*, sc in next 13 sts, sc2tog; repeat around.
- Rows 4-10: Repeat pattern (decrease every ~13 sts, or as needed) for a shaped, tapered band.
- Try on for fit; adjust as needed.
Assembly
- When band and motif strip match head size, join ends with sl st or sew securely.
- Weave in all loose ends.
Finishing & Care
- Block completed headband gently to even stitches.
- Weave in ends with a tapestry needle.
- Care: Hand wash in cold water, lay flat to dry for best lasting color and shape.

Customization Suggestions
- Strawberry Color: Try pink or ombré for pastel strawberries, or natural red/green combos.
- Band Width: Make the band wider/narrower to taste.
- Add Embroidery: French knots or surface slip stitches for seeds
- Add ties: Ch 30, sl st into opposite band for adjustable ties.
Tips
- Test fit frequently for head circumference.
- Keep edges of squares tidy for best assembly.
- Try joining as you go (JAYG) if comfortable to reduce seaming time.
Conclusion
Your Strawberry Granny Square Headband is a charming, whimsical accessory perfect for spring and summer and a delight to gift. With neat motif assembly and color play, it is a rewarding and cheerful beginner-friendly project.