
Autumn Motif Bag Free Crochet Pattern Easy Step by Step Guide
Enjoy making a cozy & colorful crochet bag with autumn motifs that is for carrying essentials and adds a simple handmade touch to your style.
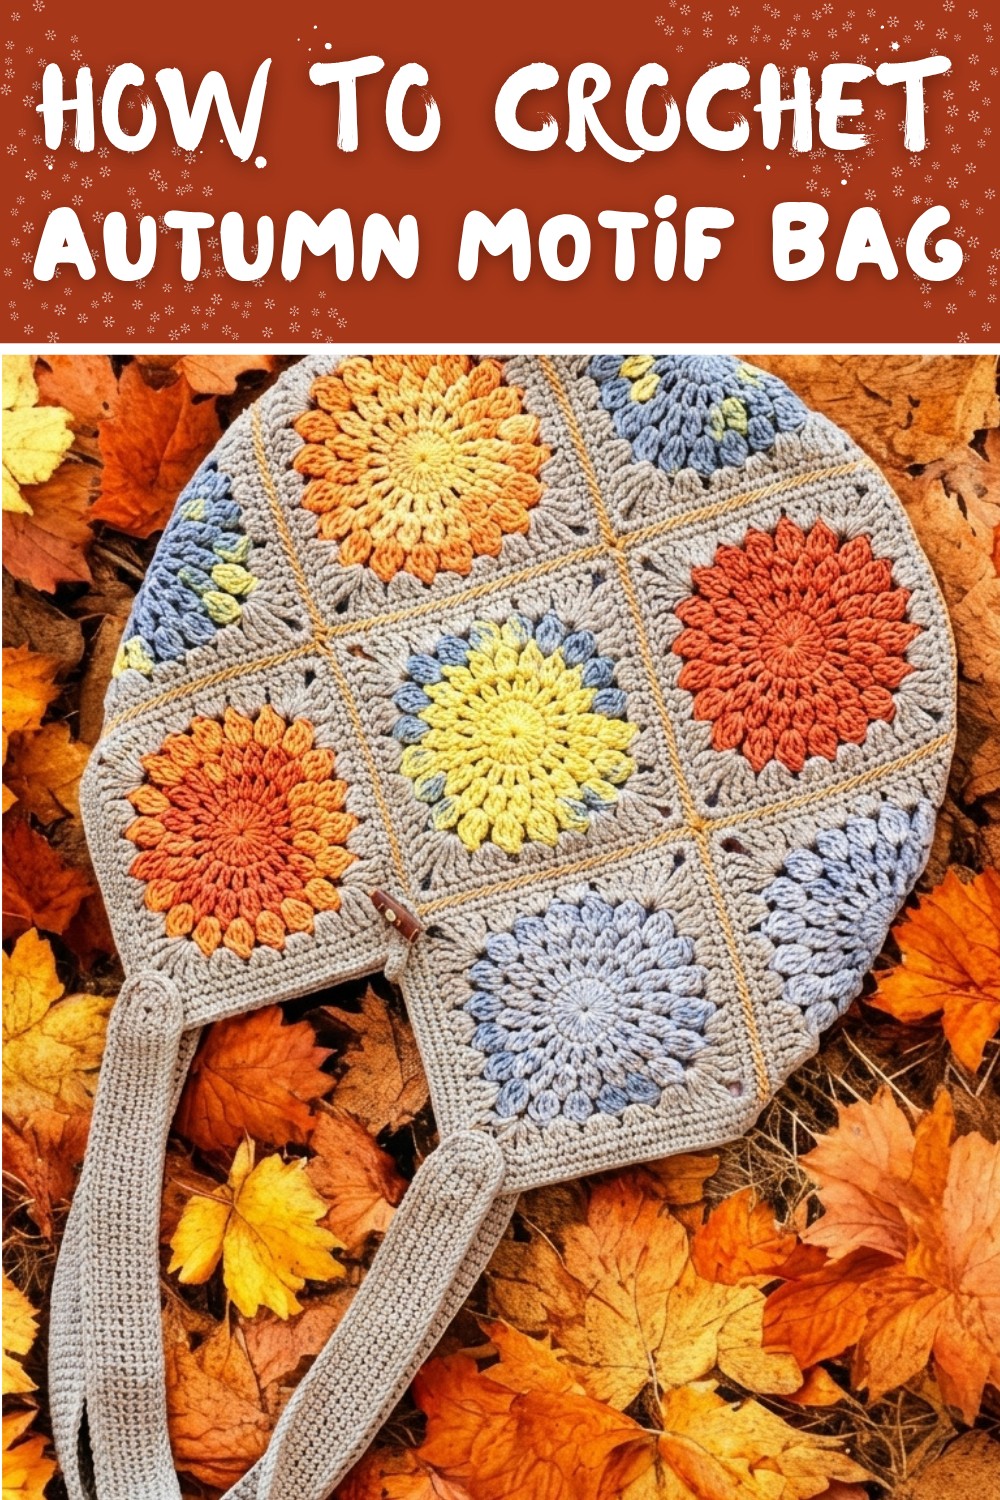
Having a bag that captures the warmth and colors of autumn, making it both beautiful and practical for daily use. This crochet bag features stunning autumn-inspired motifs with rich shades of orange, brown, yellow, and red, resembling the falling leaves of the season. It is lightweight, easy to carry, and spacious enough to hold your essentials, whether it's a notebook, a water bottle, or even small shopping items. Its soft texture and charming design make it an eye-catching accessory, perfect for school, casual outings, or as a unique handmade gift.
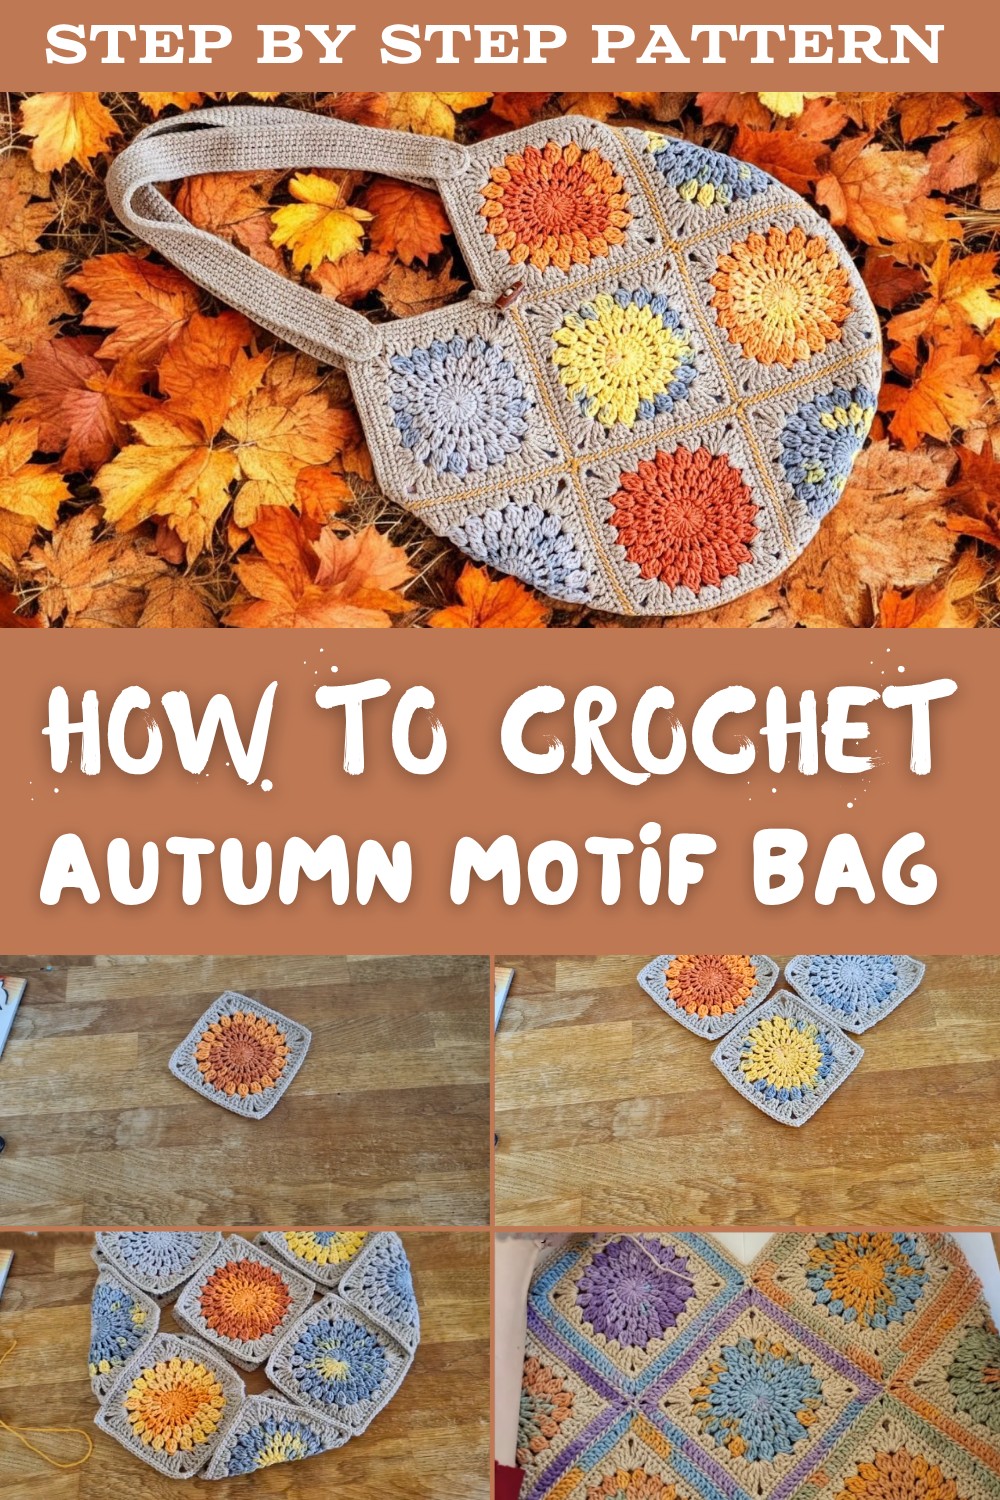
The uniqueness of this bag lies in its detailed pattern, which shows tiny autumn-themed designs that bring out a cozy and warm feel. You can even mix and match colors to make it more personal and special. Making this bag is a fun and rewarding process, with simple instructions that help you crochet each motif step by step.
The individual motifs are like small pieces of art, which are stitched together to form the complete bag. The pattern is designed in a way that even beginners can follow it with ease, while experienced crocheters can add their own creative twists. It's not just a bag but a delightful journey of turning colorful yarn into something useful and beautiful, combining creativity and practicality in one project.

Patchwork Motif Shoulder Bag
Materials Needed
- Yarn: Worsted or DK cotton yarn in several colors (motif centers and bag body). Cotton is preferred for stitch definition and durability.
- Crochet hook: Size corresponding to yarn (typically 3.5-4.5 mm).
- Tapestry needle: For sewing motifs together and weaving ends.
- Stitch markers or pins: To secure motifs during arrangement.
- Scissors
- Steam iron (optional, for finishing)
- Lining fabric & sewing kit (optional but strongly recommended for durability)
- Pre-made or crocheted bag handles/straps (see below)
- Snap fasteners, buttons, or magnetic closures (optional)
Special Techniques & Suggestions
- Motif Instructions: Watch your original motif's tutorial to create 13 squares, each about 11-13 cm (or as you desire). Adjust colors to taste.
- Solid Join Seaming: Use a tapestry needle and a double strand of contrasting or matching yarn to sew motifs together, picking up visible single crochet stitches for a decorative effect.
- Handle Construction: A sturdy, oval-shaped, crocheted strap is created by working several rows of single crochet around a foundation chain. Enhances comfort and stretch resistance.
- Ironing: Steam or gently iron after assembly for a neat, crisp finish.
- Lining: Highly recommended for shape and longevity-trace bag shape onto lining fabric, cut with seam allowance, stitch, then hand-sew into bag after handles are attached.
Instructions
1. Prepare Motifs
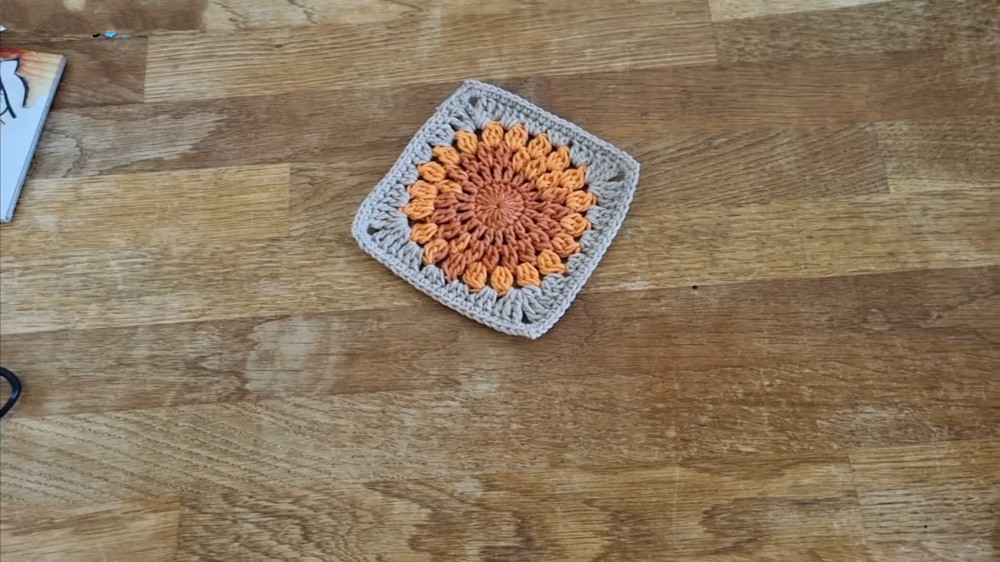
- Make a total of 13 crochet squares (motifs) using your chosen motif pattern and color distribution.
- Each should measure about 11-13 cm.
- Block motifs if desired for the most perfect fit.
2. Arrange Motifs for Bag Formation
- Bag Layout Example:
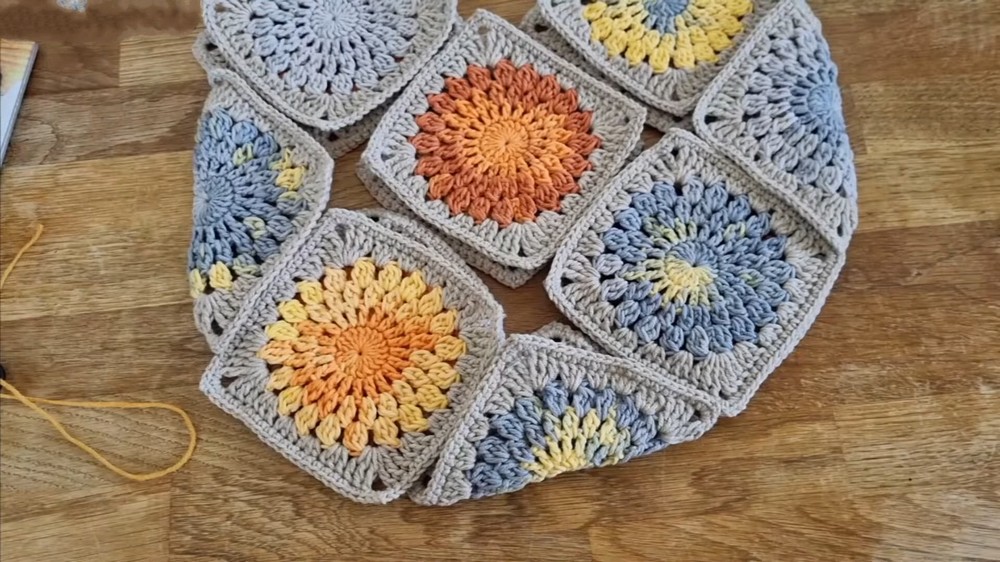
- Arrange 5 motifs for the front panel.
- Arrange 5 motifs for the back panel.
- Use the final 3 motifs for the bottom and sides (as a band), or arrange per your preference for rounding out the bag shape.
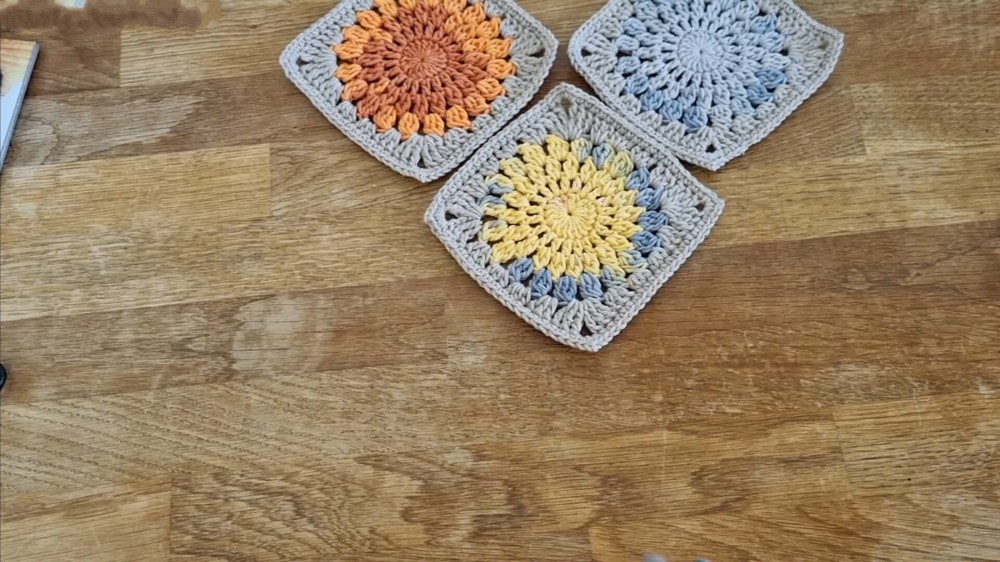
- Lay motifs flat on a table, right side up, and adjust color placement as desired.
- Optionally, number or pin motifs to avoid mixing them up during seaming.
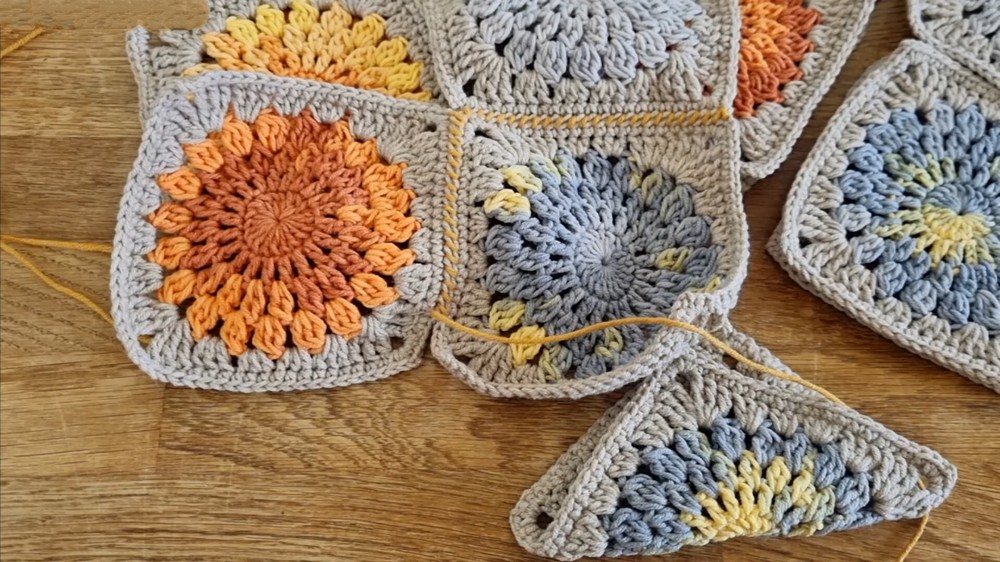
3. Seaming Motifs
- Thread a long length of yarn in a contrasting color to highlight seams, or use same color for subtlety.
- Join motifs with a tapestry needle:
- Work through the outer loops or sc stitches on adjacent motifs for a decorative seam.
- Use a simple whipstitch or mattress stitch, passing from front to back, working back and forth between motifs.
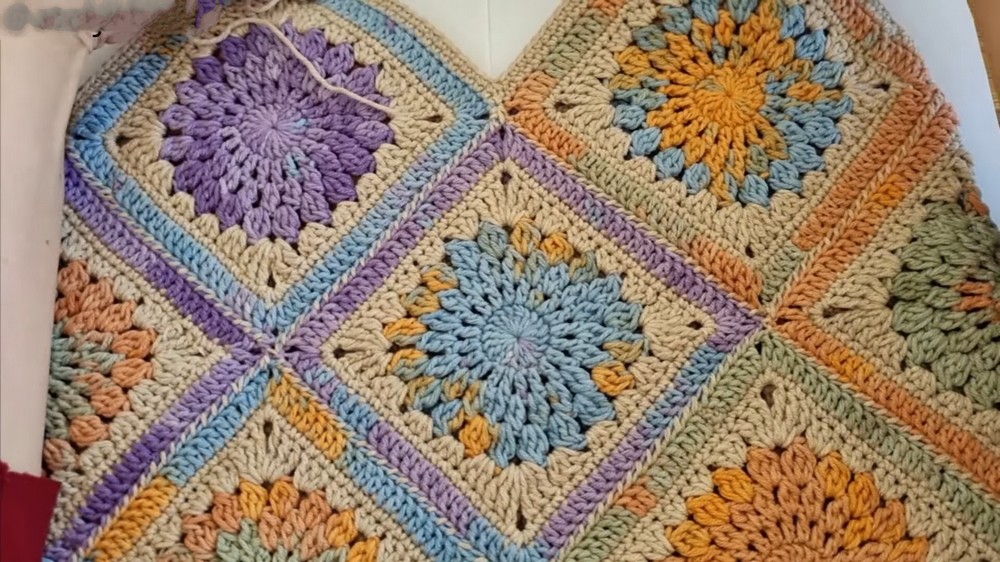
- At each corner where motifs meet, secure well by catching all motifs at that intersection.
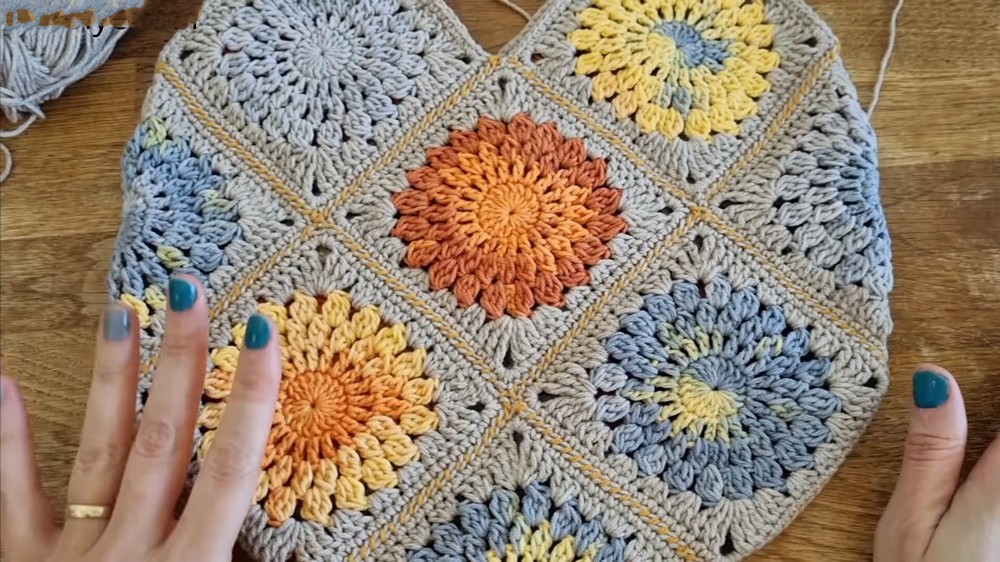
- Proceed row by row:
- Join all horizontal seams, then all vertical seams.
- Regularly check your motif placement to keep alignment; correct as needed.
4. Form Bag Body
- Fold the joined panel according to your planned shape:
- Typical: Fold bottom/sides to meet front/back.
- Sew open sides together to close the bag, again using visible decorative seaming.
- Sew all intersections firmly for strength.
- Weave in all ends neatly on the inside. Check all corners for gaps or loose spots and reinforce if necessary.
5. Bag Opening Edging
- With main color yarn, attach yarn at the bag opening.
- Work at least 3 rounds of single crochet evenly around opening, working extra stitches in corners or points to maintain smoothness.
- Tip: At sharp corners/turning points, work 3 sc in the same stitch for gentle rounding.
- Each new round: Chain 1, turn if desired, and continue sc in each stitch, smoothing the edge further.
- After 3 rounds (or more for wider band), finish off neatly.
- Optional: Close the last stitch invisibly with tapestry needle for a flawless edge.
6. Bag Handle/Strap
Basic Oval (Shoulder) Handle:
- With main yarn, chain 100-110 (for a shoulder bag ~45 cm; adjust for your preference).
- Turn, sc in each ch across (do not work tightly).
- At the end, work 3 sc into last ch to form a round end.
- Continue to crochet around the opposite side with sc in each ch; at the other end, 3 sc into the turning ch.
- Continue for 2-3 more rounds, always making 3 sc at each tip to keep the oval flat and proportional.
- If desired, add a round of slip stitches for structure.
- Finish off, leaving long tails for sewing.
7. Attach Handle(s) to Bag
- Position both ends of the handle at the bag opening, spacing them evenly.
- Use a tapestry needle and yarn to securely sew handle ends to bag, running yarn through both layers several times.
- Hide knot and tail inside the bag.
8. Lining (Recommended)
- Place bag flat on fabric, trace shape with ~1 cm seam allowance.
- Cut 2 pieces, sew together along curved/side edges, leaving top open.
- Insert lining, fold under top edge, and hand sew in place just under the edging to avoid visible stitches.
- Optionally, attach a snap or magnetic closure to the lining just before final sewing.
9. Finishing
- Steam or lightly iron bag (particularly edging and motifs) for a crisp, professional finish.
- Check all seams for gaps and reinforce as needed.
- Trim any visible yarn ends.
Tips and Suggestions
- For best durability and shape, always line your bag-particularly if you use wool or acrylic yarn.
- For handles, match yarn thickness and density to your motif fabric to avoid stretching or sagging.
- Contrasting seaming creates a bold, modern aesthetic; matching seaming offers a subtle, seamless finish.
- Add decorative buttons, beads, or tassels for extra flair.
- Avoid over-stretching while seaming or while working handle-work evenly for best results.
- Steam-block motifs and bag for final shaping before using.
Final Words
This patchwork motif bag is not just beautiful but a true statement piece, customizable in size, color, and design. Square motifs joined with careful seaming and finished with a sturdy, oval handle yield a durable, practical, and stunning accessory. Take time on arrangement and seaming for symmetry and precision.