
Beautiful Free Crochet Bracelet Pattern For Wrist Style
Wear something special with this free crochet bracelet pattern and make a lovely bracelet that adds charm to your daily style.
Creating a stylish and unique bracelet has never been easier. This handmade bracelet features a beautiful braided design that resembles a delicate Celtic knot, making it stand out from everyday accessories. Its soft and lightweight feel makes it comfortable to wear, while the elegant design adds charm and creativity to any outfit.
Fun Free Crochet Bracelet Pattern For Creative Fashion
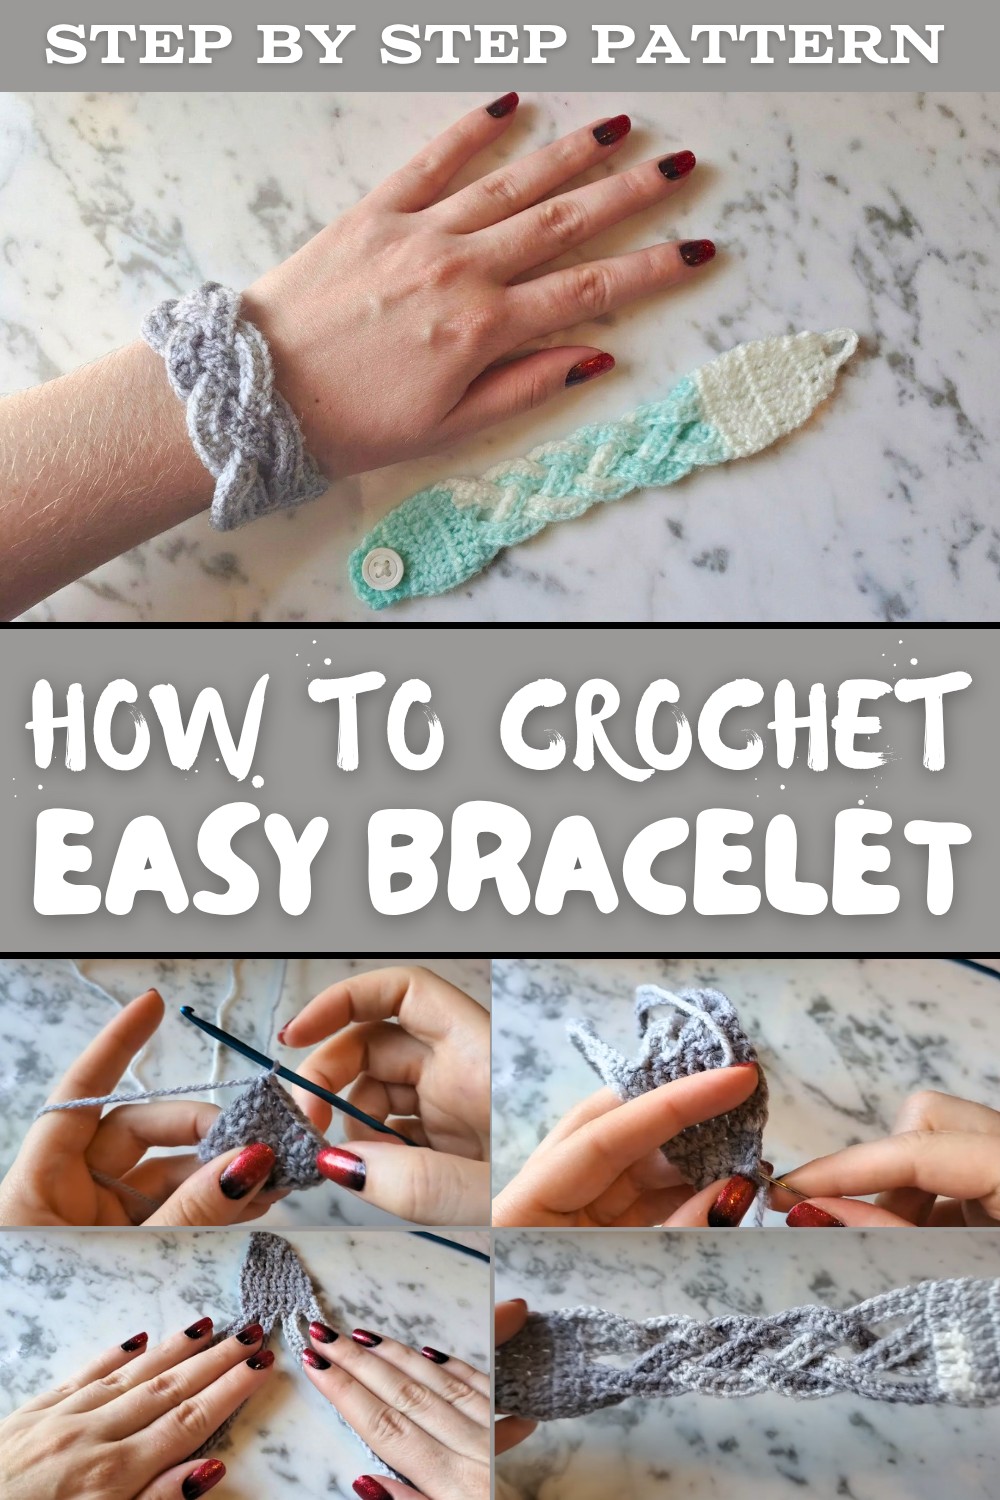
One of the most delightful features of this bracelet is its button and loop closure, which not only makes it easy to wear but also keeps it securely in place. You can make it in any color to suit your taste, allowing for endless creativity and personalization. Whether you prefer bright, vibrant hues or soft, neutral tones, this bracelet will be a reflection of your style.
The bracelet isn't just pretty-it's truly practical. It's perfect for casual days, festive occasions, or as a thoughtful gift for someone special. If you enjoy small crocheting projects, this design is also ideal for making in bulk to sell at fairs or events. They are quick to make and are guaranteed to catch anyone's eye with their unique handmade look.
Thanks to its simple and beginner friendly design, even those who are new to crocheting can enjoy crocheting this lovely bracelet. It's a great way to practice and showcase your creativity. So why not try making this charming and lightweight braided bracelet today? It's quick, stylish, and makes every outfit feel a little more special.
Detailed Crochet Pattern: Braided Bracelet with a Button Closure
Finished Size:
The bracelet fits most adult wrists. For custom sizes, you can adjust the chain length and overall dimensions to suit your needs.
Materials Required:
- Yarn: Light weight (3) yarn, such as Lion Brand Ice Cream in the "Cookies and Cream" colorway. Use a lightweight yarn to avoid bulkiness in the bracelet.
- Crochet Hook: Size E (3.5mm) hook.
- Button: A small button of your choice (2 hole or 4 hole works). Ensure it fits snugly into the chain loop.
- Scissors
- Yarn Needle (for weaving ends and sewing the button).
- Sewing Pin (optional - to hold the braid in place).
Gauge:
Gauge is not strictly essential for this pattern. However, for reference, you should have 4 double crochets = approximately 1 inch.
Pattern Instructions:
Step 1: Creating the Base
- Begin with a slipknot on your hook.
- Chain 5: This creates the base for the foundation double crochet row.
- Skip the first chain, and work a double crochet (dc) into each of the next 4 chains. This will give you 4 double crochets in total.
- Note: Do not chain extra stitches to start your row; start the first double crochet directly in the second chain.
- Chain 1 and turn.
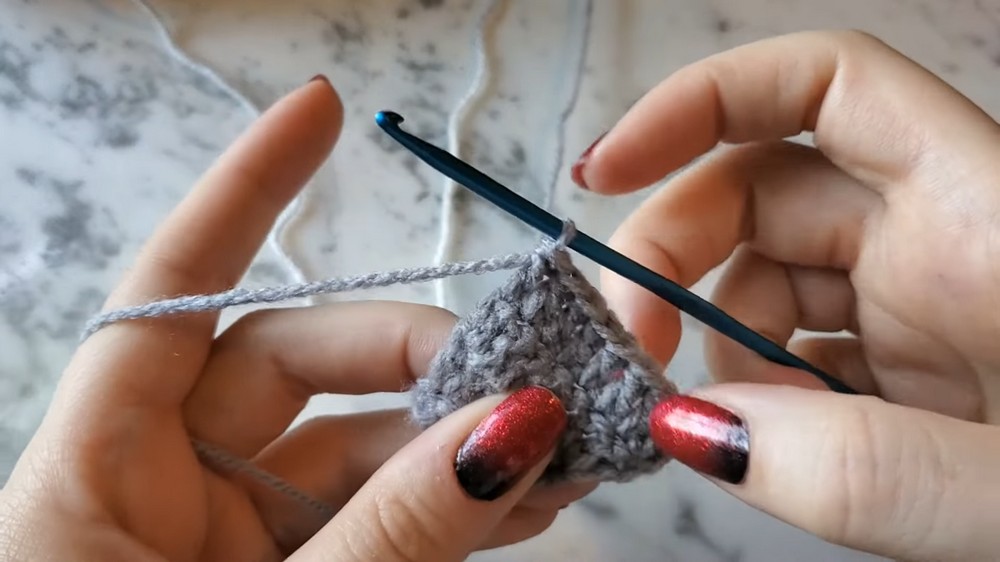
Step 2: First Increase Row
- Work 2 double crochets into the first stitch (increase).
- Work 1 double crochet into each of the next 2 stitches.
- In the last stitch, work 2 double crochets (increase).
- This row should now have 6 double crochets.
Step 3: Second Increase Row
- Chain 1 and turn.
- Once again, work 2 double crochets into the first stitch (increase).
- Work 1 double crochet in each stitch until you reach the last stitch.
- In the last stitch, work 2 double crochets (increase).
- This row should now have 8 double crochets.

Step 4: Building the Band
- Chain 1 and turn. Work 1 double crochet into each stitch across. You should have 8 stitches in each row.
- Repeat this step for two more rows, so you have three rows total of 8 stitches.
Step 5: Creating the Braided Strands
- Chain 31, then turn. Work single crochet (sc) into the second chain from the hook and each chain across.
- When you reach the base of the band, skip the first stitch (from where the chain started), and slip stitch (sl st) into the next stitch to secure the strand.
- Slip stitch into the next stitch on the base and repeat Steps 1 and 2 to create another strand of chain 31 and single crochet across.
- Repeat this process two more times, so you have 4 long strands connected to the main base.
Step 6: Braiding the Strands
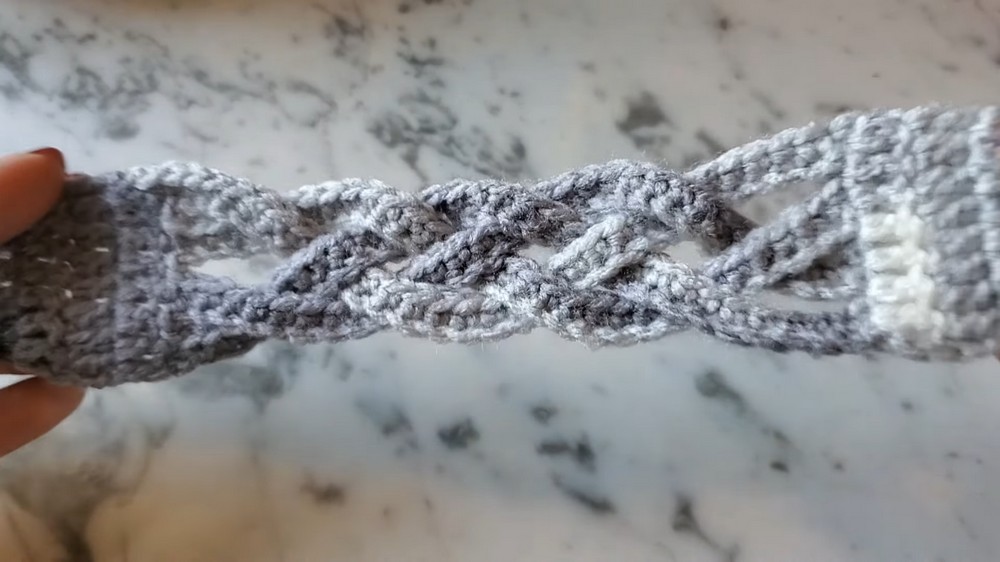
- Lay the strands flat and separate them into two pairs of two strands each.
- Begin a simple 4 strand braid:
- Take the rightmost strand from each pair and cross it over the adjacent strand (i.e., bring it toward the center).
- Then take the two middle strands and cross them over each other.
- Continue braiding by alternating between crossing the outer strands over and then crossing the middle strands. You'll follow this rhythm until you reach the end of the strands.
- Once the braid is complete, secure the strands together by holding them tightly at the end. If desired, use a sewing pin to keep everything in place.

Step 7: Joining the Braid
- Insert your hook into the tops of the braided strands.
- Work 2 single crochets into the top of each braided strand (8 single crochets total). This joins the braid into a cohesive piece.
- Chain 1 and turn, then work two rows of double crochet (8 stitches each) across the joined braid.
Step 8: Decreasing for Closure
- To create the tapered end where the bracelet closes:
- On the next row, decrease by working 2 double crochets together (dc2tog) over the first 2 stitches and the last 2 stitches. This leaves 6 stitches in the row.
- On the following row, repeat the decrease steps to leave 4 stitches in the row.
- Chain 1 and turn. Work 1 single crochet in the first two stitches.
Step 9: Creating the Button Loop
- Chain 5 to form the loop for the button.
- Skip the chain stitches and work 1 single crochet in each of the remaining stitches of the row.
- Fasten off, leaving a small tail for weaving.
Step 10: Attaching the Button
- Align the button on the opposite end of the band, making sure the button loop fits securely around it.
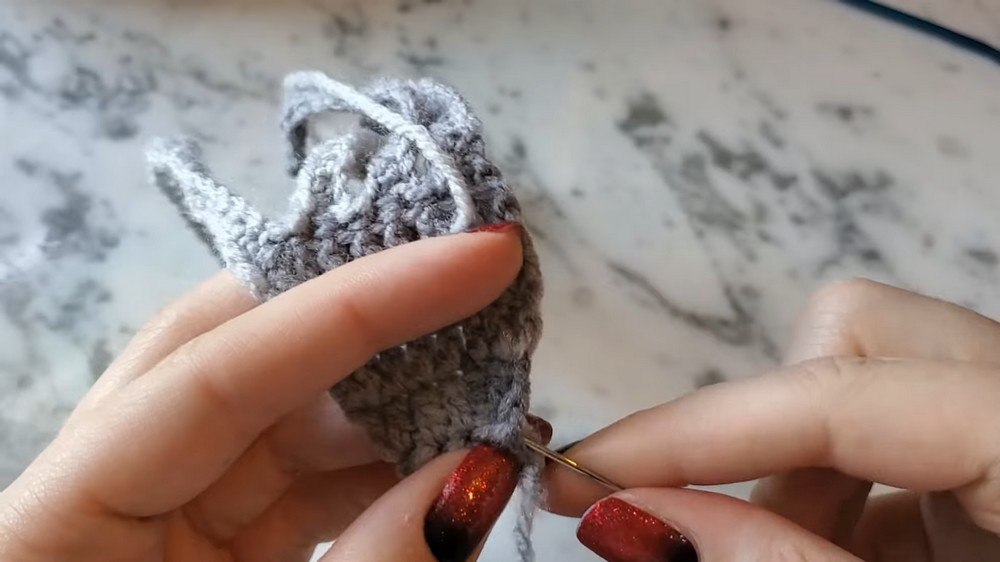
- Using a yarn needle and a small piece of yarn, thread through one of the buttonholes, pull the yarn through the band, and secure it with a knot on the backside.
- Continue threading through the buttonholes and band several times to ensure the button is securely attached.
- Weave in the ends.

Tips for Customization:
- Yarn Color: Use multiple yarn colors for a striped effect or opt for solid colors to keep the bracelet minimalistic.
- Strand Length: Adjust the chain length of the strands for a tighter or looser braid.
- Beads: Add small beads to the strands while crocheting or after the braid is complete.
- Buttons: Experiment with different button shapes and styles for unique looks.

Key Techniques Used:
- Double Crochet (dc): Yarn over, insert hook into stitch, yarn over, pull through two loops, yarn over, pull through last two loops.
- Double Crochet Decrease (dc2tog): Start a double crochet in one stitch, begin another in the next stitch, yarn over, pull through all loops on the hook.
- Single Crochet (sc): Insert hook into stitch, yarn over, pull through the stitch, yarn over, and pull through two loops.
Final Remarks:
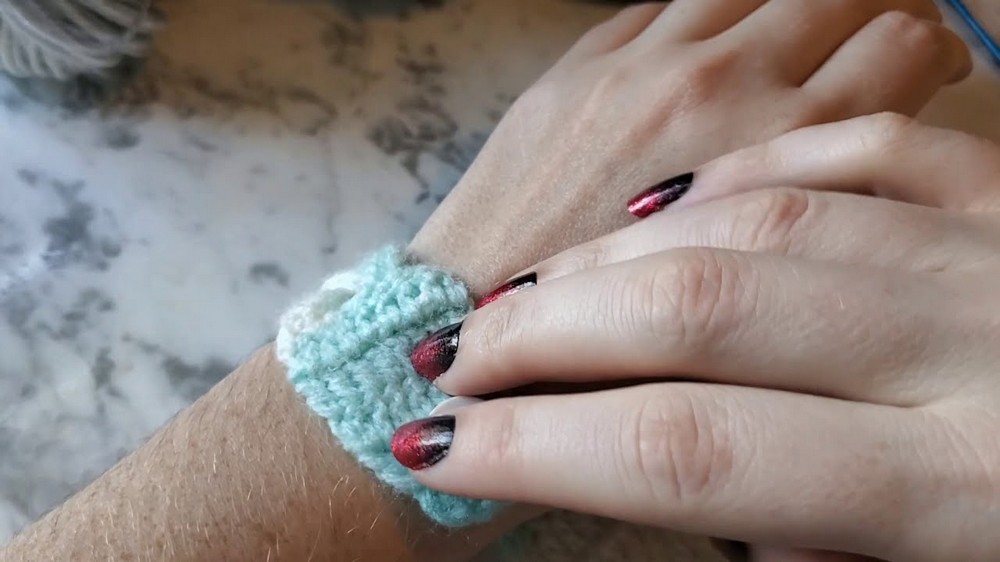
Your braided bracelet with the button closure is now complete. The finished bracelet features a secure loop and button clasp and an intricate braided design that's as practical as it is beautiful. It's lightweight, comfortable, and perfect for any casual or formal occasion.
Conclusion:
This adorable braided crochet bracelet is a quick and rewarding project. Whether you're making it for yourself, a loved one, or as part of a crochet fair inventory, you'll have fun with its simplicity and charm. It's the perfect opportunity to experiment with colors, buttons, and textures to suit your personality and style.
