
Crochet Teddy Bear Keychain Free Pattern Packed With Fun
Adorn your favorite bag with this Free Crochet Teddy Bear Keychain Pattern and make a delightful bear that spreads cheerful vibes.
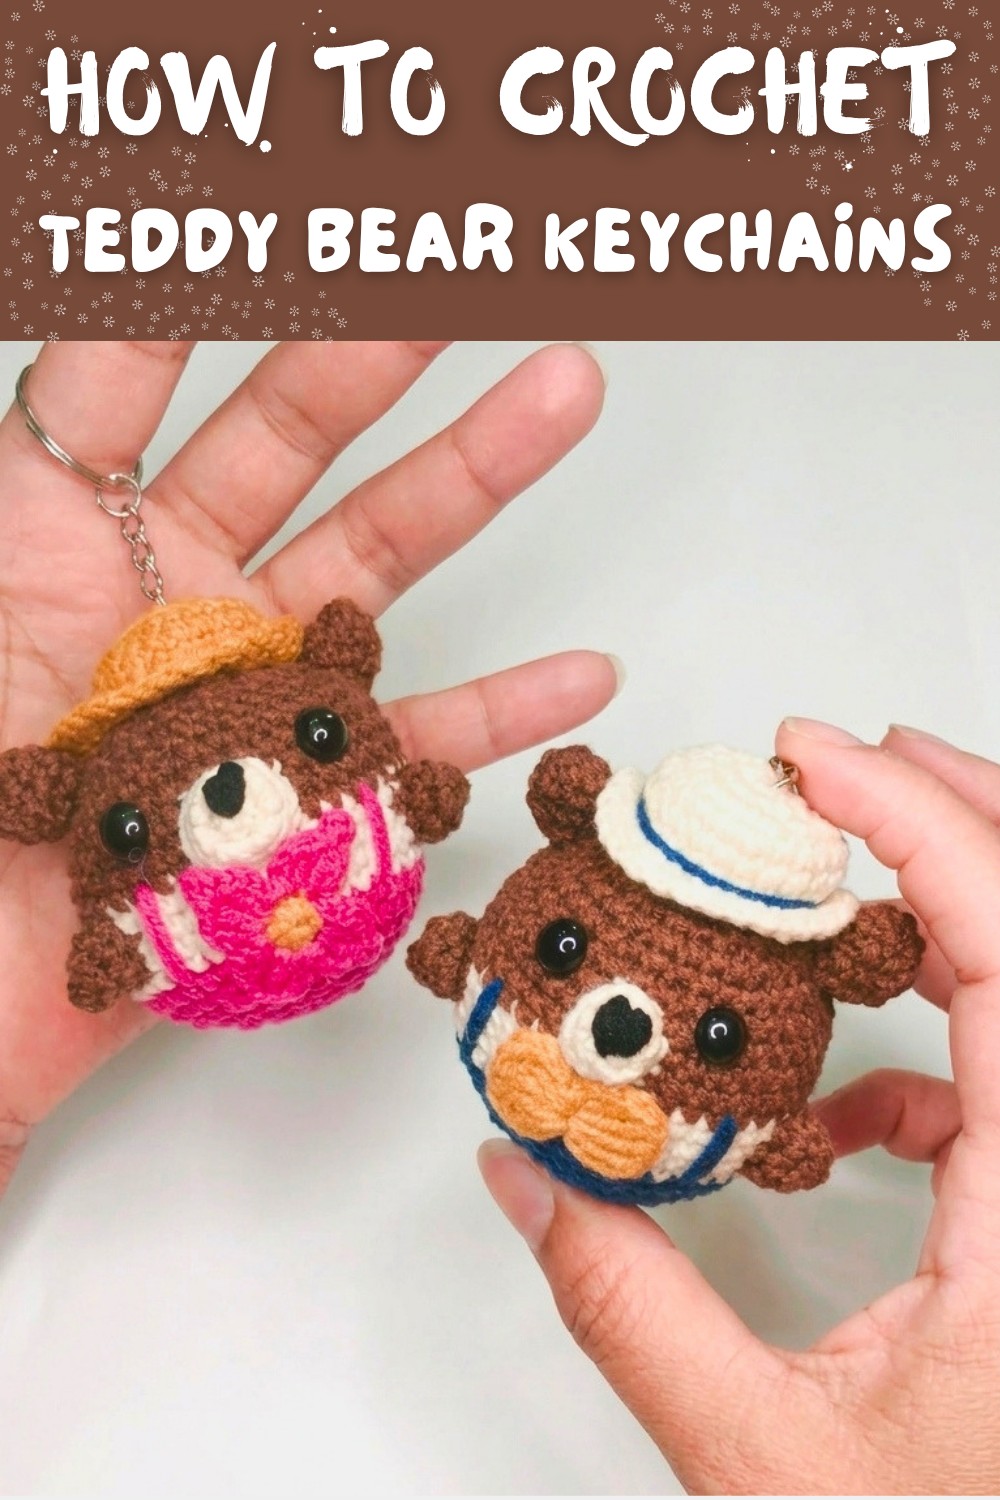
This adorable keychain is perfect for gifting, decorating your belongings, or your bags. The pattern is easy to follow, and the finished keychain will brighten anyone's day with its cuteness and charm. This free crochet pattern allows you to create a small, cuddly teddy bear, which can be personalized for boys or girls. You can pick your favorite colors to make each bear unique. Adding decorations such as a pink bow, flower, or sunflower makes it even more special. Its soft cotton yarn and detailed design give the bear a cozy and beautiful appearance.
Free Crochet Teddy Bear Keychain Pattern to Inspire
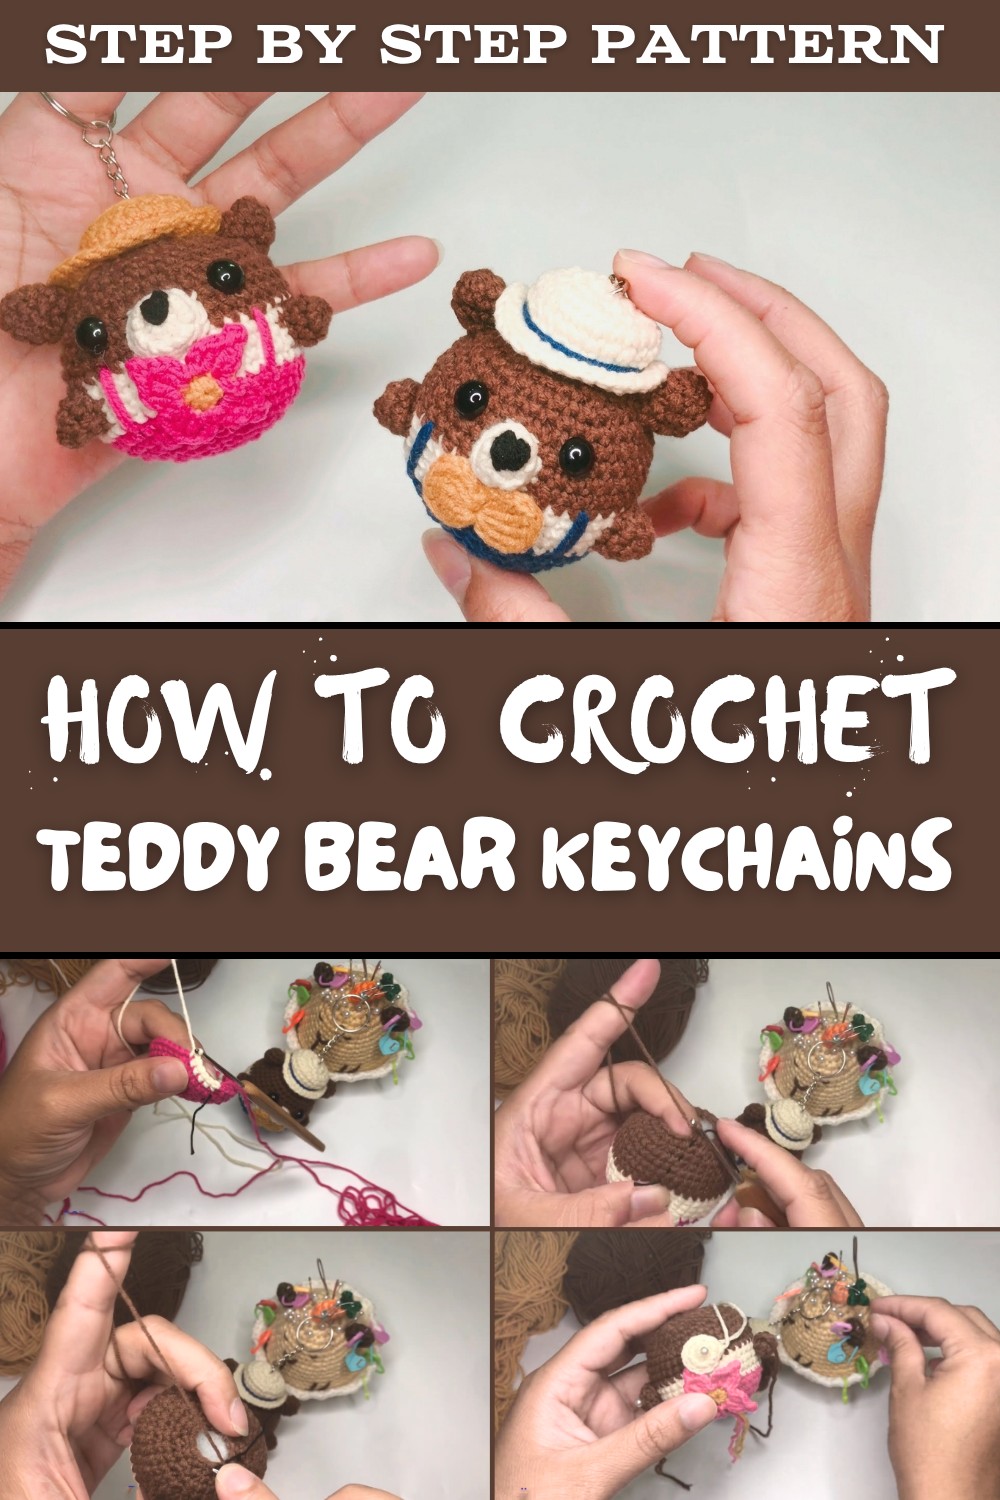
The features of this tiny teddy bear include a round head, small ears, cute paws, and an optional hat to match its personality. The bear gets even more charming when you stitch on a smile or give it expressive eyes made from safety eyes or yarn stitches. To make it stand out, you can add straps that resemble overalls for a playful look.
All you need is cotton yarn, a 2mm crochet hook, stuffing, and a keychain loop. With just a few rounds of stitching, you'll transform simple yarn into a cute miniature teddy bear. This crochet teddy bear keychain is not only cute and eye catching but also has endless uses. You can use it as a bag charm, gift it to friends, or start selling handmade creations. The ability to customize colors, accessories, and expressions makes this bear truly unique.

Crochet Teddy Bear Keychain Pattern
Finished Size
Approximately 3 to 4 inches tall, depending on your chosen yarn and hook size.
Materials
- Yarn:
- Medium weight yarn (e.g., worsted, cotton)
- Main color: Light brown or café for the body
- Secondary colors: Pink, white/cream for contrast and decoration (optional flower or bowtie colors)
- Crochet hook: Size 2 mm
- Polyester stuffing: For filling
- Keychain hardware: Metallic loop or keyring
- Tapestry needle: For sewing parts together
- Stitch marker: To track rounds
- Scissors: For cutting yarn
- Glue (optional): Silicone or hot glue for securing hardware or small accessories
Special Techniques
- Magic Circle: Used to start crocheting in the round.
- Invisible Decrease: For invisible shaping while decreasing stitches. Insert the hook into the front loop of two stitches, pull through, yarn over, and complete as a single stitch.
- Color Change: To switch colors, complete the last pull through of the previous stitch using the new yarn.
Crochet Pattern
The keychain includes the teddy bear's body, limbs, head, ears, and optional accessories like a bowtie/flower and overalls.
Step 1: The Body
Start at the bottom of the bear's body and work upwards.
- Round 1:
Magic circle, crochet 6 single crochets (sc) into the loop. Tighten the circle. (6 sts) - Round 2:
Work 2 sc per stitch (increase) around. (12 sts) - Round 3:
Alternate 1 sc, 1 increase around: 1 sc in the first stitch, 2 sc in the next stitch. (18 sts) - Round 4:
Alternate 2 sc, 1 increase around: 2 sc, then 2 sc in the next stitch. (24 sts) - Round 5:
Alternate 3 sc, 1 increase around: 3 sc, then 2 sc in the next stitch. (30 sts) - Round 6:
Alternate 4 sc, 1 increase around: 4 sc, then 2 sc in the next stitch. (36 sts) - Rounds 7-8:
Work 1 sc in each stitch around with no increases. (36 sts per round) - Round 9:
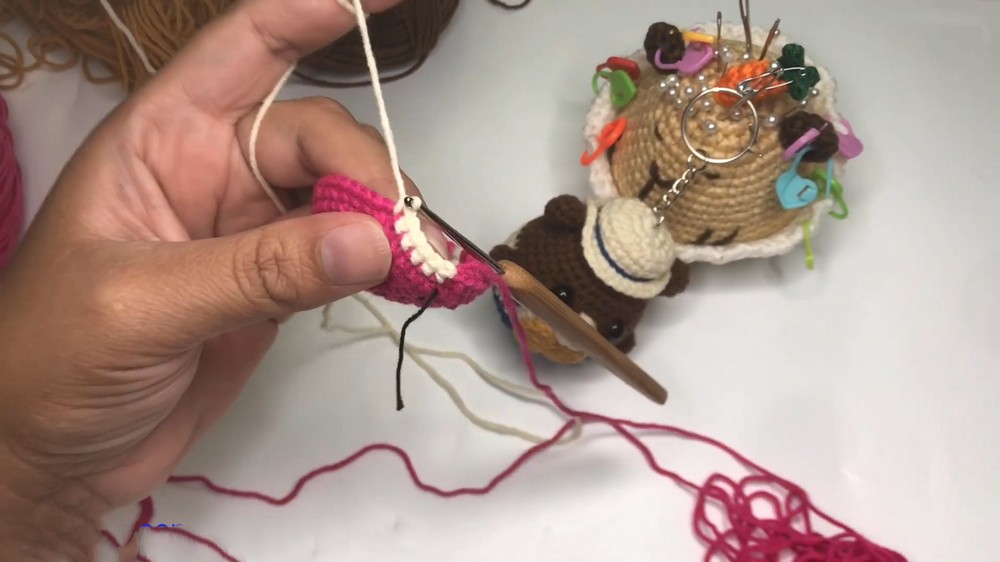
Switch to white/cream yarn. Work 1 sc in each stitch. (36 sts) - Rounds 10-12:
Continue using white yarn, maintaining 1 sc per stitch for 3 rounds. (36 sts per round) - Round 13:
Switch to brown yarn. Work 1 sc in each stitch for this round. (36 sts) - Rounds 14-16:
Continue using brown yarn, 1 sc per stitch, forming the upper body. (36 sts per round)
Step 2: Closing the Body
- Round 17:
Alternate 5 sc, 1 decrease using the invisible decrease method. (30 sts) - Round 18:
Work 1 sc in each stitch. (30 sts) - Round 19:
Alternate 4 sc, 1 decrease. (24 sts) - Round 20:
Alternate 3 sc, 1 decrease. (18 sts) - Round 21:
Alternate 2 sc, 1 decrease. Begin stuffing the body with fiberfill to give it shape. (12 sts) - Round 22:
Alternate 1 sc, 1 decrease. (6 sts) - Round 23:
Work 6 invisible decreases to close. Cut yarn, leaving a long tail for sewing. Using a needle, weave through the final stitches, pull them tight, and secure the yarn inside.

Step 3: The Head
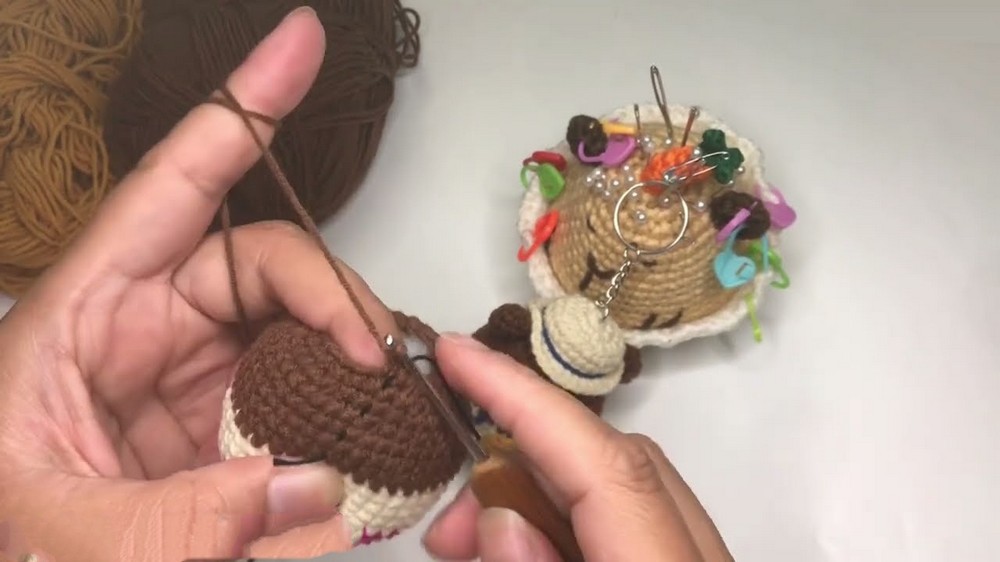
The head is slightly smaller than the body.
- Round 1:
Magic circle, crochet 6 sc into it. (6 sts) - Round 2:
Work 2 sc in each stitch around: 1 increase per stitch. (12 sts) - Round 3:
Alternate 1 sc, 1 increase. (18 sts) - Round 4:
Alternate 2 sc, 1 increase. (24 sts) - Rounds 5-8:
Work 1 sc in each stitch around. (24 sts per round) - Round 9-10:
Begin decreasing. Alternate 3 sc, 1 decrease, then 2 sc, 1 decrease. Add stuffing firmly as you close the round. - Round 11:
Close the head with invisible decreases until 6 stitches remain. Cut yarn, secure, and sew the head to the body.
Step 4: The Limbs (Arms and Legs)
The arms and legs are worked identically. Make four pieces.
- Round 1:
Magic circle, crochet 4 sc into it. (4 sts) - Round 2:
Work 2 sc per stitch. (8 sts) - Round 3-4:
Work 1 sc in each stitch. (8 sts)
Cut yarn, leaving a long tail, and sew the limbs to the body symmetrically.
Step 5: Ears
Create two ears.
- Round 1:
Magic circle, crochet 6 sc into it. (6 sts) - Round 2:
Alternate 1 sc, 1 increase. (9 sts) - Round 3:
Work 1 sc in each stitch with no increases. (9 sts) - Round 4 (Closing):
Work 1 sc, 1 decrease around. (6 sts)
Sew the ears symmetrically to the top of the head.
Step 6: Decorations
1. Bowtie or Flower
- For the bowtie:
Create a magic circle, crochet 4 double crochet (dc) into the ring, followed by 3 chains and a slip stitch into the circle. Repeat for the second half of the bowtie. Securely sew under the head. - For the flower:
Use yellow and pink yarn. Make 8 sc with yellow in a magic circle for the center. With pink yarn, crochet petals as 3 chains, a dc, and a slip stitch into each sc around. Attach the flower similarly under the head for added charm.

2. Face Details
- Eyes: Attach small safety eyes. Alternatively, embroider small black dots.
- Nose: Embroider a small triangular nose with black yarn near the base of the head, and add a simple smile if desired.
3. Overalls (Optional)
With blue yarn, create vertical straps across the teddy bear's chest and back, as if it's wearing overalls. Secure the ends.
Step 7: Keychain Attachment
- Sew or glue the keychain hardware securely to the top of the head.
- For extra durability, apply a dab of glue to where the hardware attaches. Ensure the glue dries fully.

Finishing and Final Touches
- Check that all components are securely attached.
- Gently shape the teddy bear using your hands to adjust stuffing and alignment.
- Weave in all loose ends for a clean finish.

Final Words
Your crochet teddy bear keychain is now ready. This delightful craft combines both simplicity and creativity. It's an excellent gift option or idea for a small business project since it's customizable in colors and decorations.
Tips for Success
- Always use a stitch marker to keep track of rounds.
- Adjust hook and yarn size for different teddy bear sizes.
- Keep your tension even to ensure consistent shaping.
- Handle small safety pieces (e.g., eyes) carefully, especially if crafting for young children.
By following these steps, you'll have a delightful and durable teddy bear keychain that's sure to bring joy.