
Cheerful Crochet Daisy Bag Free Pattern
Stitch a lovely flower bag for every outing with this Free Crochet Daisy Bag Pattern, making your accessory collection both unique and beautiful.
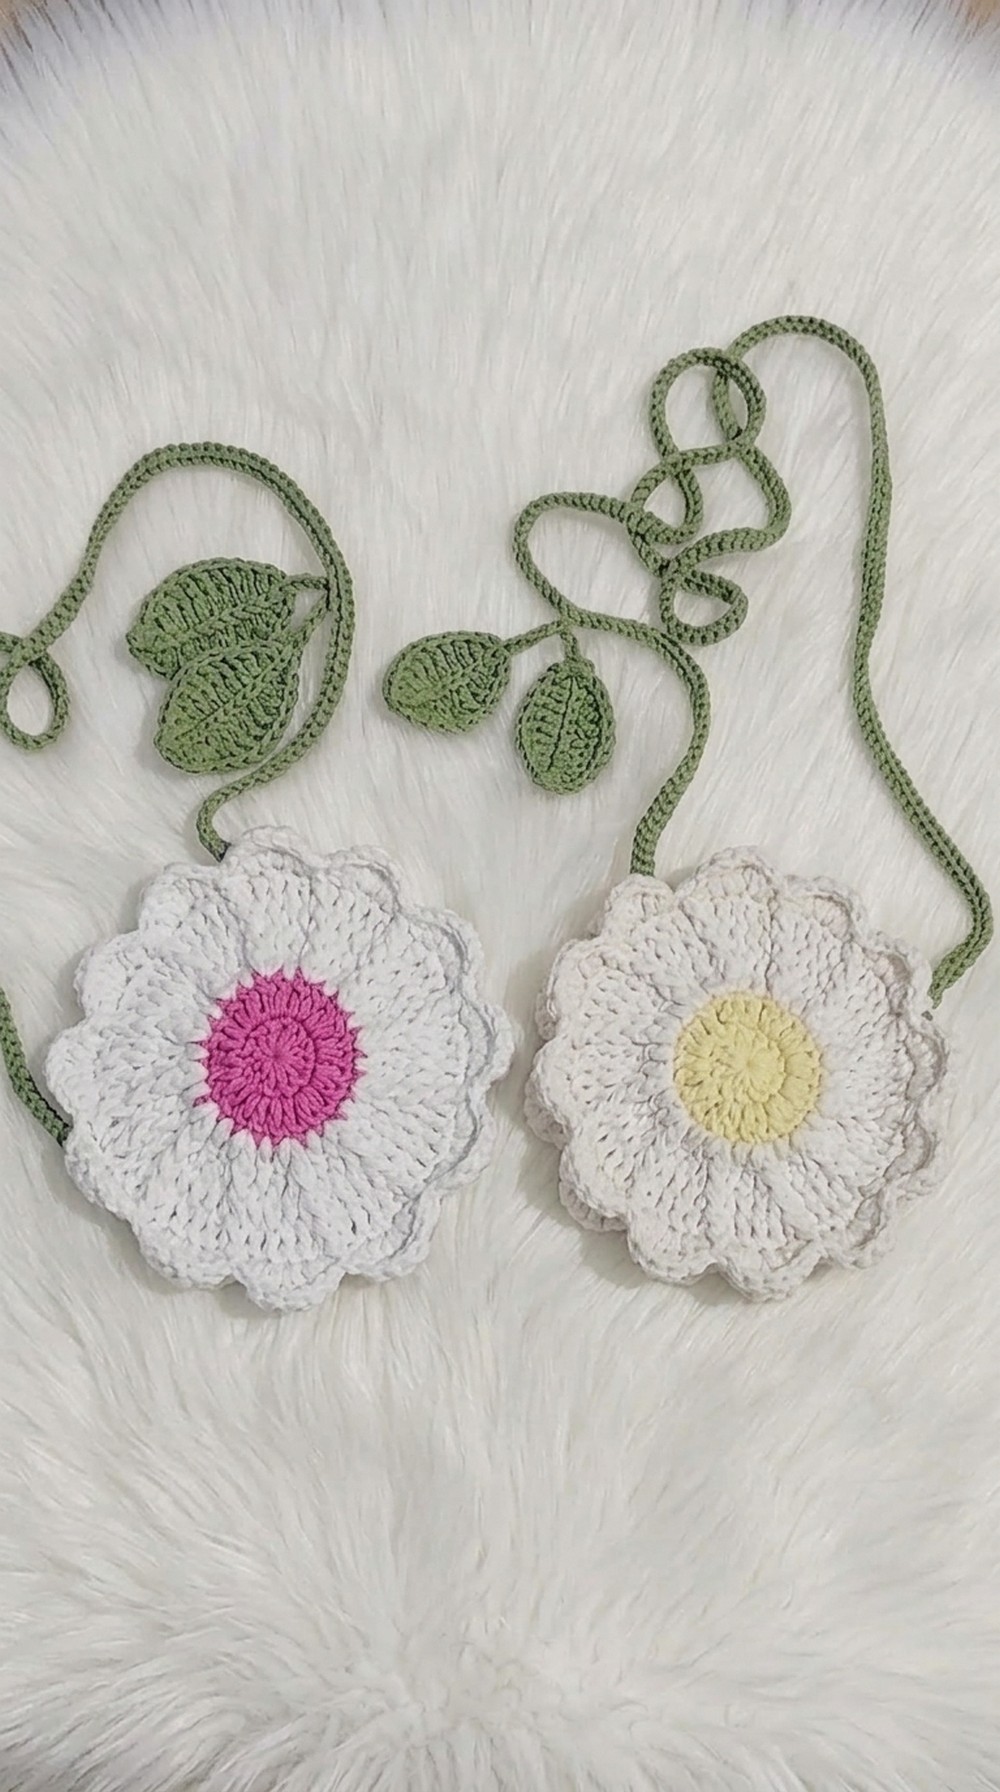
Featuring a delightful daisy inspired design, this beautiful bag is the perfect mix of creativity, functionality, and charm. With its round flower shape and vibrant details, it captures the essence of a blooming daisy, making it a standout choice for anyone who loves unique handmade creations. Its features include a realistic daisy look, complete with a bright yellow center surrounded by soft, elegant petals. The bag is lightweight yet sturdy, ideal for carrying small essentials like toys, keys, or personal accessories.
Daisy Bag Dreams Come True with This Free Crochet Pattern
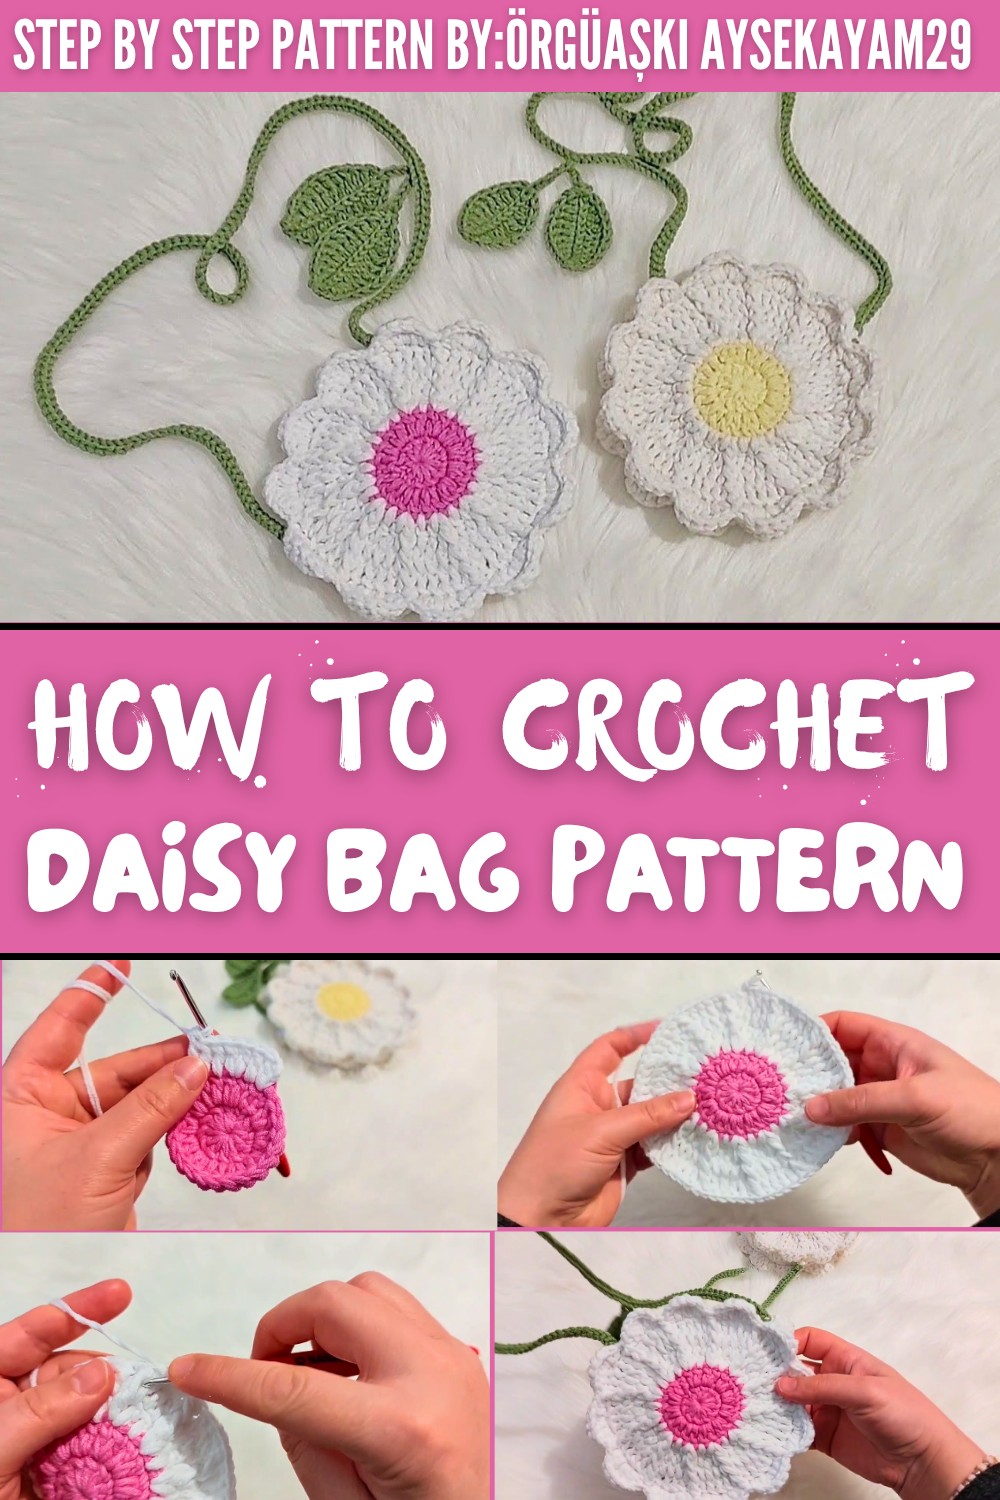
While the classic daisy colors (like white, yellow, and green) are always a favorite, you can easily experiment with other shades. Soft pastels add a delicate touch, while bold and vibrant tones create a striking statement piece. You can even enhance its charm with added details like crochet leaves, beads, or colorful accents.

This pattern is simple and beginner friendly, using basic techniques like double crochet and the magic ring. All you need are basic materials: Alize Cotton Gold yarn, a 3 mm crochet hook, and your creativity. In just a short time, you'll have a beautiful and functional bag that's both fun to make and delightful to use.
This project is not just a bag-it's a cheerful, handcrocheted work of art that brings joy and uniqueness to anyone who wears it. Whether you crochet it for daily use or as a meaningful handmade gift, this daisy bag is a wonderful way to showcase creativity and brighten someone's day.
Dais Themed Crochet Bag Pattern
Materials Needed
Before beginning, gather the following materials:
- Yarn:
- Alize Cotton Gold Yarn or any cotton blend yarn of your choice.
- Off white/cream for the petals and base.
- Yellow for the daisy center.
- Green for the leaves and detailing.
- Optional: Pink or any contrasting color for customization.
- Alize Cotton Gold Yarn or any cotton blend yarn of your choice.
- Crochet Hook: 3 mm.
- Sewing Needle: For assembling the bag and weaving in ends.
- Scissors: For trimming yarn.
- Tape Measure: To measure strap length.
- Stitch Markers (Optional): To help keep track of rounds.
Gauge and Finished Size
- Gauge: 12 stitches = 4 inches using double crochet (dc).
- Finished Size:
- Daisy Diameter: Approximately 6 inches (15 cm).
- Strap Length: Adjustable (80-100 cm recommended).
Step by Step Instructions
Step 1: Create the Daisy Base (Bag Panels)
The bag has two main circular panels for the front and back, worked separately, which are later joined together.
- Start with a Magic Ring:
- Create a magic ring and chain 2 to secure it.
- Round 1:
- Work 12 double crochets (dc) into the magic ring.
- Pull the ring tight to close and join with a slip stitch to the first stitch.
- Stitch Count: 12.
- Round 2:
- Chain 2 (counts as the first dc).
- Work 2 dc into each stitch around.
- Join with a slip stitch.
- Stitch Count: 24.
- Round 3:
- Chain 2.
- Work 1 dc into the next stitch, then 2 dc into the next stitch.
- Repeat this pattern around the circle.
- Join with a slip stitch.
- Stitch Count: 36.
- Round 4:
- Chain 2.
- Work 1 dc into each of the next 2 stitches, then 2 dc into the next stitch.
- Repeat around the circle.
- Join with a slip stitch.
- Stitch Count: 48.
- Round 5:
- Chain 2.
- Work 1 dc into each of the next 3 stitches, then 2 dc into the next stitch.
- Repeat this pattern around.
- Join with a slip stitch.
- Stitch Count: 60.


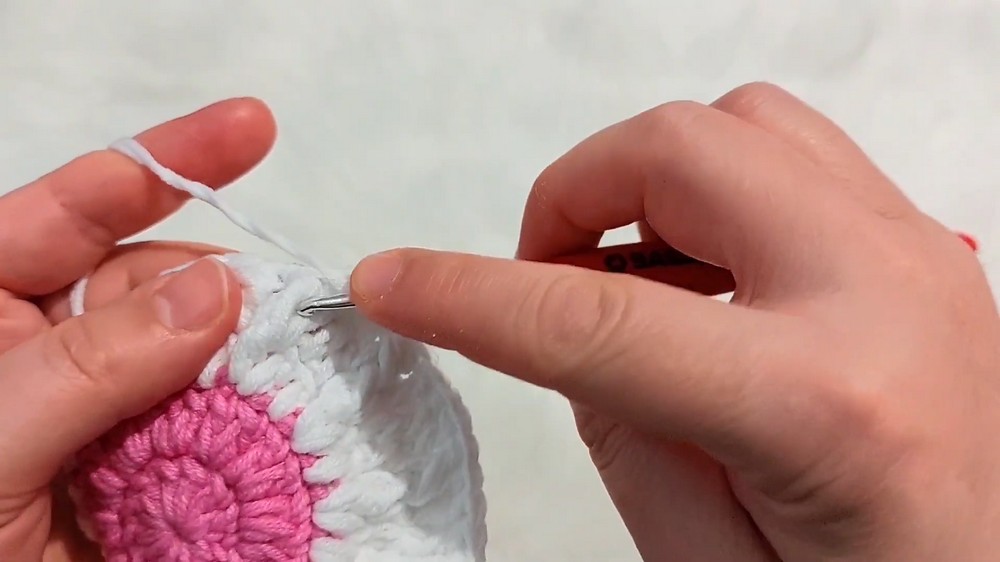


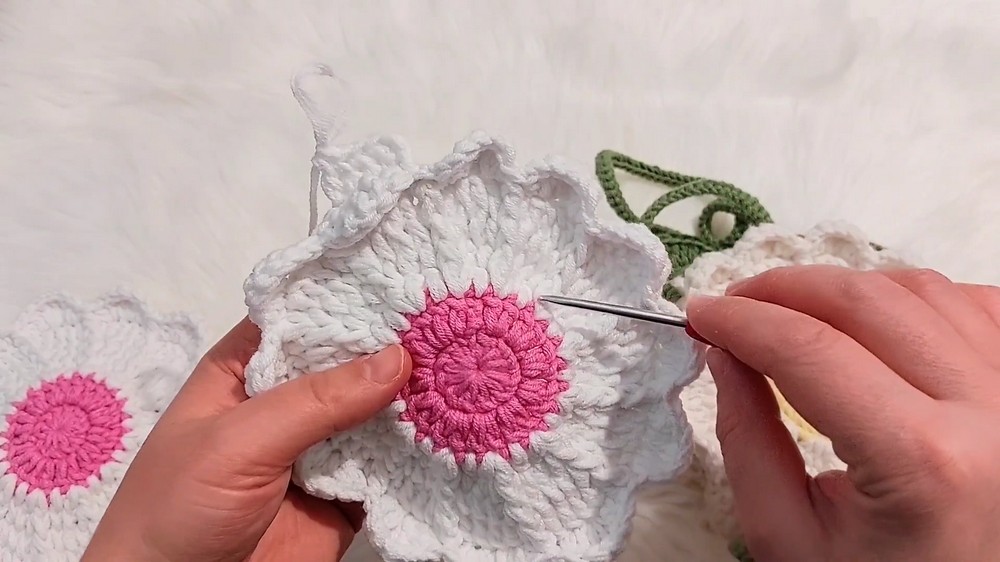
Tip: If you'd like a bigger bag, add more rounds using the same pattern of gradual increases as described above (e.g., 4 dc between increases for Round 6).

Make Two Panels: Repeat all the steps above to create a second identical panel. Set both panels aside for assembly.

Step 2: Assemble the Bag Body
- Prepare for Assembly:
- Place the two circular panels together, lining up their stitches with the wrong sides facing inward.
- Sew the Edges:
- Using a sewing needle and off white yarn, sew the panels together by working through the outer loops of each stitch around the circle.
- Important: Leave an opening at the top of the bag (approximately 3 "leaves" wide).
- Neat Finish Option:
- The outer loop join creates a nearly invisible seam and leaves the edges neat.
Step 3: Add Daisy Petals
Adding petals gives the bag its charming, floral appearance.
- Attach White Yarn:
- Start at the top edge using a slip stitch to join white yarn.
- Create the Petals:
- Into the first stitch, work 1 single crochet (sc), followed by 1 half double crochet (hdc), and 3 double crochets (dc).
- Skip one stitch and repeat the petal pattern in the following stitch.
- Continue the petal pattern around the entire opening of the bag.
- Optional Customization:
- Add a contrasting border (using pink or another color) on each petal for more definition.
Step 4: Crochet and Attach Leaves
Leaves add a playful, finishing touch. Here's how to make them.
- Chain the Leaf Base:
- Use green yarn and chain 13 stitches.
- Shape the Leaf:
- Work the following pattern along one side of the chain:
- 1 sc into the first chain.
- 1 hdc into the next 2 chains.
- 1 dc into the next 4 chains.
- 1 triple crochet into the next 3 chains.
- To complete the leaf, mirror the pattern on the other side of the starting chain.
- Work the following pattern along one side of the chain:
- Add Veneer Detail (Optional):
- Slip stitch down the center of the leaf for a textured and realistic vein.
- Repeat and Attach:
- Create 2-4 leaves and attach using a sewing needle.
- Position them near the top opening of the bag for a decorative accent.
Step 5: Create the Bag Strap
- Chain the Strap:
- Chain 160 stitches (or more for a longer strap).
- Optional Double Layer Strap:
- For extra thickness, single crochet into each chain stitch and slip stitch back along the opposite side.
- Attach the Strap:
- Secure the strap on each side of the bag opening using the sewing needle and yarn.
Note: You can adjust the placement and length of the strap for comfort or aesthetic preferences.
Step 6: Finishing Touches
- Weave in Loose Ends:
- Use a tapestry needle to tuck and secure all loose yarn ends into the bag.
- Blocking (Optional):
- Block the bag to improve its shape. Lightly dampen it, shape it, and let it air dry.

Customization Ideas
- Color Variations:
- Use vibrant shades or varying tones to match seasonal themes. For example, soft pastels for spring or warm colors for autumn.
- Embellishments:
- Add small decorative features like buttons, beads, or embroidered flowers for a unique, textured finish.
- Add a Lining:
- Sew in a fabric lining to make the bag sturdier and prevent small items from slipping through stitches.
Helpful Tips for Success
- Consistent Tension:
- Keep your yarn tension even to achieve a uniform finish.
- Use Markers:
- Mark the beginning of each round to keep track of stitches.
- Double Your Yarn:
- If using thinner yarn, double it to make the bag more durable and structured.
Final Look and Remarks
Once completed, your daisy themed crochet bag will exude charm and whimsy, making it ideal for casual outings or as a delightful gift for little ones. The bag's versatile design makes it easy to customize, offering endless opportunities to make it your own.
We hope you enjoyed following this pattern and feel proud of your final creation. Don't forget to experiment with colors, embellishments, and personal touches to elevate your bag's appeal. Crochet projects like this are a great way to express creativity and spread joy.