
Chic Free Crochet Scarf Style Crop Top Pattern With Fashion Appeal
Wake up your fashion game with this crochet scarf style crop top pattern that combines comfort, and style to help you build a trendy wardrobe piece ideal for sunny days.
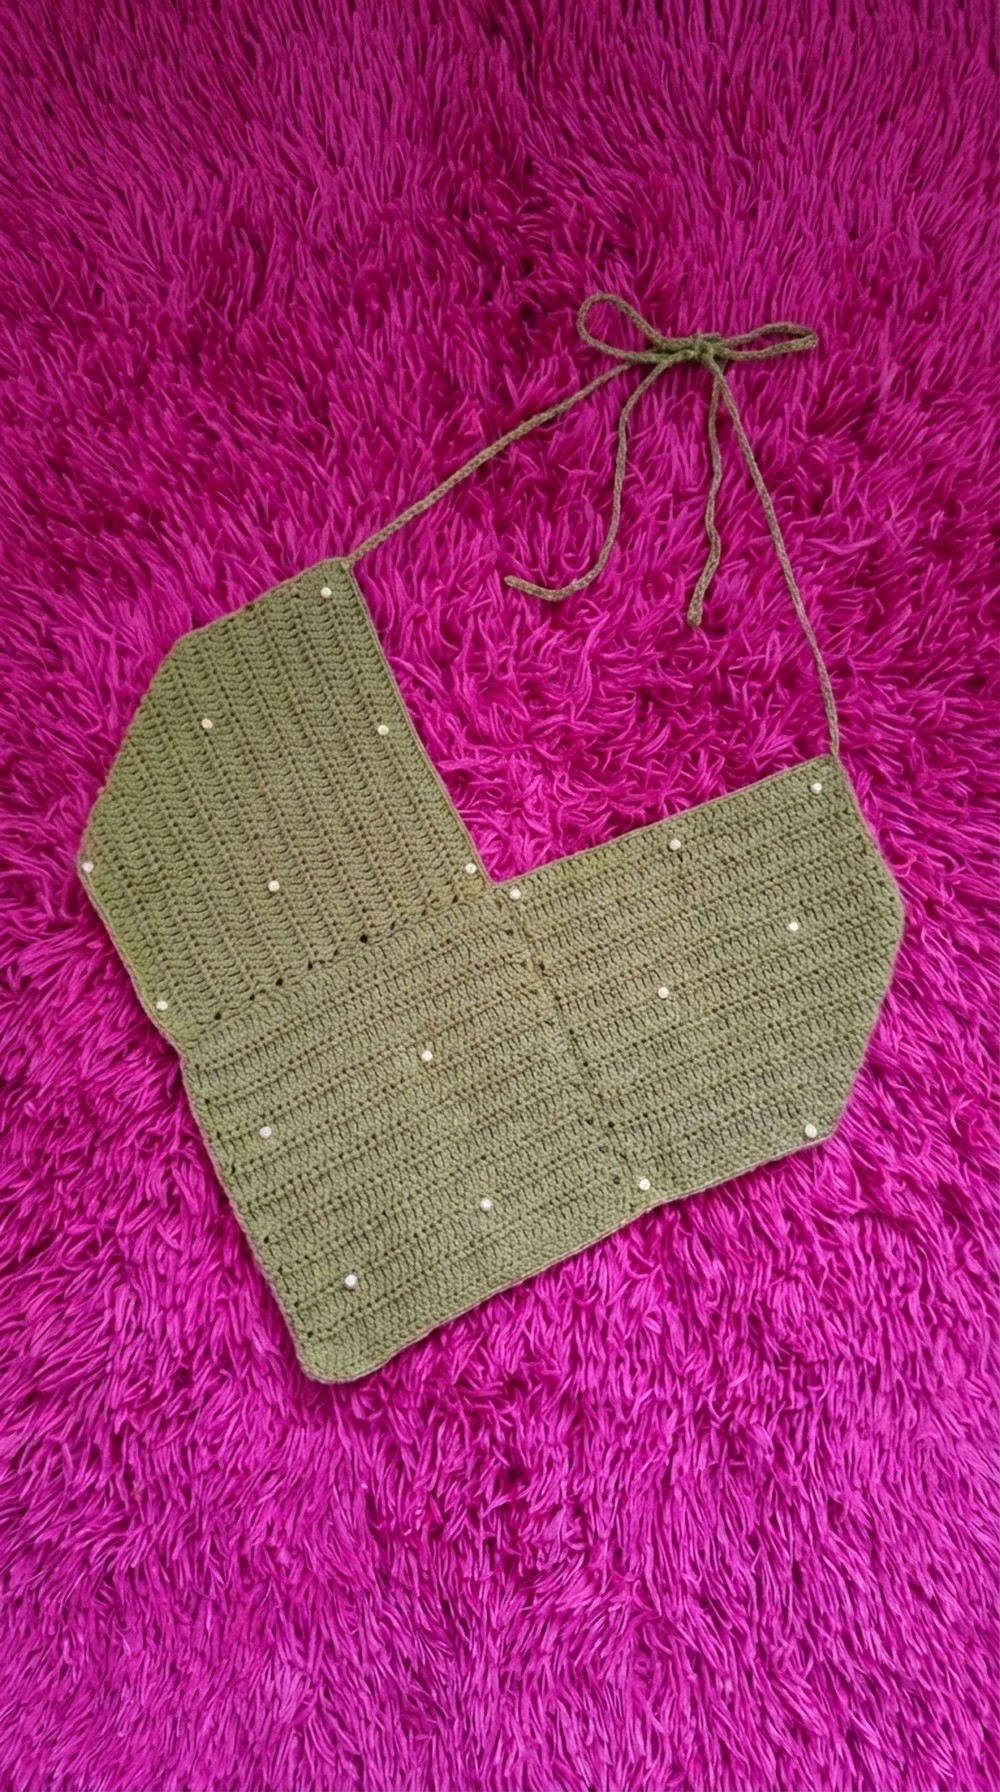
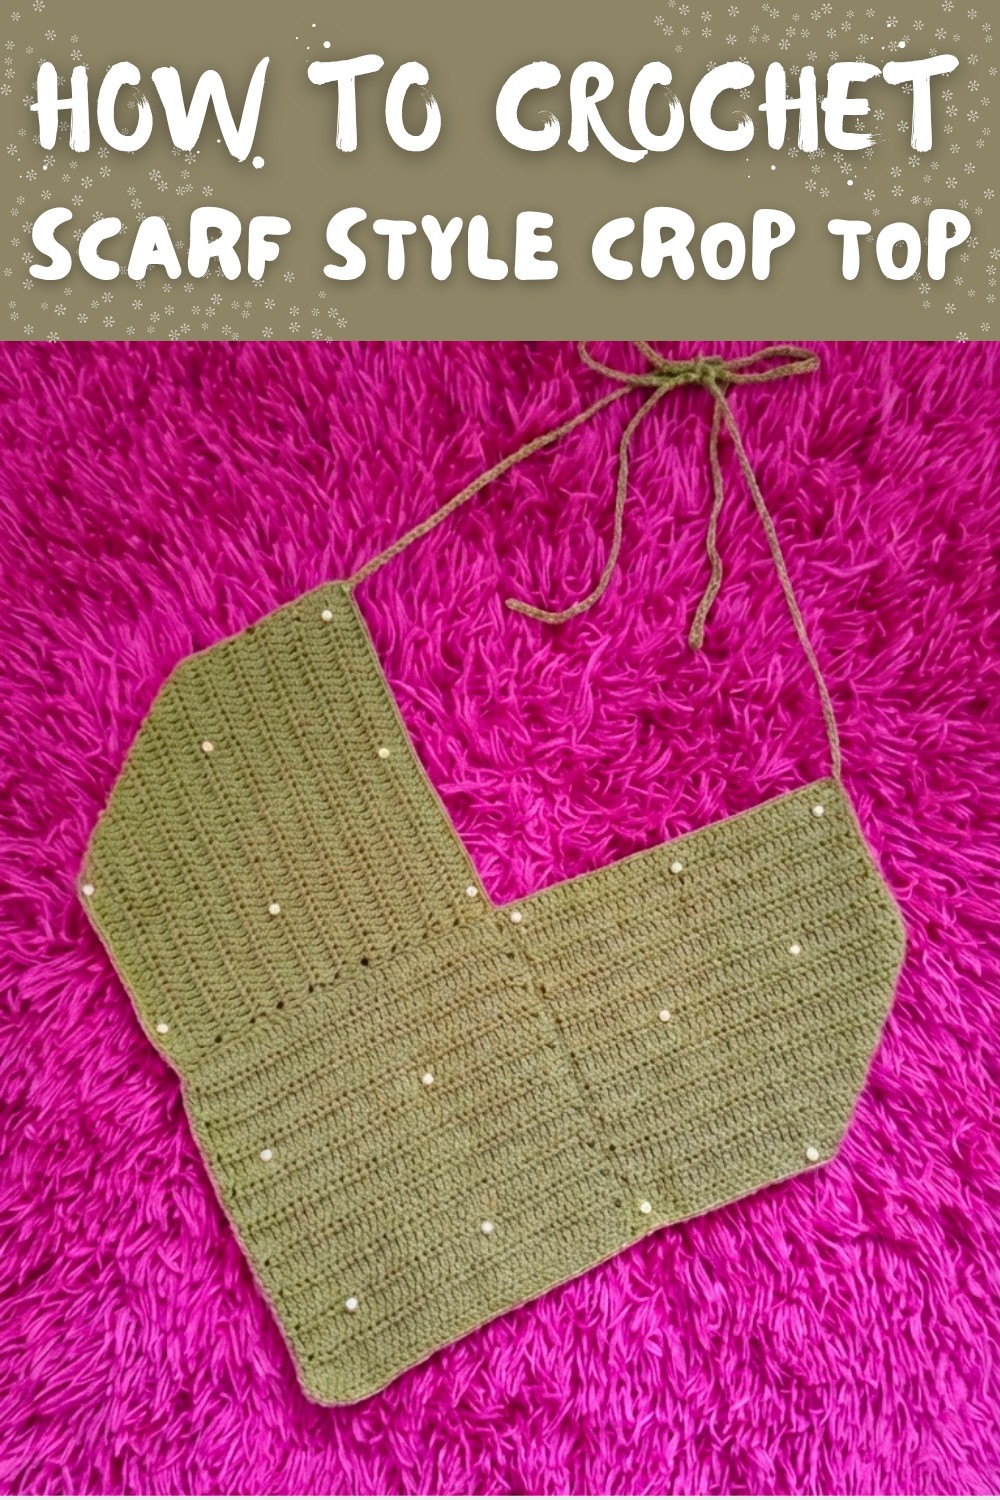
This crochet project is an exciting way to create a stylish and fun outfit for your wardrobe. Imagine wearing a beautiful crop top that looks like a scarf, giving you a unique and modern look. This design is light, soft, and super comfortable, making it perfect for hot summer days or casual outings with friends. It's not just fashionable but also easy to pair with jeans, skirts, or shorts, making it a versatile piece for any occasion. What makes this top so special is its scarf style triangular shape at the front, which adds a touch of elegance and charm. The adjustable straps that tie around the neck and back ensure a perfect fit for everyone.
Free Crochet Scarf Style Crop Top Pattern To Make Every Look Pop
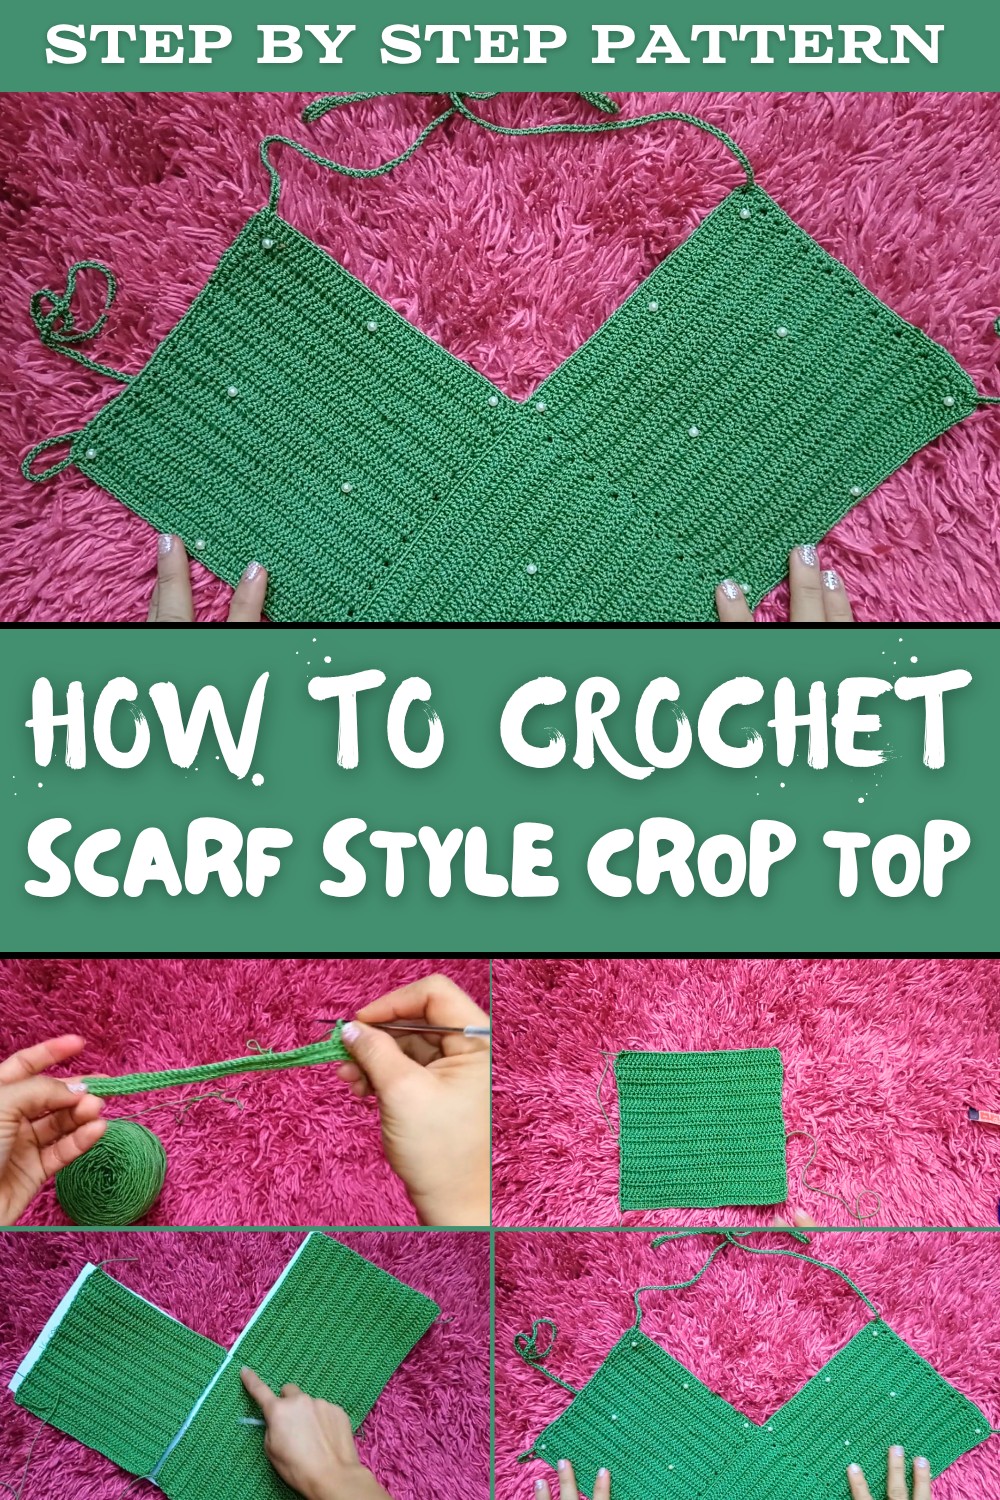
You can personalize it by choosing your favorite yarn color or adding decorations like beads or tassels, so your top truly reflects your style. This project is great for people of all skill levels, including beginners who are just getting started with crochet. The steps are simple and easy to follow, guiding you through the entire process from start to finish. Plus, it's not just about wearing something fashionable - the joy of making it yourself is incredibly rewarding.
If you love creative and unique clothing, this crop top will be an exciting addition to your wardrobe. It's a perfect mix of fun, comfort, and style. Whether you're headed to the beach, a picnic, or just relaxing with friends, this handmade beauty will make you stand out and feel confident. Crochet one today and enjoy wearing something that is both trendy and totally your own.
Crochet Scarf Style Crop Top Pattern
Finished Size
The pattern is for a Size S:
- Upper Rectangles (2 pieces): 17 cm (width) × 16 cm (height)
- Lower Triangle: 16 cm × 16 cm
To adjust for larger sizes:
- Increase the width and height of the rectangles and triangle (e.g., for M or L, increase to 18 cm × 18 cm or beyond).
Materials Needed
The materials for this project are simple and readily available:
- Macramé Yarn:
- Thickness: 2 mm
- Color: Green (or any color you prefer)
- Crochet Hook: Size 2 mm
- Scissors for trimming yarn ends
- Pearls: Use as many as you like to decorate the crochet top
- Sewing Needle with thread (for attaching pearls)
- Measuring Tape to ensure accurate sizes
- Notebook Paper & Tape (optional): For creating a paper template
Gauge
This project doesn't require precise gauge measurements. To ensure proper size, simply keep the paper template handy to adjust yarn chain lengths and visualize the overall look.
Step by Step Instructions
1. Preparing the Template
To simplify the sizing process, create a paper template. Use notebook paper or similar, tape it together, and cut according to the dimensions:
- Cut two rectangles measuring 17 cm × 16 cm (for the upper part).
- Cut one triangle measuring 16 cm × 16 cm (for the lower, pointed portion).
Once the pieces are cut, align them together to see how the crop top will fit.
2. Crocheting the Upper Rectangles
Each rectangle forms the upper portion of the crop top.
Rectangle 1:
- Foundation Row:
- Begin with a slip knot.
- Chain a length equal to 17 cm (this is approximately 40-50 chains, depending on your yarn and tension). Use your measuring tape for accuracy.
- Row 1:
- Work double crochet (dc) into the fourth chain from the hook.
- Continue crocheting double crochets across the row.
- At the end of the row, chain 3 and turn your work.
- Row 2 and Beyond:
- Work double crochets into each stitch across.
- At the end of each row, chain 3, turn, and repeat.
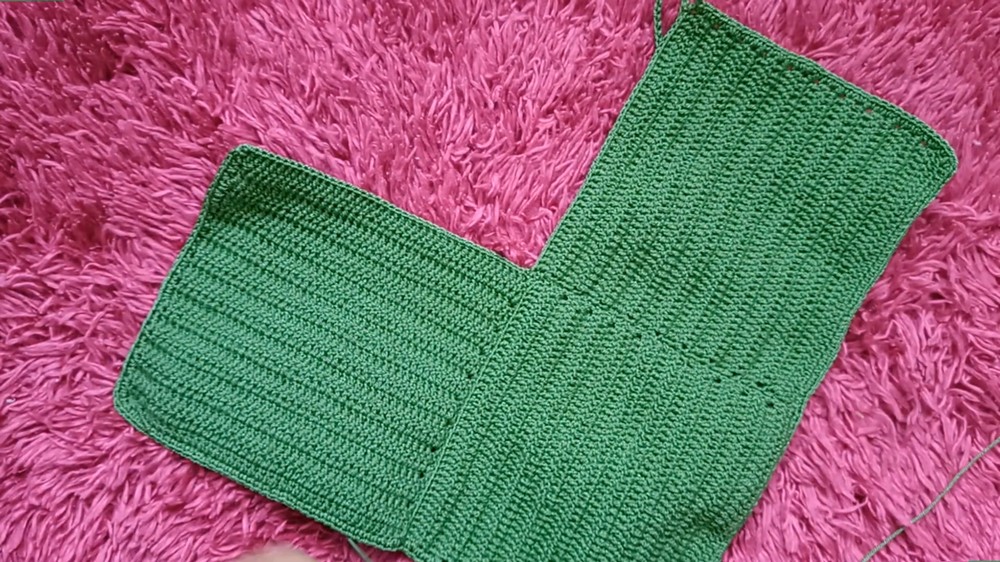
- Continue until the height measures 16 cm.
Once complete, fasten off the yarn, leaving a long tail (approximately 1.5 meters) for sewing.

Rectangle 2:
Follow the same steps to make a second rectangle identical to the first.
3. Crocheting the Lower Triangle
The lower triangle shape adds the signature charm to this crop top and creates the center point that reaches the belly.
- Foundation Row:
- Begin with a slip knot.
- Chain a length equal to 16 cm (approximately 40 chains, depending on yarn and tension).
- Row 1:
- Work double crochets (dc) into the fourth chain from the hook.
- Continue double crochets across the row, chain 3, and turn.
- Shaping the Triangle:
- To create a gradual decrease, skip 1 stitch at the start and end of every second row.
- This reduces the stitch count row by row, forming a pointed triangle.
- Continue Decreasing Rows:
- Repeat the process until only a few stitches remain at the tip of the triangle.
- Fasten off and leave a long tail for sewing.

4. Assembling the Crop Top
Once the three pieces (two rectangles and one triangle) are complete, it's time to assemble your top.
Step 1: Lay Out the Pieces
- Place the two rectangles side by side at the upper portion. Align the edges where they will meet.
- Place the triangle below them, aligning the triangle's flat base with the bottom edges of the rectangles.
Step 2: Sewing the Pieces Together
- Use the long yarn tails left from crocheting to stitch the pieces together.
- Sew each rectangle to the sides of the triangle using a slip stitch or whip stitch.
- Ensure the edges are well aligned and tightly secured.

5. Adding Decorative Details
Now that the top is assembled, it's time to add finishing touches that make the project stand out.
Edge Finishing
To give the top a clean, professional look:
- Grab your yarn and crochet hook.
- Begin crocheting single crochets along the rough edges of the assembled crop top.
- Work all around the border, except for any machine-finished areas (usually the top of the rectangles).
- At corners, such as the triangle's tip, work two single crochets into the same stitch to create a smooth turn.
Creating Straps
You'll need straps for the neck and back ties.
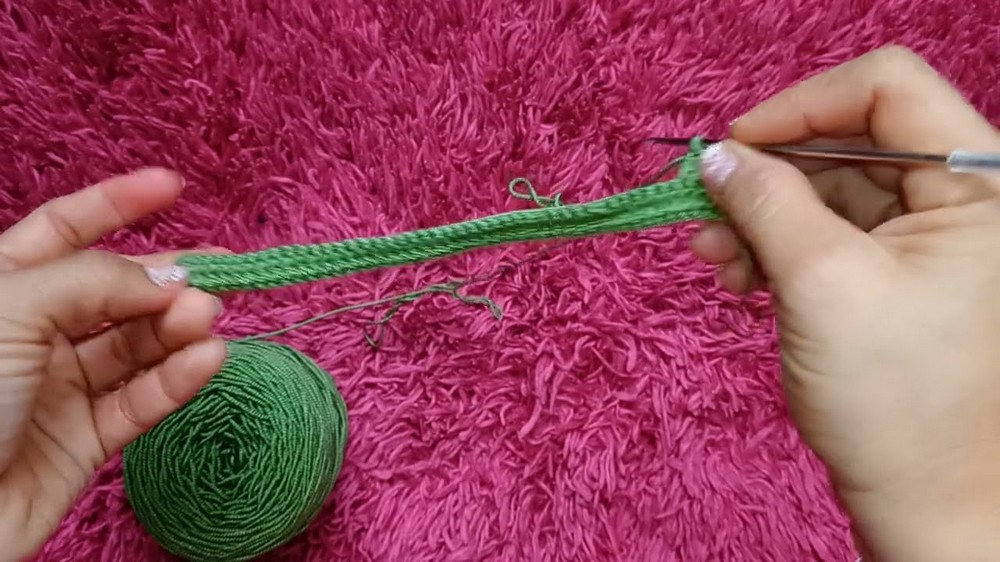
- Neck Straps:
- At the top corners of each rectangle, create a chain of 55 cm.
- Once the chain is complete, secure it with a slip stitch at the starting point. Repeat for the second strap.
- Back Straps:
- Similarly, attach chains of your desired length at the back edges of the triangle (these will tie behind your back).
- Make sure the straps are strong for secure and comfortable wear.
6. Adding Pearls
Pearls add elegance to your crop top. Follow these steps to sew them on:
- Thread a needle with sewing thread.
- Insert the needle through the first pearl and stitch it onto the crochet surface.
- Secure each pearl by sewing 2-3 loops of thread to lock it in place.
- Distribute pearls evenly across the upper rectangles and the triangle base. You can arrange them randomly or create a decorative pattern.
- Once completed, tie off the thread securely to avoid loosening.

Customization Tips
- Adjusting Size:
- For larger sizes, increase the width and height of the rectangles and triangle. For example, size M could use 18-19 cm measurements, and size L could use 20-22 cm measurements. Adjust accordingly to fit bust size.
- Color Options:
- Experiment with bright summer colors or soft pastels based on what suits you best.
- Alternative Decorations:
- Swap pearls for sequins, tiny buttons, or custom applique designs.
- Alternative Straps:
- Use satin ribbon, macramé cords, or braided yarn for a unique look.
- Fabric Lining:
- For added coverage, sew a fabric lining on the back of the crop top.

Special Techniques
- Single Crochet (sc): Used for clean edging and strong stitches.
- Double Crochet (dc): Creates a soft, breathable fabric perfect for summer projects.
- Decreasing Rows: Gradually shaping the triangle ensures symmetry.
Conclusion
The pearl decorated triangle crop top is not just a crochet project; it's a statement of creativity and style. Whether for a beach day, casual outing, or festival, this charming top is lightweight, breathable, and fashionable.
By using macramé yarn, the crop top remains durable while retaining an elegant look. The addition of pearls, straps, and a neatly finished border elevates its appeal, making it suitable for any occasion.
This piece also makes for a thoughtful handmade gift that anyone would appreciate. With the detailed instructions and customization ideas provided, enjoy bringing your unique vision to life.
Key Remarks
- Always measure your dimensions before starting to avoid mismatched sizing.
- Use strong thread for sewing pearls and ensure all decorations are securely attached.
- Maintain a consistent crochet tension for smooth and even stitches.
Every stitch of this project is a step closer to creating something beautiful.