
Crochet a Classic Straight Skirt – Free Pattern & Tutorial
Refresh your wardrobe with Free Crochet Straight Skirt Pattern featuring a classic look that suits casual days weekend plans & outings alike.
A skirt that falls straight from the waist offers a timeless and flattering look suitable for all body types. This style is designed to provide ease of movement and a comfortable fit without being too tight or too loose. Perfect for all seasons, it can be made using a crochet straight skirt pattern that guides you through every step clearly and simply. Adjusting the size is straightforward, allowing you to match the skirt perfectly to your measurements by changing the length or circumference of the waist and hips.
Free Crochet Pattern for a Classic Straight Skirt
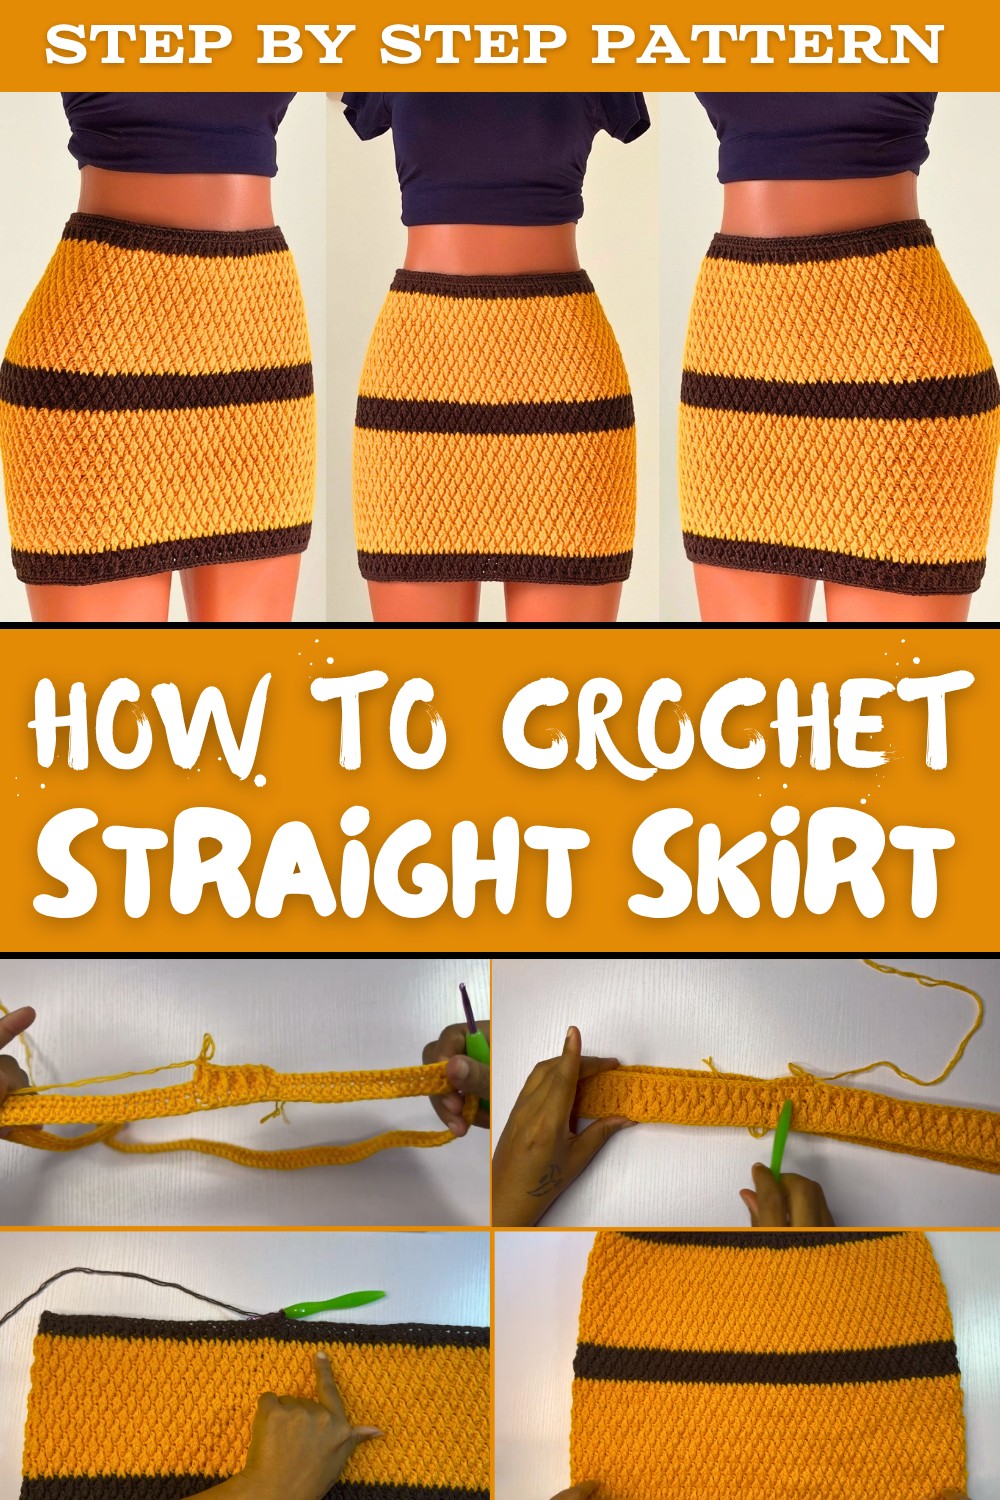
Making one using yarn allows for infinite possibilities in colors and textures, so every piece can reflect individual taste and style. This type of skirt works well for everyday wear, whether heading to work, relaxing at home, or attending casual gatherings. The stitch patterns involved are generally easy to follow, making it accessible even for beginners who want to learn and improve their skills gradually. Including an elastic or a drawstring in the waistband can add extra comfort and ensure the skirt stays in place throughout the day.
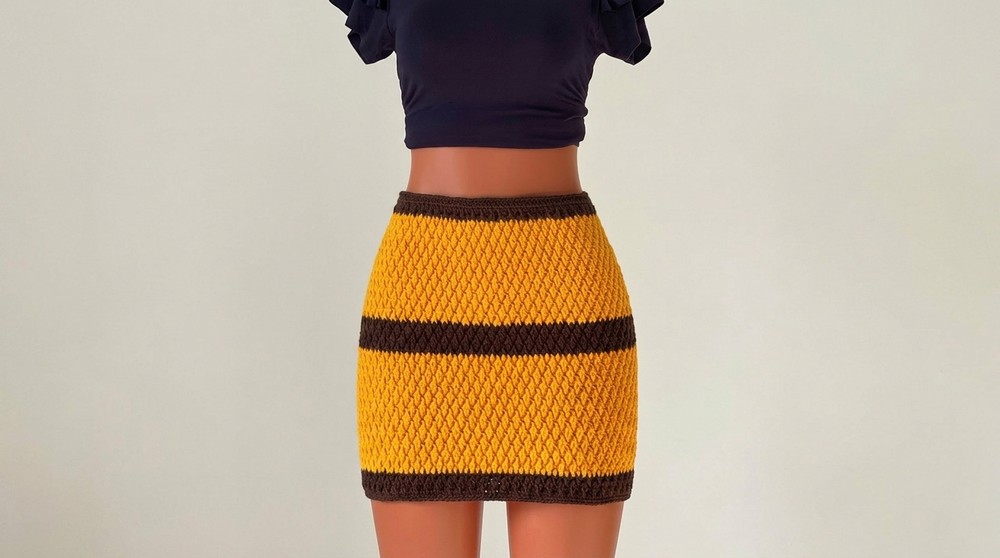
In addition to being a practical addition to any wardrobe, it also offers the satisfaction of having something personal and unique. Because it uses crochet techniques, the skirt becomes lightweight yet warm enough for cooler weather, adapting easily to various climates. The repetitive nature of the stitches provides a calming rhythm while working, which helps with focus and relaxation. Overall, the crochet straight skirt pattern is a wonderful way to enjoy making clothing that meets your comfort needs and style preferences without fuss or complication.
Crochet Alpine Stitch Skirt Pattern
Before You Start
- Choose a yarn you feel comfortable working with. This pattern uses a four-ply acrylic yarn created by holding two strands of two-ply acrylic yarn together.
- Use a 4.5 mm crochet hook (or adjust size according to your yarn choice and gauge).
- Have scissors, tapestry needle, stitch markers, and a measuring tape ready.
- Measure around the fullest part of your hips for accurate sizing.
- Decide the desired length of your skirt before starting.
- Familiarize yourself with half double crochet (hdc), single crochet (sc), double crochet (dc), front post double crochet (fpdc), and slip stitch (sl st).
- This pattern includes optional elastic addition at the waistband for better fit - have elastic ready if preferred.
- Stretch your foundation chain gently before joining to ensure the skirt fits over hips comfortably.
- Mark the beginning of each round with stitch markers to avoid mistakes.
Pattern Notes
- The skirt is worked in continuous rounds from the foundation chain joined with a slip stitch.
- Construction is straight with no increases or decreases until waistband shaping.
- The stitch pattern alternates between half double crochet, single crochet, and alpine stitch rows (combination of front post double crochet and double crochet).
- Pattern includes repeated rows for desired length.
- Waistband shaping is done by decreases in alpine stitch rows followed by a single crochet row.
- The skirt can be worn folded with the starting edge as the bottom or top.
- Elastic can be inserted into the waistband for secure fit, or a chain stitch can be used as a tie.
- The pattern is beginner-friendly with detailed step-by-step rows.
- Stitch counts are maintained throughout, and stitch markers help track rounds.
How This Crochet Pattern Is Made
- Foundation chain is created to fit hips measurement.
- Half double crochet are worked in the first round.
- Single crochet round follows.
- Alpine stitch rows alternate with single crochet rows.
- Pattern repeats the alpine and single crochet rows to form the skirt's body.
- Waistband is shaped by adding decreases in alpine stitch rows.
- Final edging is worked to complete the skirt.
- Ends are woven in, and an elastic band is optionally inserted at the waistband.

Skill Level
- Beginner to intermediate.
Finished Size
- Adjustable based on hip measurement and desired skirt length.
- Sample made with hips measuring 44 inches and skirt length approximately 13 inches.
Materials
- Four-ply acrylic yarn (suggested: created by holding two strands of 2-ply yarn together).
- 4.5 mm crochet hook.
- Scissors.
- Tapestry needle for weaving ends.
- Stitch markers.
- Measuring tape.
- Optional: elastic band to fit your waist circumference, matching yarn color preferred.
Measurements / Sizing
- Hip measurement determines foundation chain length.
- Skirt length adjustable by repeating stitch pattern rows.
- Example: Foundation chain for 44-inch hips = 140 chains; skirt length approximately 13 inches (adjust as desired).
Gauge
- Gauge varies depending on yarn and hook; design focuses on fit via hip measurement and length.
- Stitch pattern: alpine stitch combined with half double crochet and single crochet rows.
Stitch Abbreviations
- ch = chain
- sl st = slip stitch
- sc = single crochet
- hdc = half double crochet
- dc = double crochet
- fpdc = front post double crochet
- st(s) = stitch(es)
- tog = together (used in decreases)
- rep = repeat
Special Stitches
Front Post Double Crochet (fpdc):
Yarn over, insert the hook around the front of the stitch (from front to back to front), yarn over, pull up a loop, yarn over, pull through two loops twice (complete the dc).
Decrease in Alpine Stitch Rows:
Double crochet two stitches together by partially completing a double crochet on the first stitch, then partially on the next stitch, yarn over, pull through all loops on hook to finish combined stitch.
Crochet Pattern Instructions
Part 1: Foundation Chain and Round 1 (Half Double Crochet)
- Measure your hips carefully.
- Create a foundation chain that stretches comfortably over your hips. For example, if your hips are 44 inches, chain 140 stitches.
- Stretch chain flat to check fit and ensure it measures your hip circumference.
- Join with a slip stitch to the first chain to form a round, being careful the chain does not twist.
- Chain 2 (counts as first hdc).
- Hdc in the same stitch as join.
- Round 1: Hdc in each chain around (140 hdc).
- Join with slip stitch to the first hdc.
- Place stitch marker in the first stitch for reference.
Simple explanation: We start by making a long chain that fits your hips. Then, we crochet half double crochets all around to build the base of the skirt.
Part 2: Round 2 (Single Crochet)
- Chain 1, turn.
- Sc in each stitch around (140 sc).
- Join with slip stitch to first sc.
- Mark first sc with stitch marker.

Simple explanation: This round uses single crochet stitches to create a neat row over the first half double crochet round.

Part 3: Round 3 (Alpine Stitch Row)
- Chain 3 (counts as first dc), turn.
- Fpdc around the previous half double crochet, dc in the next single crochet.
- Repeat from * to * around.
- Join with slip stitch to top of chain 3.
Repeat: fpdc around hdc and dc around sc
Count of stitches remains 140.
Simple explanation: This adds a textured ridge pattern by working front post double crochets around half double crochets and regular double crochets over single crochets.
Part 4: Round 4 (Single Crochet)
- Chain 1, turn.
- Sc in each stitch around (140 sc).
- Join with slip stitch to first sc.
- Mark first sc.
Simple explanation: A single crochet round smooths the pattern and prepares for the next textured row.
Part 5: Repeat Body Pattern
- Repeat Round 3 (Alpine Stitch) and Round 4 (Single Crochet) until skirt reaches desired length, approximately 13 inches or more.
Simple explanation: Continue alternating the alpine stitch and single crochet rows until the skirt is as long as you want.

Part 6: Waistband Shaping
- Decide whether to use the top or bottom of the skirt as the waistband.
- Reattach yarn in preferred color if desired.
- Begin alpine stitch rounds with decreases as follows:
Row with Decreases:
- Chain 3 (counts as first dc), turn.
- Work alpine stitch as before but after every 5 stitches, decrease by working two stitches together as one (dc decrease combined with fpdc decrease), repeating this decrease multiple times around.
- Join with slip stitch.
Next Row (Single Crochet with Decrease):
- Chain 1, turn.
- Sc together 6th and 7th stitches to decrease.
- Repeat decrease pattern around to shape the band narrower.
- Continue alternating decreased alpine stitch rows and single crochet rows until desired waistband snugness is achieved.
Simple explanation: We make the waistband smaller by combining stitches to tighten the skirt around your waist.
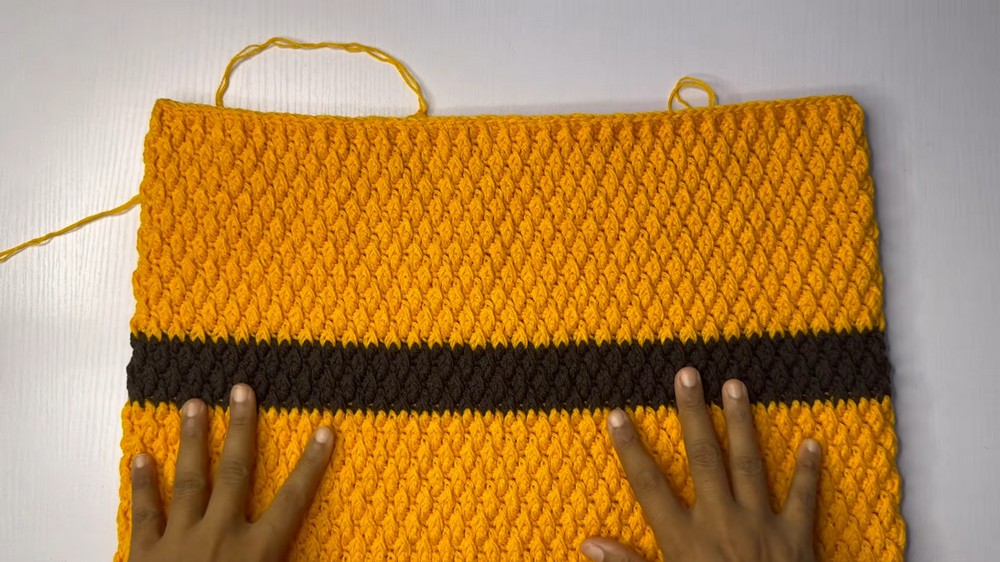
Part 7: Final Band Row
- After shaping, finish with a single crochet round without decreases.
- Join with slip stitch and fasten off yarn.
Simple explanation: The last round is simple single crochet to finish the band smoothly.
Part 8: Adding Elastic (Optional)
- Choose elastic band matching yarn color if possible.
- Insert elastic into waistband casing using a safety pin or crochet hook.
- Secure elastic ends by sewing or knotting.
- Elastic helps keep skirt in place comfortably.
Simple explanation: For a secure fit, place an elastic inside the waistband. You can also tie a chain string instead if elastic is not an option.

Part 9: Skirt Bottom Finishing
- Reattach yarn for color contrast if desired.
- Work 1 round of single crochet all around the skirt's bottom edge.
- Work 2 rounds of alpine stitch as on the body.
- Finish with 1 final round of single crochet.
- Fasten off and weave in all loose ends.
Simple explanation: We decorate the bottom by repeating the stitch pattern to match the skirt's body and complete it neatly.
Assembly and Finishing
- Weave in all yarn ends neatly with a tapestry needle.
- Block skirt gently to shape if needed.
- Insert elastic band into waistband and secure, or attach tie string.
- Try on skirt and adjust length or waistband if desired.
- Keep skirt edges smooth to avoid rolling or curling.

Troubleshooting Guide
- Chain too tight or too loose: Stretch foundation chain or redo to match your hip measurement comfortably.
- Skirt too tight around hips: Increase foundation chain length slightly.
- Pattern rolling or uneven edge: Keep stitch tension consistent and use stitch markers.
- Difficulty with decreases: Practice double crochets together; watch tutorial to understand decreases in alpine stitch.
- Elastic showing: Choose elastic color close to yarn or add a simple edging to hide elastic.
Creative Uses
- This alpine stitch pattern is lovely for scarves, cowls, or shawls.
- Create matching tops or accessories like headbands using alpine stitch rows.
- Use the stitch texture for home décor items such as cushion covers or table runners.
- Enlarging the skirt stitches creates trendy crochet dresses.
- Alpine stitch texture is excellent for cozy blankets or throw patterns.
- Adjust decrease rows to make snug hats or wrist warmers.