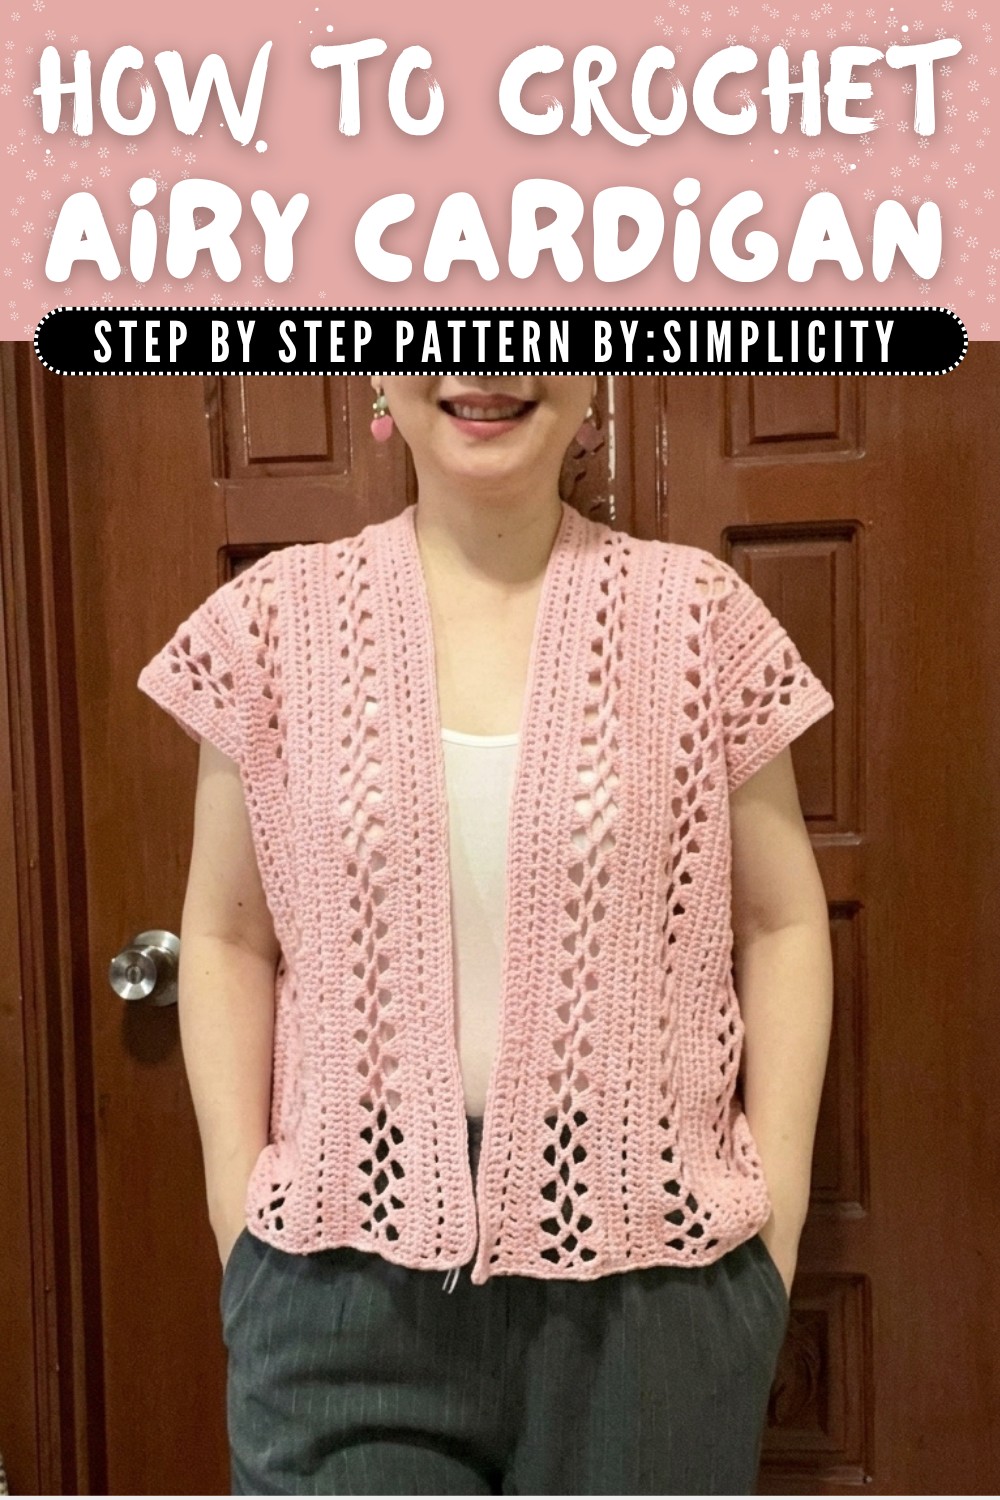
Crochet Airy Cardigan Free Pattern for the Perfect Layer
Learn how to make a beautiful and lightweight cardigan that's easy to crochet, perfect for layering, and looks stylish for any season or occasion.
A lightweight and elegant layering piece becomes a true wardrobe essential when crocheted with love and creativity. The "Crochet Airy Cardigan Pattern" is a beautiful and comfy design that anyone can make and wear with ease. This cardigan is perfect for anyone who wants a stylish yet simple addition to their wardrobe. It feels super light and comfortable when worn, making it an ideal garment for all seasons. The open mesh style pattern gives it a breathable and airy texture, which makes it stand out as both functional and fashionable.
Crochet a Modern Airy Cardigan Free Pattern You Can Wear Year-Round
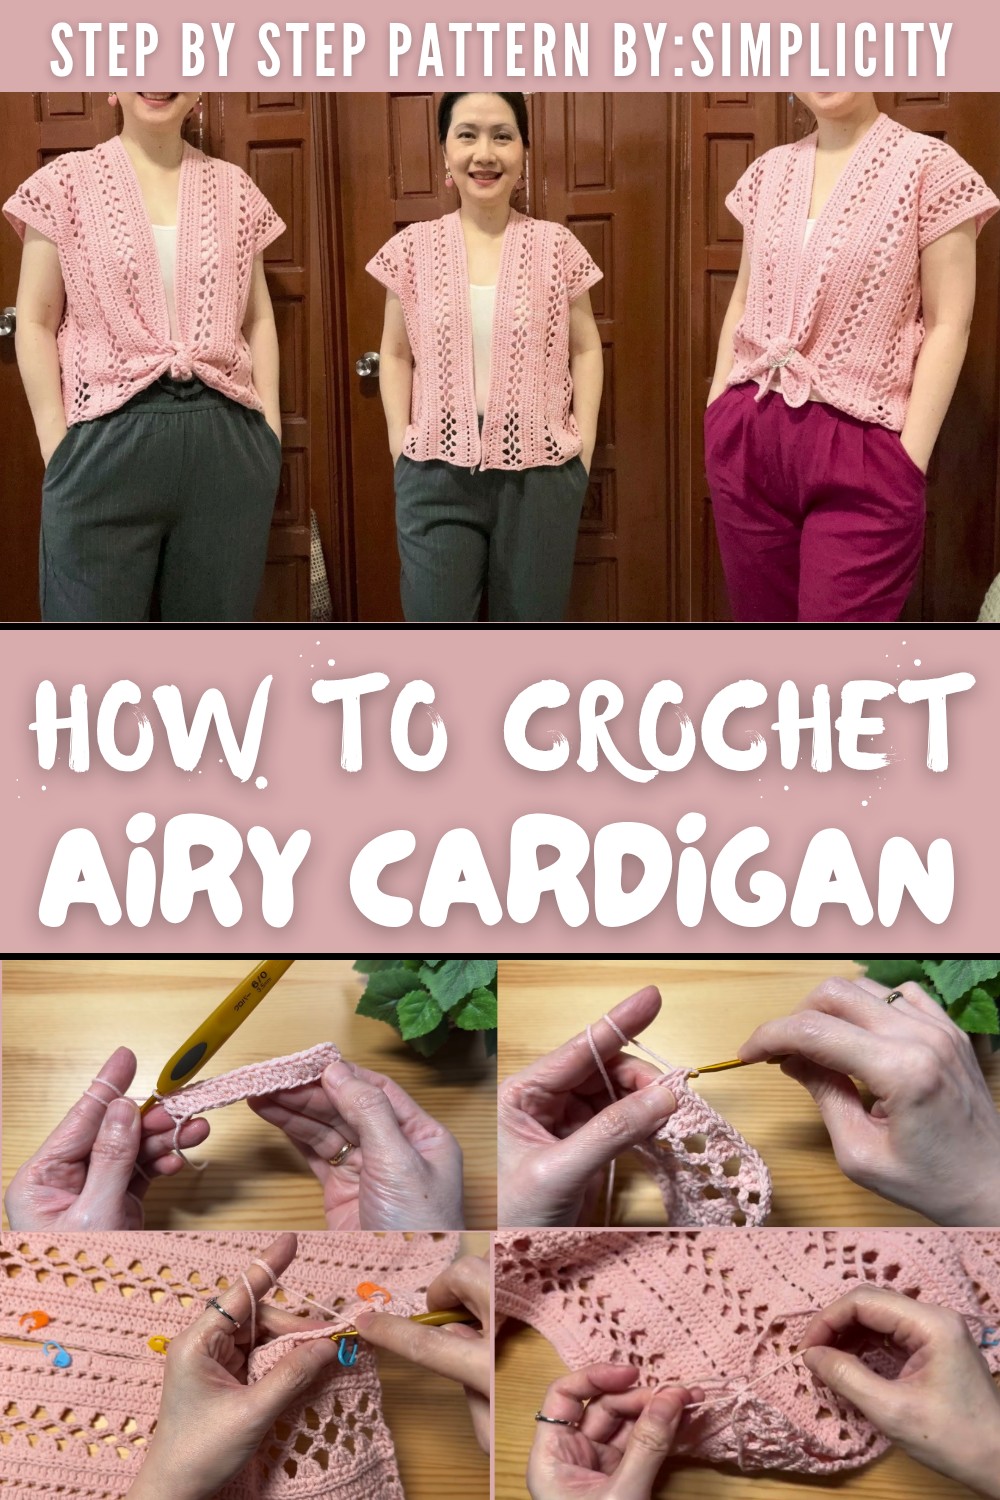
This cardigan is created using basic rectangles, so even beginners can crochet it without feeling overwhelmed. You crochet two panels-one for the front and one for the back-which are then joined together. The beauty of this design lies in its simplicity, as both sides look equally good, meaning there's no wrong or right side, and it can even be reversible. With its clean style and forgiving pattern, there's no need to stress about small mistakes.
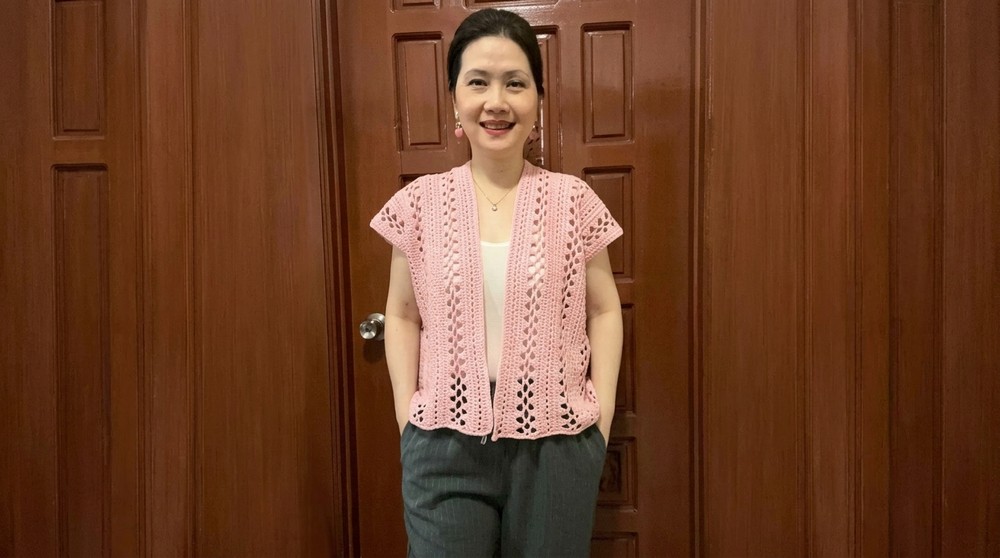
One of the standout features of this cardigan is its neat single crochet border, which adds a polished finishing touch and keeps the edges smooth. It also includes adjustable armholes, where a 7 inch gap is left for comfort, but you can make it bigger or smaller based on your preference. What makes it even more unique is that you can customize it-use bright colors, try textured yarn, or add a stylish buckle or buttons in the front.
This cardigan isn't just beautiful-it's practical. You can wear it on a casual day, over a dress for a night out, or even as a comfy accessory. With this pattern, you're not just crocheting; you're creating a piece of art that is simple, trendy, and timeless.
Crochet Airy Cardigan Pattern
Materials Needed
- Yarn: Medium weight yarn (such as Category 4 yarn) in your preferred color. Choose smooth yarn for a clean finish.
- Crochet Hook: Corresponding hook size for your yarn (usually 5mm or 6mm).
- Darning Needle: Essential for weaving in ends and joining the panels.
- Stitch Markers: To mark armholes and other important reference points.
- Measuring Tape: Ensures accurate panel dimensions and size adjustments.
- Scissors: For cutting yarn neatly.
Gauge
To ensure the cardigan is the correct size:
- Work a 4x4 inch (10x10 cm) swatch using the mesh stitch pattern as described below.
- If the swatch is smaller or larger than expected, adjust the hook size accordingly to match the gauge.
Finished Size
The cardigan is designed to be lightweight and comfortable:
- Panels: Two identical panels, each measuring 9 inches (24 cm) wide and 12 inches (30 cm) tall.
- Length: 40 inches (102 cm) from shoulder to hem.
- Armholes: Leave 7 inches (18 cm) open for the armholes; adjust based on your preference or size.
Pattern Instructions
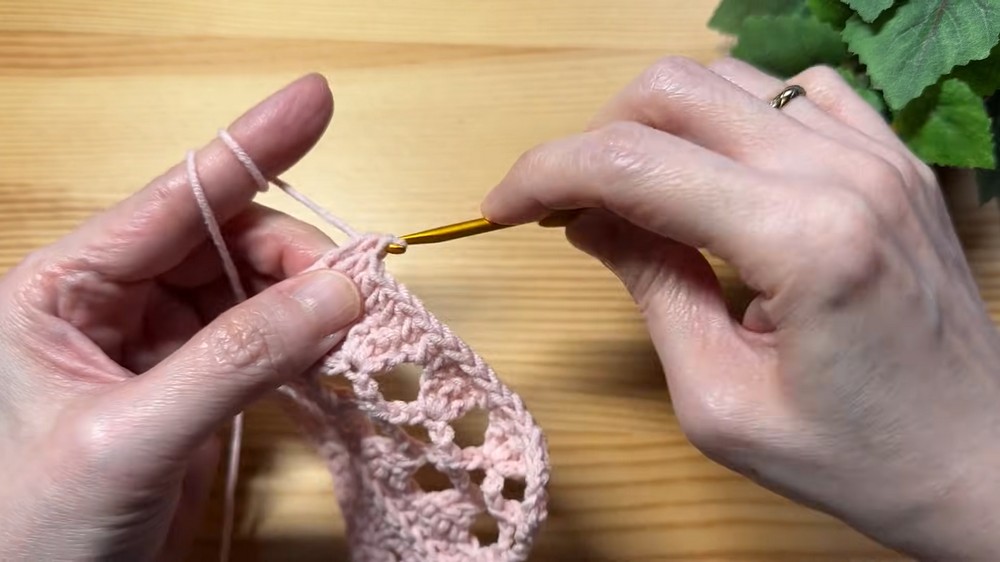
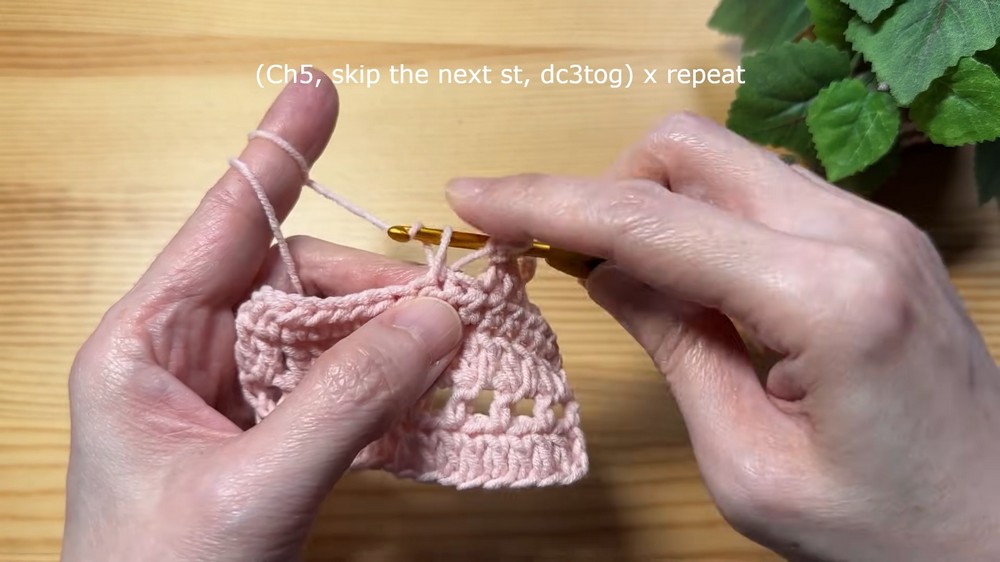
1. Create the Panels
The body of the cardigan consists of two rectangular panels.
- Foundation Chain:
- Begin by chaining enough stitches to reach a width of 9 inches (24 cm). Use your measuring tape to confirm.
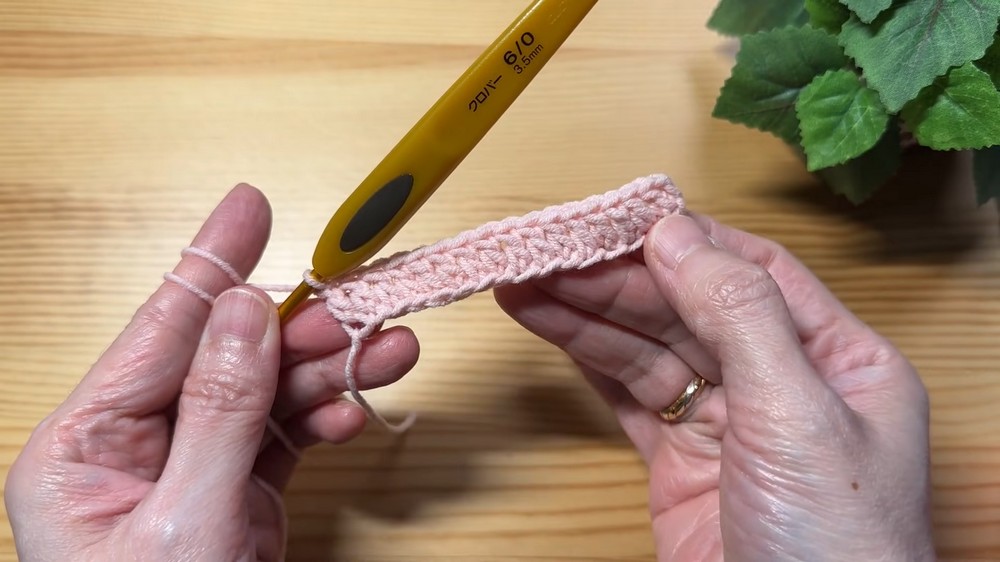
- Start the Mesh Stitch Pattern:
- Chain 3 at the beginning of the first row (counts as the first double crochet).
- Yarn over, skip 1 stitch, and work a double crochet into the next stitch.
- Chain 1, skip the next stitch, work a double crochet in the following stitch. Repeat across the row.
- At the end of the row, turn your work and repeat by chaining 3 and continuing the mesh stitch pattern.
- Repeat Mesh Rows:
- Continue working mesh stitch rows until the panel measures 12 inches (30 cm) tall.
- Finish Off and Set Aside:
- Fasten off the yarn and mark the corners with stitch markers to prepare for joining.
2. Join the Panels
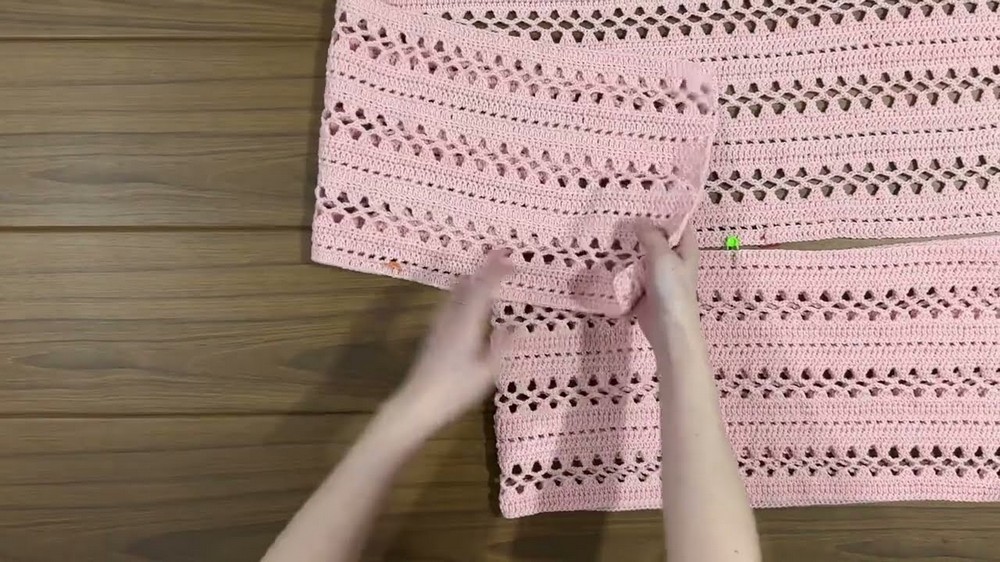
- Align Panels:
- Place the two panels side by side with their edges touching.
- Ensure both panels match in size and are straight. Use stitch markers to mark the edges.
- Mark Armholes:
- Fold each panel and place stitch markers to mark a gap of 7 inches (18 cm) along the sides for armholes (adjust if necessary based on preferred fit).
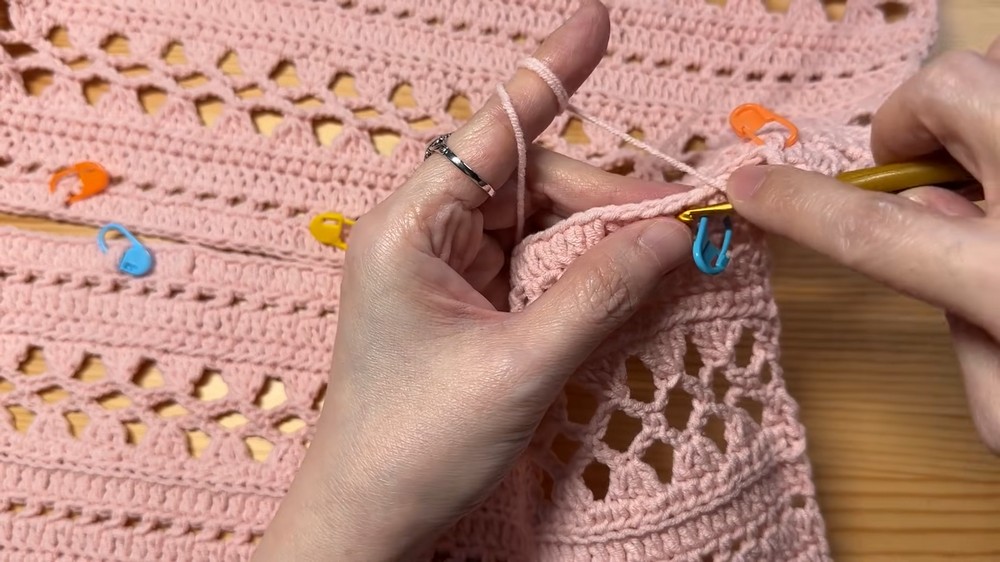
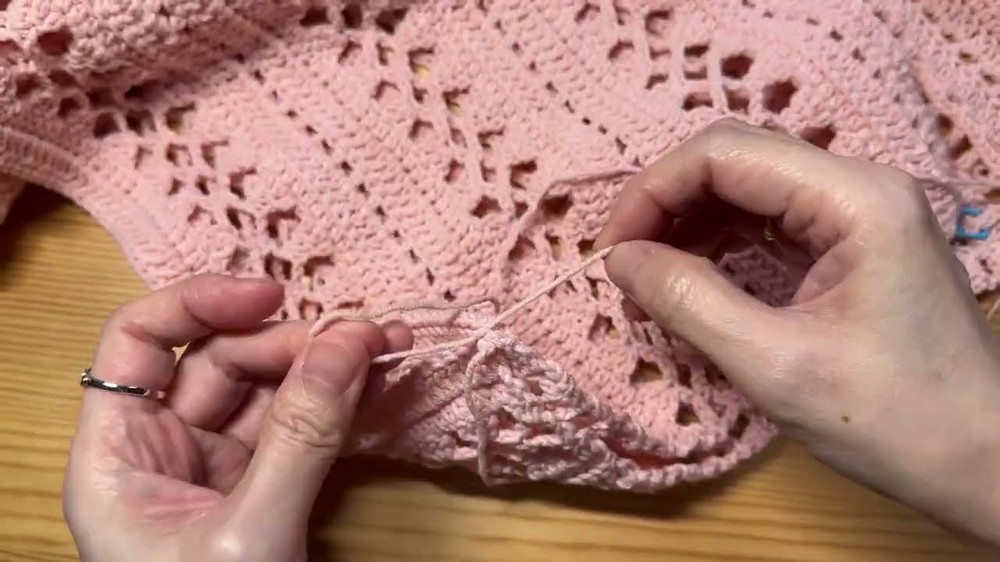
- Whip Stitch the Edges:
- Thread a darning needle with yarn and secure the bottom corner.
- Using a whip stitch, sew the sides of the panels together from the bottom edge upward until you reach the armhole marker.
- Repeat for the other side. Make sure stitches are neat and consistent for a clean finish.
3. Add the Border
To give the cardigan a polished look, add a simple single crochet border around all edges.
- Start at the Bottom Hem:
- Attach yarn with a slip knot to one corner of the bottom hem.
- Chain 1, then work single crochet stitches evenly across the edge.
- Corners:
- When reaching a corner, work 3 single crochets into the corner stitch to avoid pulling or puckering the fabric.
- Neckline Adjustments:
- Reduce stitches at the neckline by occasionally working single crochet 2 together to create a snug fit where needed.
- Continue Around:
- Work single crochet stitches evenly along the sides, armholes, and the back neckline.
- When joining sides, ensure the seam lies flat and work single crochets into the seam stitches to blend seamlessly.
- Invisible Finish:
- At the end of the border round, fasten off using the invisible join method:
- Replace the last single crochet with an invisible join to create a seamless edge.
- Weave in the ends on the reverse side using a darning needle.
- At the end of the border round, fasten off using the invisible join method:
4. Assemble and Style
The basic cardigan is now complete. For optional styling enhancements:
- Add a Buckle:
- Use a smooth buckle for closure at the front. Slide it carefully onto the fabric without damaging the yarn.
- Choose a buckle size that complements the weight and thickness of your yarn.
- Decorate: Add buttons, tassels, or embroidery motifs to personalize the design.
- Custom Size Adjustments:
- For a longer cardigan, increase the panel height by adding more rows to the mesh stitch.
- To make the cardigan wider, chain more stitches in the foundation chain.
Special Techniques Used
- Mesh Stitch Pattern:
- This stitch creates a breathable, open texture for the cardigan, perfect for layering.
- Chain 3 (counts as first double crochet), yarn over, skip 1 stitch, double crochet in the next stitch, chain 1.
- Whip Stitch:
- Used for joining panel edges securely while keeping the seams discreet.
- Single Crochet 2 Together:
- Used at the neckline or corners to reduce stitch count and create a fitted curve.
- Invisible Join:
- An advanced technique that eliminates noticeable finishing lines, giving the final border a clean look.
Finished Product Look
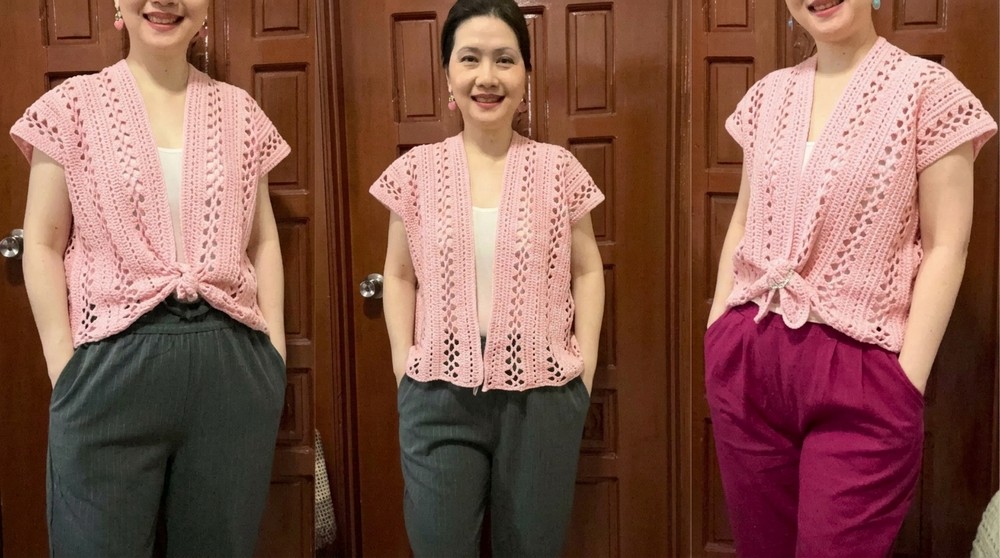
Your cardigan will feature a lightweight, mesh texture with a clean single crochet border for a polished edge. The seamless transition between the panels makes it reversible, allowing you to wear it with either side facing out. Style it open for a casual look, or use optional closures like buttons or a buckle for a more tailored appearance.
Important Tips for Success
- Gauge Swatch: Make a gauge swatch to ensure sizing accuracy. Adjust hook size accordingly if your swatch is too tight or loose.
- Mark Critical Areas: Use stitch markers to define corners, armholes, and seams to prevent confusion during assembly.
- Tension Control: Maintain even tension throughout for consistent stitches and a smooth finish.
- Secure Yarn Ends: Always weave in the yarn ends securely to prevent accidental unraveling.
Customization Ideas
- Add Decorative Borders: Swap the single crochet border for scalloped edges or picot stitches for a unique finish.
- Experiment with Yarn: Use gradient, textured, or multi colored yarns to add dimension and flair to the design.
- Extend Length: Add rows of mesh stitch to the panels for a tunic length cardigan.
- Add Pockets: Crochet small rectangles and sew them onto the front panels to create functional pockets.
Conclusion
This crochet cardigan is simple to crochet, versatile to style, and forgiving of minor adjustments, making it ideal for beginners or enthusiasts alike. The breathable mesh pattern and clean border make it a delightful piece for layering over casual or dressy outfits. With the provided instructions, special techniques, and ideas for customization, this project allows for creativity while teaching valuable skills like seam joining and invisible finishes.
Feel free to experiment with colors, textures, and designs, and don't hesitate to customize the size for the perfect fit. Enjoy the process and wear your finished cardigan with pride.