
Crochet Bag Pattern That’s Fun and Free for Everyone
Take your favorite handmade bag everywhere with this Free Easy Crochet Bag Pattern made for daily errands fun trips and shopping.
Whether you need a quick accessory for casual outings or a practical bag for your daily essentials, this project is simple and fun to make. This Free Easy Crochet Bag Pattern is perfect for everyone, even if you're just starting to learn crochet. The bag has a stunning zigzag design that stands out and brings a modern, stylish touch to your look. Its sturdy structure makes it ideal for carrying books, makeup, or small daily items, while its lightweight feel ensures comfort when you're on the go.
Free Simple Crochet Bag Pattern That'll Wow Your Friends
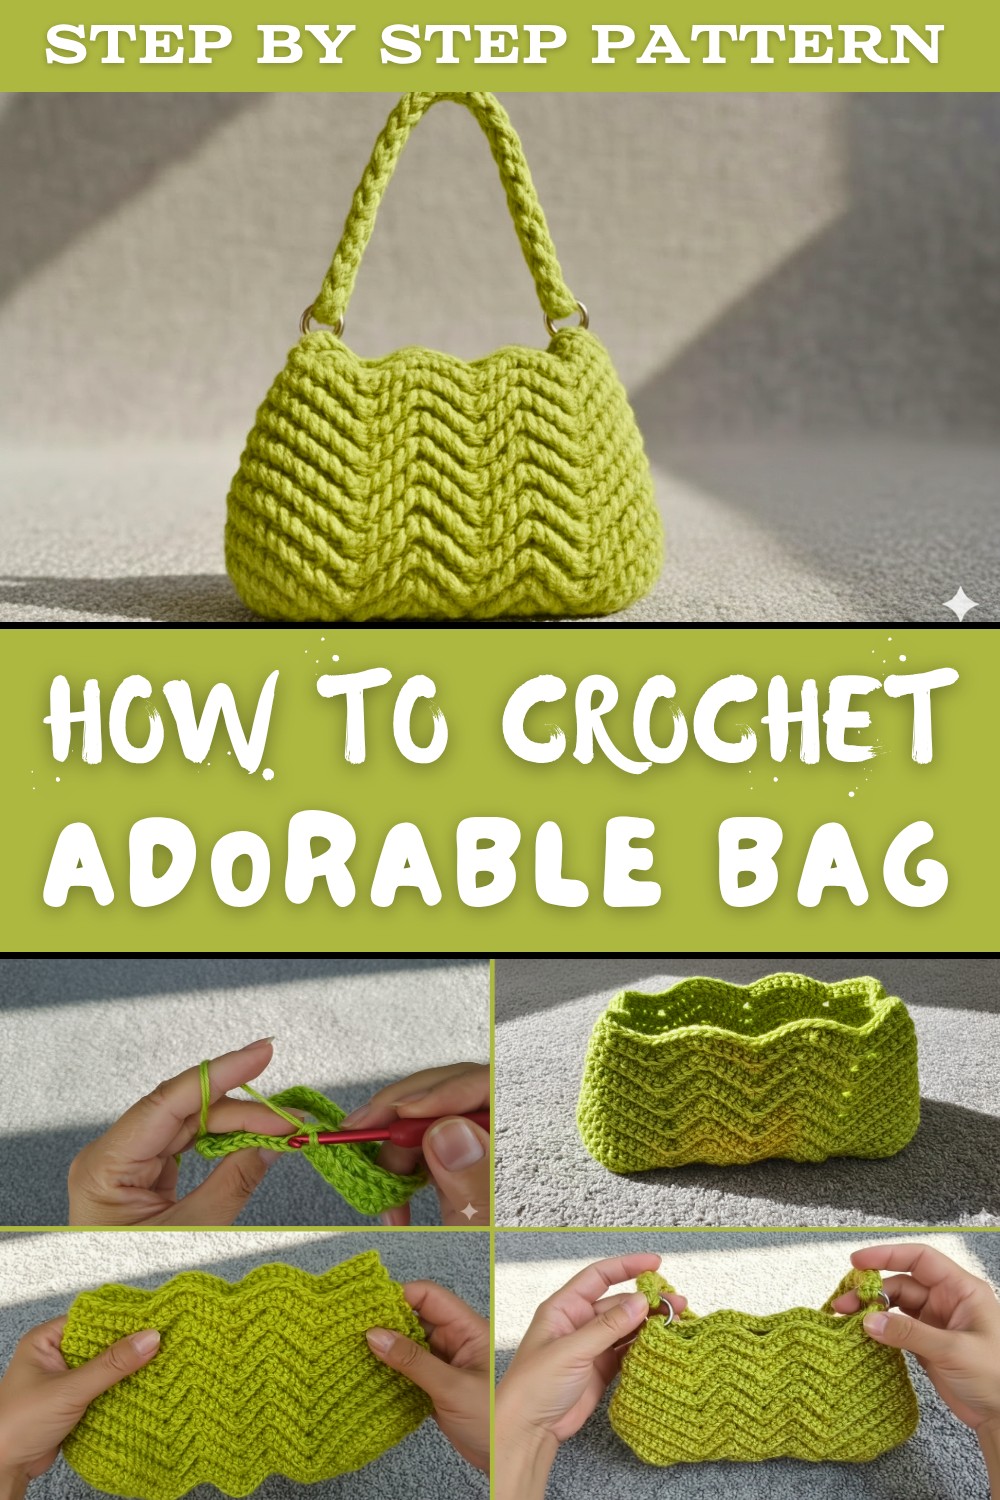
You only need a few simple materials: 4 mm cotton yarn, a 5 mm crochet hook, and a little bit of focus. The steps involve making a strong base using magic ring and back loop crochet, and the zigzag body is crocheted using a mix of W stitches, single crochets, and decrease stitches, giving the bag a sharp and unique look.
One of the best things about this bag is its versatility. You can easily adjust the size to make it taller or wider to suit your needs. Add your favorite handles, straps, or lining to give it a personal touch. The lightweight and durable design ensure it's perfect for everyday use, whether you're heading to school, the park, or a shopping trip.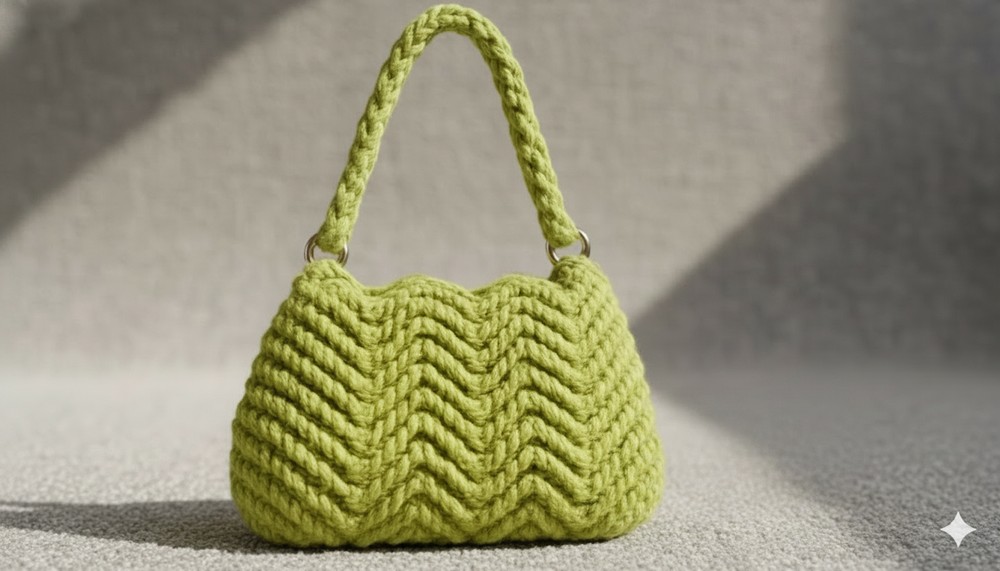
This project is not just easy but also relaxing and creative. By following this pattern, you can make a functional and beautiful bag that you'll be proud to use or gift. Start crocheting, and enjoy the process of making your own awesome zigzag bag.
Materials Needed
- Yarn: 4 mm cotton yarn (recommended for durability and structure). Choose a solid or variegated color for added flair.
- Crochet Hook: 5 mm hook suitable for medium weight yarn.
- Stitch Markers: Essential for marking increases and decreases to maintain symmetry.
- Scissors: For clean and precise yarn cuts.
- Tapestry/Darning Needle: For sewing the pieces together and weaving in loose ends.
Special Techniques Used
- Magic Ring: Used to create a tight, neat center for the base of the handbag.
- Back Loop Stitching: Provides the zigzag design with a unique texture and dimension.
- W Stitch: A cluster stitch that forms the peaks in the zigzag pattern.
- Decrease Stitch: Ensures a smooth and symmetrical pattern by tapering stitches at the right points.
Step by Step Pattern
Step 1: Creating the Base
The base forms the sturdy foundation of your handbag.
- Begin with a magic ring.
- Work 8 single crochets (SC) into the magic ring, making sure to keep the stitches tight. Slip stitch into the first single crochet to close the ring. Turn your work.
- Tip: Pull the ring tightly to close the center hole completely.
- Chain 1. Continue working in the back loops only to give the piece added texture and sturdiness.
- For this row, repeat the following sequence 4 times:
- One single crochet.
- One W stitch.
- Turn your work at the end of the row.
- Once completed, you should have a rounded rectangular base to serve as the bottom of your bag.


Step 2: Making the Zigzag Panel
The zigzag panel forms the main body of the handbag. It is decorated with sharp peaks and textured rows for a stylish finish.
Row 1: The Foundation Row
- Chain 34 stitches. Skip the first chain from the hook.
- Work 33 single crochets (SC) across the chain. Turn your work.
- This row forms the base and structure of the zigzag panel.
- Tip: Keep your stitches even and relaxed to ensure a smooth first row.
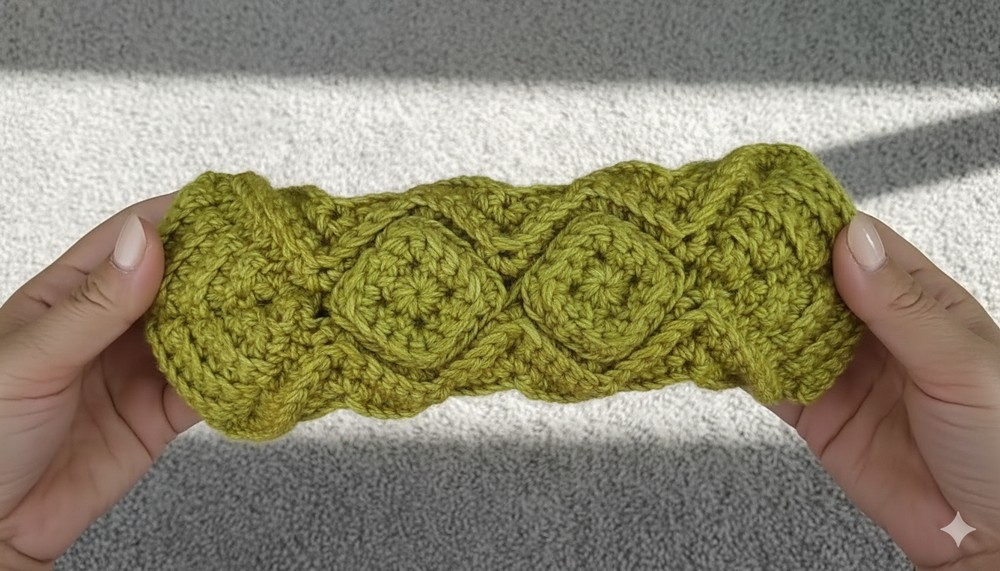
Row 2: Introducing the Zigzag Pattern
- Chain 1 and work in the back loops only for the rest of the panel.
- Make 6 single crochets (SC), then work a W stitch.
- Continue across the row in this sequence:
- Make 9 single crochets (SC), then a W stitch.
- Repeat the
9 SC + W stitchsequence one more time.
- End the row with 6 single crochets (SC). Turn your work.

Row 3: Adding Peaks
- Chain 1, continue working in the back loops only.
- Crochet 7 single crochets (SC). Then repeat the following cluster twice:
- W stitch, 4 single crochets, 1 decrease, 4 single crochets.
- Finish the row with 7 single crochets (SC). Turn your work.
- Tip: Pay special attention to maintaining the decrease points to keep the zigzag shape sharp.
Row 4: Expanding the Zigzag
- Chain 1 and make 8 single crochets (SC).
- Repeat the same cluster as in Row 3 twice:
- W stitch, 4 single crochets, 1 decrease, 4 single crochets.
- Add another W stitch and end the row with 8 single crochets (SC). Turn your work.
Row 5: Growing the Design
- Chain 1, work 9 single crochets (SC).
- Continue the familiar cluster sequence:
- W stitch, 4 single crochets, 1 decrease, 4 single crochets.
- Add another W stitch and finish the row with 9 single crochets.
Rows 6-16: Building Height
- For the next 10 rows, continue adding height to your zigzag pattern while following this structure:
- Increase 1 single crochet evenly on both sides of each row for the edge stitches.
- Maintain the zigzag cluster:
- W stitch, 4 single crochets, 1 decrease, 4 single crochets (repeat twice).
- Use stitch markers to mark increases for accuracy and symmetry.
- Tip: These rows offer a relaxing rhythm-don't rush and enjoy the process.
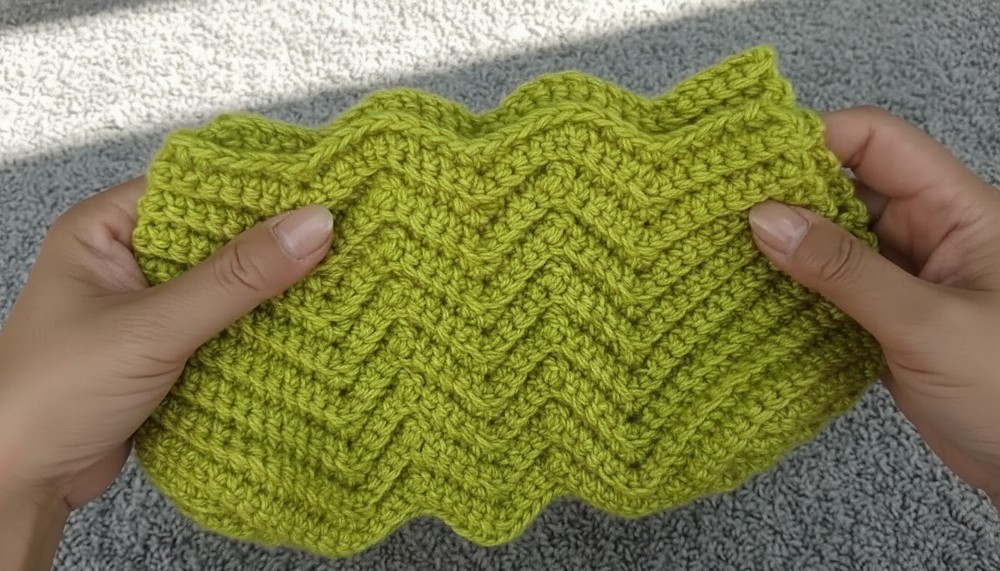
Row 17: Widening the Panel
- Chain 1, work 21 single crochets (SC).
- Repeat the zigzag cluster twice:
- W stitch, 4 single crochets, 1 decrease, 4 single crochets.
- Add one more W stitch and finish the row with 21 single crochets (SC).
- This row widens the zigzag panel, creating the final dimensions before assembly.
Step 3: Assembling the Handbag
Now that you have completed both the base and the zigzag panel, it's time to sew the pieces together.
- Position the Panel around the Base: Place the zigzag panel around the rounded rectangle base, ensuring the sides align evenly. Use stitch markers to secure the panel to the base.
- Sew the Edges: Using the tapestry needle and yarn, sew the edges of the zigzag panel to the base. Work carefully to create tight, clean stitches for a finished look.
- Seam the Sides: Once the base is attached, sew the open side edges of the zigzag panel together.
- Tip: Take your time to align stitches evenly to prevent bulging or uneven seams.

Finishing Touches
- Securing Loose Ends: Weave in any loose ends using a tapestry needle to ensure a neat, professional finish.
- Shape the Handbag: Adjust and gently stretch the edges to refine the shape of your bag.

Optional Customizations
- Add Handles or Straps: Attach leather straps or crochet your own handles to complete the handbag.
- Lining: For added durability, sew in a fabric lining to protect the interior of the bag.
- Closure Options: Incorporate buttons, zippers, or snap closures for extra security.

Care and Maintenance
- Washing: Hand wash the handbag in cold water with mild detergent. Lay flat to dry to maintain its shape.
- Storage: Store the handbag in a cool, dry place to prevent stretching or loss of shape.
- Avoid Excess Weight: While the handbag is sturdy, avoid carrying excessive weight to prolong its lifespan.
Final Words
Congratulations on completing your zigzag pattern handbag! This handmade accessory is not only practical but also a testament to your creativity and patience. Whether you're using it as part of your daily routine, gifting it to a loved one, or showcasing it as a piece of art, this bag is sure to stand out.