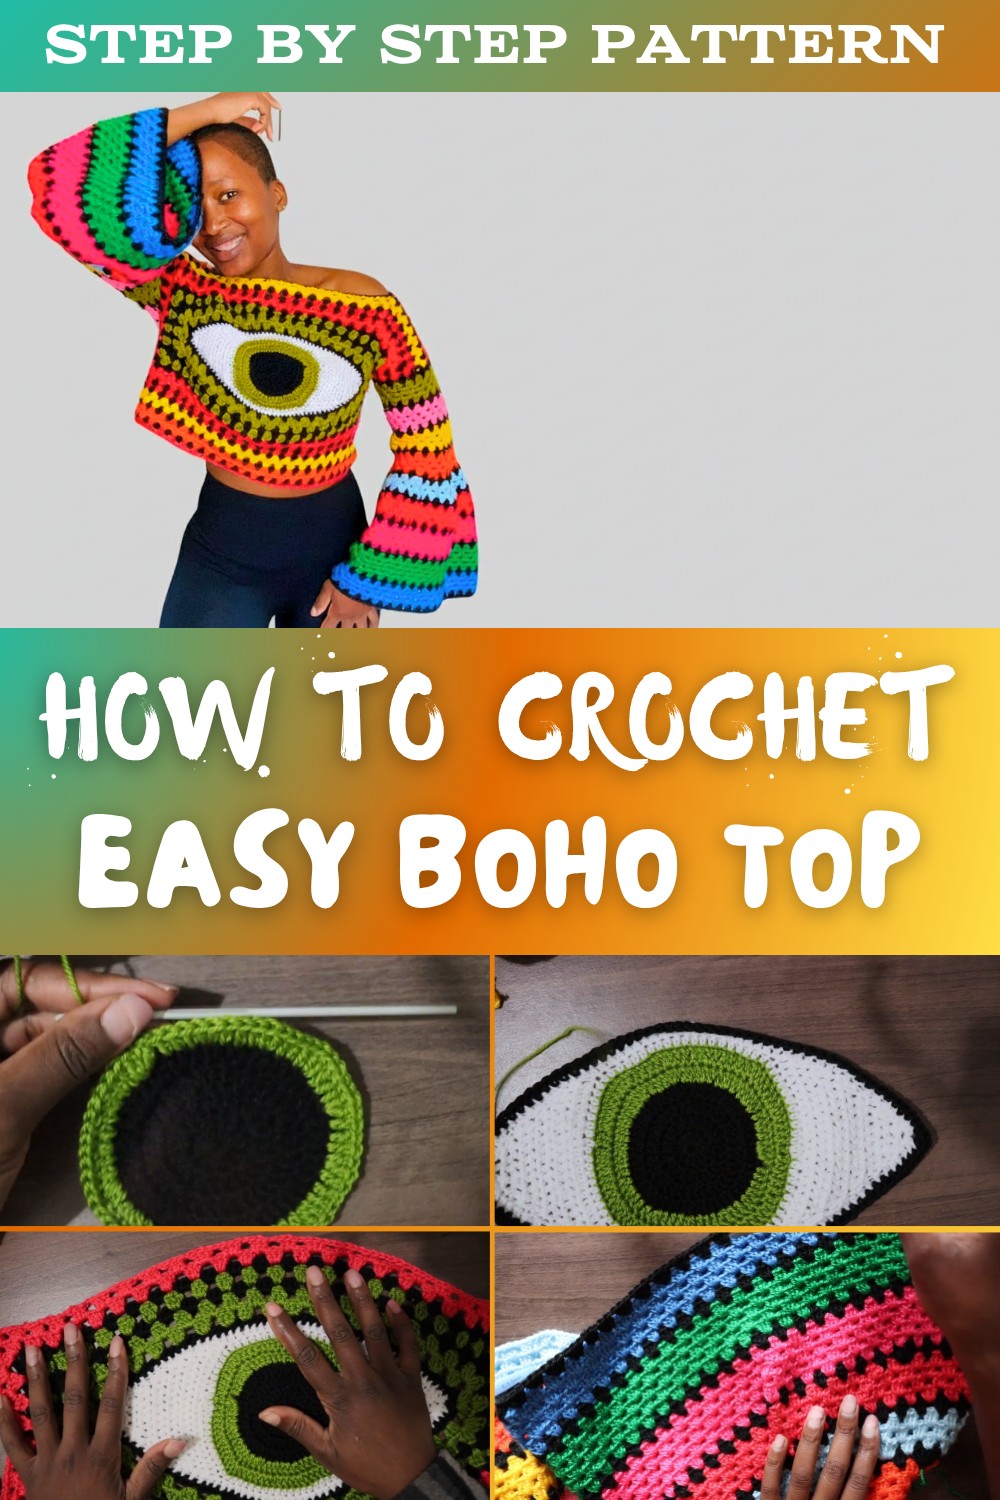
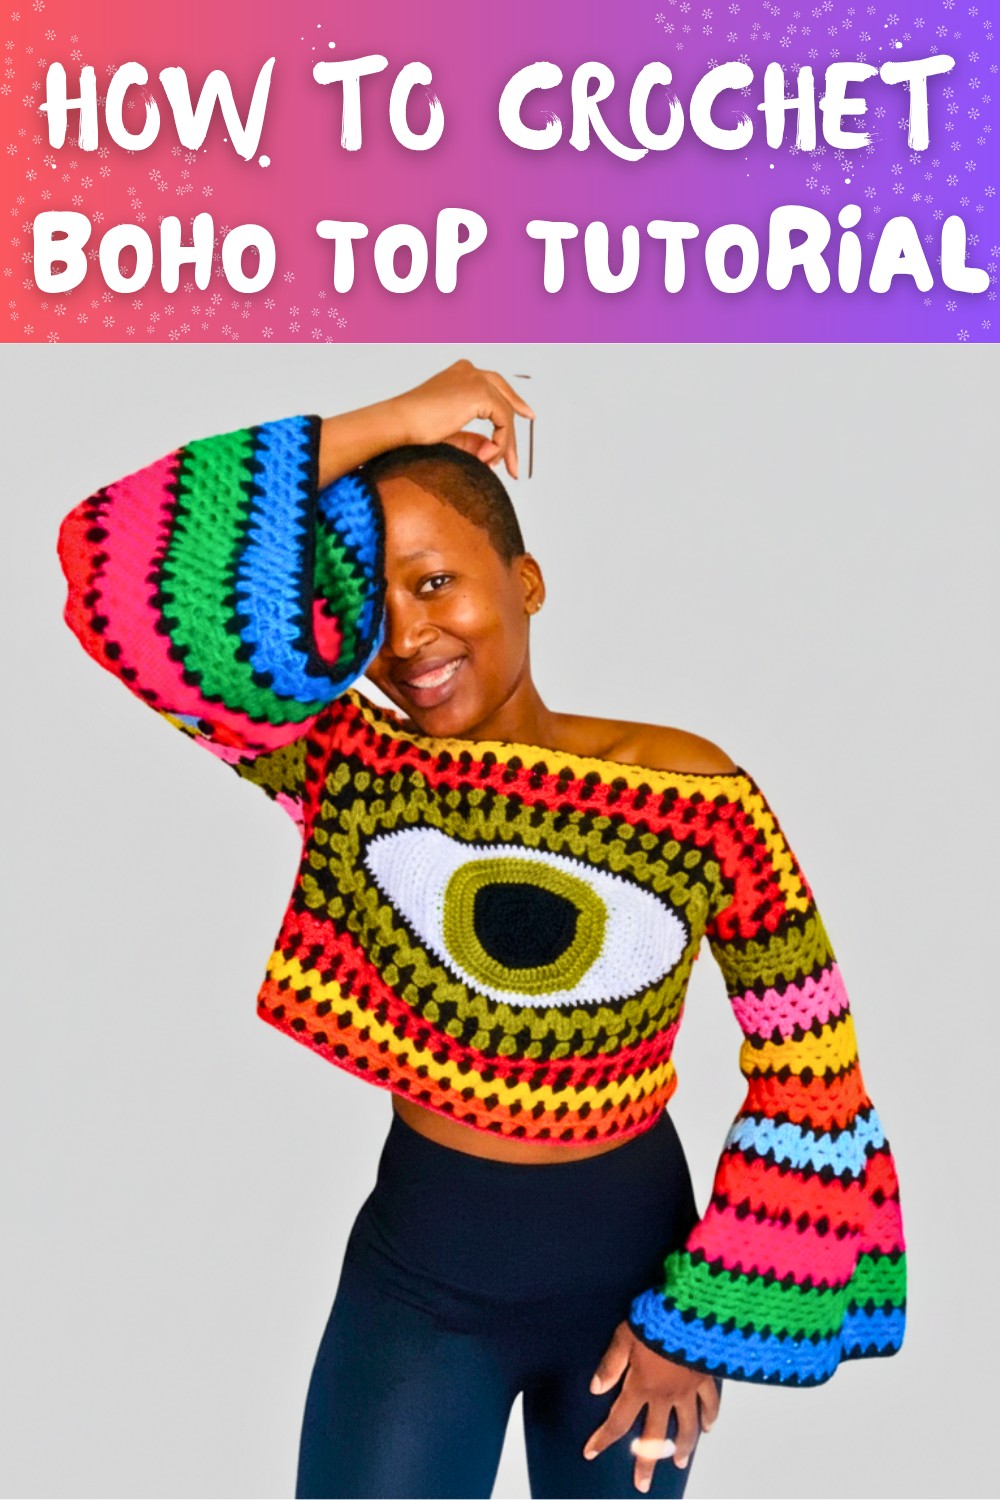
Boho Top Free Crochet Pattern with Magical Eye Center Design
Make a cute and trendy boho top with this free crochet pattern that's super easy to follow and perfect for adding fun and style to your everyday look.
This beautiful and stylish crochet top is a perfect choice for a relaxed and trendy boho look. With its light and airy design, it is comfortable to wear on warm days and works well for casual outings, music festivals, or even as a beach cover-up. The top features simple yet attractive patterns, creating a unique and chic appearance that stands out.
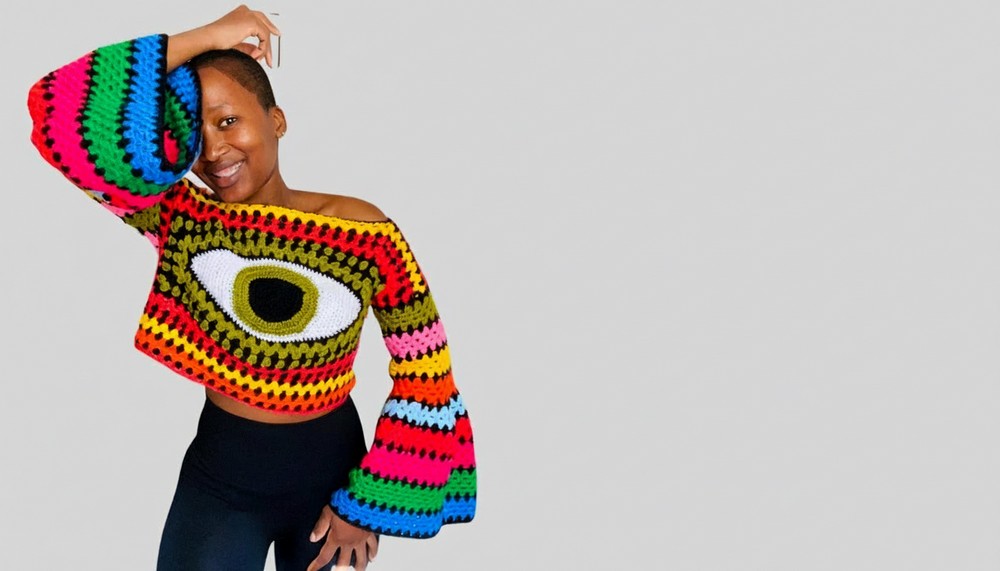
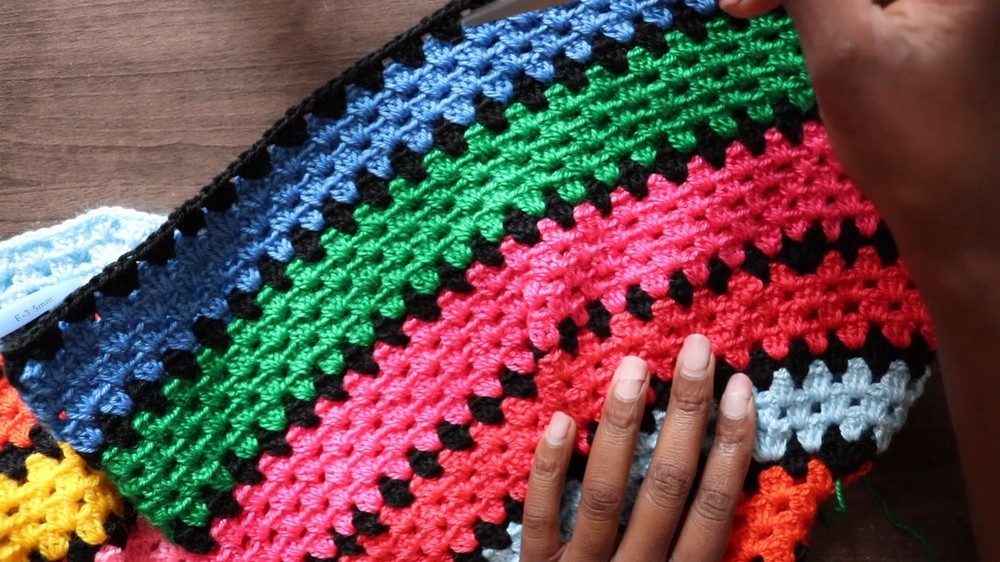
Crochet Boho Top - Free Pattern with Colorful Granny Squares
Its flowy style adds a touch of elegance while keeping it fun and carefree. You can pair it with jeans, skirts, or shorts to match any outfit or occasion. The design includes easy-to-crochet stitches, making it a great option for beginners or anyone looking for an enjoyable project. Its versatility and charm make it a must-have piece that is stylish, practical, and fun to wear for all ages.
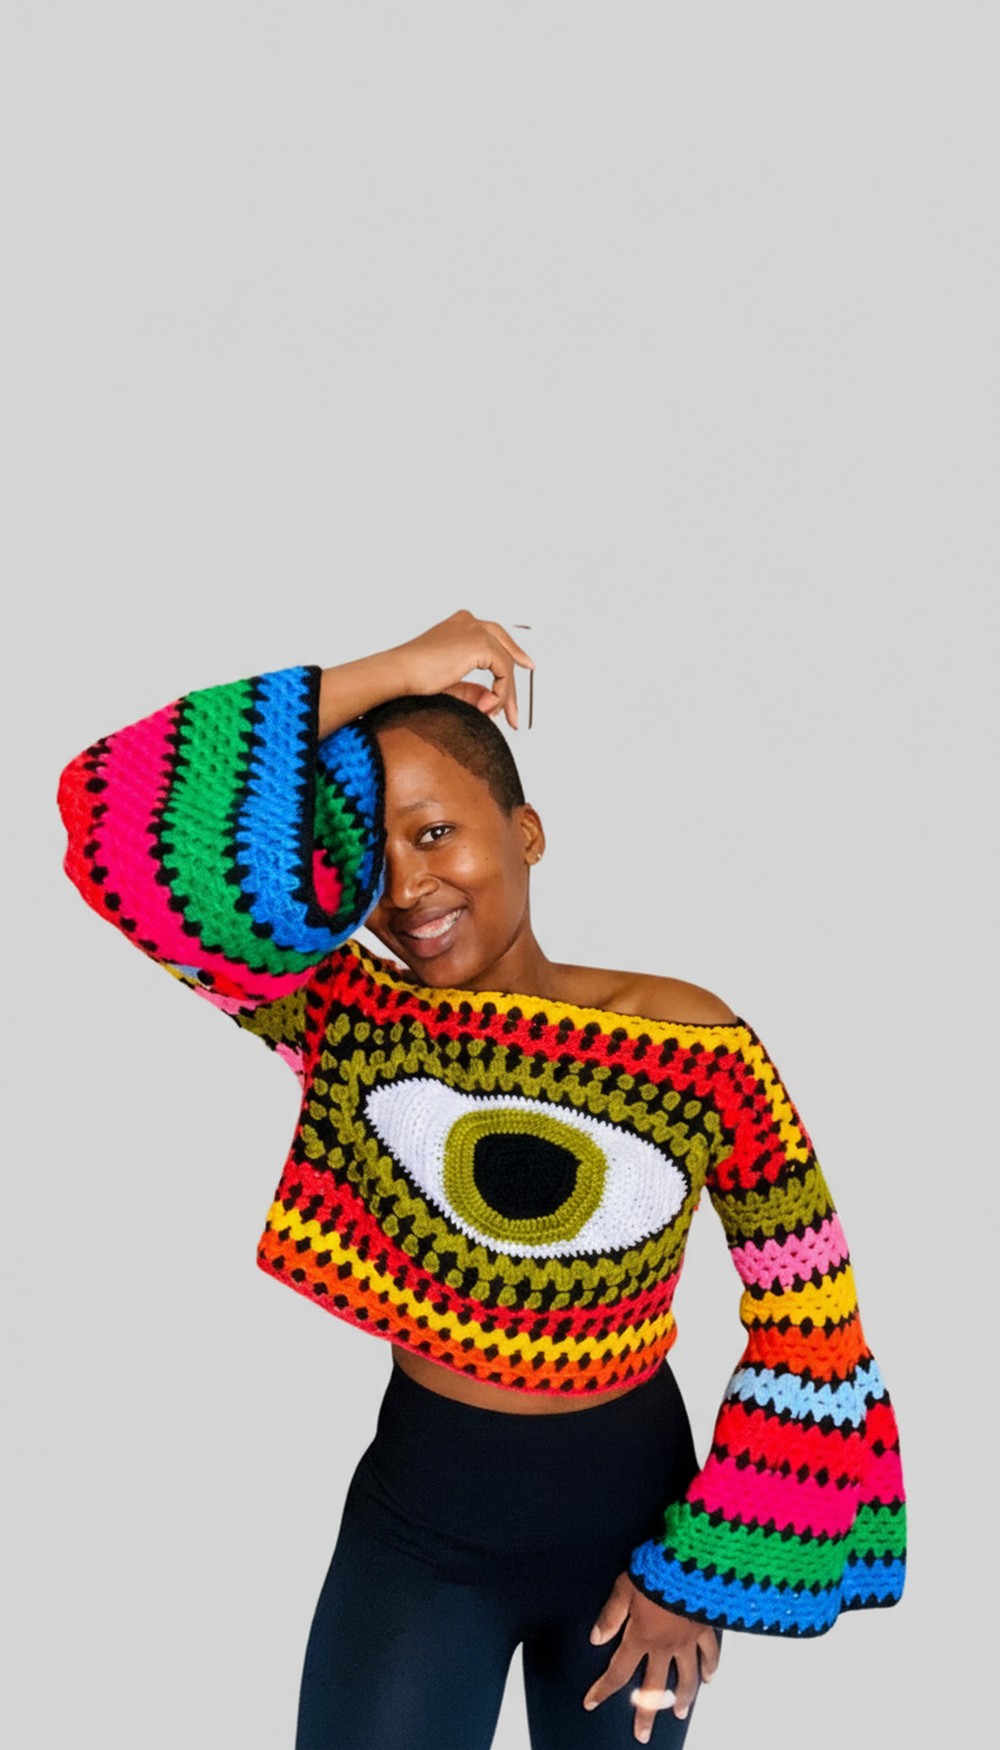
Crochet Pattern for an Eye Granny Square Cropped Top
Skill Level
Intermediate - Requires awareness of color changes, granny square techniques, increases, and assembly.
Finished Measurements
- The final top can be customized to fit Small, Medium, or Large sizes. Adjustments for sizing, including increasing granny square elements, are discussed in the Customization Ideas section.
Materials Required
- Yarn:
- Black (for the center and final edging).
- White (for the outer section of the eye).
- Green, orange, and other desired colors for the top's body, finishing, and sleeves.
- Use DK or light-worsted yarn for best results.
- Hook Size:
- 3.5 mm (or as recommended for your yarn).
- Additional Tools:
- Scissors.
- Yarn needle for weaving in ends.
- Stitch markers (helpful for marking corners or rows).
Special Techniques
- Magic Ring (Adjustable Loop):
- A crochet technique for starting in the round without leaving a hole in the center.
- Clusters:
- Groups of 3 double crochet (Dc) stitches worked into the same space, separated by chains.
- Color Changes:
- Insert the new yarn into the last step of the previous stitch (e.g., during the final pull-through).
- Half Double Crochet (Hdc):
- Yarn over (YO), insert hook in stitch, YO and pull up a loop, YO and pull through all three loops on the hook.
- Increases:
- Create increases by adding extra clusters or spaces in one round to help shape areas like sleeves.
Pattern Instructions
Step 1: Central "Eye" Motif
The "eye" forms the striking centerpiece of the front panel.
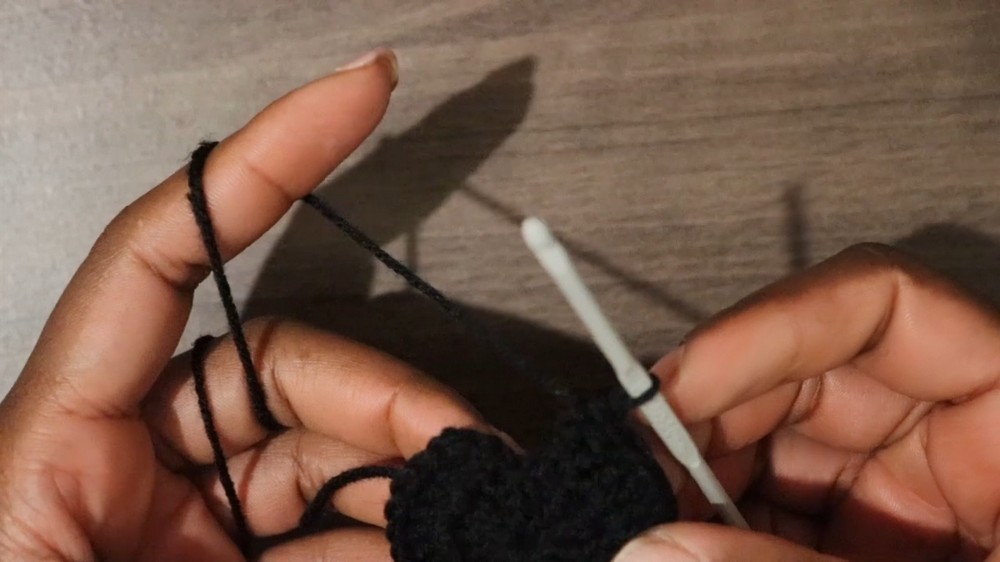
Black Center (Pupil)
- Start with a magic ring.
- Round 1: Ch 4 (counts as first double crochet and chain 1), then work 12 Dc into the ring. Sl St into the third Ch to close the round. (12 Dc)
- Round 2:
- Ch 3, work 2 Dc in each stitch around. Sl St to close the round. (24 Dc)
Iris (Green/Blue)
- Switch to your chosen iris color.
- Round 3: Ch 3, work 1 Dc in the first stitch, work 2 Dc in the next. Continue alternating (1 Dc, 2 Dc) around. (36 Dc)
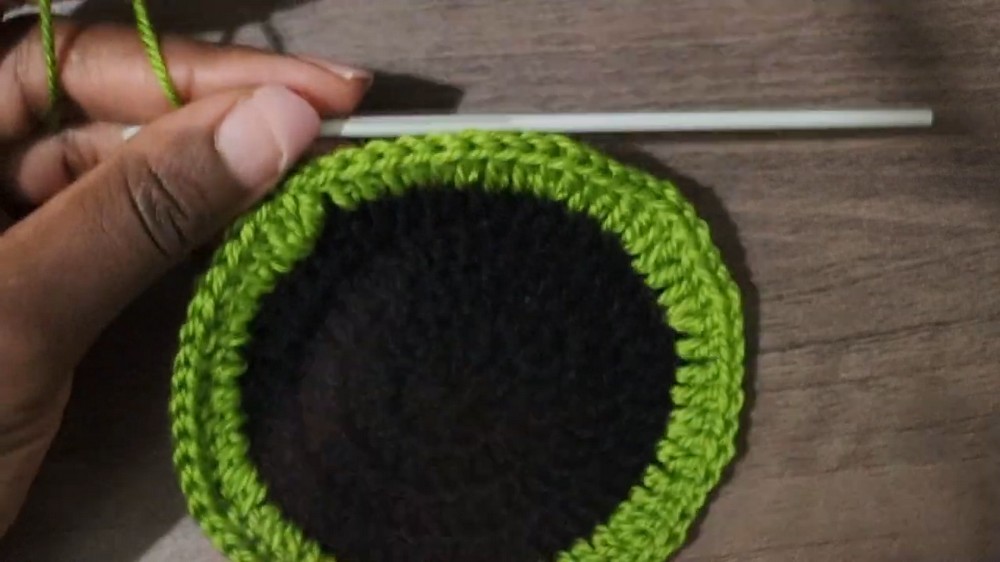
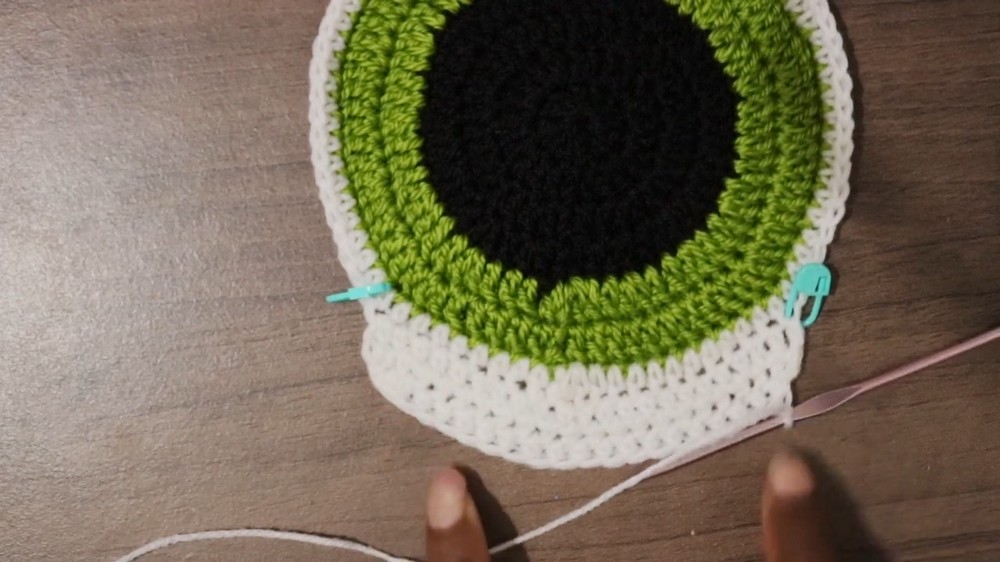
Outer Eye (White)
- Switch to white yarn for the outer part of the eye.
- Round 4: Work 3 Hdc in each corner space to keep the shape even while working a single Hdc in other spaces.
- Half Eye (Sides):
- Create 23 stitches on either side of the eye to shape the half. Repeat this along the following rows to create the sides of the eye by working decreases at the edges.
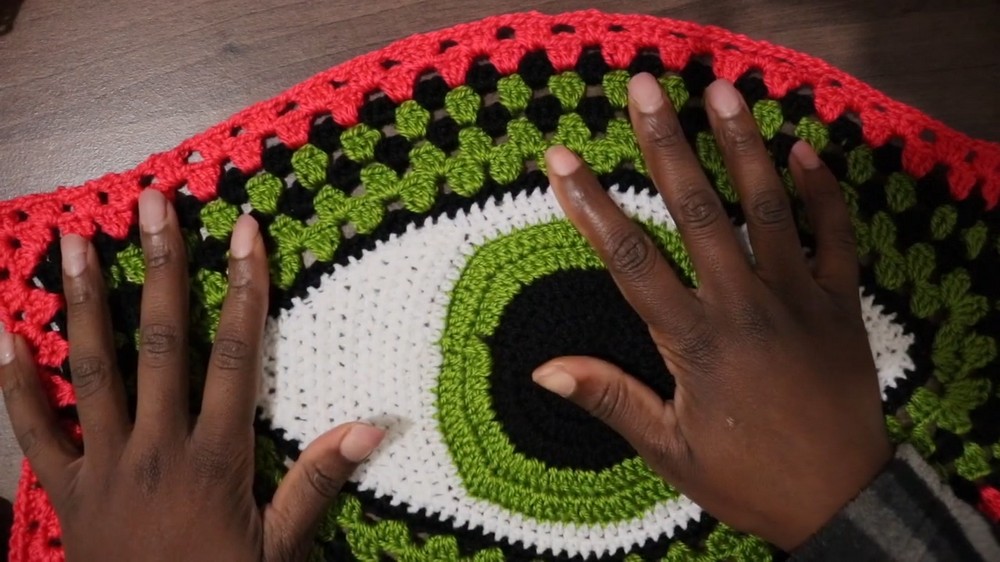
Step 2: Granny Square Front Panel
- Using the center "Eye," attach green yarn to begin granny square rows.
- Granny Square Pattern:
- Row 1: Attach green yarn to the outermost edge of the white round eye. Work Clusters (3Dc) into each space across the rows, with 2 clusters and Ch 3 in each corner space.
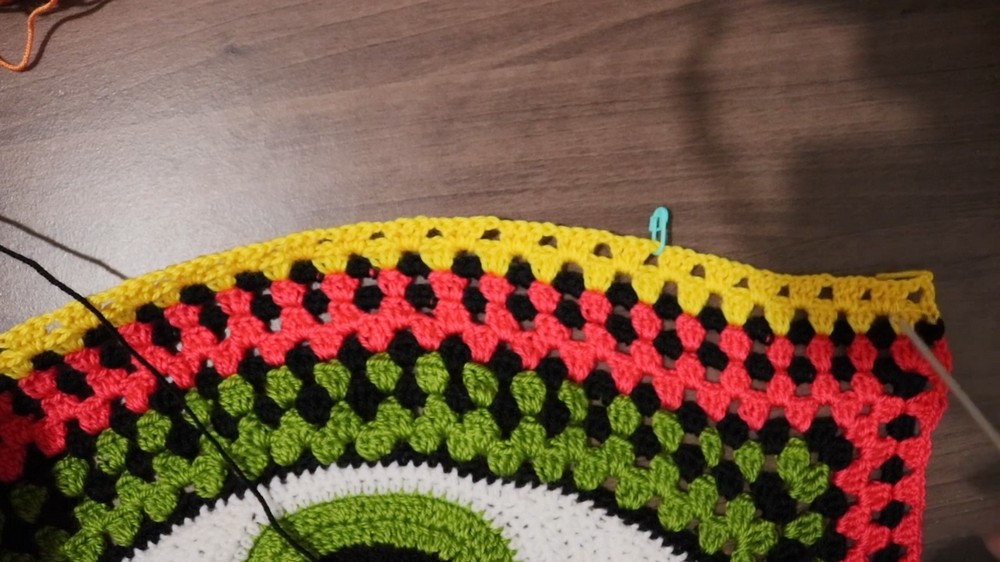
- Row 2 to Row 5: Continue working granny square clusters in each space, maintaining corners by working 2 clusters, Ch 3. Alternate colors and switch to black or other chosen colors.
- Final row for front panel = Increase the size of the piece to measure shoulder width to shoulder width (approximately 50-53 cm).
Step 3: Back Panel
The back panel is worked flat using granny square-style clusters.
- Chain a base foundation that matches the width of the front panel.
- Begin the granny square pattern rows:
- Work clusters (3 Dc) separated by Ch 1 across the row.
- At the row ends, Ch 4, turn, and continue as in a classic granny square.
- Add more rows in alternating colors until the back panel matches the size of the front panel, approximately 50-53 cm wide.
Step 4: Sleeves
- Setup Round (Armhole):
- With the top inside-out, join yarn at the bottom of the armhole. Work 1 cluster (3 Dc) in each space around until you return to the starting point.
- Body of Sleeve:
- Work in rounds, alternating colors as desired. Continue until the sleeve is around 19-20 rows long before beginning increases for flaring.
- Flaring (Increase Rows):
- Gradually increase in 4 evenly spaced sections of each round. Work 2 clusters in one space, Ch 1, and repeat.
- Repeat increases for 6 rows to achieve a flared sleeve appearance.
- Complete Sleeve:
- Finish with 3-5 rows of Hdc or Sc for a clean look.

Step 5: Assembly
- Joining Panels:
- Align the front and back panels with the inside facing out. Use single crochet (Sc) or slip stitch along the sides and shoulders to join.
- Borders:
- Work a row of Hdc or Sc along the neckline, bottom edge, and armholes for a polished finish.
Finishing Touches
- Fasten all loose threads by weaving them into the stitches with a yarn needle.
- Block the completed garment to give it an even shape and drape. Lay it flat on a surface, and use steam or a damp cloth to adjust any unevenness.
Customization Ideas
- Sizing Adjustments: Add more rounds to the granny square rows or create additional rows for the back panel if the top needs to be larger.
- Play with Colors: Use multicolor or gradient yarn for a more dynamic look.
- Collar Style: Add a turtleneck or wide border along the neckline for a different appearance.
- Fringe at the Bottom: For a boho aesthetic, add fringe to the bottom of the top.
Important Tips
- Check Your Gauge: Ensure your granny square gauge is consistent between the front and back panels. Uneven tension can distort the final shape.
- Track Increases: Be mindful of spacing increases for flared sleeves to retain symmetry. Stitch markers are your best tool for this!
- Handle Color Changes Neatly: Ensure you pull new yarn colors into the last pull-through for seamless transitions.
Conclusion
Your crochet eye granny square top is now finished! It's vibrant, stylish, and uniquely handmade. Perfect for pairing with jeans, skirts, or shorts, this top combines bold patterns with elegant construction.