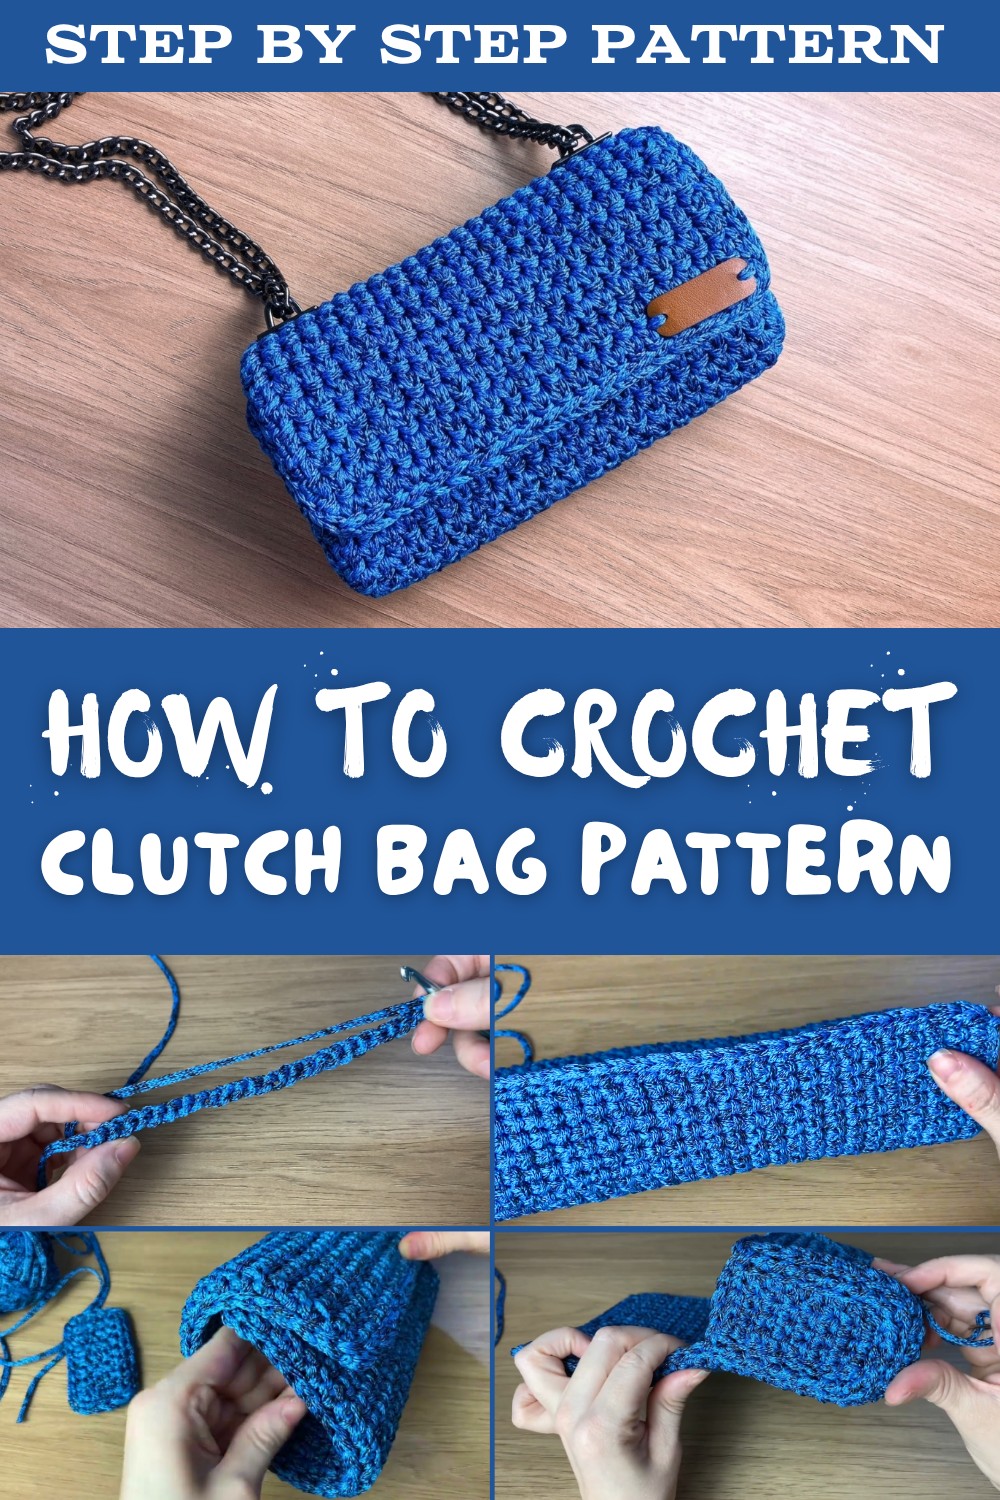
Free Crochet Clutch Bag Pattern for Everyday Elegance
Create a stylish accessory with this Crochet Clutch Bag Pattern that's fun to make, perfect for essentials, and allows endless creative customization.
Compact and stylish accessories hold unmatched appeal, especially when you can create them with your own hands. A Crochet Clutch Bag Pattern offers an exciting way to craft a fashionable and functional bag suitable for casual outings, evening events, or even gifting. This pattern involves stitching techniques that allow you to shape a perfectly-sized clutch, combining practicality with personal flair.
Crochet Clutch Bag Pattern for Minimalist Accessories
With endless yarn choices, from vibrant colors to earthy tones, and the opportunity to add buttons, zippers, or embellishments, the possibilities are as unique as your creativity. Not only is this project satisfying to complete, but it's also beginner-friendly, making it ideal for those looking to explore crochet beyond scarves and squares.
Whether you use your clutch to carry small essentials like keys and makeup or as a statement accessory, it will reflect your skill and personality. Crocheters often love this project for its versatility and portability-it's an enjoyable craft that you can complete on the go.
Labell BS Structured Crochet Bag Pattern
Skill Level
Intermediate to Advanced
Materials
- Yarn: Fisher Poly Yarn or other polyester cord (approx. 200 m). Substitute with cotton cord or sturdy worsted/aran weight yarn as desired.
- Crochet Hook: 5 mm (H-8)
- Handles: Metal, leather, or cord handle holders (as preferred)
- Magnetic Fastener: Snap/press type (optional)
- Bag Label: Leather or other (optional)
- Chain: Short for hand or long for shoulder, depending on preference (optional)
- Tapestry Needle: For finishing and sewing
- Scissors
- Stitch Markers: (Optional)
Key Abbreviations (US Crochet Terminology)
- ch - chain
- sc - single crochet
- sl st - slip stitch
- st(s) - stitch(es)
- Row - Row
- Base - Main body panel of the bag
- Side Panel - Panel that creates the side and gusset
Special Notes
- Bag is worked flat in rows, seamed, and outlined with slip stitches for structure.
- All stitches are single crochet, worked under a specified loop for texture and structure.
- Bag dimensions can be adjusted by altering starting chains or row count.
Pattern
Bag Base (Front/Back Panel, Make 2)
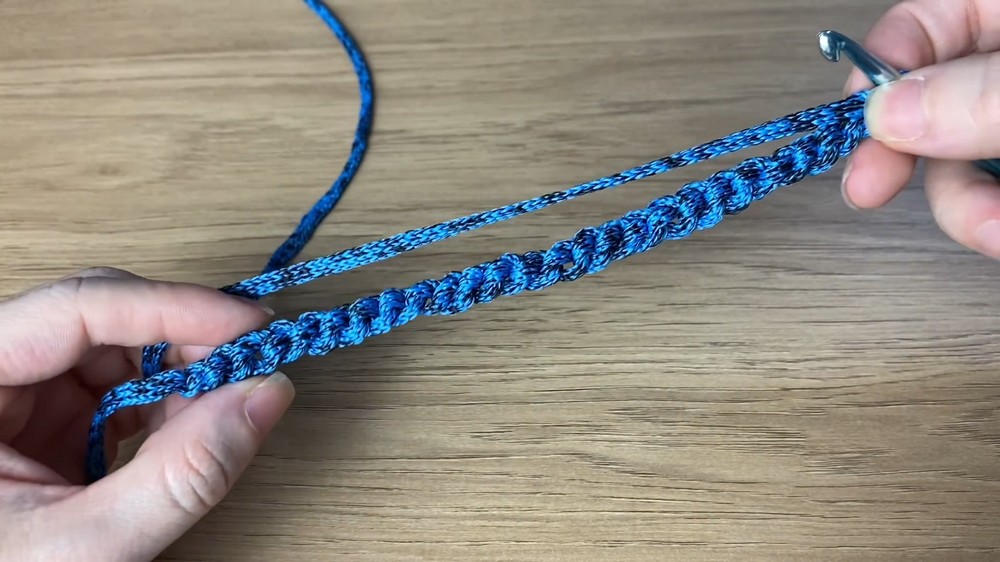
- Foundation Row:
Ch 24. (Approx. 19 cm; adjust according to yarn type or desired width.) - Row 1:
Working into the back loops of the foundation ch, sc in 2nd ch from hook and in each ch across. (23 sc)
Turn. - Row 2:
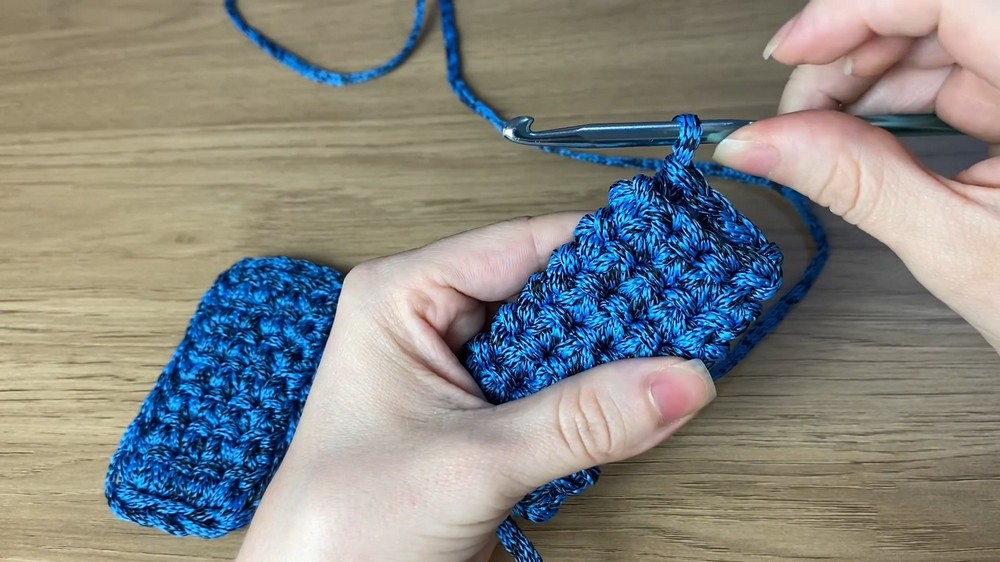
Ch 1, turn work.
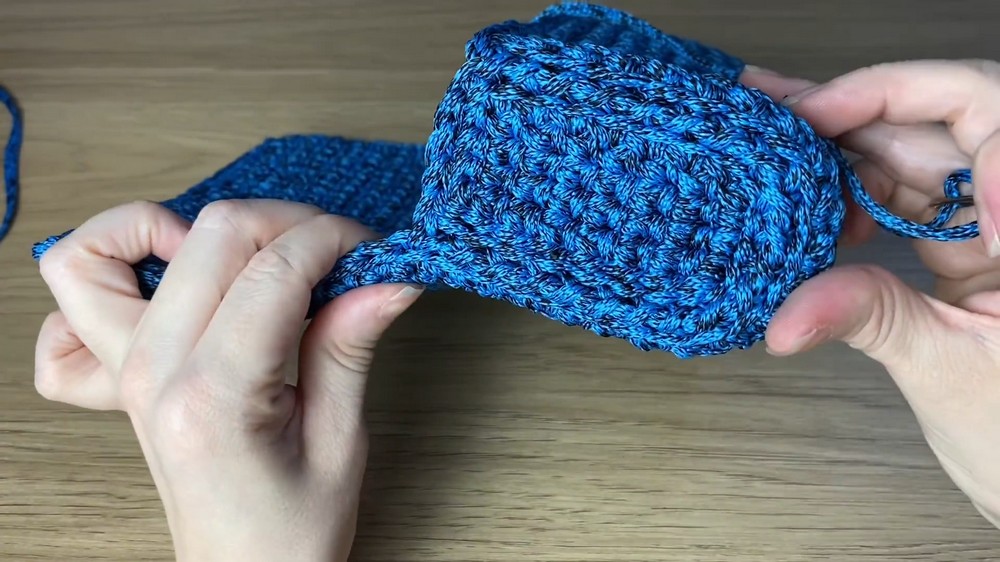
Special Placement: Insert hook under the "top front loop and bottom front loop" as indicated in the demonstration (creates a more substantial, textured stitch).
Sc in each st across.
(Insert hook through front "ridge" of row below and the front of current stitch.)
Turn. - Repeat Row 2 until the panel measures your desired length (measure, do not count rows). If following Jordana, continue until your rectangle is approx. twice as tall as the base width; adjust as desired.
- Last Row:
When the desired length is reached, cut yarn, leaving a tail for finishing. - Slip Stitch Edging:
Attach yarn at any corner.
Sl st evenly around the entire edge of the panel, picking up either the inner loop or both loops as described (see 'Special Notes').
Be sure to make corners neat; this round will be somewhat visible, so keep tension even.


Repeat for second panel (front and back).
Gusset / Side Panel
- Foundation Row:
Ch 5. - Row 1:
Sc in 2nd ch from hook and in each ch across (4 sc). Turn. - Row 2:
Ch 1, turn. Sc in each st across, working through both loops. Turn. - Repeat Row 2 until the strip matches the desired height (measure against the finished front/back panels; Jordana uses 15 rows for a medium-size gusset).
The number of rows determines the width of your bag's side and base. - Finish:
Edge the long sides with a round of slip stitches for a clean finish, as on the base panels.
Assembly
- Seaming:
- Fold the main panels so the textured (right) side is out; place the side/gusset panel between the two main panels.
- Using a tapestry needle and matching yarn, securely whipstitch or mattress stitch the sides and base together.
- Tight and even stitches help maintain the bag's structure and durability.
- Hide the tails securely inside afterwards.
- Edging & Final Touches:
- If desired, add another round of slip stitch around the bag opening for reinforcement.
- Attach handle holders by sewing or knotting securely through provided slots.
- Add magnetic snap and decorative label as desired.
- Attach your choice of chain for a hand-held or shoulder style bag.
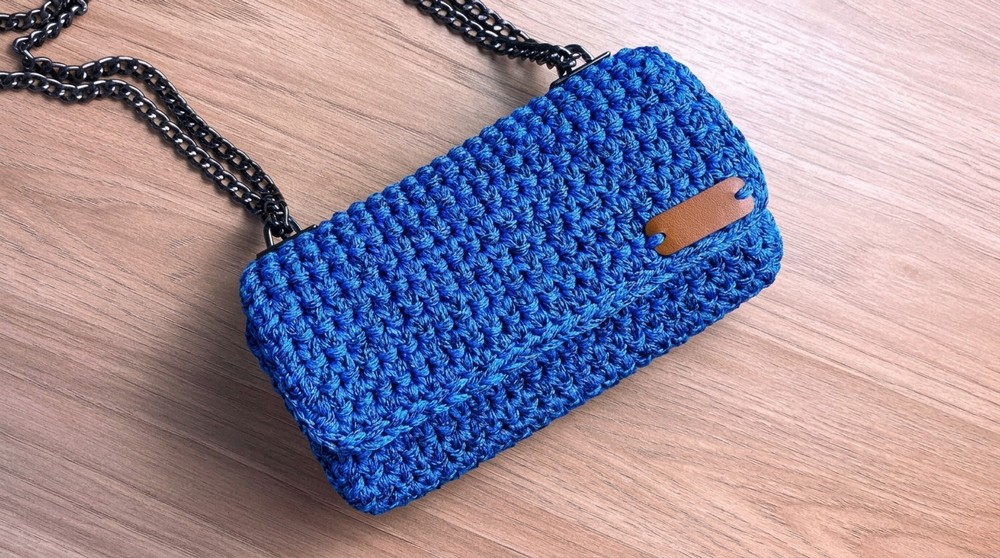
Conclusion
This structured, professional-looking bag features a sturdy all-single-crochet fabric, slip stitch reinforcement, and neat seaming for a highly finished product. The use of strong polyester cord (or cotton/nylon alternatives) and thoughtful slip stitch details provide both durability and style. Its simple, rectangular construction and clear panel divisions make size adjustments easy. The optional magnetic snap, label, and attractive hardware give a high-end finish. The result is a chic, functional, and bestselling bag design.
Pattern Corrections & Tips
- Placement: The stitch through both the "top and bottom front loop" enhances texture. If unsure, make a small swatch to practice.
- Slip Stitch Edging: Use a smaller hook if slip stitches pucker or ripple.
- Count Consistently: Ensure the side/gusset panel and main panels are exactly matched for accurate seaming.
- Chain Length/Panel Size: Adjust to suit your desired finished bag size, but maintain proportions for a professional result.
- Hardware: Choose handles and fasteners based on intended use (long chain for crossbody, short for hand-held).
- Yarn Substitution: Use other strong, non-stretchy yarns if poly cord is unavailable, but check gauge and drape.
- Structure: If you want a more rigid bag, consider adding a fabric liner or interfacing inside after crochet is complete.