
Crochet Fall Chunky Hat Free Pattern for Crisp Autumn Adventures
Shape a warm and inviting chunky hat for fall with this straightforward free crochet pattern, designed perfectly for beginners to enjoy seasonal creativity.
Put on a gorgeous autumn crown and create a warm, cozy cap that's both stylish and practical. This charming fall chunky hat features a thick, puffy body and an adorable fuzzy pom pom on top, making it look exactly like a boutique quality beanie. Beginner crocheters and new makers will love this easy to follow crochet pattern, perfect for making a lightweight accessory for chilly morning walks or cozy campfire nights.
Free Crochet Fall Chunky Hat Pattern With Trendy Appeal
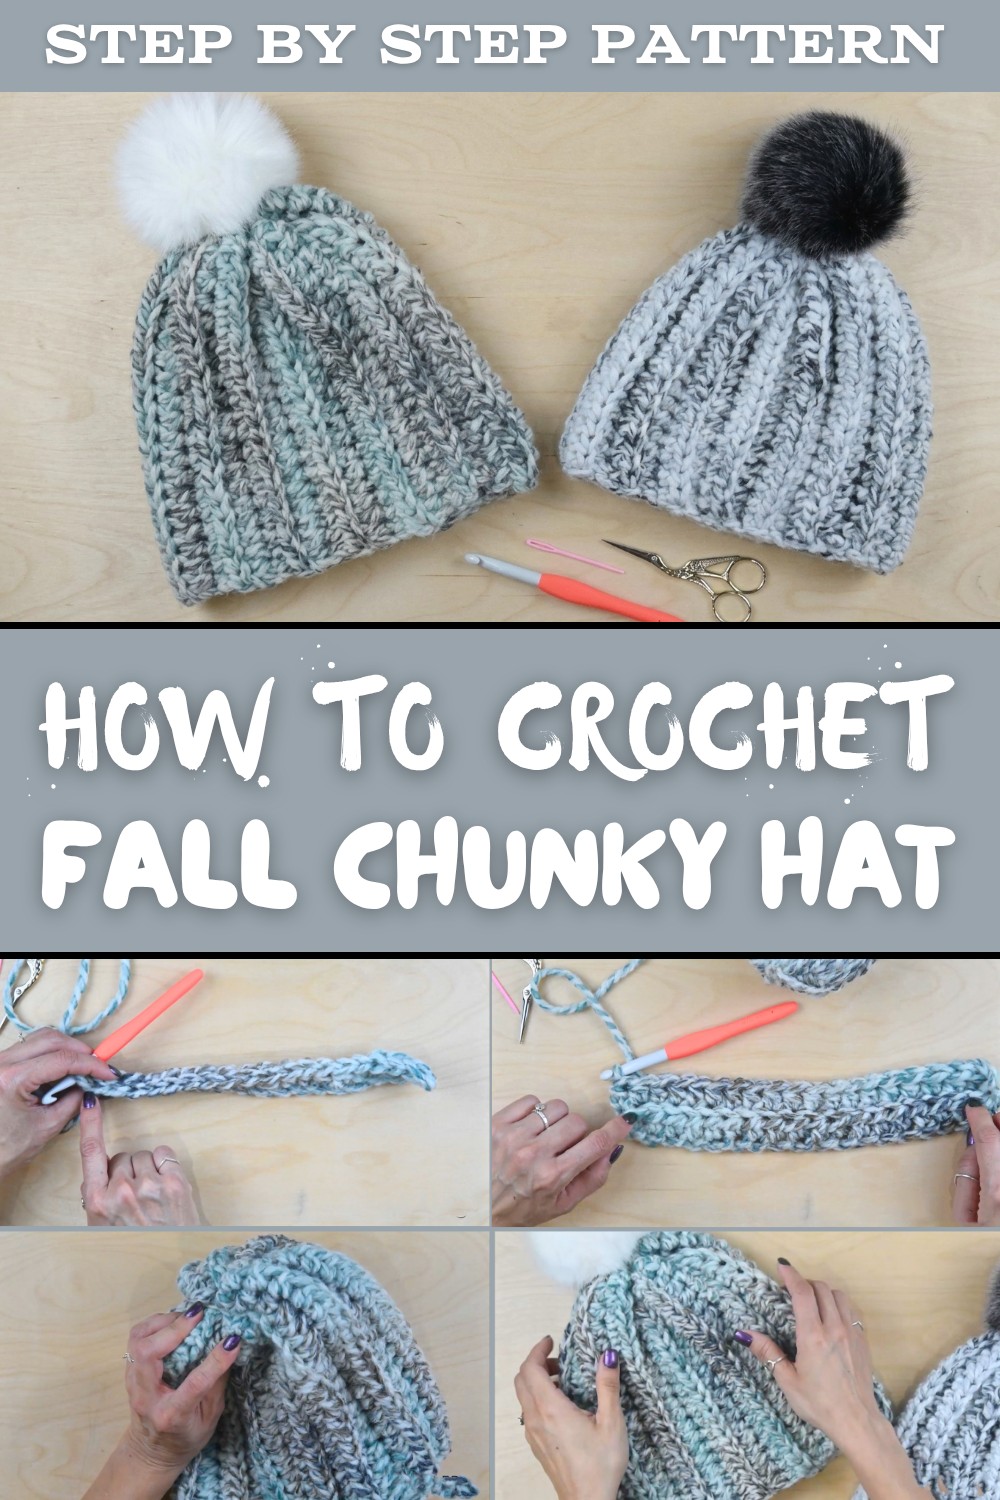
Designed with deep autumn colors and a neat ribbed border, this hat combines functionality and beauty, offering a stretchy, hidden edge that ensures a secure fit without squeezing your forehead during active play. Using standard skeins of bulky yarn and a large crochet hook, it's a fun and budget friendly project that builds big rows effortlessly.
Whether you're gifting it as a holiday treasure or wearing it out while crunching through leaves, the unique ridged texture and cheerful design make it a standout piece. Keep your ears warm, your style bright, and your head snug through frosty winds with this beautiful fall creation-perfect for colorful autumn outings.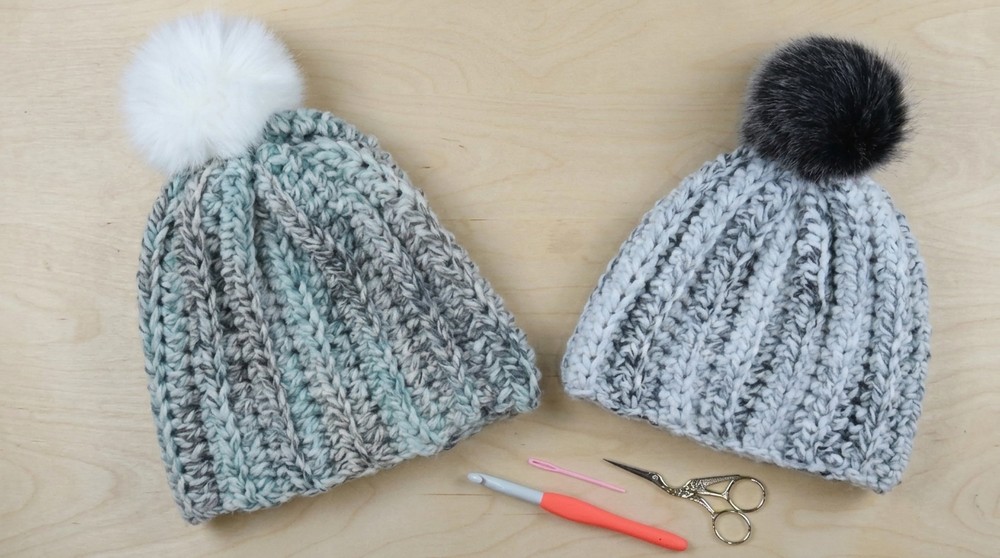
Crochet Chunky Winter/Fall Hat Pattern (Step by Step Guide)
Materials Needed
- Yarn: Wool Ease Thick & Quick Yarn or similar super bulky yarn. (80% acrylic, 20% wool) - 1 or 2 balls depending on tension.
- Crochet Hook: 9mm hook
- Darning needle
- Scissors
- Optional: Store bought pom pom or fabric to create a pom pom.
Gauge
- Gauge: 4 HDC stitches x 4 rows = 4 inches (10cm)
Finished Size
- The finished hat measures approximately 17 inches (43cm) around, unstretched, and fits a head circumference of 17-20 inches (43-51cm).
- Height: Approximately 9 inches (23cm).
Pattern Instructions
Step 1: Slip Knot and Chain Foundation
- Create a slip knot:
- Hold the yarn, wrap it around your finger twice, creating two loops.
- Pull the first loop under the second loop, then insert your hook through the loop, tightening gently.
- Chain 19 to create the foundation chain:
- Yarn over the hook and pull through the loop. Repeat until you have 19 chains.
- Ensure the tension is loose to make it easier to work on in the following steps.
Tip: The chain should resemble small Vs, with each chain counting as one stitch.

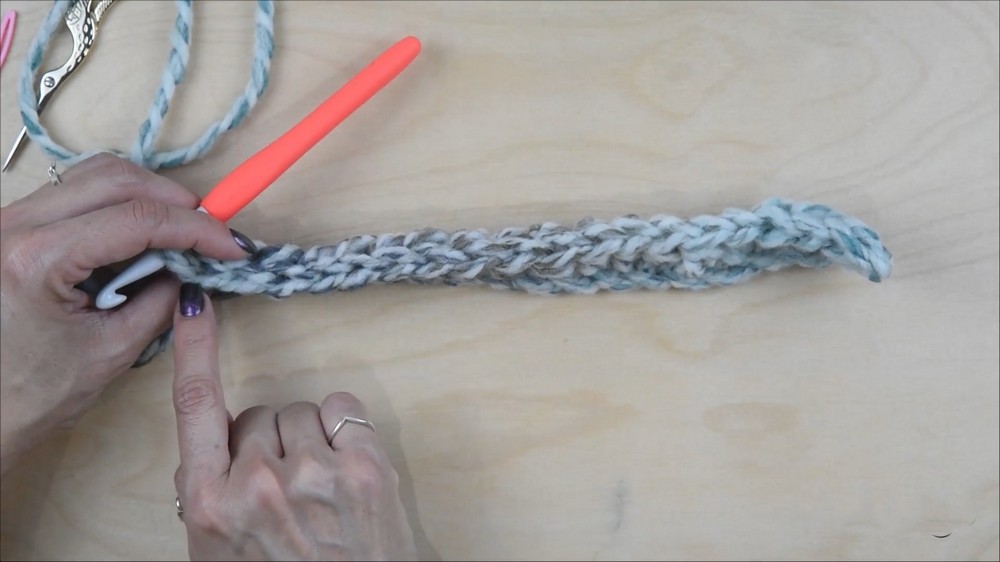
Step 2: First Row - Half Double Crochet (HDC)
- Begin the first row:
- Skip the first chain (this serves as your turning chain).
- Yarn over, insert your hook into the second chain from the hook, yarn over again, and pull through. You will have 3 loops on your hook.
- Yarn over once more and pull through all three loops.
- Repeat the process along the row until you have completed 18 HDC stitches.
- Be careful not to make stitches too tight to maintain the ease of crocheting.
- Count your stitches to ensure you end with 18 stitches.

Step 3: Second Row - Working in Back Loops
- Chain 1 to get to the next row, then turn your work.
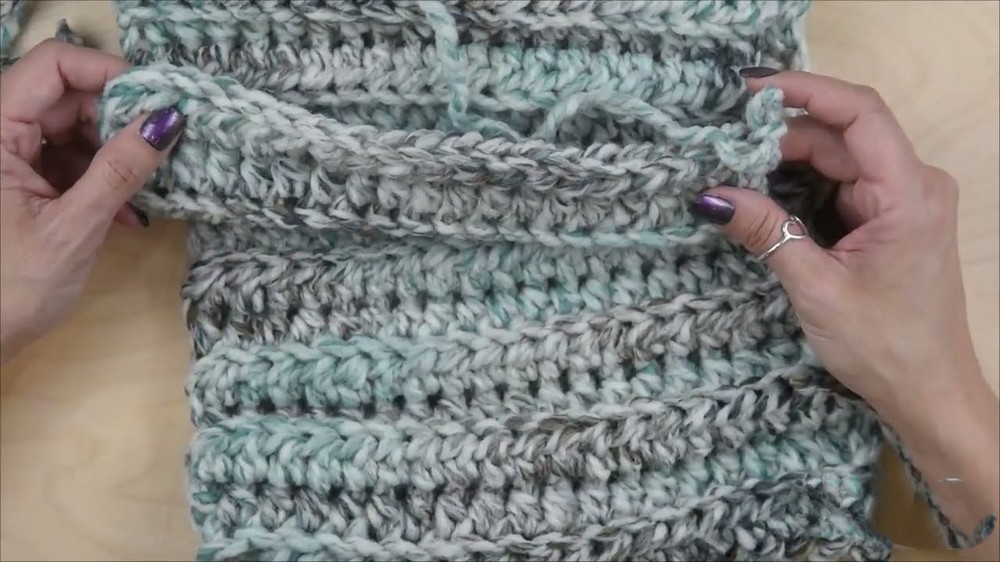
- Look at the top of your previous row of HDC stitches. The top row has Vs; each stitch consists of two loops-a front loop and a back loop.
- For this pattern, you'll work only in the back loop:
- Yarn over, insert the hook into the back loop of the second stitch (skip the turning chain), yarn over, and pull through.
- Yarn over again and pull through all three loops on your hook to complete the HDC.
- Continue working HDC stitches in the back loops only across the row. This creates a subtle ribbed pattern that adds texture to the hat.
- Count your stitches to ensure you end with 18 HDC stitches.
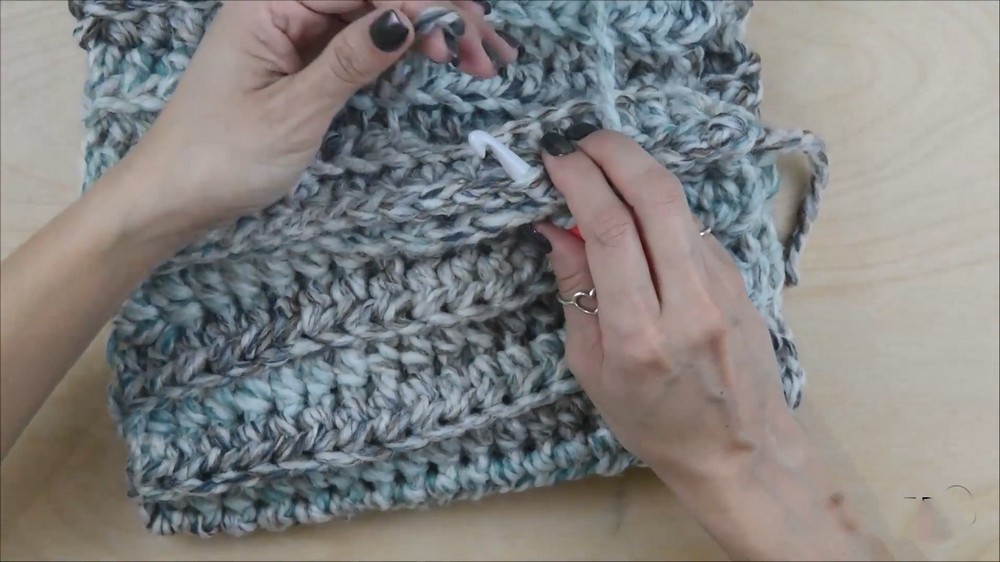
Step 4: Continue Working Rows
- Repeat Step 3 until you have a total of 30 rows, or until the piece measures roughly 17 inches in length (unstretched).
- Tips for sizing:
- If your fabric feels too tight when wrapped around your head, crochet 1-2 additional rows.
- If it feels loose, remove a row to adjust the fit.
- Count your rows carefully: Each row has alternating ridge textures. A taller ridge followed by a shorter texture is one row.

Step 5: Joining and Seaming
- After completing your rows, chain 1, turn your work, and prepare to join the hat's ends.
- Fold the piece in half width wise with the right side facing out. Line up the foundation chain with the last row of HDC stitches.
- Slip stitch the edges together:
- Insert the hook into the edge of the chain from Row 1 and the back loop of the edge of Row 30.
- Yarn over, pull through both loops, and pull through the loop on your hook to complete a slip stitch.
- Continue slip stitching across the edge, ensuring both pieces are aligned neatly.
Step 6: Cinching the Top
- Once the seam is closed, use your darning needle to gather the top of the hat:
- Insert the needle under the back loops of the stitches around the top edge, pulling gently as you go.
- Once you have circled the entire top edge, pull the yarn tightly to cinch the top closed.
- Reinforce the closure by crossing the needle and yarn across the opening and pulling tighter to secure.
- Tie a knot to secure the gathered top and weave in ends.
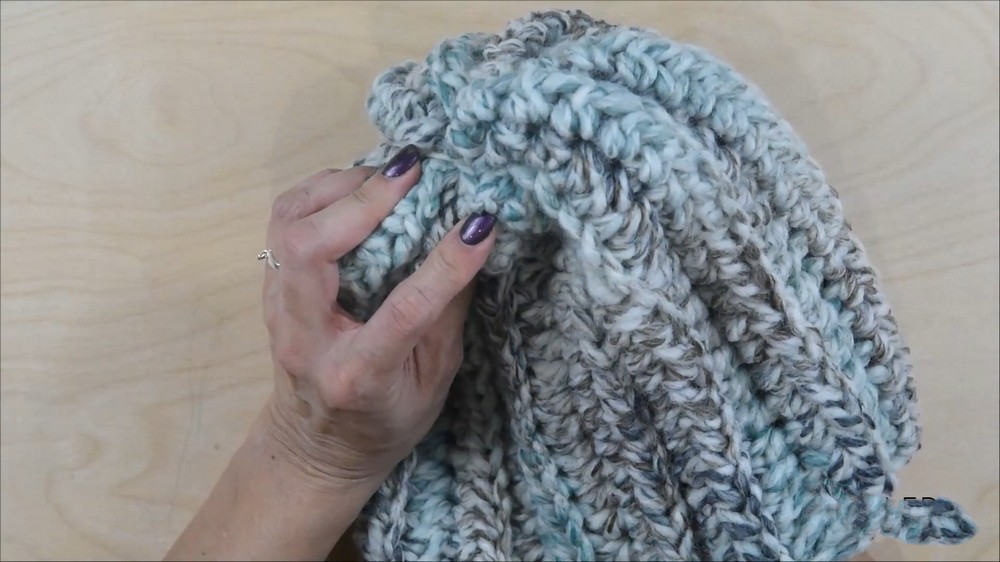

Step 7: Add a Pom Pom (Optional)
- To finish the hat, add a store bought pom pom or make your own using leftover yarn.
- Attach the pom pom securely to the top center of the hat by threading its ties through the top opening, tying it off inside the hat.
Customization Ideas
- Folded Brim:
- To add a folded brim, increase the number of foundation chains. For example, add an extra 10 chains if you want a fold of 3 inches at the bottom of the hat.
- Color Variations:
- Use multi colored yarn or alternate colors every few rows for a striped effect.
- Add Embellishments:
- Add buttons, appliqués, or stitch designs to personalize the hat.

Special Techniques
- Working in Back Loops Only:
- This technique adds texture and elasticity to the hat, allowing it to stretch comfortably around the head.
- Slip Stitch Seam:
- Creates a nearly invisible join for a polished finished look.
Conclusion
By following this pattern, you'll create a chunky, stylish hat that's perfect for chilly winter days. Whether you're a beginner or looking for a quick last minute project, this hat combines simplicity with functionality. Its textured ribbing gives it a modern look, while its stretchy design ensures comfort for a range of head sizes.
Try experimenting with colors or add a pom pom to suit your style.
Important Remarks
- Finished Look: The hat should feature neat ribbed textures with a snug fit around the head. The optional pom pom adds a fun, playful touch.
- Always measure your work periodically to ensure proper size and adjust rows as needed.
- Keep your tension consistent to create uniform stitches and avoid pitfalls like uneven sizing or gaps.
Let this hat brighten up your fall or winter, and don't hesitate to make extras for friends and family.