
Crochet Free Granny Squares Cardigan Pattern for Handmade Charm
Grow your crochet skills with a Granny Squares Cardigan Pattern that blends timeless charm and creativity into a cozy, stylish, and customizable wardrobe piece.
Creating wearable art with yarn is an exciting way to showcase your creativity, and one standout project is the crochet granny squares cardigan pattern. This design transforms the timeless charm of granny squares into a stylish and functional piece of clothing. Combining bold hues or subtle tones, the cardigan allows crocheters to experiment with endless color variations, making each piece truly one-of-a-kind.
Crochet Granny Squares Cardigan Free Pattern for All Seasons
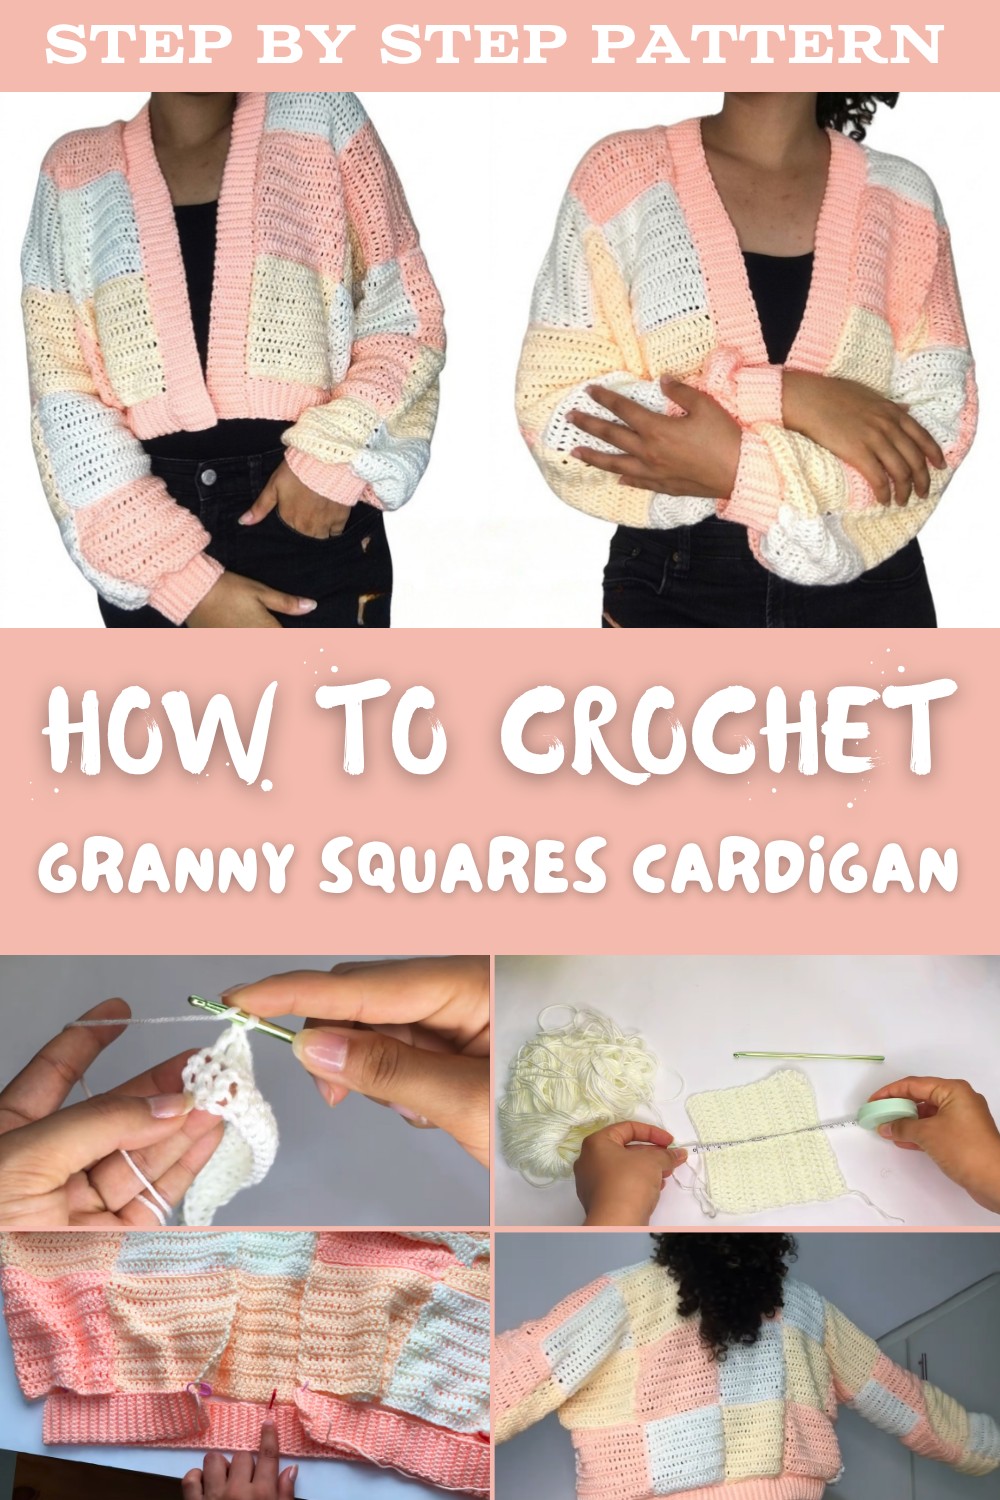
Beyond its aesthetic appeal, this project is versatile and practical, perfect for layering in colder months or adding a pop of handmade flair to your wardrobe. You can personalize it further by adjusting the square sizes, incorporating textured stitches, or adding decorative accents like tassels or buttons.
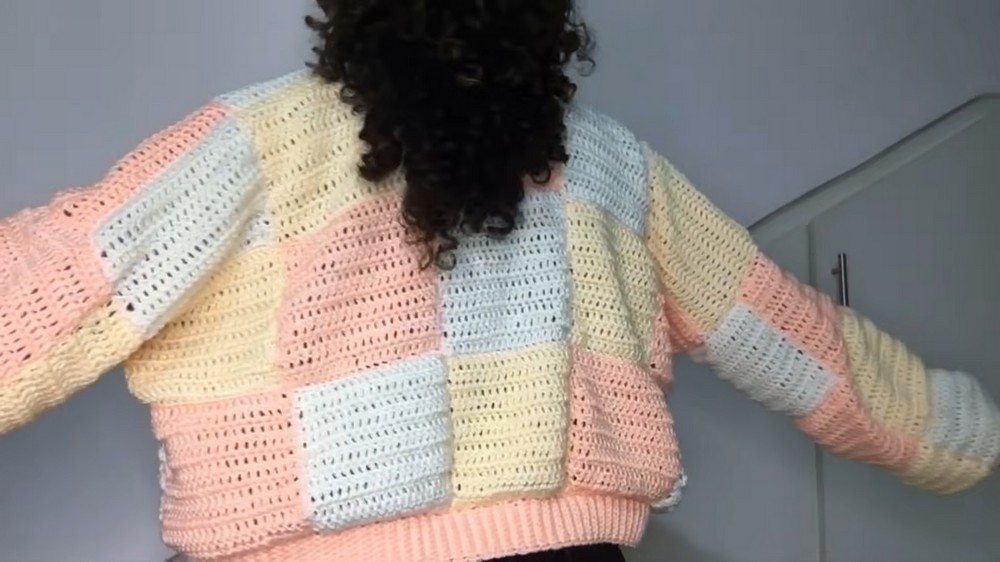
Interestingly, granny squares have a long history in crochet, dating back decades as a symbol of resourcefulness and style. Whether you're crocheting for yourself or gifting someone a cozy masterpiece, this pattern is a delightful way to turn tradition into wearable fashion while enjoying a satisfying and relaxing creative process.
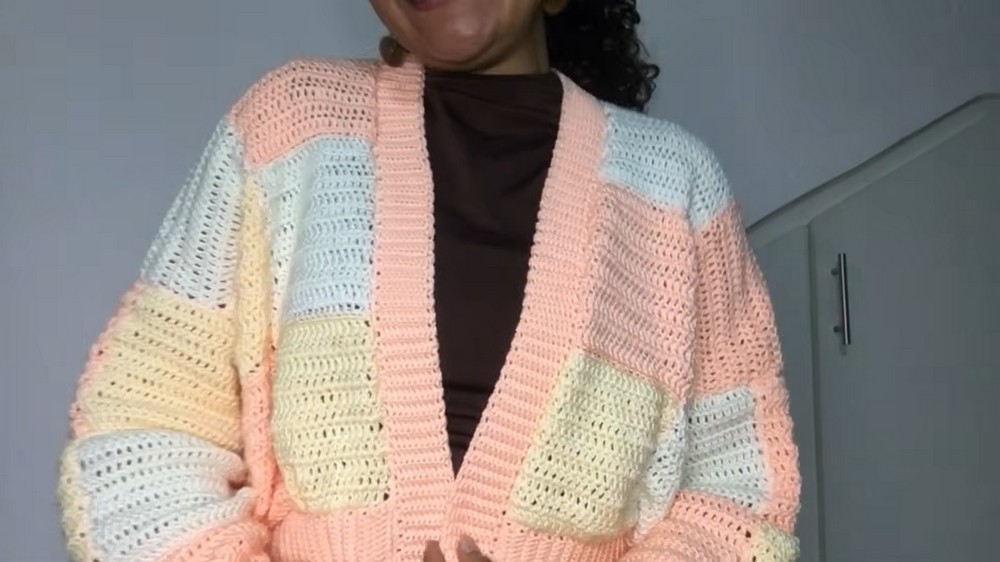
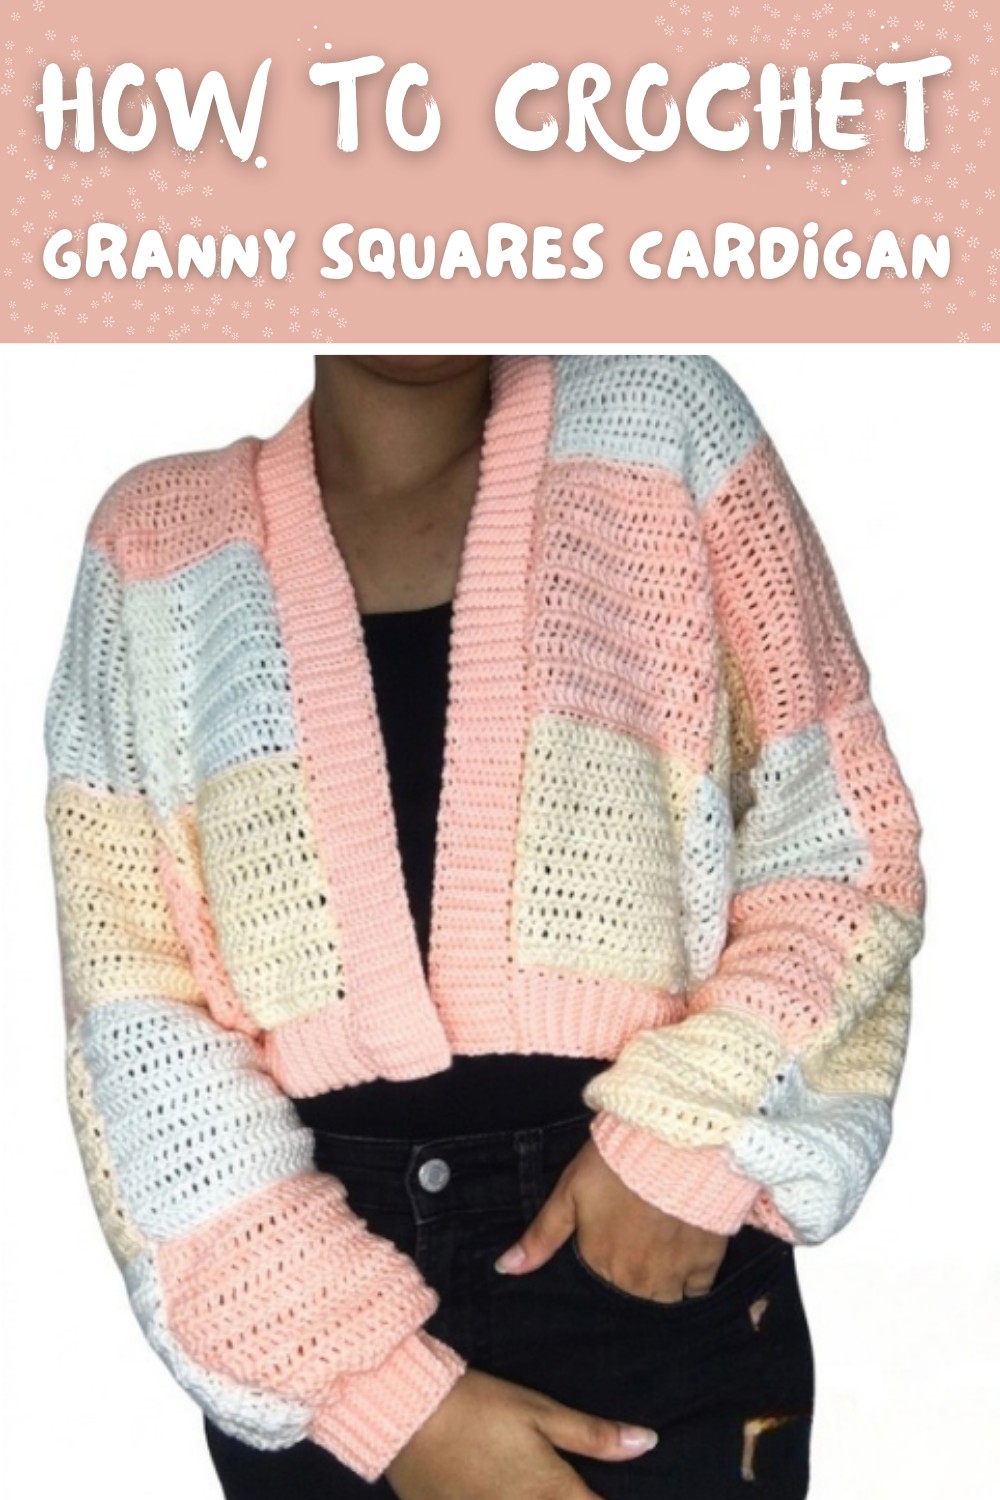
Crochet Granny Square Cardigan Pattern
Skill Level
Beginner
(No advanced shaping or complex stitches required. Assembly and finishing use basic techniques.)
Finished Size
- Sample fits women's size medium with a loose, boxy fit.
- Each square measures 12 cm x 12 cm (approx. 4.75 in x 4.75 in).
- Total of 45 squares (assembled as described).
- Customization: Adjust square size or the number of squares for smaller/larger sizes.
Gauge
- 1 finished square = 12 x 12 cm when worked as described.
- If your gauge varies, adjust the initial chain or number of rows per square to achieve this measurement.
- It is essential all your squares match in size for neat assembly.
Materials
- Yarn: Three colors of DK-weight silk/wool blend or preferred fiber.
- Approx. 100 g of each color (300 g total for squares).
- Plus 100 g of one color (for all edging/ribbing) - 400 g total.
- Yarn thickness used: 3 mm (Fine/DK/Light Worsted).
- Hooks:
- 4 mm (main squares)
- 3 mm (for edgings and ribbing)
- Notions:
- Yarn/embroidery needle (for seaming)
- Scissors
- Measuring tape
- Optional: Buttons (and sewing needle/thread)
- Optional: Stitch markers
Abbreviations (US Terminology)
- ch - chain
- sc - single crochet
- dc - double crochet
- st(s) - stitch(es)
- sl st - slip stitch
- RS/WS - right/wrong side
Special Techniques
- Square Stitch: This pattern uses a rectangular "granny" or square stitch motif formed in rows rather than traditional rounds.
- Assembly: Use an embroidery/yarn needle for invisible seam, or slip stitch squares together if preferred.
- Back loop only (BLO): Used in ribbing for flexibility and texture.
- Measuring for Fit: Always check your square after blocking the first and adjust accordingly.
Construction Overview
- Make 45 squares: 15 of each color, each 12 x 12 cm.
- Squares layout: See assembly below - back, two fronts, two sleeves.
- Assembly: Sew or crochet squares together as shown.
- Ribbed edges: Crocheted separately and sewn on for cuffs, waist, front edges/neck.
- Optional closures: Add buttons and buttonholes, or wear open.
Step-by-Step Instructions
1. Making One Square (Make 45 Total)
Using 4 mm hook and chosen yarn color:
a. Foundation Row
- Ch 22 (or to reach 12 cm/4.75 in).
- Add 2 extra chains (for turning).
b. Row 1 (Set-up row)
- Dc in 4th ch from hook (counts as 2 dc, including skipped ch),
- Dc in each remaining ch.
- (You should have 22 dc for a 12 cm square-adjust starting chain if needed.)
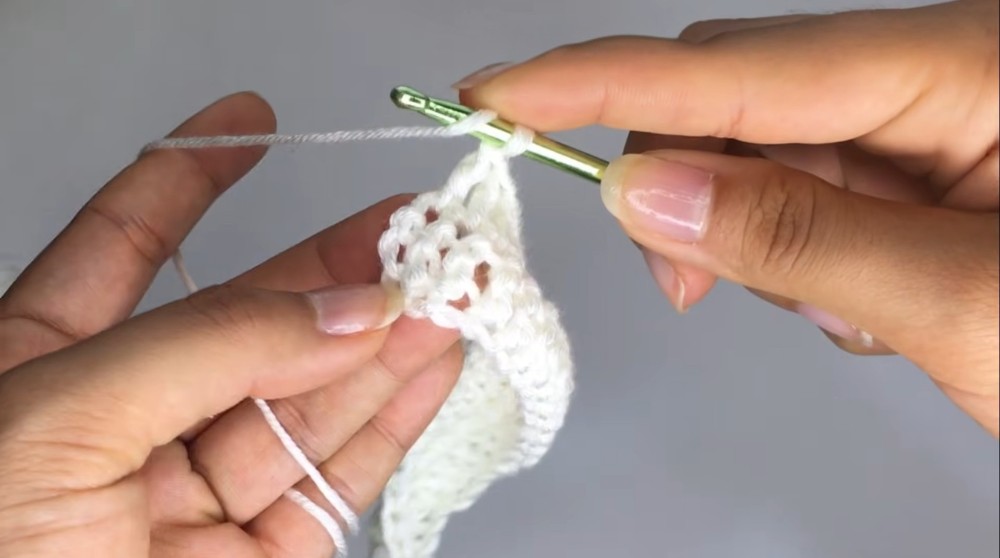
c. Rows 2-11 (or as needed for 12 cm height)
- Ch 3, turn.
- Dc in each dc across.
- Repeat this row for a total of 11 rows (or as many as needed for 12 cm; check with your measuring tape).
- Fasten off, weave in ends.
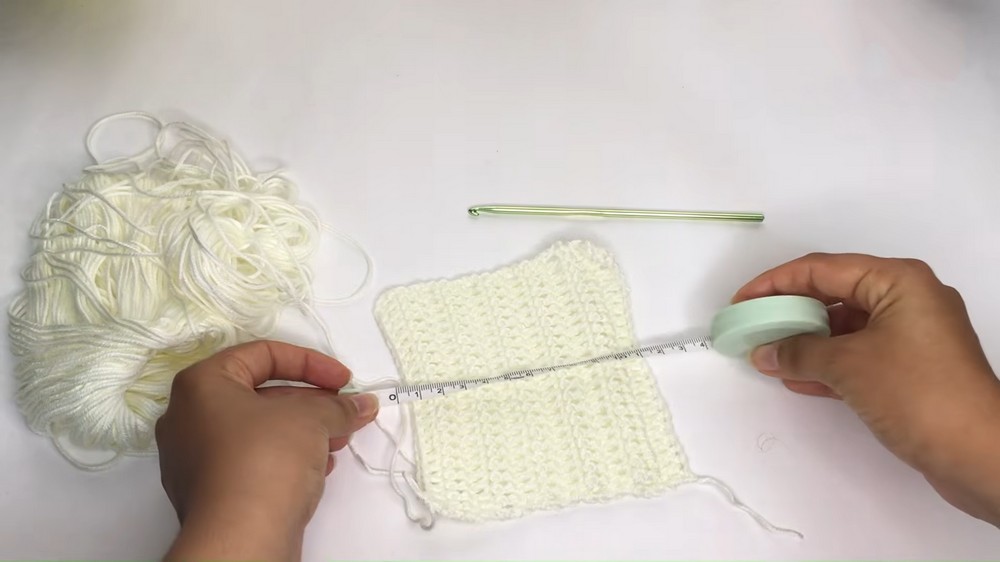
Tip:
Block the first square to check dimensions. Adjust hook, tension, or stitch count as needed for a perfect 12 x 12 cm square.
- Make 15 squares of each of your three colors (45 total).
2. Assembly
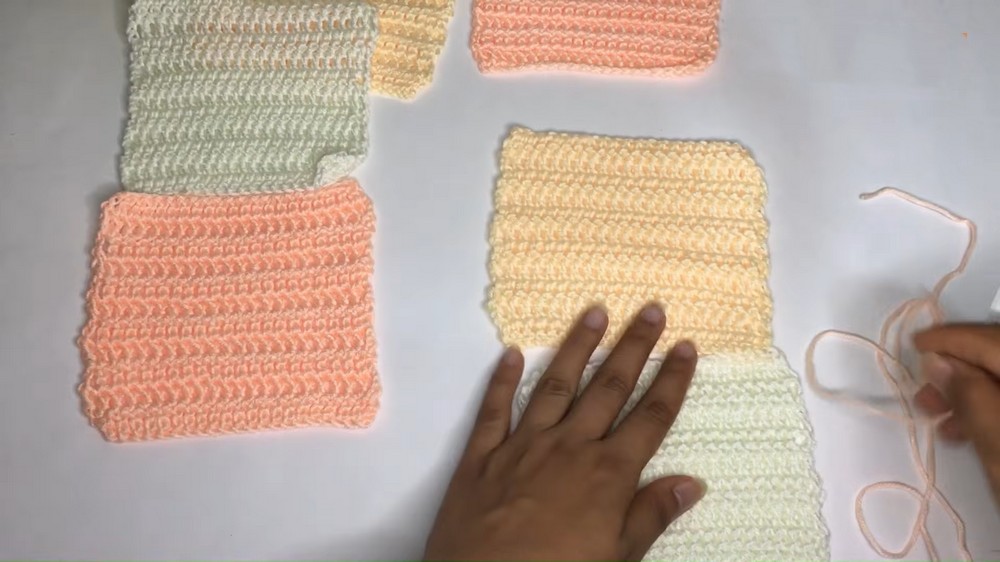
a. Lay Out the Squares
Lay your squares out on a flat surface as follows:
- Back panel: 3 squares wide x 5 squares tall (15 squares)
- Each front panel: 1 square wide x 5 squares tall (5 for left, 5 for right; total 10 squares)
- Each sleeve: 2 squares wide x 5 squares tall (10 squares, each sleeve = 5 x 2; total 20 squares)
b. Seaming
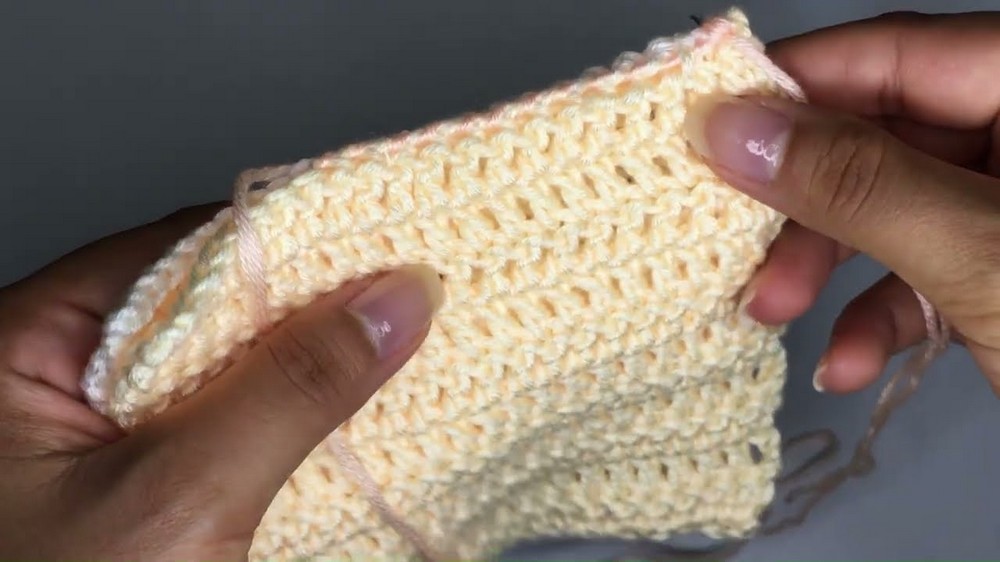
- Use an embroidery needle and matching or contrasting yarn for invisible seaming.
- Place squares right sides facing, whipstitch (or mattress stitch) the adjoining edges, matching stitch for stitch.
- Sew together: back and fronts shoulder to shoulder; attach sleeves at armholes; close side seams and underarms.
c. Fold & Final Seam
- Fold garment so fronts and backs are aligned, and sleeves are folded in half.
- Seam sides up to sleeves, then sleeves.
- Sleeve seam length: about 18 cm (or desired fit).
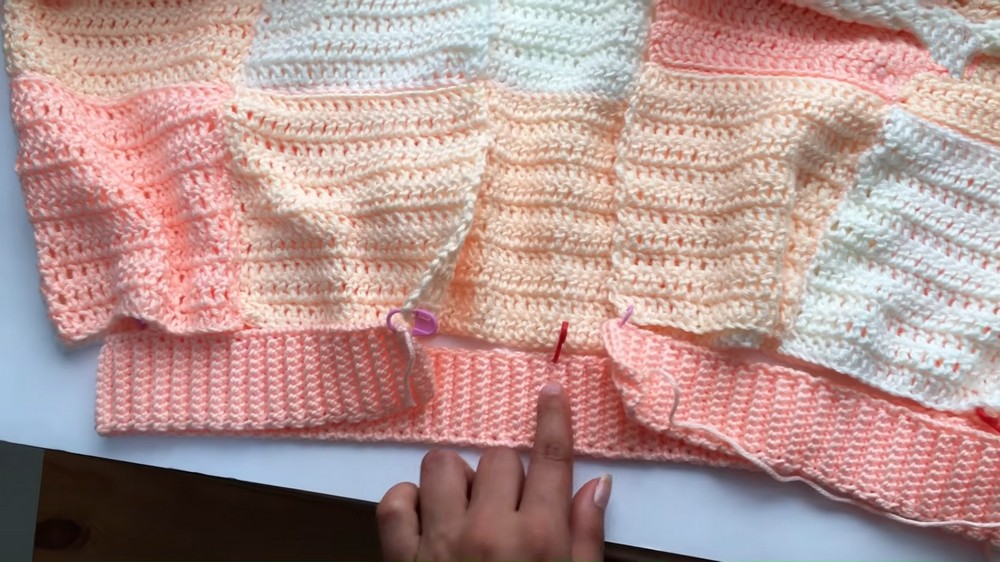
3. Edging & Ribbing
Switch to 3 mm hook for all edging. Use one color (sample: one of the three already used).
a. All Ribbed Edges
Foundation Chain
- For sleeves: Ch enough for an 18 cm strip (approx. 10-12 ch or as needed).
- For neckline/front edge: Ch for 92 cm (or to your neckline/edge length).
- For waist: Ch for 80 cm (or your waist size plus overlap, if adding buttons/tablet).
- General sample: start with 10 ch (about 4 cm wide) for rib strip.
Ribbing Row 1
- Ch 1, turn.
- Sc in second ch from hook and each ch across.
Row 2 (and all rib rows)
- Ch 1, turn.
- Sc in back loop only (BLO) of each sc across (gives rib effect).
- Repeat Row 2 to desired length (e.g., for cuffs, around sleeve; for front/neck, along cardigan front and neckline; for waist, waistband).
- For sleeve cuffs: 18 cm length
- For front/neck edge: 92 cm
- For waistband: 80 cm
Finishing:
- Fasten off, leaving long tail.
- Attach with yarn needle (whipstitch, mattress stitch, or crochet method) to garment edges.
4. Button Band or Closure (Optional)
- Add buttons and buttonholes as desired.
- To make buttonholes: Skip a dc in appropriate ribbing rows, ch 1 instead, then continue rib in next row as normal.
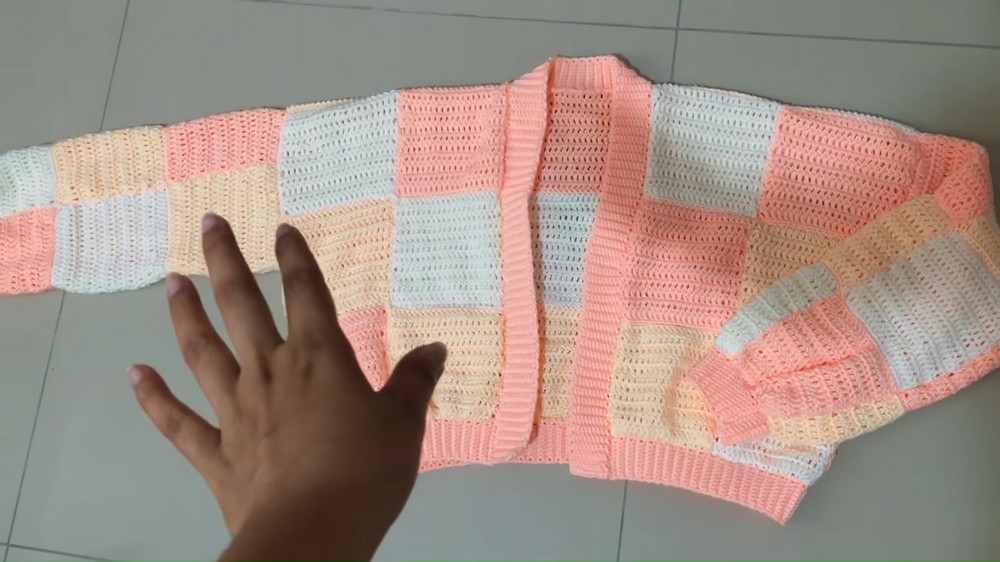
Finished Look and Size
- Relaxed, boxy cardigan with dropped shoulders and full-length sleeves.
- Sample garment measurements:
- Back/Front panel height: 60 cm (5 x 12 cm)
- Waistband: 80 cm
- Front/neckline rib: 92 cm
- Beautiful color-blocked or striped effect; customize colors for unique results.
Tips & Customization Ideas
- Fit Adjustment: Change square or rib sizes for more fitted or oversized look.
- Length/Width Adjustment: Increase/reduce number of squares for longer/shorter or wider/narrower cardigan.
- Colors: Get creative! Make stripes, alternate blocks, gradients, or use leftovers for a patchwork look.
- Assembly: Lay out all pieces before seaming to preview color placement.
- Edging: Make ribbing wider/narrower by adjusting starting chains. Add extra rounds of sc all around for a modern finish.
- Personalization: Add pockets, appliqués, embroidery, or contrasting borders.
Conclusion & Important Remarks
The Square Stitch Cardigan is an accessible, fun, and limitless garment project. Its basic construction and stitch pattern make it ideal for beginners yet rewardingly customizable for more experienced crocheters. With careful measuring and color play, your cardigan will be a unique, beautiful addition to your wardrobe-perfect for layering and easy to style.
- Final Look: Casual, slightly oversized, straight-sided cardigan with crisp edges and a neat, textured rib.
- Key to success: Consistent square sizing, careful assembly, and check fit as you go.