
Crochet Magnolia Flower Free Pattern to Add a Touch of Nature
Produce a graceful Crochet Magnolia Flower Pattern that showcases nature's charm and enhances accessories or décor using endless color combinations.
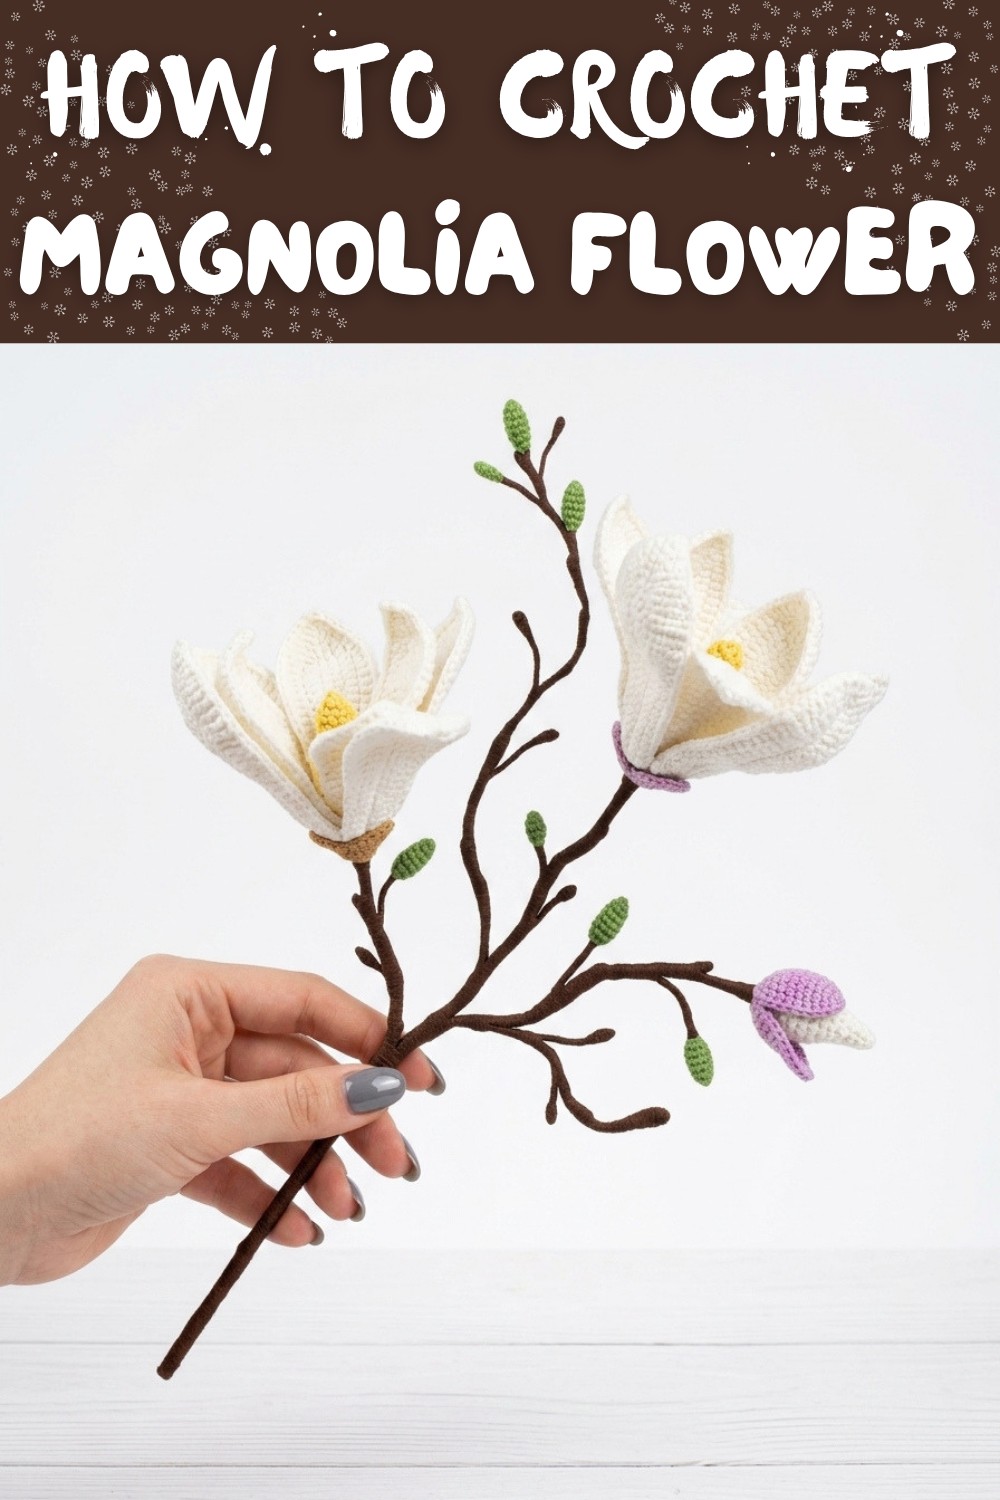
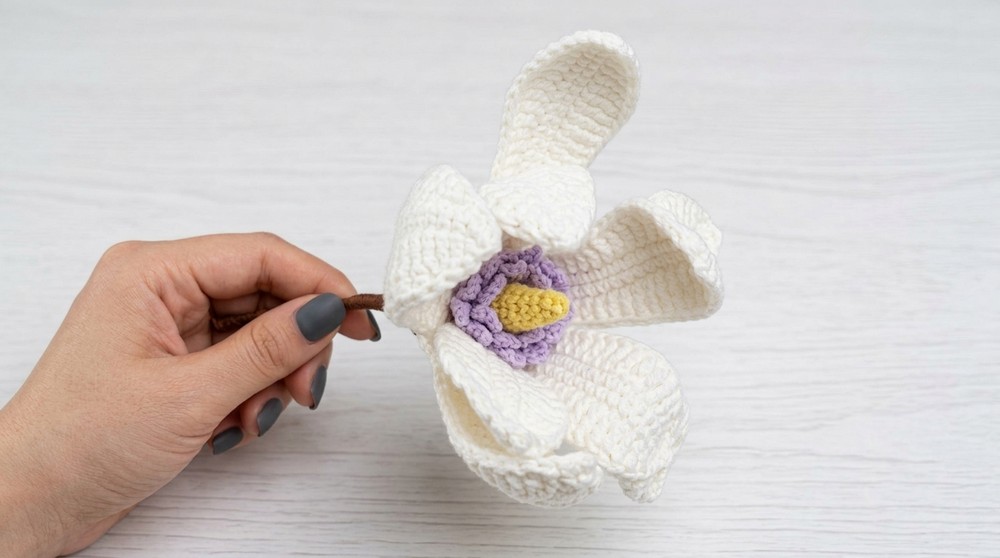
A crocheted magnolia blossom captures the timeless beauty of one of nature's most elegant flowers. A Crochet Magnolia Flower Pattern provides clear instructions to stitch its iconic soft petals and graceful shape. Known for their symbolism of strength and purity, magnolias are a meaningful choice for projects that offer both beauty and significance. The project is versatile, offering options to stitch floral embellishments for hats, scarves, bags, or to assemble a stunning bouquet for home décor.
Crochet Magnolia Flower for Stylish Hats & Bags
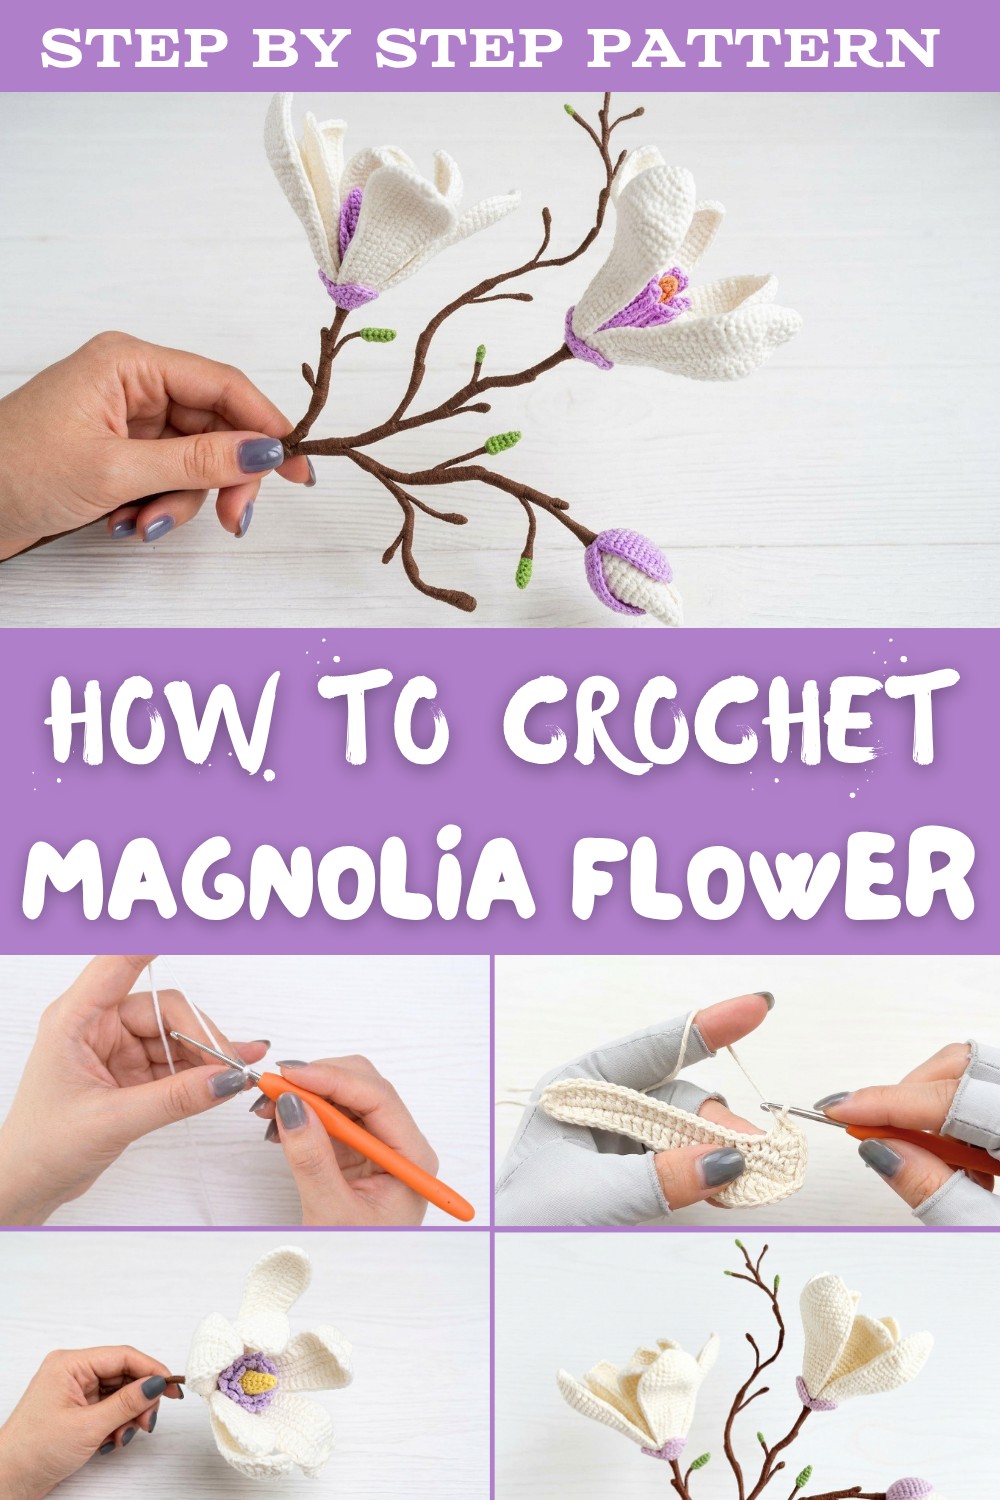
Customizing with different yarn colors allows for a realistic touch or playful variations, making the process engaging and endlessly versatile. This project is manageable for different skill levels, with most designs being straightforward enough for beginners yet detailed enough to satisfy more advanced crocheters. It's not only a thoughtful way to enhance projects but also adds a floral charm to personal and gifting ideas. Perfect for those who love creative hands-on projects with a splash of artistry.
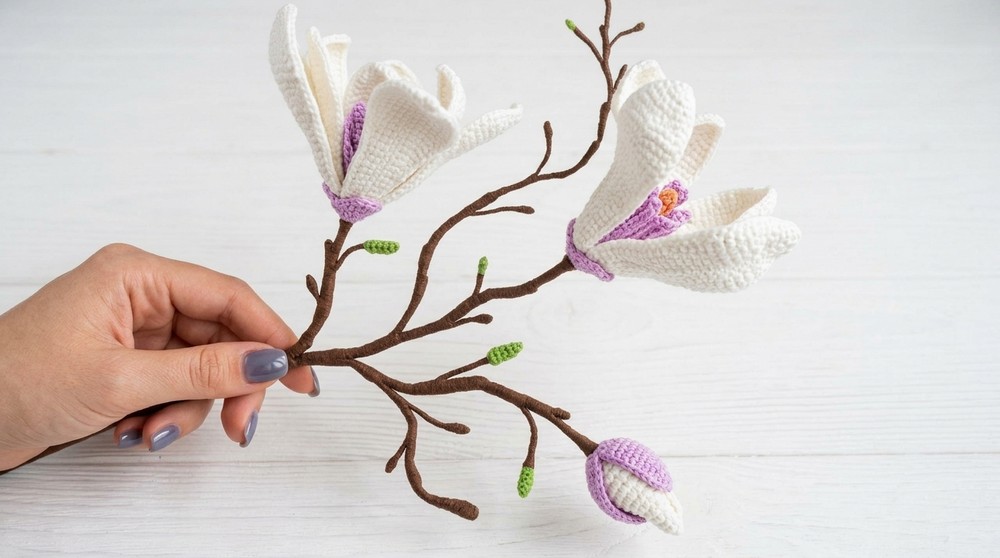
Step-by-Step Pattern: Realistic Wired Crocheted Flower with Branches
Materials
- Yarn:
- 2.0 mm crochet thread or similar (preferably cotton for structure)
- Colored yarns for petals, calyx, leaves, and stamen
- Crochet Hook:
- 2.0 mm (or size to match yarn)
- Wire:
- 0.4-0.8 mm floral wire (long enough for branches and petals)
- Notions:
- Tapestry/yarn needle
- Scissors
- Stitch markers
- Fiberfill (for buds/core)
- Hot glue gun (optional, for assembly/fixing)
- Tweezers (for stuffing and closing)
- Optional:
- Floral tape (for wrapping branches)
Skill Level
Intermediate to Advanced
Key Abbreviations (US Terms)
- ch: chain
- sc: single crochet
- hdc: half double crochet
- dc: double crochet
- tr: treble crochet
- sl st: slip stitch
- st(s): stitch(es)
- inc: increase
- dec: decrease
- rep: repeat
- blo: back loop only
- flo: front loop only
Special Notes
- Wire is added for realistic shaping and structure; handle carefully during crocheting.
- Each flower consists of separate components assembled to your design preferences.
- Petal construction combines basic stitches with extended stitches (tr, multi-yarn-overs).
- Pattern involves shaping, stuffing, and assembly.
Flower Components Overview
- Large flower: 5 large petals, flower core, calyx, stamen, branches
- Bud: Core, 3 small leaves, calyx
- Branches: Unlimited-assemble as desired
- Small petals: 4 per flower
Pattern Instructions
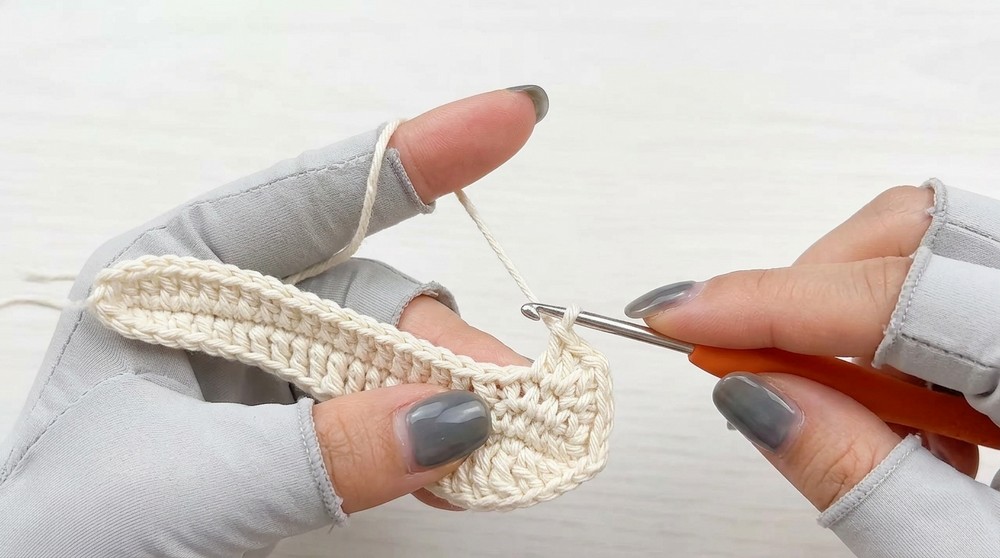
1. Large Petal (Make 5 for each flower)
- Wire Setup
- [Optional] Prepare a wire approx. 0.5-0.6 mm thick, longer than the finished petal.
- Slip it alongside your foundation chain after the 26th st in Step 2.
- Foundation
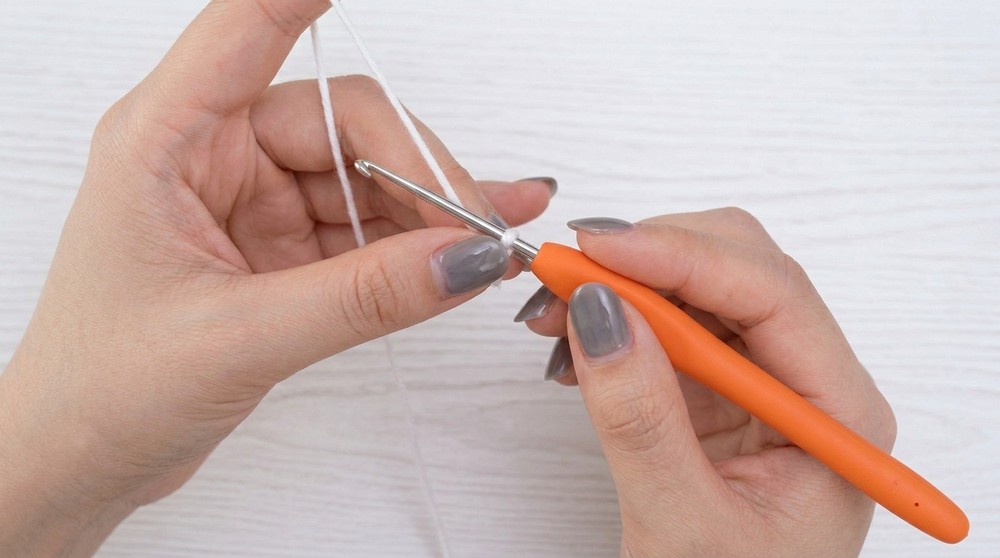
- Make a slip knot, then ch 27.
- After 26 ch, insert wire and crochet the 27th ch around/over the wire.
- First Side
- Begin in the flo (front loop only) of second ch from hook.
- Sc in next 25 ch (placing marker in first sc for reference).
- In last ch: 3 sc (to round tip).
- Second Side
- Work back along the opposite side of the chain (flo of original chain).
- Sc in next 25 ch (symmetrical, encasing wire for support).
- Final Tip
- Last ch: 3 sc (rounded tip).
- Second Round - Shaping Petal
- Ch 1, turn.
- Sc in next 6 sts.
- hdc in next 3 sts.
- dc in next 3 sts.
- tr in next 3 sts.
- trtr (triple-treble: yarn over 3 times) in next 4 sts.
- tr in next st, dc in next 3, hdc in next 3, sc in last 6.
- [Optional] Mirror on the other side if desired for symmetry.
- Fasten off, leaving wire extended for branch/assembly purposes.
2. Small Petal (Make 4 for each flower)
- Replicate the large petal pattern but ch 18 instead of 27, and use fewer stitches in each section for proportional shaping.
3. Calyx (Make 1 per flower/bud)
- Foundation Ring
- Ch 4, join with sl st to form ring.
- First Round
- Sc in ring (marker in first sc).
- Ch 4.
- In ring: 2 trtr (yarn-over 3 or 4 times as specified), ch 4, sc in ring.
- Rep 4 times to make calyx points; fasten off.
4. Leaf (Make as needed for decoration/bud calyx)
- Foundation
- Ch 11; after 10 ch, add wire, ch 11 over wire.
- Leaf Shaping
- Sc in 1st st, hdc in next, dc in next 5, hdc in next, sc in last.
- Mirror on opposite side for symmetry.
- Fasten off; use wire for branch/positioning.
5. Flower Core (Make 1 per flower)
- Foundation Ring
- Ch 4, join with sl st to form ring.
- Round 1
- Sc x5 in ring (mark first sc).
- Tighten if needed.
- Round 2 - Increase
- Work in spiral or join if preferred.
- [Inc round] Sc x2 in each st around (=10 sc).
- Rounds 3-6
- Sc in each st around (stuff lightly with fiberfill).
- Rounds 7-11 - Decrease
- [Dec round] Sc2tog (single crochet decrease) every 2-3 sts.
- Continue until approx. 6 sts remain, close with sl st.
- Finish
- Cut yarn, leave tail, close remaining opening with tapestry needle if needed.
6. Bud (Make as desired)
- Follow flower core instructions but work fewer rounds and stuff more firmly for shape.
- Add 3 leaves (see leaf instructions) and a calyx.
7. Stamen
- Wind thread around four fingers ~30 times.
- Cut and tie bundle with a separate yarn.
- Trim ends to desired length.
- Attach to flower core or insert through center hole.
- Secure with wire or glue.
8. Shoots, Branches, and Assembly
- Use 0.5-0.8 mm wire, cut to preferred lengths.
- Wrap wire with yarn, floral tape, or branch-colored yarn for realism.
- Assemble by arranging petals, calyx, leaves, stamen, and buds around branches.
- Attach with wire, sewing, or glue as desired.
9. Final Assembly
- Attach assembled flowers, buds, leaves, and branches together according to your design.
- For thicker stems, bundle multiple branches and wrap with thicker wire.
- Secure everything neatly-cover wire and gaps with yarn/tape/glue.
- Smooth and arrange petals for a realistic finish.
Conclusion
This detailed wired crochet flower pattern enables creation of highly realistic floral pieces suitable for decoration, bouquets, or advanced craft projects. Each element is modular, allowing for unlimited customization. Proper wire placement and meticulous assembly are key for lifelike results.
Pattern Corrections & Tips
- Wire insertion: Always crochet tightly around wire to keep shape.
- Petal shaping: Mirror stitches on each side for best symmetry.
- Assembly: Use hot glue or floral tape for extra stability.
- Stuffing: Use tweezers to stuff small parts; do not overstuff.
- Branch design: Vary branch thickness and length for natural effect.