
Useful Free Crochet Market Bag Pattern for All Your Essentials
Refresh your shopping routine with this free crochet market bag pattern offering plenty of space for groceries fruits and daily essentials.
Walk in the market with a beautiful, handmade bag that turns heads. This crochet market bag isn't just about looks-it's incredibly useful. You can use it for grocery shopping, carrying books, or even as a casual tote for your daily essentials. Despite its size, the bag is light to carry but strong enough to hold everything you need. The design is open yet secure, with tight stitches at the right places to keep your belongings safe. What makes this bag special is its versatility. The pattern is beginner friendly but looks impressive enough to wow even seasoned crocheters.
Free Crochet Bag for Your Shopping Trips

The base is built with strong single crochet stitches for support, while the body features a unique stitch style that's both breathable and elegant, making it a perfect match for any outfit or use. The beautifully crocheted handles are comfortable to hold and add a polish that takes this bag to the next level.
Whether you love creating handmade gifts or want a personal accessory that stands out, this pattern is a must try. Choose your favorite colors, follow the easy steps, and in no time, you'll have your very own market bag that's ready to accompany you on all your adventures.

Crochet Market Bag Pattern with Handles
Finished Size
- Bag dimensions depend on the number of chains and rows completed.
- The example pattern creates a medium sized bag, but sizing is easily adjustable. You can modify the base size, the body height, and the handles to fit your specific needs.
Materials Needed
- Yarn:
- Yarn Bee Sugarwheel Cotton Solids or similar weight.
- Colors used: Muted Sage (green) and Cream (white). You will need about 2 skeins.
- Crochet Hook:
- Yarn suggests a 4.5 mm hook, but a 3.0 mm hook is recommended for tighter stitches and added durability.
- Other Supplies:
- Scissors
- Tapestry needle
Gauge
The gauge is not critical for this project. However, you can use the following guideline:
- Gauge: 10 single crochet stitches and 10 rows = approximately 2 inches (5 cm).
Pattern Instructions
Base of the Bag
- Start the Chain:
- Begin with a slip knot.
- Chain 60 stitches for a medium sized bag. Adjust the number of chains for larger or smaller bags (fewer chains for a smaller base, more chains for larger).
- Row 1 - Single Crochet:
- Skip the first chain and work a single crochet (SC) stitch into the second chain from the hook.
- Continue placing one single crochet stitch in each chain across.
- Rows 2 to 20 (or as desired):
- Turn your work.
- Either chain one and count it as your first single crochet OR directly place a single crochet in the first stitch (as shown in the video).
- Continue with one single crochet in each stitch across.
Tip: For a larger bag base, add more rows to the base. For a smaller, thinner bag, work fewer rows.
- Transition to Working in Rounds:
Once your base is complete:- Do not turn your work after finishing the last row. Rotate the piece and work along the sides of the rows to begin forming the body.
- Work Around the Edges:
- Place single crochet stitches evenly along the side of the rows (6 to 7 stitches per side depending on the width).
- When you reach the bottom of the base (initial foundation chain), place one single crochet in each chain.
- Work along the second side of the rows as you did on the first side.
- Slip Stitch to Complete the Round:
- After completing the full circular round, join with a slip stitch to the first single crochet in that round.


Building the Body of the Bag
- Rounds 1-10 (or as desired):
- Continue working in single crochet in the round.
- At the end of each round, finish with a slip stitch into the first stitch of the round.

Customization Tip: Add more rounds if you'd like a taller bag or fewer for a shorter one.
Adding the Pattern
- Switch to Double Crochet for the Bag Design:
- For Round 11, switch to double crochet (DC) stitches with a pattern:
- Work 3 DC into consecutive stitches.
- Chain 2 stitches.
- Skip 2 stitches, and repeat the sequence.
- Continue the pattern (3 DC, chain 2, skip 2) around the bag.
- For Round 11, switch to double crochet (DC) stitches with a pattern:
- Joining the Round:
- At the end of the round, after the final chain 2, join to the first double crochet with a slip stitch.
- Rounds 12-18 or More:
- Follow the same pattern, aligning your double crochets with the ones in the previous round and placing chain 2 spaces over the gaps.
- Color Change (Optional):
- To introduce a new color, finish the slip stitch in the last stitch of a round with your new yarn.
- Begin crocheting as usual with the new color.
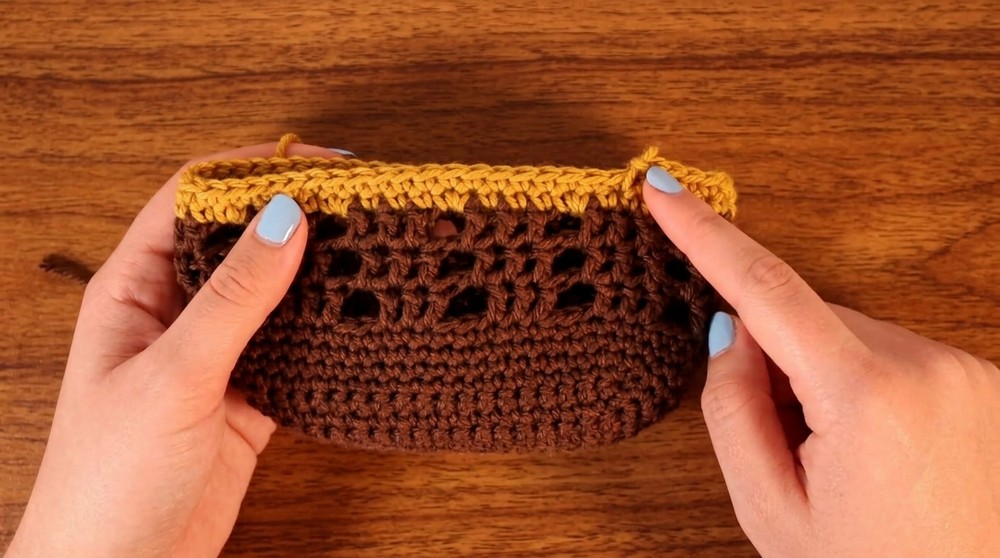
Top Edge of the Bag
- Work Two Rounds of Single Crochet:
- After completing the double crochet pattern, work two rounds of single crochet across the bag to form a solid top edge.
- For chain two spaces, place 2 SC stitches in each gap.
Adding the Handles
- Determine Handle Location:
- Identify where you would like your handles to begin and end. Count the number of stitches for spacing.
- Chain for the Handle:
- Once you reach the starting position for the handle, chain the desired length (use 13 to 20 chains for medium handles, depending on preference).
- Reattach the Handle:
- Skip the same number of stitches as chains, and attach the handle using a slip stitch.
- Repeat for the Second Handle:
- Once the first handle is complete, position the second handle symmetrically on the other side of the bag.
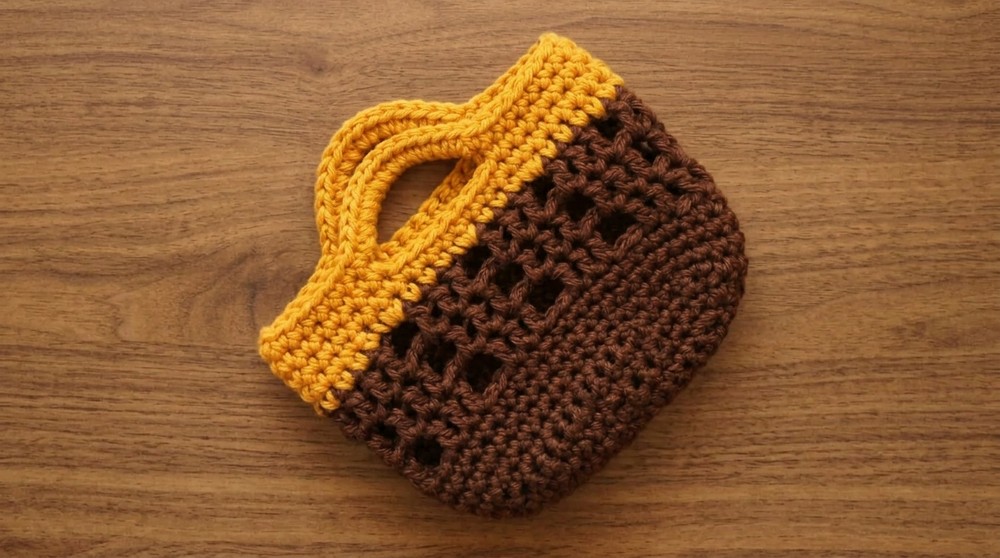
Reinforce the Handles
- Work Around the Handles:
- In the next round, place single crochet stitches evenly over the chain handle (work the same number of stitches as chains).
- Additional Rounds:
- Complete 3 to 4 more rounds of single crochet around the top of the bag, including over the handles, for added strength and a polished look.
Special Techniques Used
- Single Crochet (SC):
Insert the hook, yarn over, draw up a loop, yarn over again, and pull through both loops on the hook. - Double Crochet (DC):
Yarn over, insert the hook into the stitch, yarn over, draw up a loop, yarn over, pull through two loops, yarn over again, and pull through the last two loops. - Slip Stitch:
Insert the hook into the stitch, yarn over, and pull through the stitch and the loop on the hook. - Color Changing:
To change colors, complete the final yarn over of the previous stitch with the new color.
Tips & Customization Ideas
- Size Adjustments: Increase the foundation chain and/or add more rows to make a larger bag.
- Color Blocking: Experiment with multiple color changes for a striped or textured effect.
- Thicker Handles: Work additional rounds over the chain handles for more durability.
- Yarn Choices: Use cotton yarn for better durability and stretch control.
Conclusion
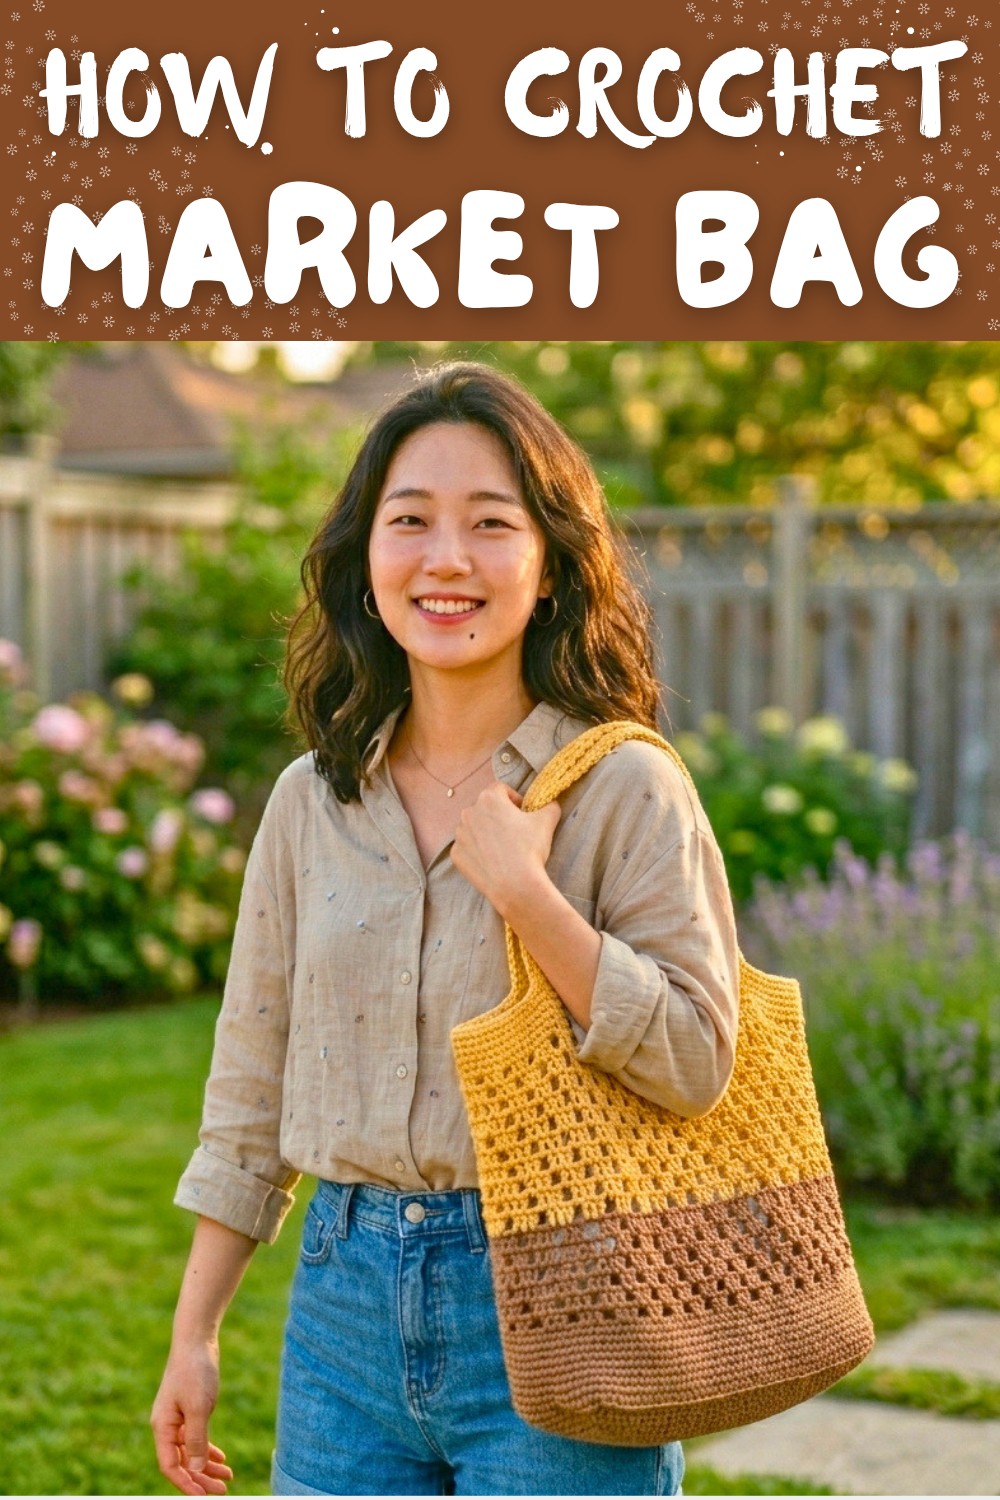
Congratulations on creating your new, functional, and stylish crochet market bag. This bag is perfect for shopping trips, beach outings, or casual everyday use. Its durable design and customizable features make it an ideal project for crocheters looking for a practical yet creative endeavor.
If you followed along with this pattern, your bag should look sleek with neat stitches, smooth transitions (if using multiple colors), and sturdy handles.
Important Remarks
- Ensure the stitches are even for a professional finish.
- Block your bag lightly to shape it, if necessary.
- Store your new crochet bag flat or hanging to maintain its shape when not in use.