
Crochet Mini Bag Free Pattern for Multi-Use Purpose
Make a free crochet stylish mini bag with easy pattern featuring a cute design, lightweight feel, and customizable colors and details.
Who doesn't love making cute and stylish accessories that are super handy? This project brings energy and fun to your hands as you crochet a mini bag that's perfect for carrying your essentials. With just some yarn and a bit of patience, you'll have a masterpiece that looks gorgeous and is actually useful. The unique textured stitches give it a modern look while keeping it super adorable. It's small enough to carry everywhere, yet roomy enough for your phone, keys, and wallet. You can make it your own by choosing your favorite colors and adding little details like tassels or fancy handles.
Crochet a Mini Bag Free Pattern for On-the-Go Use

Perfect for beginners and a great project to show off your creativity, this mini bag is a mix of fun and functionality. Watching the stitches come together is exciting, and the finished piece truly feels magical. Kids, teens, and adults will equally enjoy turning yarn into something that's both stylish and useful.
There's so much uniqueness packed into this tiny bag-it's lightweight, trendy, and made entirely by hand, turning simple materials into something that feels special. And once you finish the project, you'll have a one of a kind accessory that makes everyday outings a little brighter.
Whether you're making it for yourself or gifting it to someone you care about, this crochet mini bag is a playful way to spend your time and create something unforgettable. So grab your yarn, pick your colors, and start stitching-you'll adore this charming and practical mini bag.
Crochet Mini Bag Pattern: Step by Step Guide
Materials Needed
- Yarn: Thick 4 ply yarn or macramé thread. Recommended brands: Oswal or Vardhman. Alternatively, cotton yarn can be used.
- Crochet Hook: Select a hook size suitable for the yarn you're using (commonly 4.5mm-5mm for thicker yarns).
- Stitch Markers: To mark key points while shaping the bag.
- Scissors: For cutting yarn.
- Darning Needle: To weave in ends and secure stitches.
Gauge
Gauge is not very critical for this project; however, for reference:
- 10cm x 10cm = approximately 14 single crochet stitches and 16 rows using 4 ply yarn and a 5mm crochet hook.
Finished Size
Approximate dimensions:
- Base length: 9-11 inches (adjustable based on chain stitches).
- Height: 8-10 inches (depends on the number of repeated rows).
- Handle length: 18-20 inches.
Special Techniques
This pattern includes two techniques:
- Single Crochet (SC): A basic stitch for creating a solid structure.
- Cross Stitch Single Crochet: A unique variation where the hook stitches from below, forming small box like designs.
Pattern Instructions
Step 1: Create the Base
- Begin with a Slip Knot: Make a slip knot and place it on your hook.
- Chain 26: Begin by chaining 26 stitches to determine the width of the bag (you can adjust the number for a larger or smaller bag).
- First Row Single Crochet:
- Start with a single crochet in the second chain from the hook.
- Crochet 1 SC into each chain stitch across.
- In the final chain, crochet 4 SC to create rounded edges for the base.
- Continue single crocheting on the opposite side of the chain.
- Once the row is complete, join the round with a slip stitch.
- Second Row:
- Chain 1 to start.
- Crochet 2 SC in each stitch at both rounded ends of the base to widen and shape it.
- Single crochet into each remaining stitch around.
- Slip stitch to join at the end of the row.
- Third Row:
- Chain 1 and begin this row with a single crochet in each stitch around.
- Avoid increasing stitches further; this ensures the base remains flat.


Step 2: Build the Bag Body
- Switch to Cross Stitch Single Crochet:
- Begin working with the cross stitch variation.
- Insert the hook below the stitch instead of through the top loops. This technique gives the bag a box like textured design.
- Repeat Cross Stitch Rows:
- Keep aligning stitches neatly while working the design for 15 rows (or adjust based on preferred bag height).
- Ensure stitches are consistent when working the design, maintaining even tension.


Step 3: Start Shaping the Bag
- Create Side Decreases:
- Use stitch markers to find the center points on both sides.
- In every row, decrease 2 stitches on each side using single crochet. Do this for four rows to narrow the top opening of the bag.
- Base Closure:
- Once you've narrowed the opening, continue working regular SC stitches evenly around the newly shaped opening for a seamless finish.

Step 4: Add Handles
- Mark Placement:
- Count 20 stitches from one side and attach your yarn to begin the handle here.
- Chain 30:
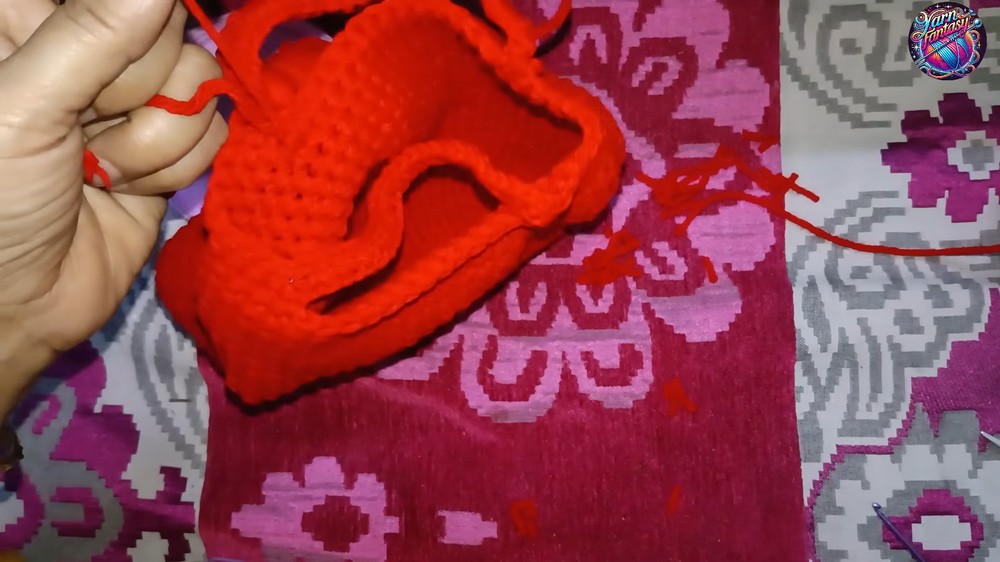
- Crochet a handle by chaining 30. Skip 6 stitches on the bag and attach the chain on the opposite side with a single crochet.
- Strengthen the Handle:
- Work single crochet stitches into each chain of the handle to create a stronger, more durable grip.
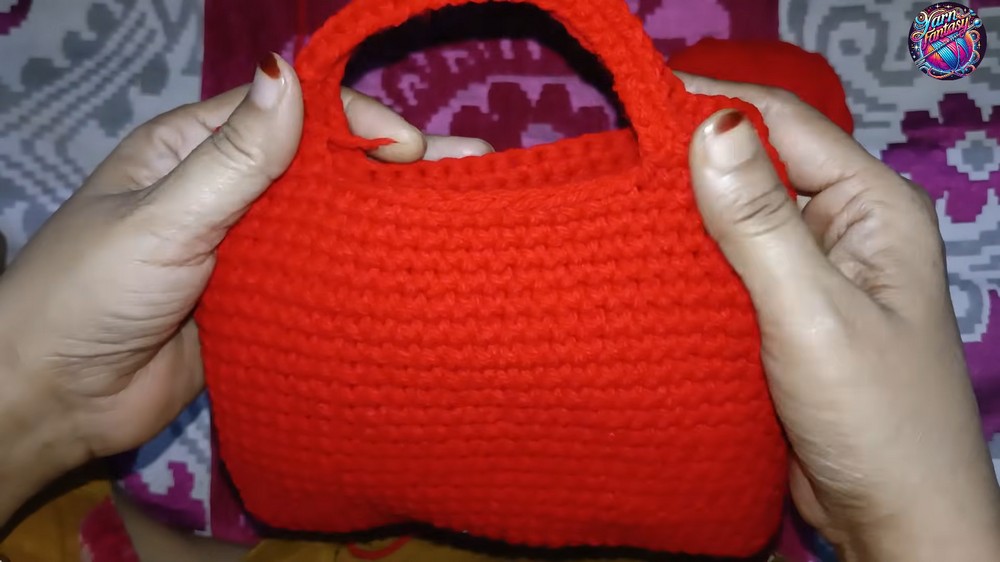
Repeat this process for the second handle on the other side of the bag.
Step 5: Add Tassels (Optional)
- Prepare the Yarn:
- Wrap yarn around your fingers approximately 20-30 times (depending on how thick and full you want the tassel to be).
- Create the Tassel:
- Carefully slide the yarn off your fingers and tie the center securely.
- Fold it in half and wrap another yarn piece tightly around the top section to form the tassel.
- Attach the Tassel:
- Use a crochet hook or needle to attach the tassel to your bag handles.

Tips and Customization Ideas
- Color Options:
- Use contrasting colors for the base, handles, and body to create a unique bag.
- Variegated yarn can add a multicolor effect to your bag design.
- Size Adjustments:
- For a larger tote style bag, increase the initial chain stitches and lengthen the rows.
- For a smaller pouch style bag, reduce the chain stitches and stop after fewer rows.
- Decoration Options:
- Add beads to the handles for extra flair.
- Sew or crochet appliqués like flowers or hearts onto the bag's body.
- Strap Style:
- Replace crochet handles with leather straps for a trendy look.
Conclusion
This free crochet handbag pattern highlights the beauty of simple techniques like single crochet with a twist. From its sturdy base to its elegant box like design, this bag is functional while maintaining its chic appeal.
Whether you are a beginner or an experienced crocheter, this pattern offers an easy yet enjoyable experience. Customize it with your personal style by adjusting colors, finishes, or decorations. Once complete, this handcrocheted handbag is perfect for carrying makeup, small accessories, or even serving as a gift for loved ones.
Important Remarks
- Consistency is Key: Maintaining even tension while crocheting is important for uniform stitches.
- Regular Checks: Measure at intervals to ensure the bag size aligns with your needs.
- Final Look: The finished bag will have neat box like textures, sturdy handles, and appealing details like tassels or appliqués for decoration.
Take pride in your handmade crochet handbag-it's not just an accessory but a piece of art created by your own hands.