
Crochet Off Shoulder Top Free Pattern
Make a trendy summer outfit with this Free Crochet Off Shoulder Top Pattern with easy panels & basic stitches for beginners.
Soft, stylish, and perfect for warm days, this top gives a relaxed and pretty look that anyone can enjoy wearing. A Free Crochet Off Shoulder Top pattern shows how to make a simple handmade top that sits gently below the shoulders, giving a modern and trendy style. In the video, the process starts by making easy panels for the front and back, then joining them step by step, so even beginners can follow without confusion.
Free Crochet Off Shoulder Top Pattern with Easy Stitch & Soft Fit
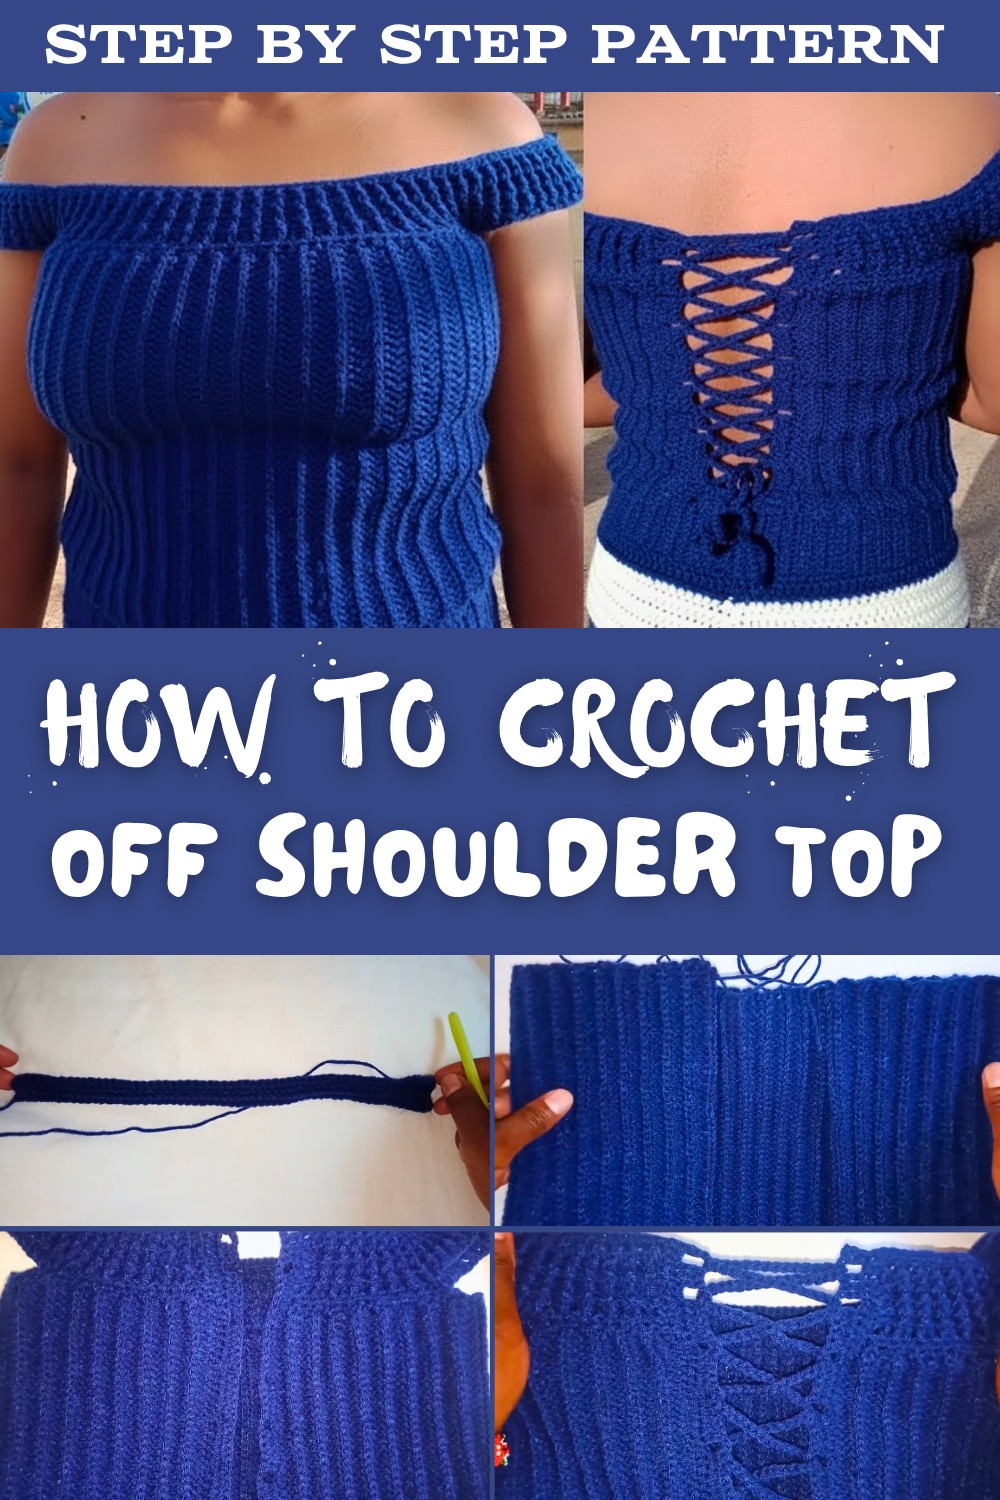
This top looks beautiful because of its loose neckline, soft stitches, and light yarn that feels comfortable on the body. It is often made using basic stitches like chain, double crochet, and simple rows, which makes it easy to learn and fun to complete. The design can include cute details like small borders, sleeves, or ties that make it more attractive and unique.
You can wear this top for daily use, summer outings, or even at home because it feels light and airy. Its appearance is simple yet eye-catching, and you can change colors or size to match your own style. It is not just clothing, it is a creative piece made by your own hands, which makes it even more special and enjoyable to wear.
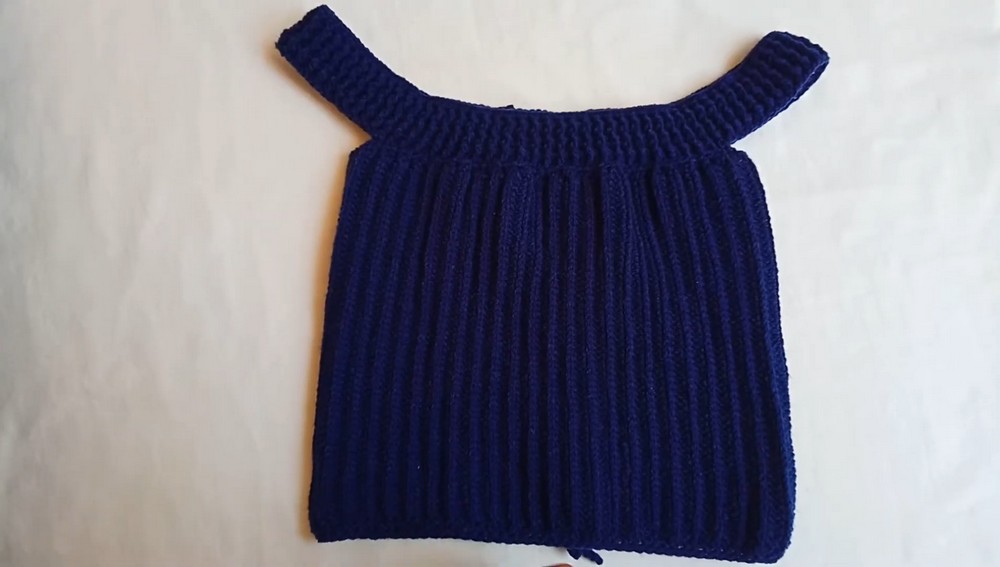
Crochet Off-Shoulder Top Pattern
This pattern is based on the transcription provided and transformed into step-by-step instructions suitable for intermediate to advanced crocheters. Written in US Crochet Terminology, it outlines materials, key stitches, and detailed instructions to ensure clarity and accuracy. Perfect for those who want to crochet a stylish yet simple off-shoulder top.
Skill Level
Intermediate
Materials List
- Yarn: Medium-weight yarn (Category 3 or DK-weight)
- Hook: 3 mm crochet hook
- Measuring Tape
- Stitch Markers (Optional, for armhole placement)
- Scissors
- Yarn Needle (for sewing and weaving in ends)
Key Abbreviations
- ch: Chain
- sl st: Slip Stitch
- hdc: Half Double Crochet
- dc: Double Crochet
- fpdc: Front Post Double Crochet
- bpdc: Back Post Double Crochet
- sc: Single Crochet
Special Notes
- The pattern uses back loop hdc for added texture.
- All measurements are for a medium size (adjust sizes accordingly by adding or reducing stitches or rows).
- To achieve a clean finish, block the final piece.
Step-by-Step Instructions
1. Starting the Body
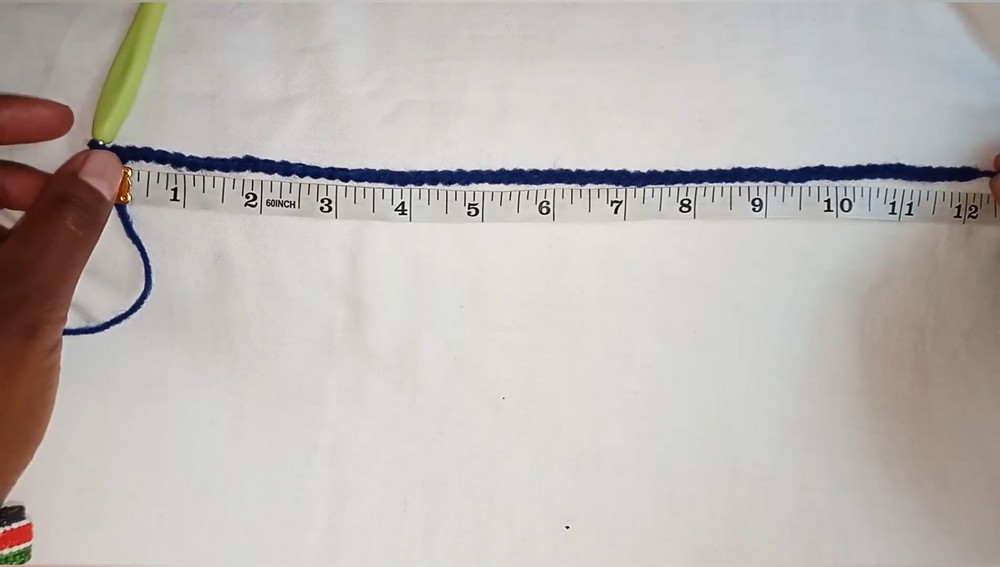
- Create a slip knot and chain (ch) 60 stitches, or approximately 12 inches in length (adjust for your size).
- Row 1:
- Work hdc into each chain across.
- At the end of the row, chain 2, turn your work.
- Row 2:
- Work hdc into the back loops only across the row.
- Chain 2, turn your work.
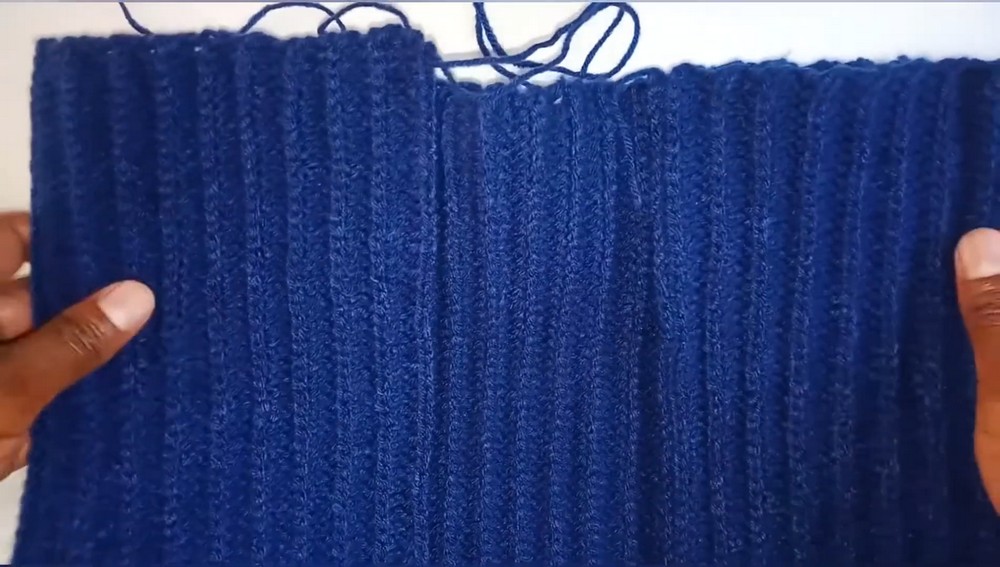
- Repeat Row 2 until your piece measures 25 inches long (for medium size).
- This piece should be long enough to cover the front and ¾ or half of the back.

2. Shaping and Seaming
- Fold the piece into the top shape, leaving space for the open back.
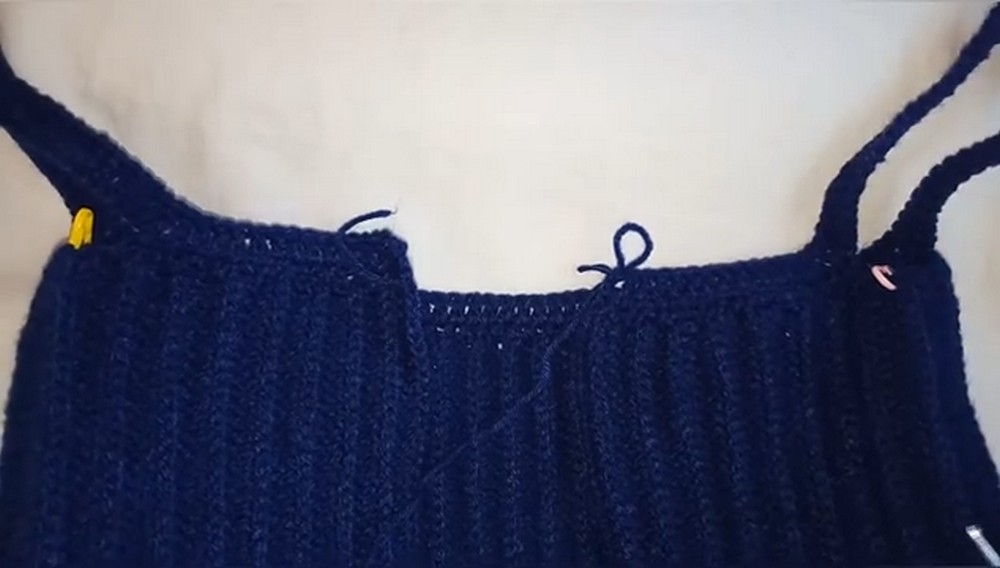
- Use a stitch marker to mark where the armholes will be. Ensure both sides are symmetrical.
- You can adjust the width of the back opening depending on your preference.
3. Adding Straps for Armholes
- Join yarn at the edge where the armholes will start.
- Work hdc along the edge until reaching the armhole area.
- Armhole Strap:
- Chain 50 stitches (about 12 inches) for each armhole.
- Skip the next few stitches on the body and continue working hdc across the remaining edge.
- Armhole Strap:
- Repeat on the opposite armhole.
4. Top Edge Ribbing
- Row 1: Work dc across the top edge evenly.
- Begin ribbing pattern:
- Alternate fpdc and bpdc across the row (creates stretchy texture).
- Repeat the ribbing pattern until you have completed 7 rows.
- Finish with 1 row of single crochet (sc) to create a clean edge.

5. Bottom Edge Finishing
- Work 2 rows of sc evenly along the bottom edge of the top to create a neat border.
6. Adding Back Strap Loops
- Work hdc along the back edge where the straps will be woven.
- At regular intervals, skip a few stitches (determine spacing based on your preference) to create holes for the strap.
- Ensure both sides have an equal number of holes.

7. Creating the Long Strap
- Make a chain of 350-400 stitches for the back strap.
- Weave the strap through the holes you've created, forming a lace-up closure at the back.
- Tie the strap securely or leave the ends for adjusting fit.

Conclusion
This off-shoulder top combines elegance and simplicity, making it a versatile piece for summer outings or casual wear. The textured ribbing and lace-up back add a stylish twist, while the design can be customized for different sizes and preferences.

Pattern Correction
If you encounter errors in your stitch count, ensure:
- The starting chain matches the initial measurement.
- The ribbing stitches alternate consistently (fpdc and bpdc).
- The number of skipped stitches for strap holes are equal on both sides.
Tips for Maintaining the Pattern
- Blocking: Block gently with steam or by using a flat surface to set stitches and measurements.
- Care Instructions: Hand wash in cold water to preserve the texture and elasticity. Lay flat to dry.
- Customizing: Add decorative elements like beads or add more rows for the ribbing to style it further.