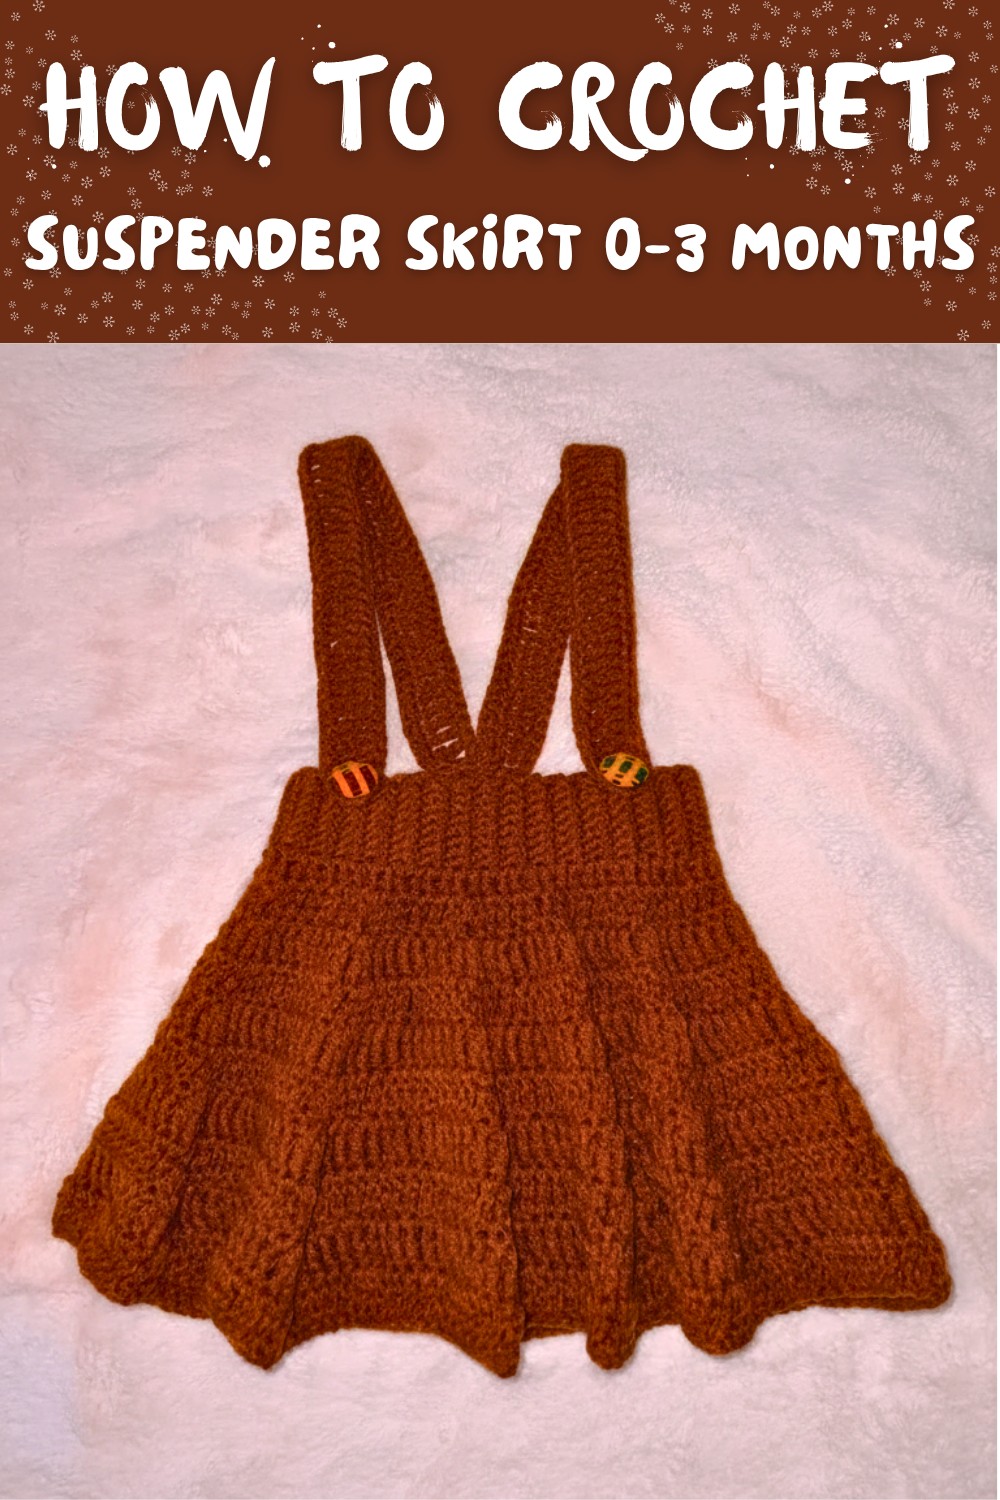
Crochet Suspender Skirt Free Pattern for 0-3 Months
Dress your baby in a unique and stylish crochet suspender skirt, offering soft comfort, adjustable straps, and an adorable look for babies aged 0-3 months.
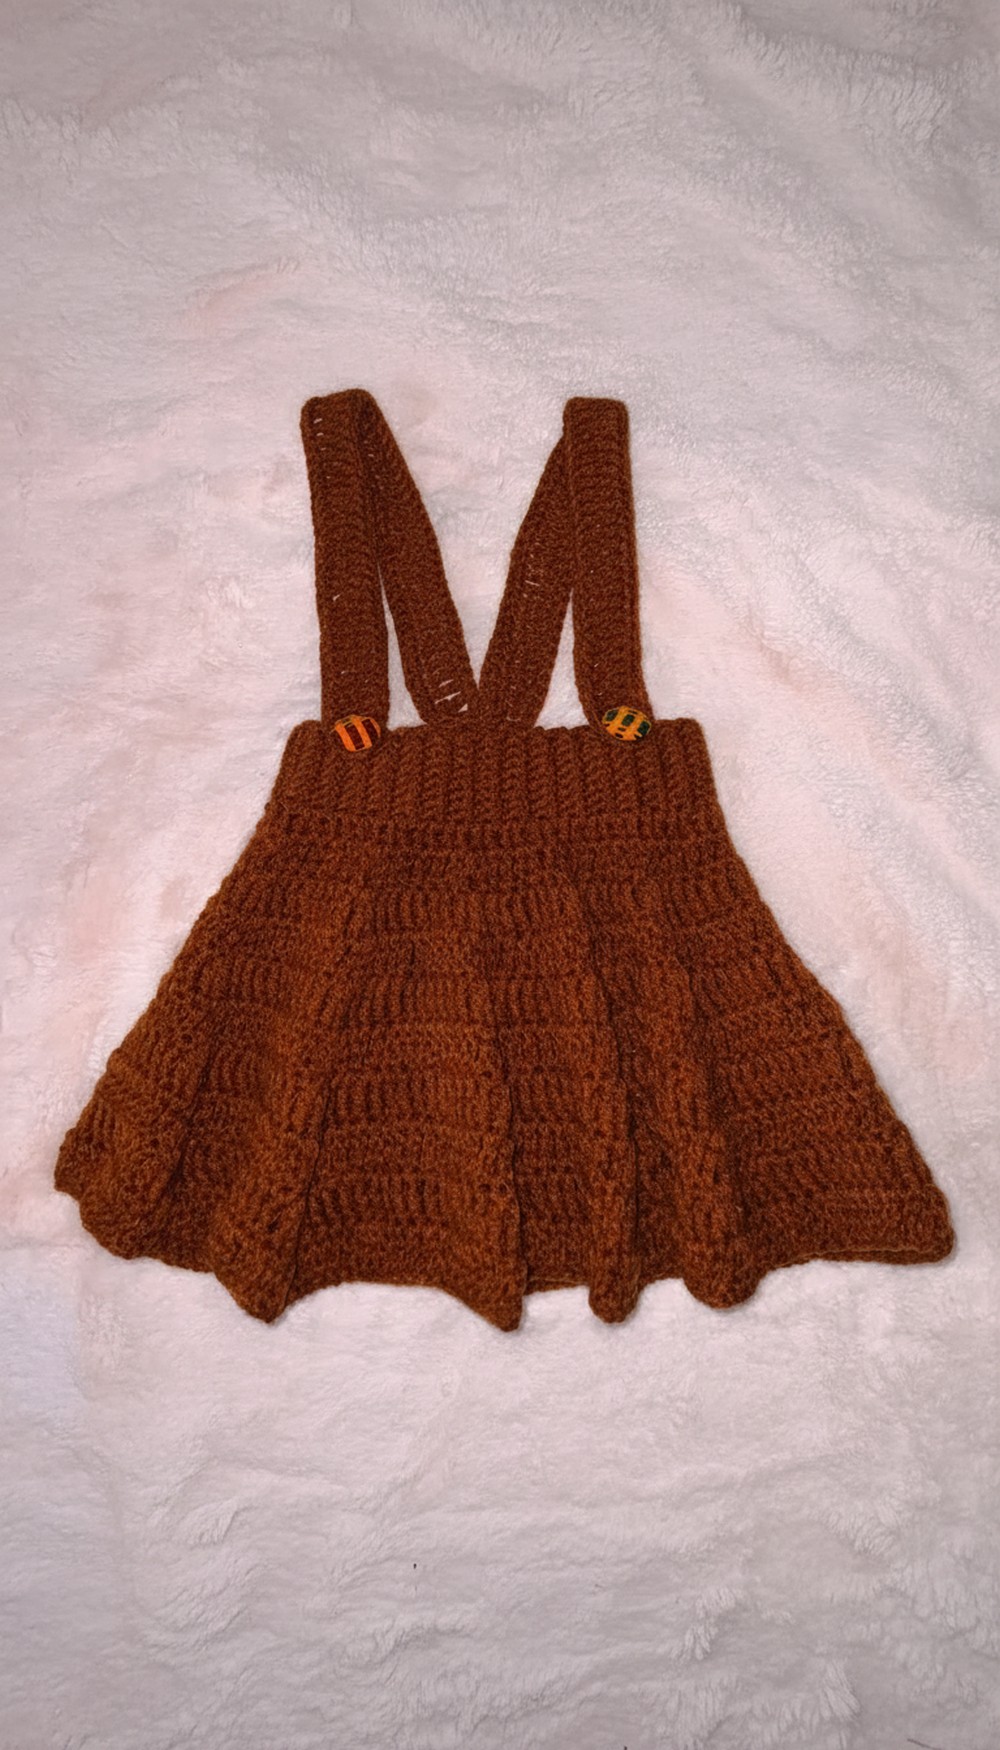
Every baby deserves an outfit that is as precious as they are. This charming little creation is soft, cozy, and perfectly designed for babies in their first precious months, from 0 to 3 months old. The design features a delightful skirt with tiny straps that add both style and practicality, making it easy to wear and adjust for the perfect fit. The simple yet elegant stitches give it a classic and timeless look that stands out in photos or special events like baby showers.
Free Crochet Suspender Skirt 0-3 Months with Adjustable Straps

It can be made in any color, letting you match it perfectly to your baby's personality or a specific occasion. Not only is it beautiful, but it's also functional, keeping your baby comfortable and looking adorable. This outfit is a wonderful handmade addition to any baby's wardrobe, full of love and care.

Crochet Baby Suspender Skirt with Buttons
Materials
- Yarn: Medium-weight yarn (Category #4)
- In the video, a 4-ply acrylic yarn (Seagull Brand) is doubled to achieve medium weight.
- Hook: 4mm (G-6) crochet hook.
- Buttons: 2 medium-sized buttons (adjust size according to preference).
- Scissors: For trimming ends.
- Darning Needle: For weaving in ends and attaching buttons.
- Measuring Tape: For ensuring sizing accuracy.
Skill Level
Beginner to Intermediate
Techniques and Abbreviations (US Terms)
- ch: Chain
- sc: Single Crochet
- sl st: Slip Stitch
- dc: Double Crochet
- tr (treble): Treble Crochet
- Yarn over twice, insert hook into stitch, pull up a loop. Yarn over, pull through two loops. Yarn over, pull through two loops. Yarn over, pull through the last two loops.
- v-stitch (v-treble): Treble in the same stitch, ch 1, treble in the same stitch.
- Back Loop Only (BLO): Work into the back loop of the stitch for a ribbed texture.
Pattern Instructions
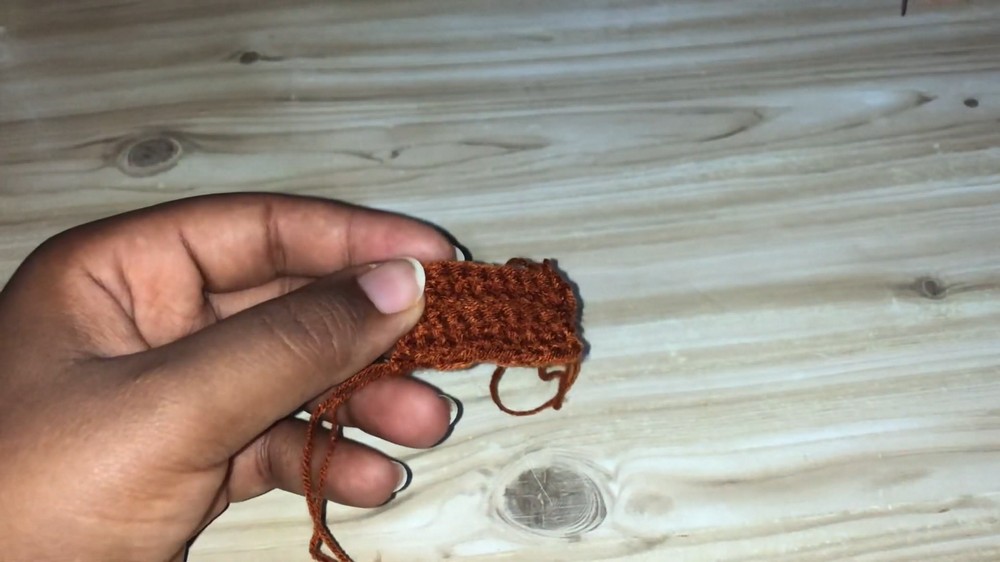
Step 1: Waistband
- Foundation Chain:
- Make a slip knot, then chain 10 for the width (or adjust for preference).
- Row 1:
- Sc in the 2nd chain from the hook, and across for a total of 9 sc.
- Ch 1, turn work.
- Row 2 (BLO):
- Sc into the back loop only (BLO) of each stitch across. On the last stitch of the row, work through both loops. (This keeps the edges straight.)
- Ch 1, turn work.
- Repeat Row 2 until the length of the waistband equals the baby's waist circumference + 1.5 inches for ease.
- Example: For a waist of 12 inches, work to 13.5 inches.
- Join Waistband:
- Fold the waistband lengthwise, matching the first row to the last row.
- Using slip stitches through the BLO of the first edge and the corresponding loops of the opposite edge, join the waistband into a loop.
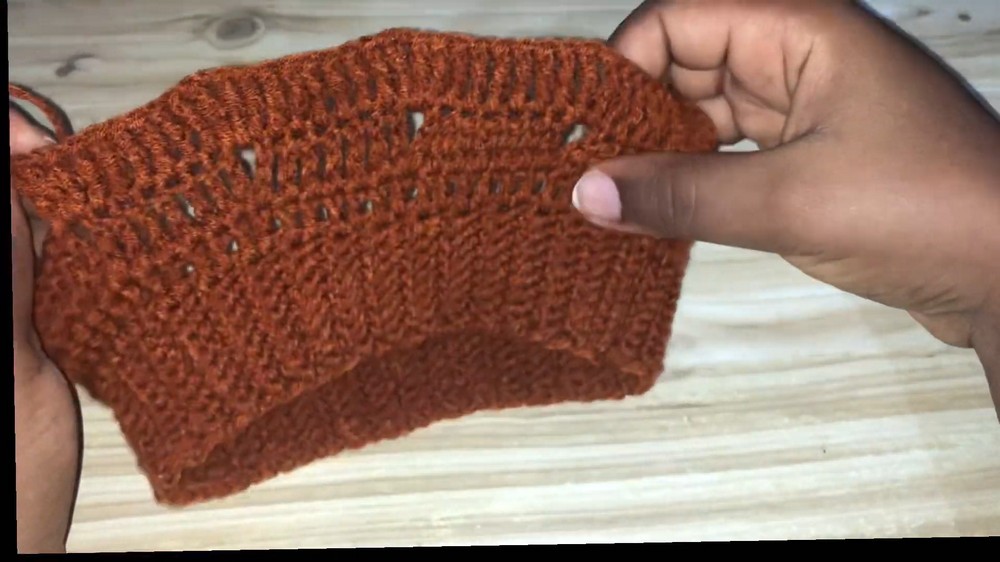
Step 2: Skirt Base
- Set-Up Row:
- Turn the waistband so that you can work along the edge rows.
- Ch 3 (counts as dc), make 1 dc into each row around the waistband until you've worked all the way around.
- Sl st into the top of the starting chain 3.
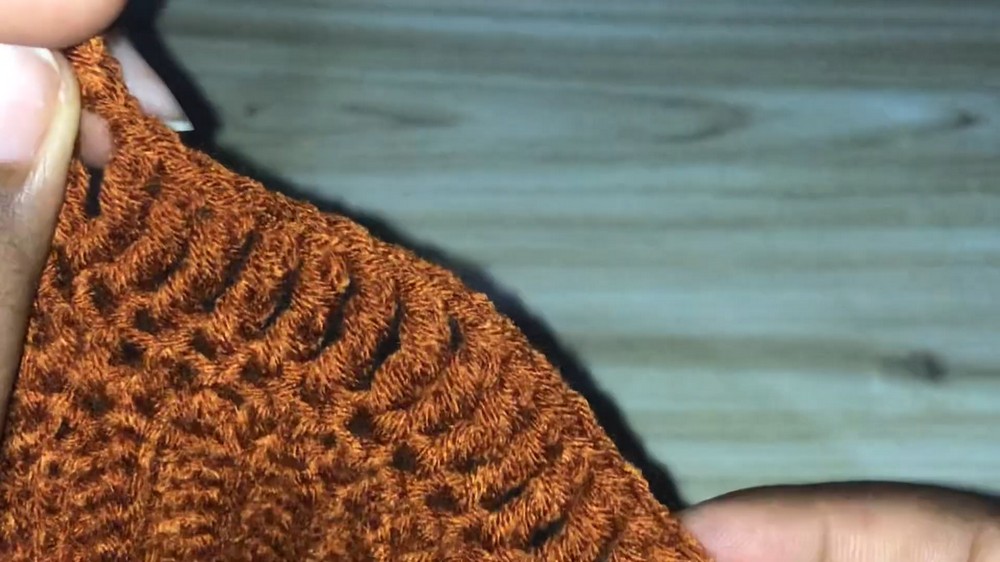
- Row 1 (Switch to Treble Stitches):
- Ch 5 (counts as 1 treble + ch 1), turn.
- In the same stitch, make 1 treble (creates a v-stitch).
- Make 1 treble into the next 5 stitches.
- In the next stitch, create another v-stitch (treble, ch 1, treble).
- Repeat: Work 5 trebles, then a v-stitch around.
- At the end of the row, sl st into the top of the starting chain 5.
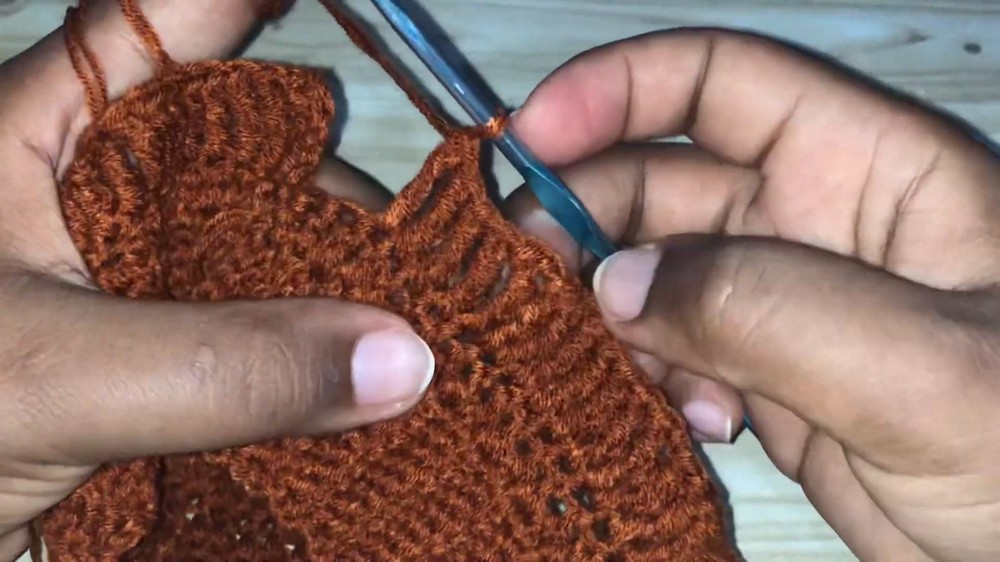
- Row 2:
- Ch 5, turn.
- Create a v-stitch in the v-stitch space from the previous row.
- Make 1 treble in each treble stitch from before (now there will be 7 trebles between v-stitches).
- Continue this pattern around, working dc into v-stitch spaces and increasing as necessary.
- Increase Rows:
- Repeat Row 2 for a total of 10 rows.
- Note: Each row will add 2 stitches between v-stitches. Example: 5 trebles in Row 1, 7 trebles in Row 2, 9 trebles in Row 3, and so on.
- Finish Skirt Base:
- Fasten off and weave in ends after the 10th row.
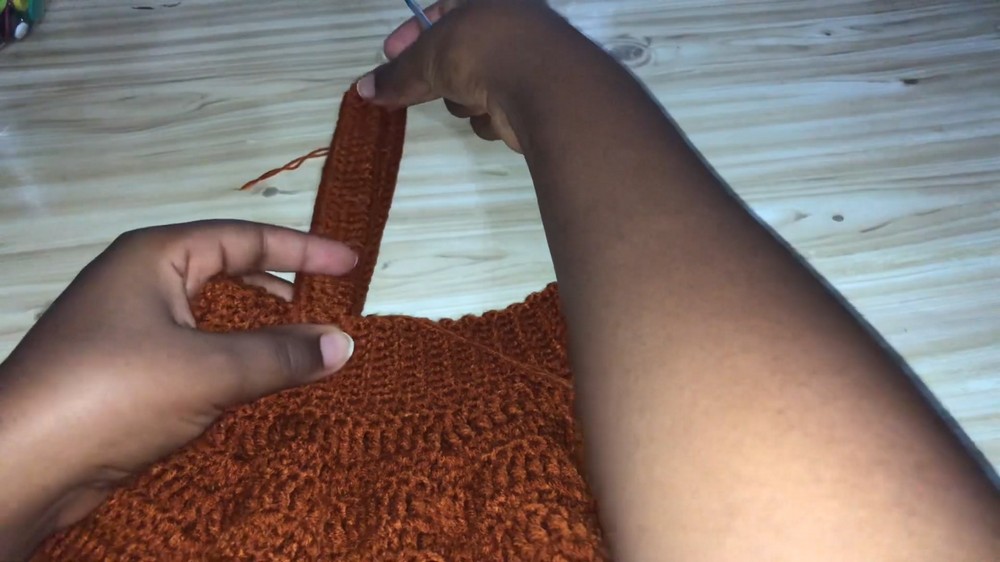
Step 3: Suspender Straps
- Foundation Chain:
- Make a slip knot, then chain 60 (adjust for the length of your baby's shoulder height).
- Row 1:
- Skip the last 5 chains, work 1 treble in each chain starting from the base of the skipped chains, all the way across.
- Row 2 (Edging):
- Make 3 sc into the edge of the last treble stitch to round the corner and create a neat edge.
- Turn work to begin working along the other side of the foundation chain.
- Make 1 sc between each treble stitch until you reach the beginning.
- At the other end, make 3 sc into the final space, then sl st into the first sc to finish.
- Fasten off and weave in ends.
- Repeat for the Second Strap:
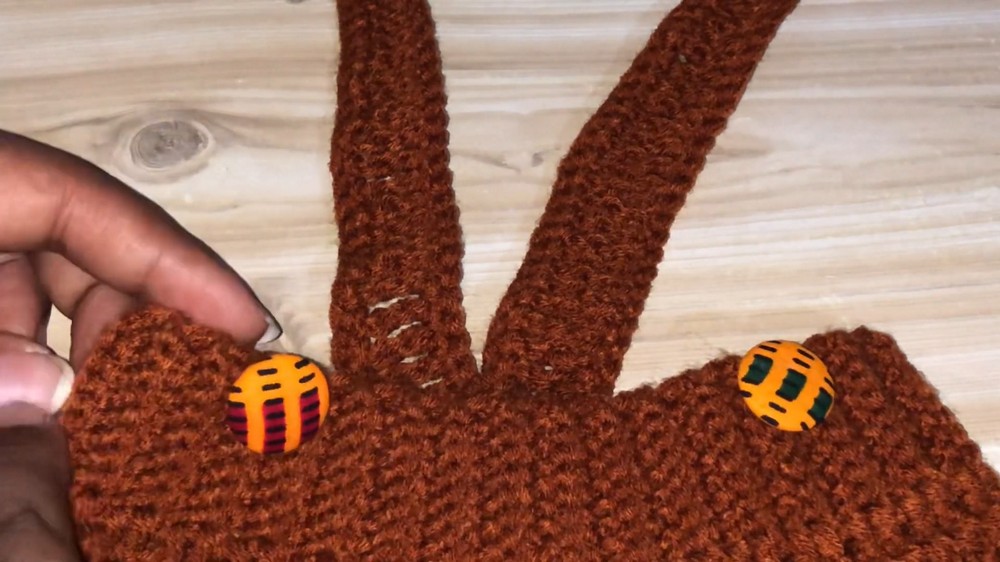
Step 4: Attach the Straps
- Positioning the Straps:
- Place the wrong side of the straps to the wrong side of the waistband.
- Ensure the straps are positioned on the opposite sides of the waistband, with the seam of the waistband running in the center between them.
- Secure the Straps:
- Use a darning needle and the leftover yarn to sew the straps securely to the waistband.
- Check the alignment before sewing by folding the straps over to the front.
Step 5: Attach Buttons
- Position the buttons on the front side of the waistband.
- Using your darning needle, sew the buttons to the front of the skirt, aligning them based on the strap holes.
Finishing
- Turn the skirt inside out and weave in all the loose ends using a darning needle.
- Stretch the stitches slightly and shape the skirt by hand to ensure smooth edges.
Final Words
This crocheted baby suspender skirt is stylish and functional, perfect for any occasion. It is customizable by adjusting the strap length, skirt rows, or waistband size. You can experiment with different yarn colors or textures to make it unique.
Tips to Maintain the Pattern
- Sizing Adjustments:
- Measure the baby's waist and shoulder height for precise strap length. Add extra chains for larger sizes.
- Buttons as Interchangeable Accessories:
- Use fun, colorful buttons or themed designs to create new looks.
- Stretch: Ensure lightweight, springy yarn is used to allow movement and comfort.