
Crochet V Neck Cardigan Free Pattern For Chilly Evenings
Let handmade comfort become your favorite layer with this free crochet V neck cardigan pattern for stylish everyday wear and cozy moments.
Crochet can be fun and rewarding, especially when you create something as useful and beautiful as a V-neck cardigan. This Free pattern is perfect for all seasons, offering warmth on chilly days while keeping you stylish. It is designed using simple patterns and colorful thick yarns like navy blue and neutral tones, making it easy for anyone to learn and crochet.
Crochet V Neck Cardigan Pattern With Effortless Style
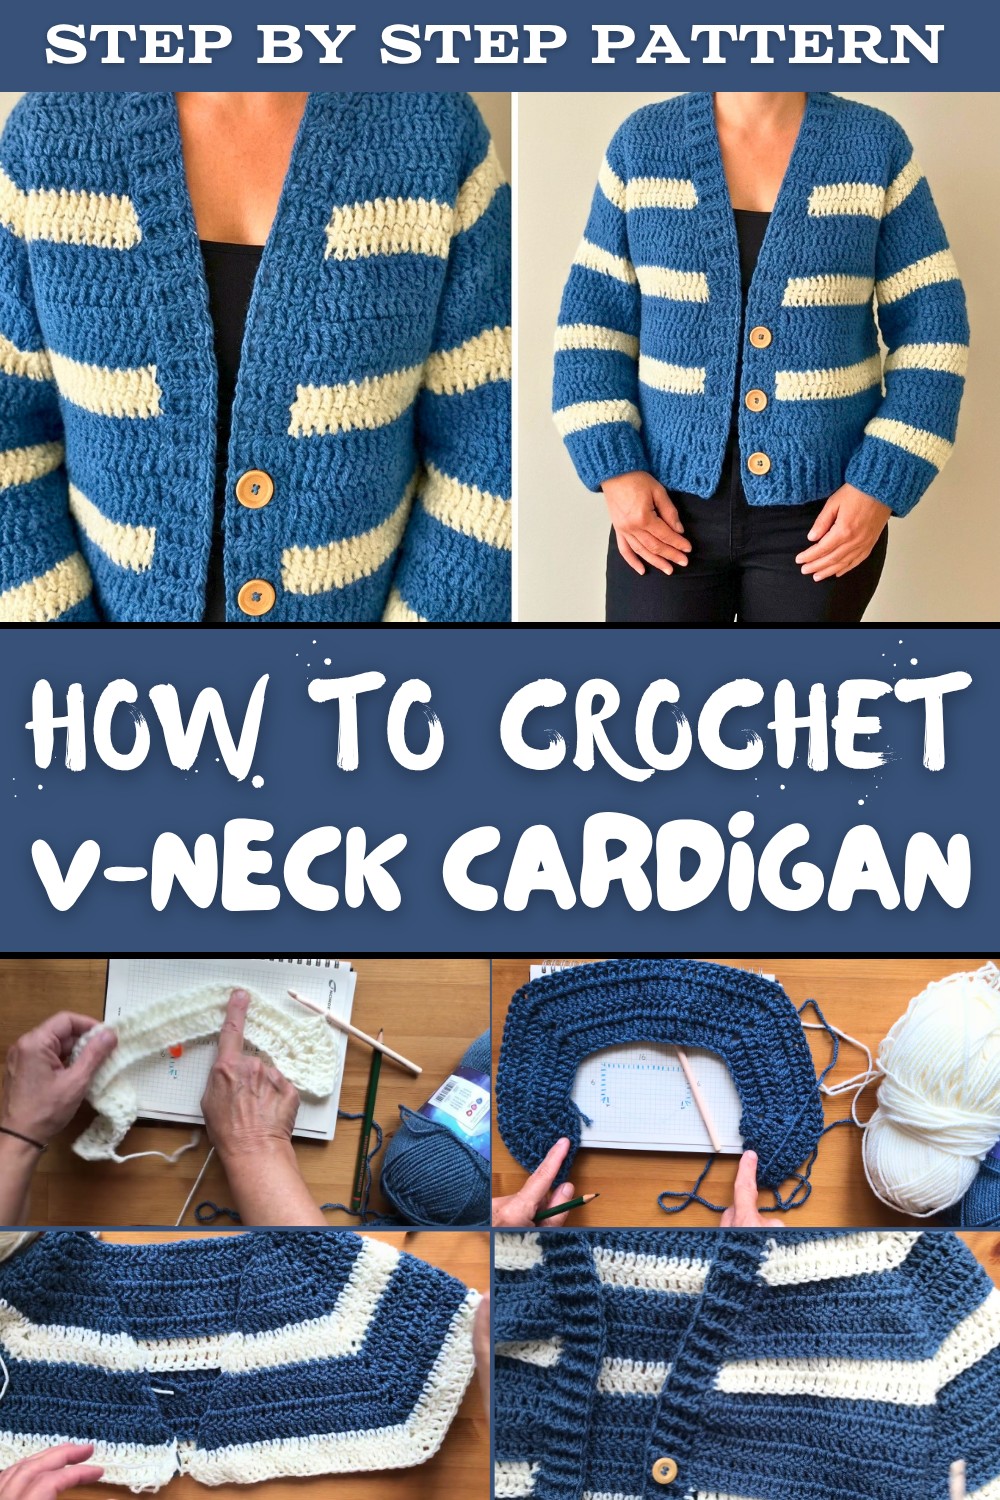
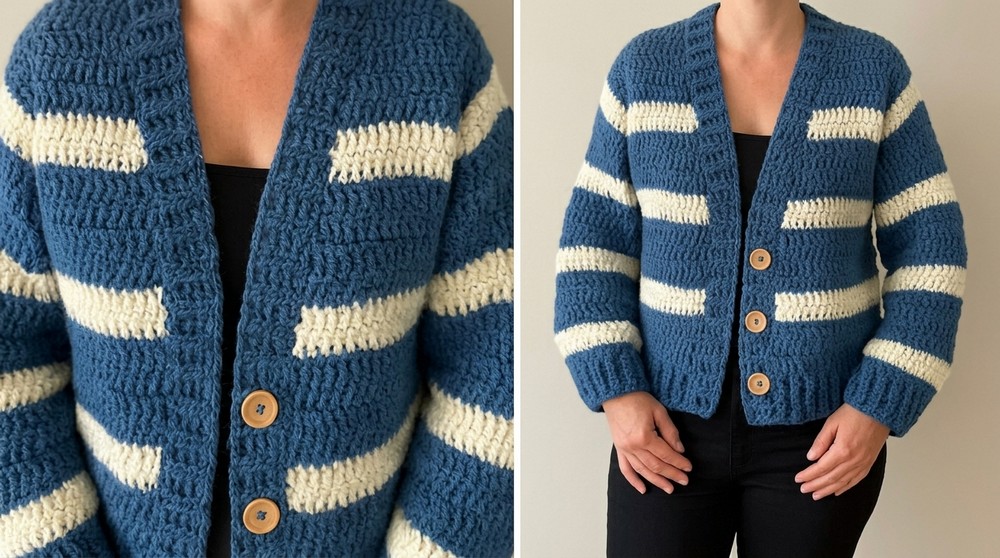
It starts with a neat V shape neckline made with double crochet stitches and clever increases. The cardigan grows row by row, shaping the sleeves, back, and front portions seamlessly. The unique color transitions using navy blue and bone colors give it a stunning appearance, making it look stylish yet cozy. The ribbed edges around the hem, sleeves, and neckline create a polished and fitted finish.
This cardigan is very versatile, and you can customize it to your size and preference. Whether you want long or short sleeves, bold colors, or subtle tones, you can use this pattern to match your style. Adding buttons allows extra elegance and makes it functional for layering over shirts or dresses. The best part is there are no difficult sewing techniques involved. You work up the sleeves directly as you crochet the body, creating a seamless design.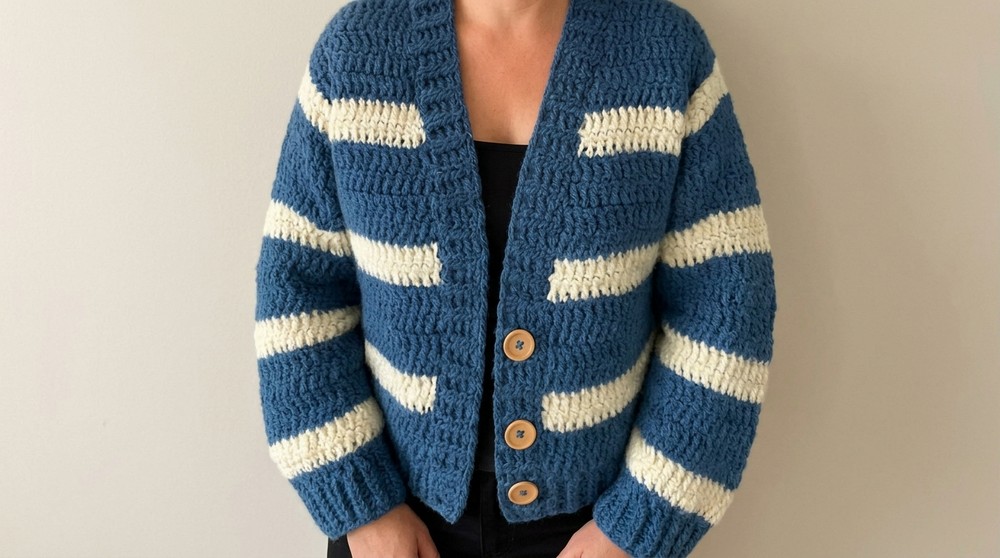
This project is suitable for beginners and experienced crocheters alike. With just yarn, a 6.5 mm crochet hook, and some time, you can make something to wear or gift to loved ones. It is perfect for school, casual outings, or even a chilly night at home. The end result is both comfortable and modern. This cardigan is not just clothing; it's a delightful and creative crochet experience anyone can enjoy. Give it a try.
Crochet V Neck Cardigan Free Pattern
Materials
- Yarn:
- Thick yarn in two colors (Color A: Navy blue, Color B: Neutral bone color).
- Quantity: Approx. 4 skeins of Color A and 2 skeins of Color B, depending on your size and preference.
- Hook: 6.5 mm crochet hook (or size to meet gauge).
- Accessories: 3 buttons, stitch markers (optional), scissors, and a tapestry needle.
- Gauge:
- 1 stitch = 1 cm in width (adjust hook size if needed to match gauge).
Finished Size
- Chest Width: 56 cm.
- Length: 55 cm.
(Feel free to adjust the size by adding or subtracting rows as desired.)
Pattern Notes
- The cardigan is worked from the top down, beginning with the neckline and V shape increases.
- The design features gradual and structured increases, splitting into body and sleeves partway through.
- The neckline elasticity and sleeve fit adjustments are optional but recommended.
- Color changes are incorporated as described, though you can use solid or multi colored yarn as desired.
Step by Step Instructions
Step 1: Foundation Chain
- Using Color A (Navy Blue), chain 34 stitches to form the base.
- Allocate your foundation chain as follows:
- 1 chain for the front,
- 6 chains for the sleeves,
- 16 chains for the back,
- 6 chains for the second sleeve,
- 1 chain for the second front.
- Add an extra chain for turning, making it 35 chains total.
- Allocate your foundation chain as follows:
Step 2: First Row Double Crochet with Increases
- Begin the first row with double crochet (dc) into each chain.
- To form the increase points for the V neck and sleeves, use the V stitch pattern:
- Work 1 dc, chain 2, and 1 dc into the same stitch to form a "V." This will act as your increase point.
- Continue creating double crochets across the designated sections. Work the V stitch increases as follows:
- At the front center, make 1 front V stitch increase at the middle.
- In the sleeve sections, make V stitch increases at the start and end of each sleeve section.
- Repeat the process for the back section and second sleeve.
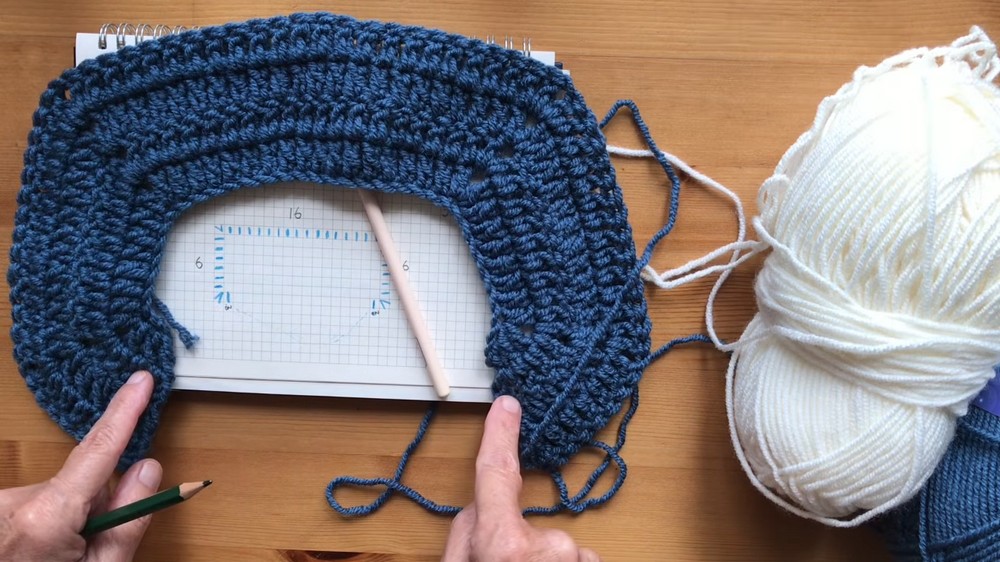
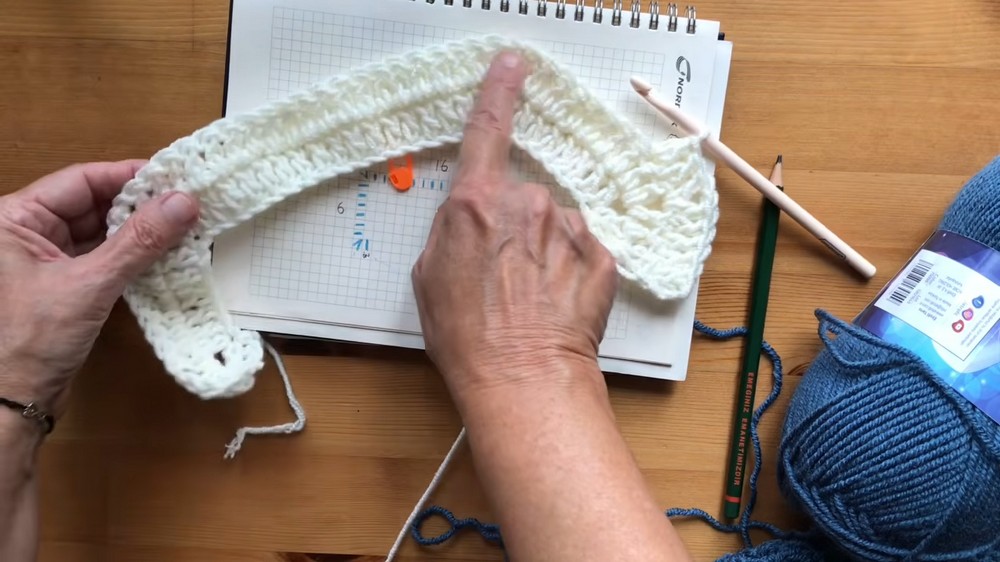

Note: You can mark the increase points with stitch markers for guidance.
Step 3: Increasing Rows to Shape the Cardigan
- Continue working in rows, increasing at the same V stitch points in each row.
- For each increase, work 1 dc, chain 2, 1 dc in the V space of the previous row.
- Between increase points, work side by side double crochets.
- Switch to Color B (neutral tone) after 4 rows of Color A:
- At the end of a row, join Color B by pulling the new yarn through the last loop of your final stitch.
- Chain 3 to start your next row in Color B.
- Customize the number of rows per color depending on your desired color distribution.

Step 4: Separating the Body and Sleeves
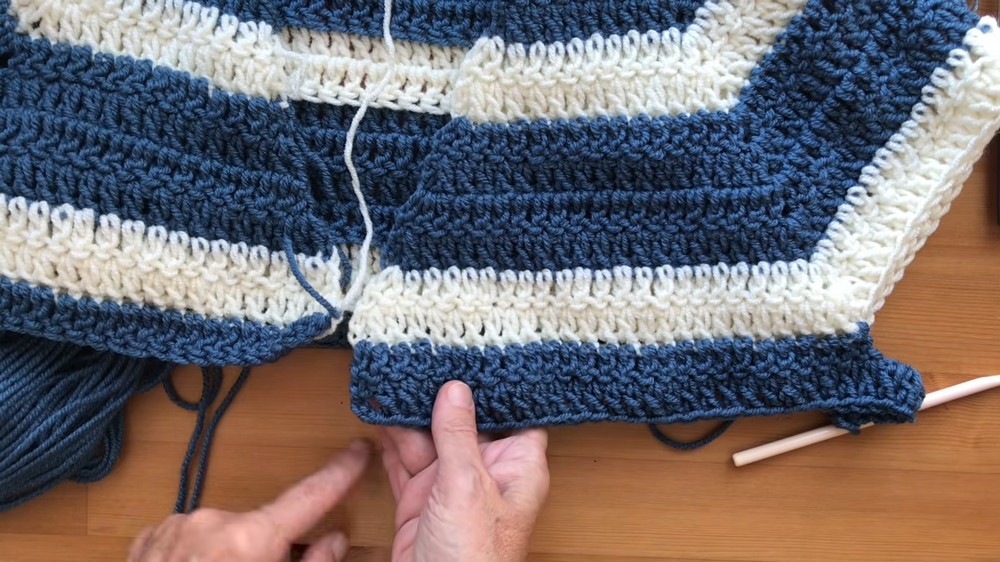
- When your cardigan reaches a width of approximately 26 cm (measured across the back section), separate the body and sleeves:
- Work to your first sleeve section and chain 5 to skip over it.
- Continue directly to the back section and work regular double crochets.
- Repeat the process for the second sleeve.
- This separation will leave the sleeves unworked until later and create armholes for the cardigan.
- Continue building the body of the cardigan as follows:
- No more increases are made in the sleeve sections or the V neckline. The body is now worked in straight rows of double crochet.
- Alternate between Color A and Color B as desired.
Step 5: Adding Length to the Body
- Continue working on the body until it measures 45 cm or your preferred length.
- Finish the body with ribbing (elastic):
- Switch to working front post double crochet (FPdc) and back post double crochet (BPdc) alternately across the row.
- This creates a stretchy and textured hem at the bottom of the cardigan.
- Work approximately 5 rows of ribbing or until the desired hem length is reached.
Step 6: Working on the Sleeves
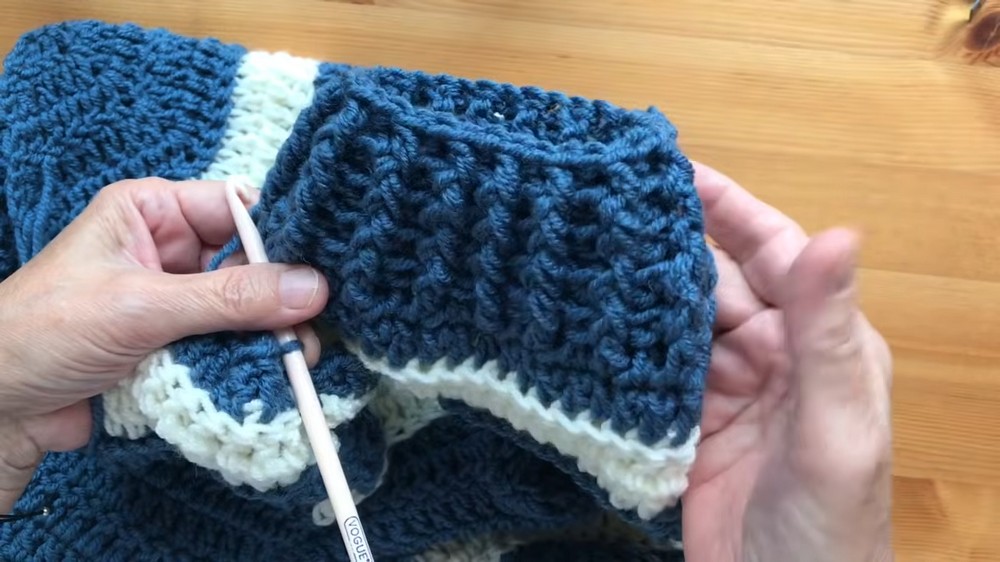
- Return to the sleeve openings created earlier.
- Work in rounds using double crochets:
- Start in the underarm to avoid visible joins.
- Use decreases every 3 rows to taper the sleeve if desired.
- Add ribbing to the sleeve cuffs to match the body hem:
- Use the same FPdc and BPdc technique for ribbing.
- Work 5 rows of ribbing or adjust the length to suit your preference.
Step 7: Ribbing for the Neckline
- Work 1 row of single crochets all around the neckline to create a smooth base for ribbing.
- Follow with single crochet ribbing:
- Alternate between FPdc and BPdc stitches to form texture and elasticity.
- Ensure the neckline ribbing is tight enough to sit comfortably and look polished.
- Work approximately 3 rows of ribbing for the neckline.
Step 8: Buttons and Finishing Touches
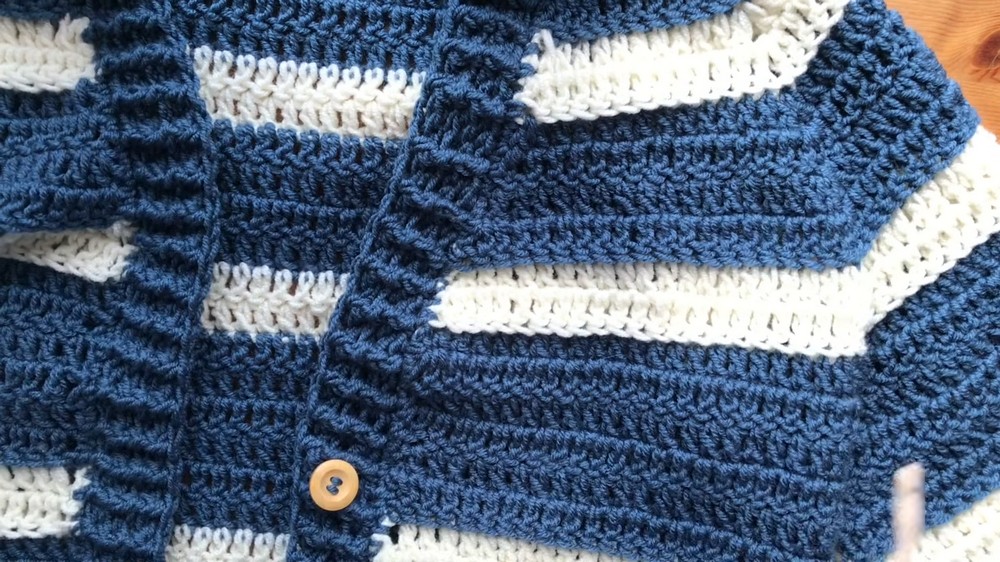
- Sew 3 buttons along one side of the front panel.
- Optional: Use gaps in the ribbing as buttonholes; otherwise, stitch small loops for buttonholes.
- Weave in all loose ends with a tapestry needle.
- Lightly block your cardigan if needed to straighten stitches and set its shape.
Customization Tips
- Length Variations: Add or remove rows for a cropped or longer cardigan.
- Tighter Fit: Reduce the chain count at the foundation row for a slimmer fit.
- Add Pockets: Create small crocheted panels and sew them onto the body for functional pockets.
- Use Multi Color Patterns: Experiment with stripes, gradients, or color pooling to create unique designs.
Special Techniques
- V Stitch Increase: This is the cornerstone of the V neckline and sleeve shaping. To make a V stitch:
- In 1 designated stitch, work 1 dc, chain 2, and 1 dc.
- Color Changes: For seamless color transitions, swap yarn at the last yarn over of the previous stitch.
- Post Stitches: FPdc and BPdc are used to add ribbing texture:
- For FPdc: Yarn over, insert the hook around the post of a stitch (from front), yarn over, pull through, and complete as a dc.
- For BPdc: Yarn over, insert the hook around the post of a stitch (from back), yarn over, pull through, and complete as a dc.

Conclusion
This V-neck cardigan project is an excellent way to build your crochet skills while crocheting a functional and fashionable garment. Its adaptable design, combined with simple stitches and creative customization opportunities, makes it perfect for all crocheters. Whether you create it in a solid color, two-tone, or a multicolored combination, your cardigan will reflect your unique style.
Cuddle the process and enjoy the transformation from a foundation chain to a finished piece.