
Cute Free Crochet Miffy Pouch Pattern for Small Items
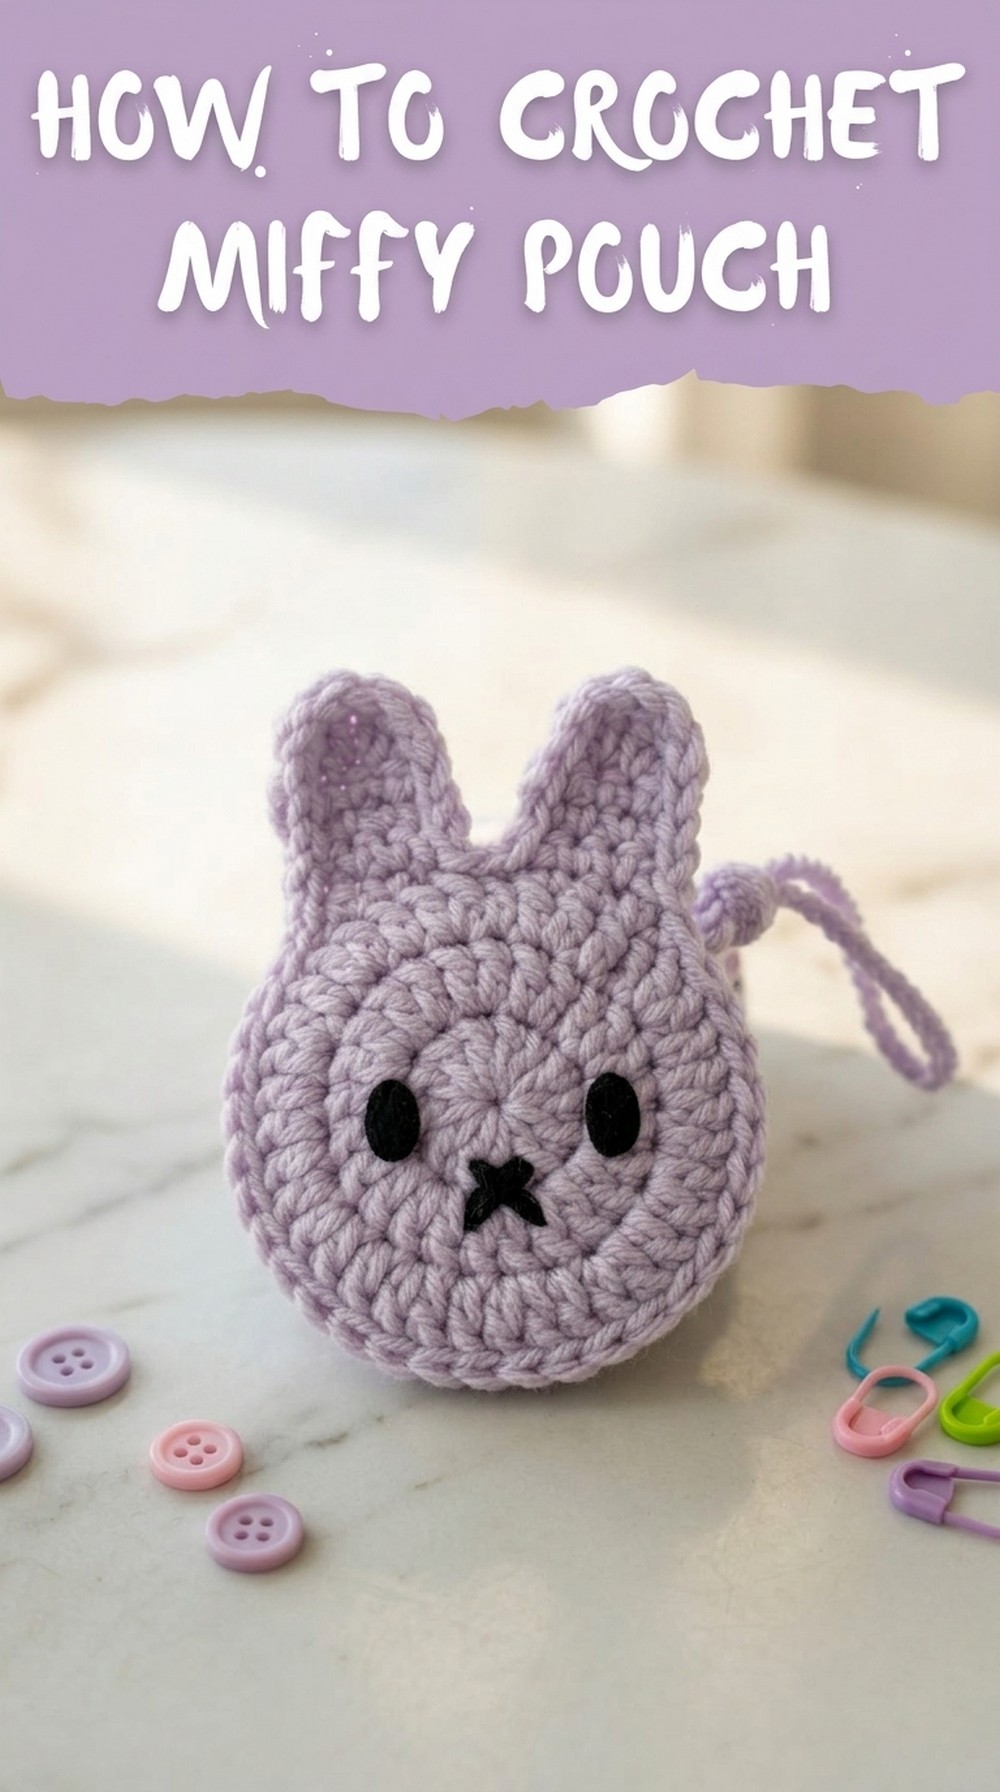
Once there was a simple craft project that brought joy to all who made it, a small, adorable pouch with floppy ears and a charming look. This handmade creation is a crochet work of art, turning soft yarn into a delightful pouch that's more than just a cute face. The Miffy pouch features a bunny-inspired design with tiny ears and a simple expression, making it irresistibly sweet. Not just beautiful, it's practical too.
Little Free Crochet Miffy Pouch Pattern for Daily Use
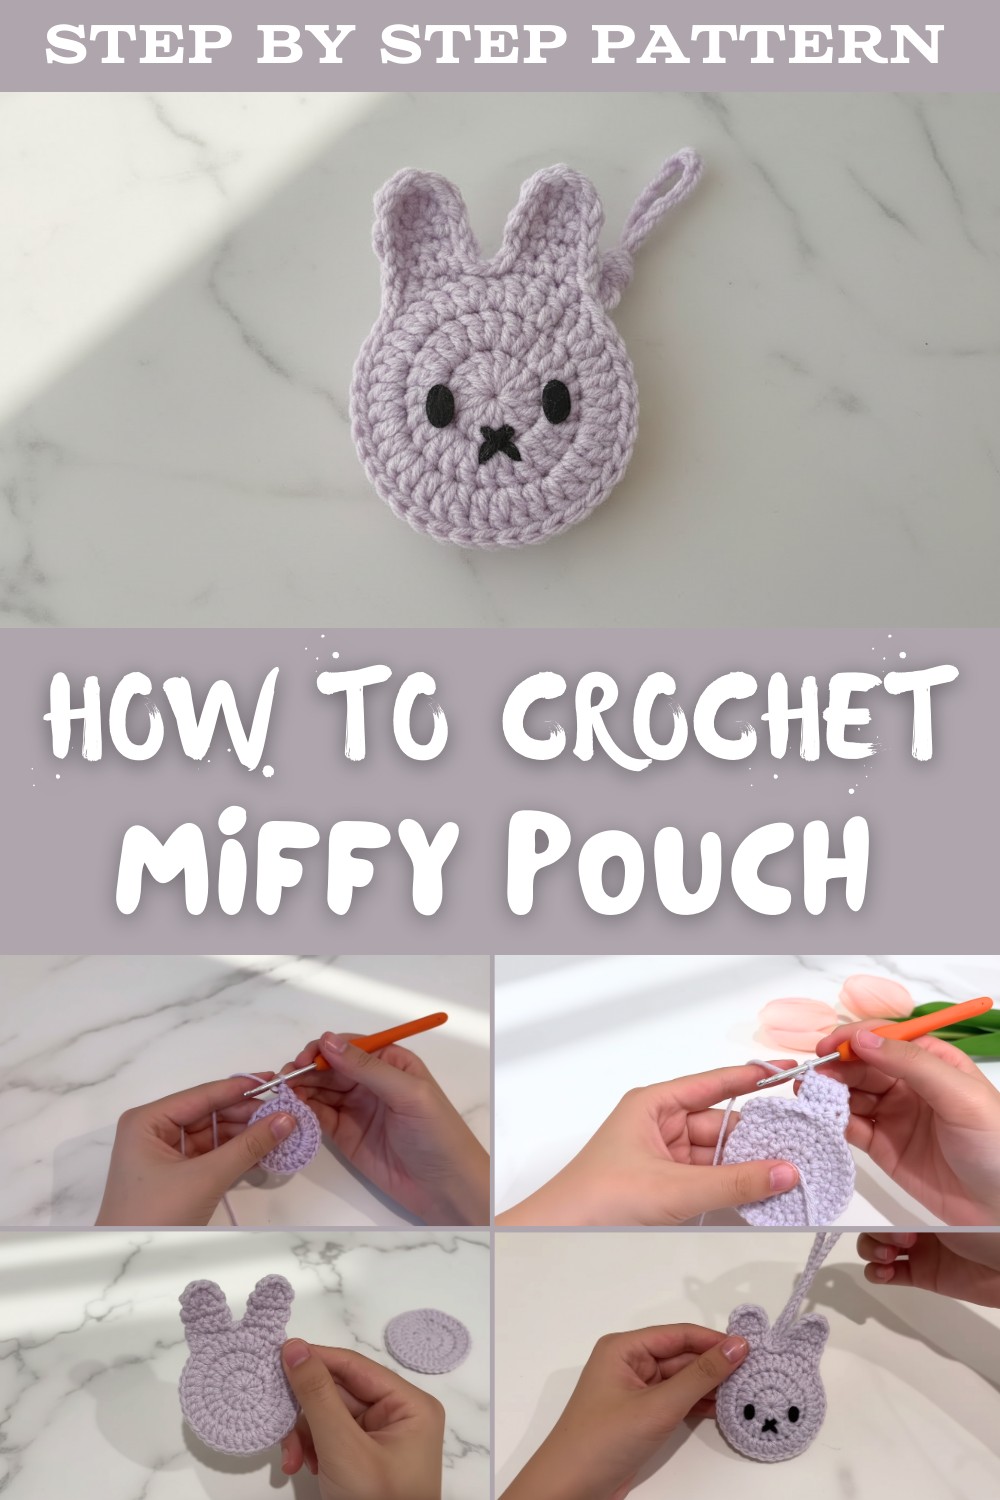
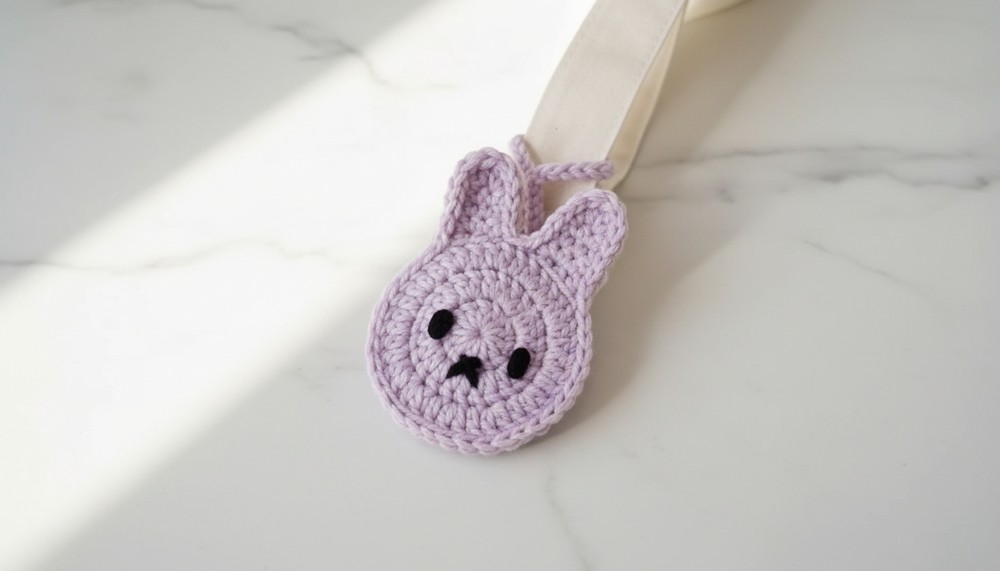
It holds small treasures like coins, lip balm, or keys, making it perfect for day-to-day use or as a thoughtful gift. Its lightweight and textured appearance add warmth and personality to any accessory collection or keyring. Whether it's used as a cozy charm, a functional pouch, or just a desk decoration, this little bunny item has a way of spreading smiles wherever it goes.
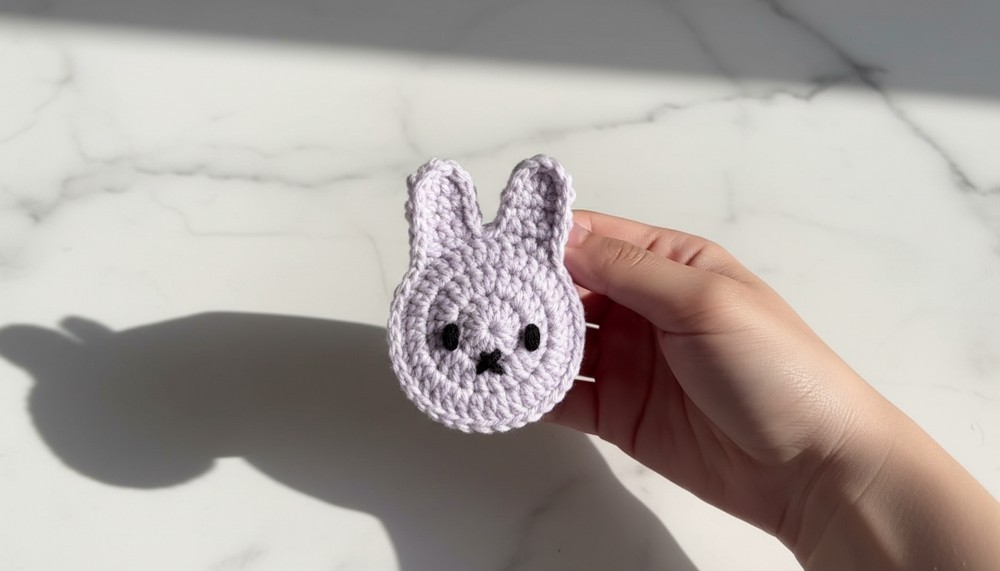
Crochet Miffy Pouch Pattern
Skill Level
Beginner
Finished Size
- Final size of the pouch depends on the yarn and hook you use. With 5-ply milk cotton yarn and a 3 mm hook, it measures approximately 3-4 inches in diameter (without the ears).
Gauge
Gauge is not critical for this project, but ensure that your stitches are tight enough to hold the pouch's shape and secure the contents.
Materials Needed
- Yarn:
- 5-ply milk cotton yarn in white for the pouch base.
- 5-ply milk cotton yarn in black for the facial embroidery.
- Hook Size: 3 mm crochet hook (or a size corresponding to your yarn).
- Felt: Thin black felt for eye shapes.
- Stitch Marker: To track the beginning of rounds.
- Tapestry Needle: For weaving in ends and sewing details.
- Glue: For attaching felt pieces (ensure you use fabric-safe glue).
- Scissors: For cutting yarn and felt.
Additional Notes
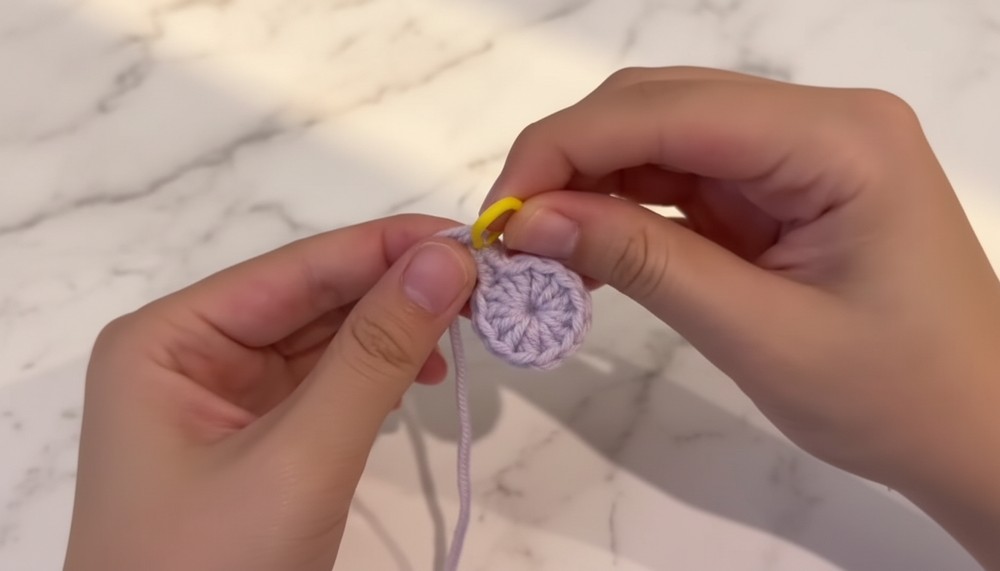
- Working in the Round: This project is worked in continuous spirals unless otherwise noted. Use a stitch marker to mark the first stitch of each round.
- Yarn Alternatives: Any medium-thickness yarn can be used, but the finished size may vary. Adjust the hook size to match your yarn.
- Customization: Change yarn colors for the pouch body or ears for a fun, personalized look.
Pattern Instructions
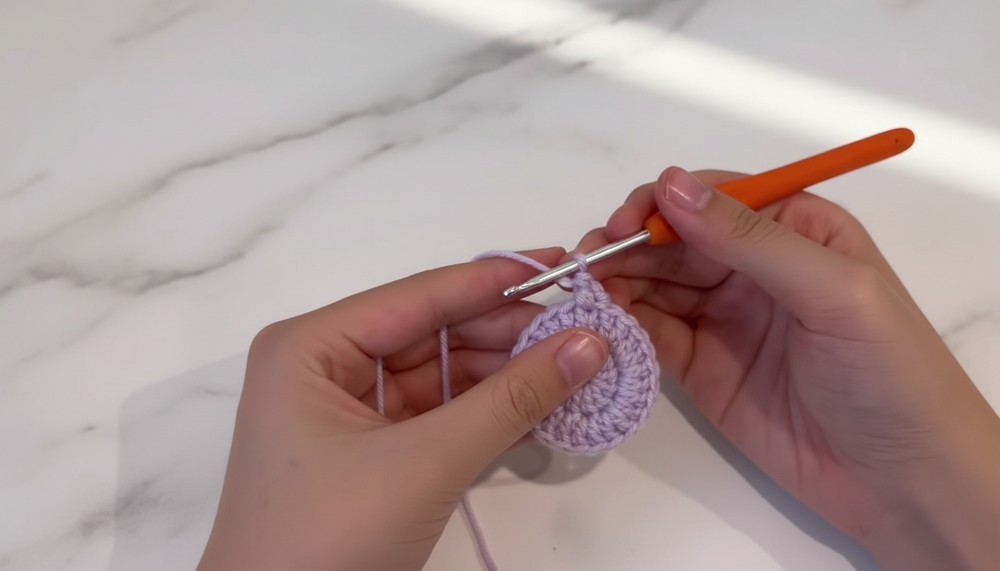
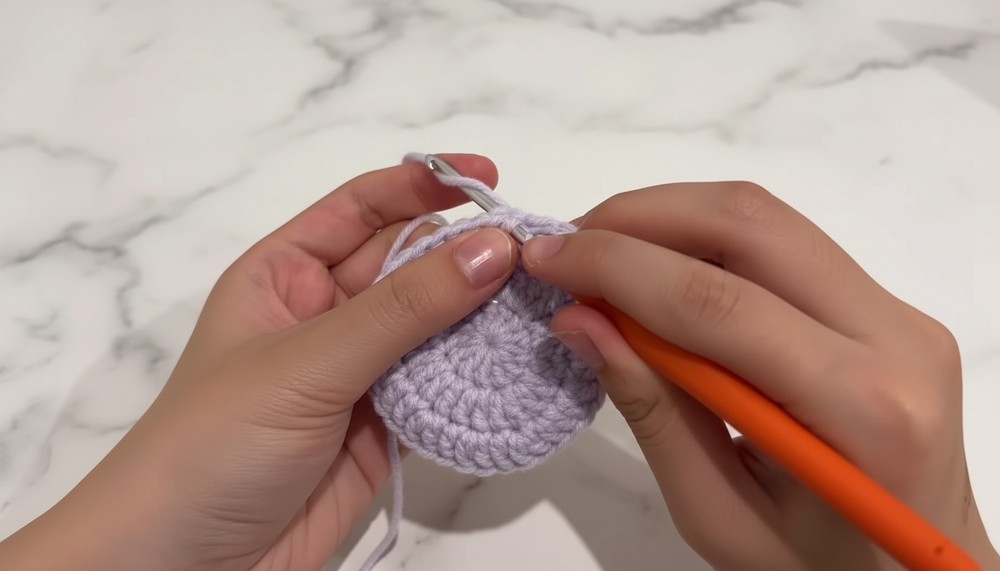
Base of the Pouch
This portion creates the back panel of the pouch.
- Start with a Magic Ring (if you're unfamiliar with a Magic Ring, see "Special Techniques" below).
- Crochet 12 double crochet (dc) into the Magic Ring. (12 sts)
- Pull the tail of the Magic Ring tightly to close the center hole.
- Round 1: Chain 2 (counts as the first dc), then work 1 dc into the same stitch. Mark this stitch with a stitch marker. Work 1 dc into each stitch around. Close the round with a slip stitch into the first dc. (12 sts)
- Round 2: (2 dc in each stitch) repeat around. (24 sts)
- Round 3: (1 dc in the next stitch, 2 dc in the next stitch) repeat around. (36 sts)
- Fasten off and weave in the end. This piece will be the back panel of the pouch.
Front of the Pouch (with Ears)
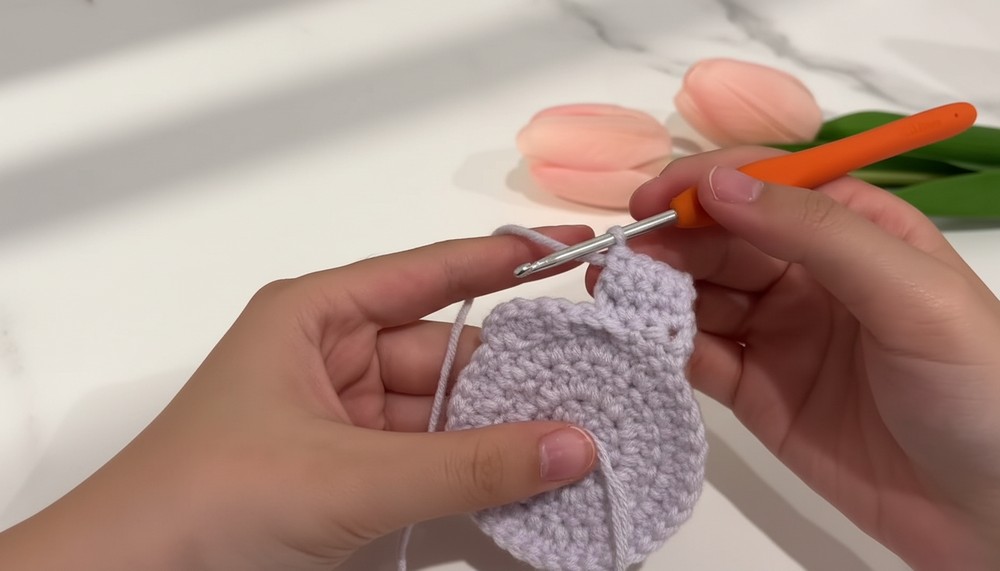
- Repeat Steps 1-3 for the base of the pouch, but do not fasten off at the end of Round 3.
- Round 4 (Ears): Start shaping the ears directly after chaining 2.a. First Ear (left side):
- Work 1 dc into the next stitch, followed by 1 half double crochet (hdc) into the next stitch.
- Work 1 single crochet (sc) into each of the next 3 stitches.
- Slip stitch (sl st) into the next 2 stitches to taper the edge of the ear.
b. Second Ear (right side):
- Work 1 single crochet (sc) into each of the next 3 stitches.
- Work 1 half double crochet (hdc) into the next stitch, followed by 1 dc into the last stitch.
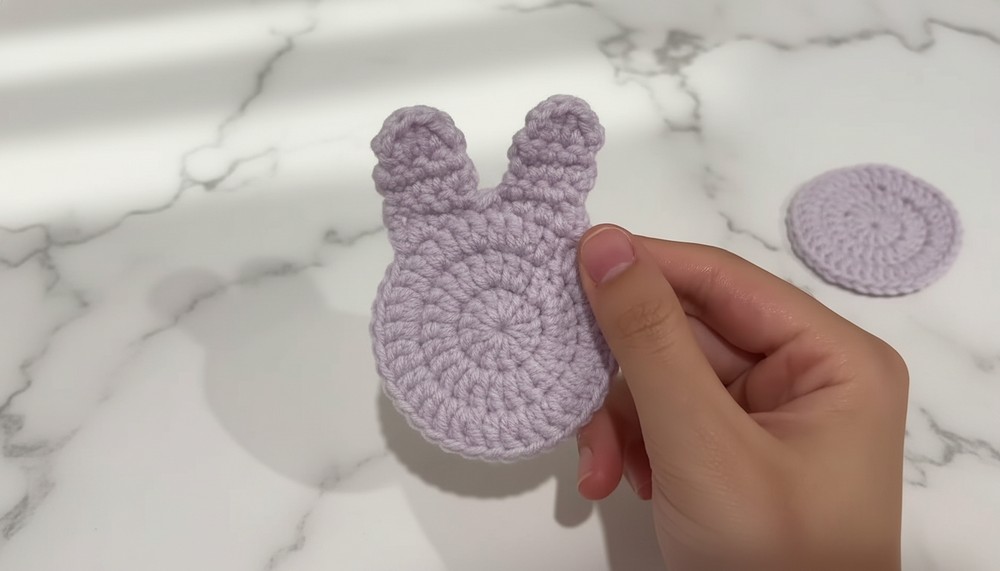
- Round 5-7 (Ears): For Rows 5-7, work 4 single crochets across each ear to build height. End each row with a turn for straight edges.
- Fasten Off: Leave a long tail to attach the front panel to the back panel during assembly.
Assembly
- Position the Panels: Place the front and back panels back-to-back with the wrong sides facing each other. Align the edges evenly.
- Join the Panels:
- Attach white yarn to one side of the pouch.
- Slip stitch around the bottom half of the pouch to join the panels.
- Leave the top half open to create the pouch opening.
- Slip Stitch for Clean Edges (Optional): For a polished finish, slip stitch along the entire top opening of the pouch.
Facial Details
- Eyes:
- Cut two small ellipses from black felt for the eyes.
- Apply fabric-safe glue to attach them to the face panel just below the ears.
- Mouth:
- Thread black yarn through a tapestry needle.
- Embroider a simple "X" shape below the eyes to form the mouth.
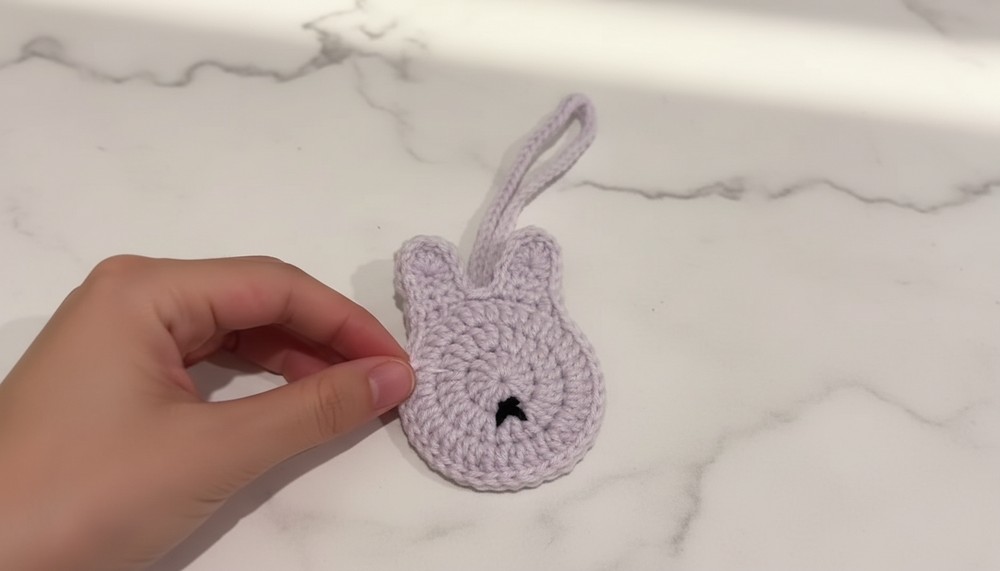
Strap
- Chain Strap:
- Attach white yarn where the ears meet.
- Chain 60-70 to create the desired strap length. Slip stitch back into the same starting point to secure.
- Weave in Ends: Use a tapestry needle to hide the tails of the yarn.
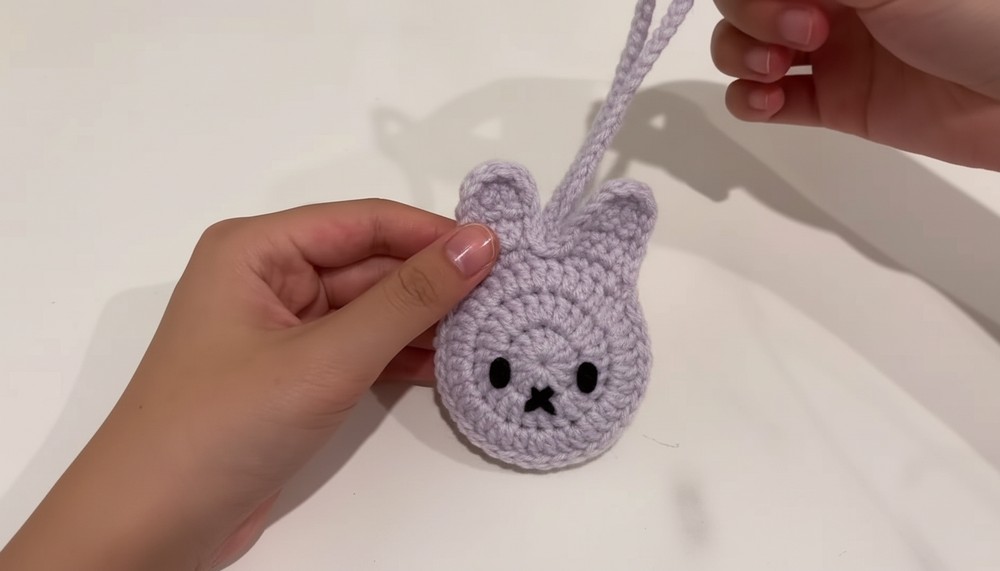
Finished Size
When using a 3 mm hook and 5-ply milk cotton yarn, the finished pouch measures approximately 3-4 inches in width and height (excluding the ears).
Special Techniques
- Magic Ring: To make a Magic Ring, wrap the yarn around your two fingers to create a loop. Work stitches into the loop, then pull the tail tightly to close the circle.
- Slip Stitch (sl st): Insert the hook into the stitch, yarn over, and pull through both the stitch and the loop on the hook.
Tips for Success
- Tension Control: Maintain consistent tension, especially when working with small details like the ears.
- Durability: Secure the facial embroidery with knots and hide the ends to prevent unraveling.
- Customization: Experiment with different colors for whimsical variations. Add embellishments like tiny embellishments, bows, or beads to personalize further.
Conclusion
Congratulations on completing your SMY rabbit pouch! This beginner-friendly project creates an adaptable accessory, whether used as a back charm, coin pouch, or decoration. Share your creations on social media and explore various customization ideas for unique personal touches.