
Cute Free Crochet Plus-size Crop Top Pattern to Boost Your Wardrobe
Show off your curves with the FREE Crochet Plus-size Crop Top Pattern for summer fun and casual days while enjoying comfortable stylish handmade fashion flair.
Finding a flattering and comfortable crop top can be surprisingly challenging, especially when you want something handmade and versatile. The Free Crochet Plus-size Crop Top pattern offers a solution, combining airy stitches with a design tailored for curvier figures. Perfect for summer outings, casual brunches, or layering under jackets, this top pairs effortlessly with high-waist jeans, skirts, or shorts.
Free Crochet Plus-size Crop Top Pattern for Trendy Wear

Using cotton or bamboo yarn keeps it soft and breathable, ideal for warm weather. Making this plus-size crochet crop top also helps improve skills like shaping, working in rounds, and creating stretch-friendly textures for a comfortable fit. Beyond style, the finished piece provides confidence, lightweight comfort, and a unique handmade touch that ready-made tops often lack.
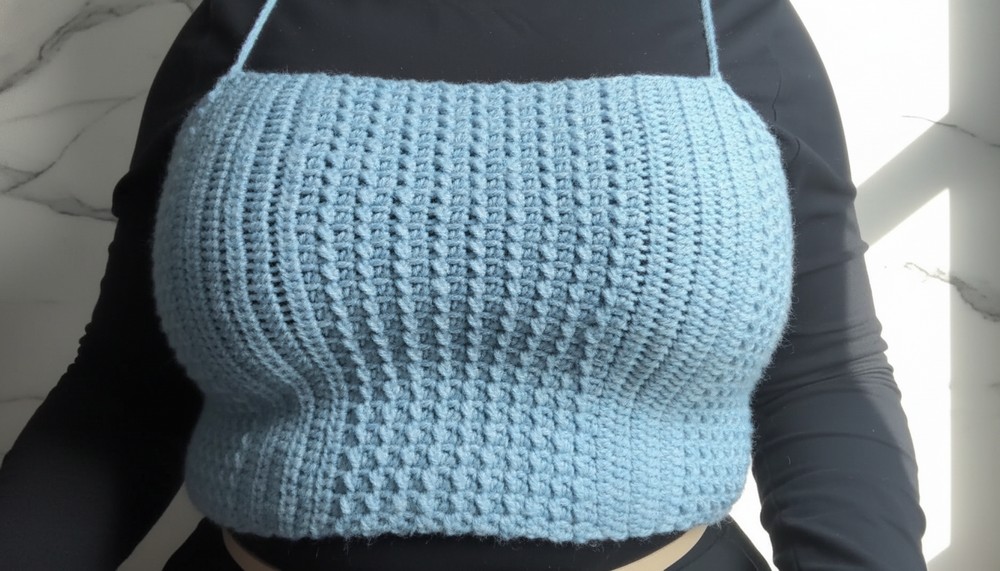
Crochet Plus-size Crop Top Pattern
Finished Measurements
- Length: Approximately 11 inches. Adjustable based on your preference.
- Width: Approximately 29 inches unstretched, stretches to accommodate a 38-inch bust.
Gauge
- Moss Stitch (Slip Stitch alternating with Half Double Crochet):
- For a 4-inch swatch, chain 17 and work 10 rows in Moss Stitch using a 4.0 mm crochet hook.
- Ensure the stitches are not too tight to maintain visibility for future rows.
Materials Required
- Yarn:
- Weight: Medium (Category 4).
- Recommended: Big Twist Acrylic Yarn (100% Acrylic, 170 G).
- Note: Any soft, matte acrylic yarn will work perfectly.
- Hook Size:
- 4.0 mm crochet hook (choose a smaller hook size for more defined texture).
- Additional Tools:
- Yarn Needle (for weaving in ends).
- Stitch Markers (to mark first and last stitches).
- Scissors.
- Measuring Tape.
Skill Level
Intermediate - Familiarity with slip stitch, half double crochet, working in rows, and basic seam techniques required.
Key Abbreviations (US Terminology)
- ch: Chain
- st(s): Stitch(es)
- sc: Single Crochet
- hdc: Half Double Crochet
- sl st: Slip Stitch
- yo: Yarn Over
Special Techniques
- Back Bump Foundation Chain:
- Work into the back bump of the chain to ensure a clean bottom edge.
- Moss Stitch Pattern:
- Alternating sl st and hdc techniques create a textured grid/design.
Pattern Instructions
Panels Construction
Step 1: Foundation Chain
- Make a slip knot, and chain a length corresponding to the desired top length. For example:
- For a crop top: Chain 51 for 11 inches long.
- For longer tops, add chains until reaching the intended length.

Step 2: Row 1 - Moss Stitch
- Turn the foundation chain and work into the back bumps for a clean edge.
- Skip the first chain, and in the second chain:
- Make a sl st. Place a stitch marker in this first stitch.
- Next Chain: Work 1 hdc.
- Alternate:
- Slip Stitch in the next chain.
- Half Double Crochet in the following chain.
- Continue alternating sl st and hdc to the end of the chain.
- End with: 1 hdc in the last chain.

Row 2:
- Ch 1 (does not count as a stitch), turn your work.
- First Stitch: Make a sl st.
- Second Stitch: hdc into the sl st from the previous row.
- Alternate stitches: Where you worked a sl st, place an hdc.
- Where you worked an hdc, place a sl st.
- End this row with a hdc in the last stitch.
Row 3:
- Repeat Row 2, alternating sl st and hdc across the entire row.
- Ensure stitches align by alternating slip stitches with hdc from the previous row correctly.
Additional Moss Stitch Rows:
- Repeat the Moss Stitch pattern for 10 rows.
- Tip: Place stitch markers in your first and last stitches to avoid mistakes.
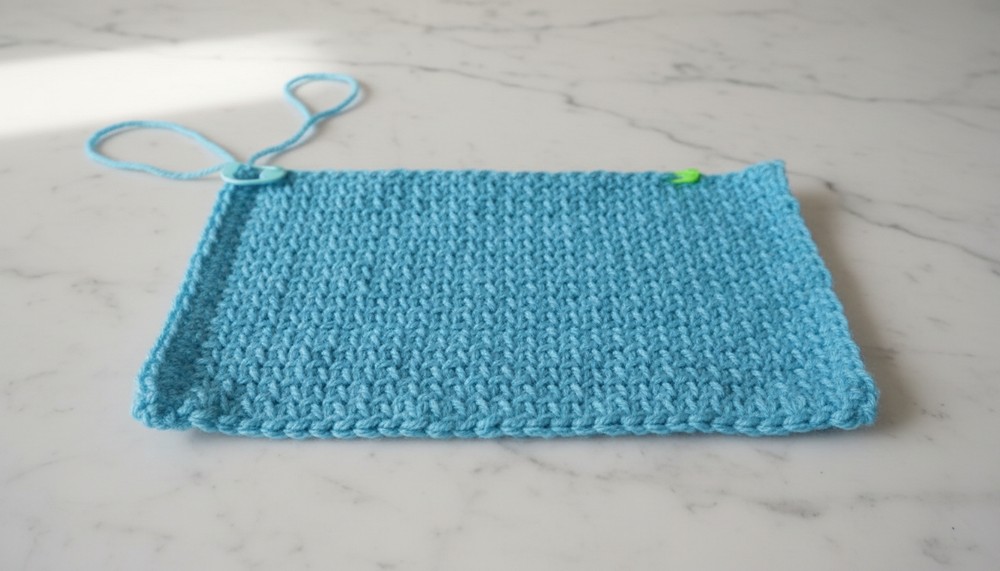
Step 3: Half Double Crochet Rows
- After completing 10 rows of Moss Stitch, switch to HDC rows for a variation.
- Row 1 of HDC:
- Ch 1, turn your work.
- Work hdc into each stitch across, inserting into both loops.
- Repeat: Make 6 rows of HDC.
Continuation: Alternate Sections
- Alternate between 10 rows of Moss Stitch and 6 rows of HDC.
- Repeat until the panel width is wide enough to wrap around the bust measurement.
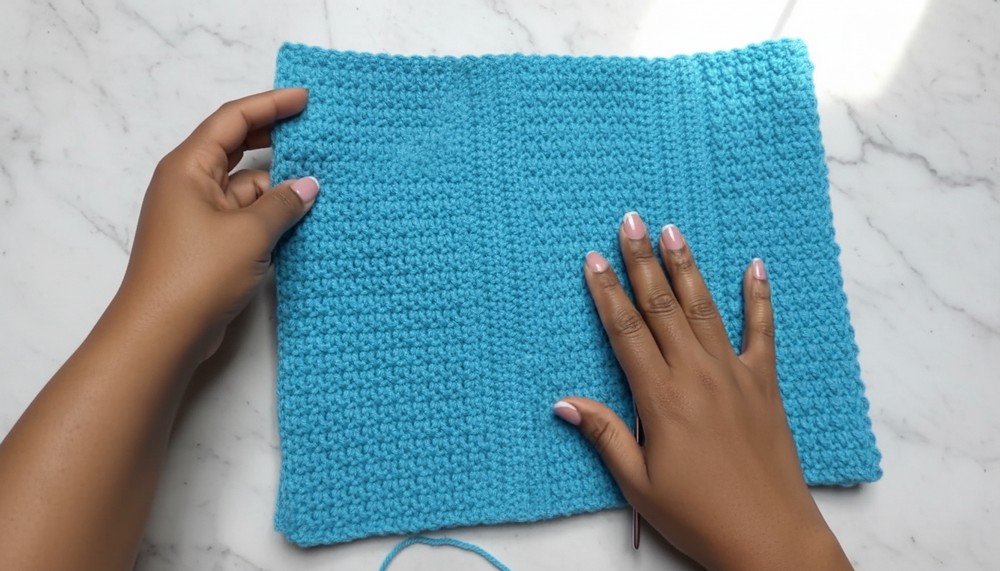
Example Total Rows:
For a 38-inch bust width, work approximately 80 rows.
Step 4: Joining Panels
- Once the panel width is sufficient, fold it in half (wrong side facing out).
- Secure the edges together using single crochet seam:
- Align Edges: Insert hook through the stitches on both sides.
- Work 1 sc into each stitch.
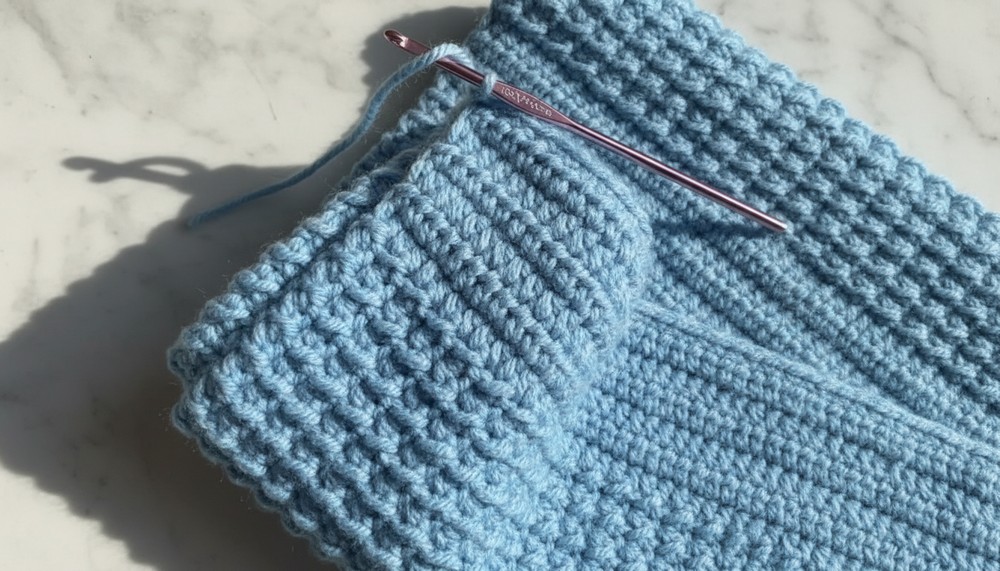
Step 5: Weaving Ends
Weave in all loose ends using a yarn needle for a clean finish.
Step 6: Straps
- Determine Strap Placement:
- Try on your top to mark strap positions with stitch markers.
- Leave approximately 8 inches between straps at the front.
- Straps Construction:
- Attach yarn at the marked position.
- Chain: Create a strap long enough to go over your shoulders.
- Example: Chain 55.
- Attach the strap to the back with a sl st.
- Repeat for Second Strap:
- Follow the same process for the second strap, ensuring symmetry.
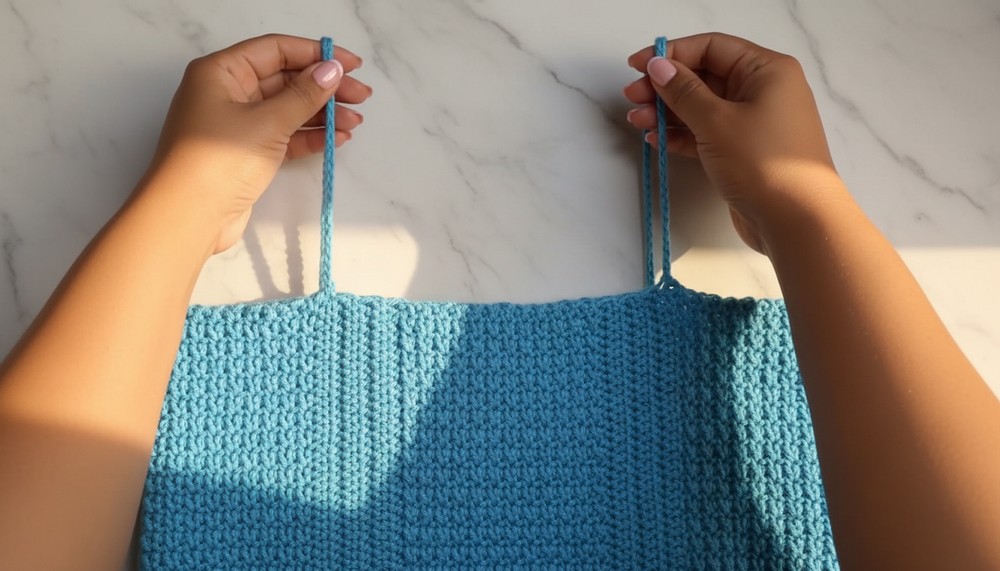
Step 7: Final Fitting
- Try on the top to ensure strap length and placement are comfortable.
- Adjust chain lengths if needed before weaving in ends.
Customization Ideas
- Add More Texture: Increase the number of Moss Stitch rows for a visually heavier effect.
- Strap Variations:
- Use wider straps (2 rows of sc or hdc for durability).
- Yarn Substitution: Choose variegated or ombre yarn to enhance stitch pattern visibility.
Conclusion
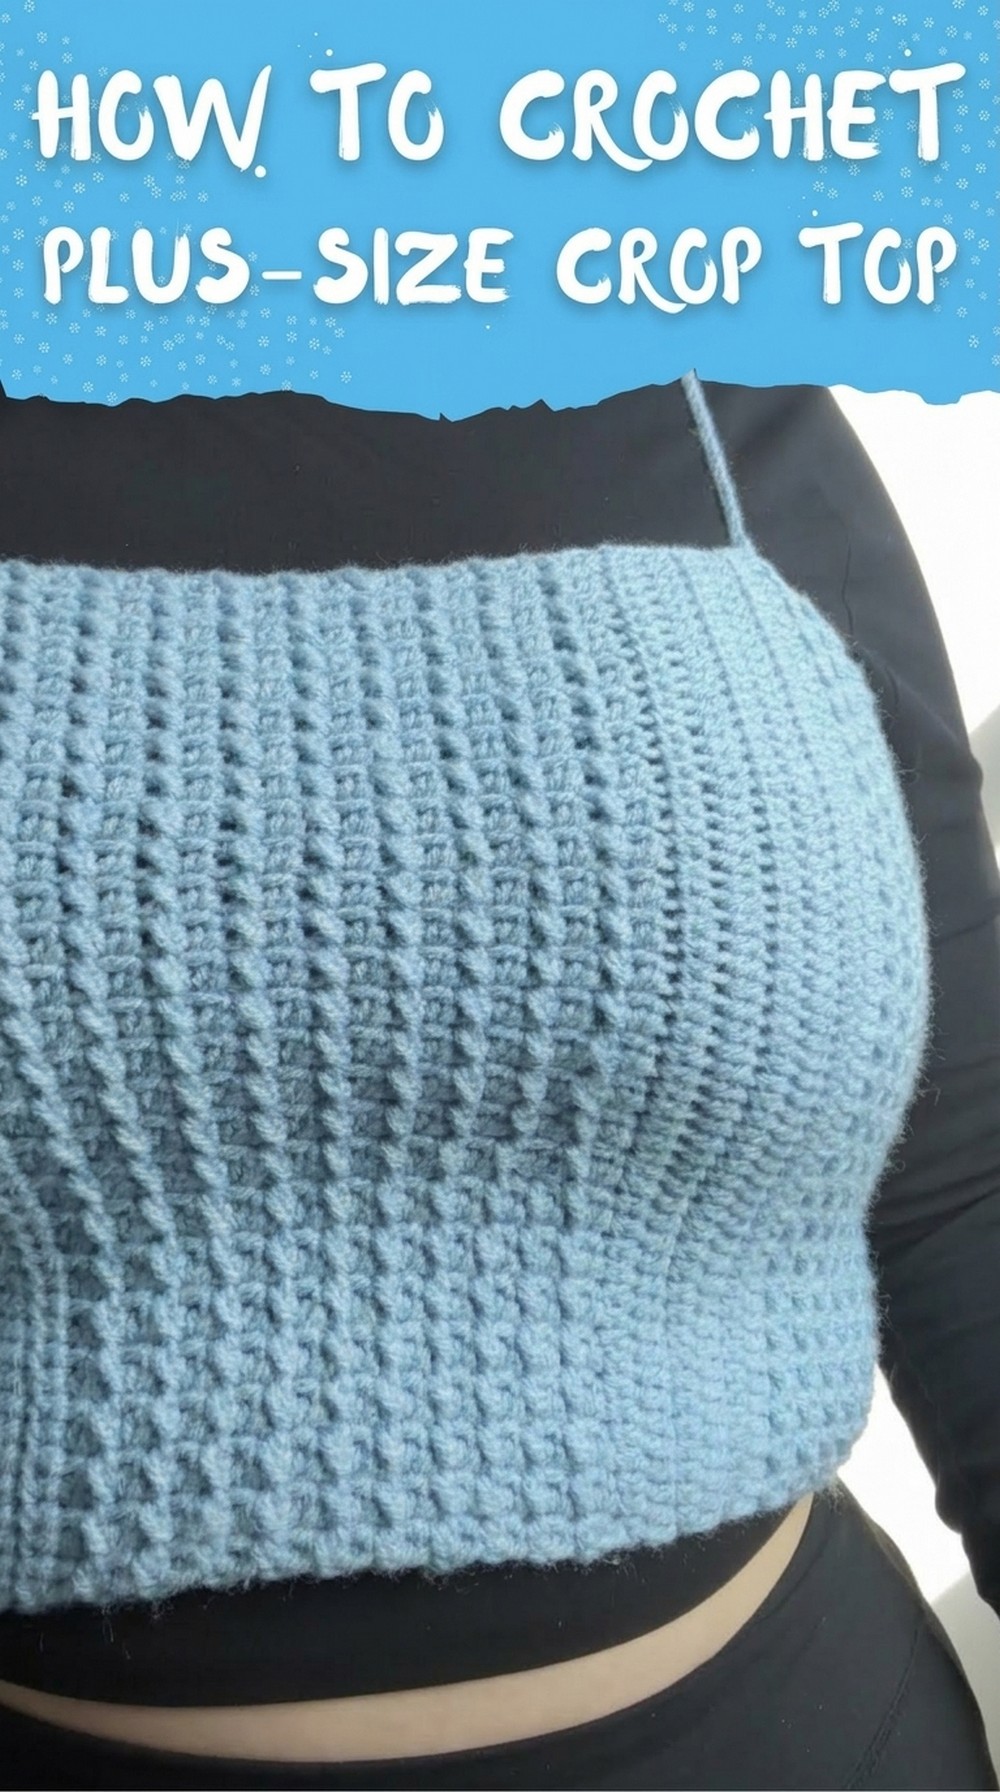
Congratulations! You've completed a stylish Textured Moss Stitch Crop Top. This pattern offers plenty of room for creative adjustments and guarantees a chic, unique garment perfect for casual wear or layering.
Important Remarks
- Final Look: The alternating stitch patterns create a subtle yet elegant texture.
- Blocking: If the stitches appear tight or uneven, lightly block the top with steam for a polished finish.
Tips
- Avoid Tight Slip Stitches: Keeping slip stitches loose ensures easier stitching for subsequent rows.
- Stitch Count: Use stitch markers for easier counting and to avoid mistakes at the edge of rows.
- Custom Fit: Using a measuring tape frequently is crucial-it ensures a tailored design for personal measurements.