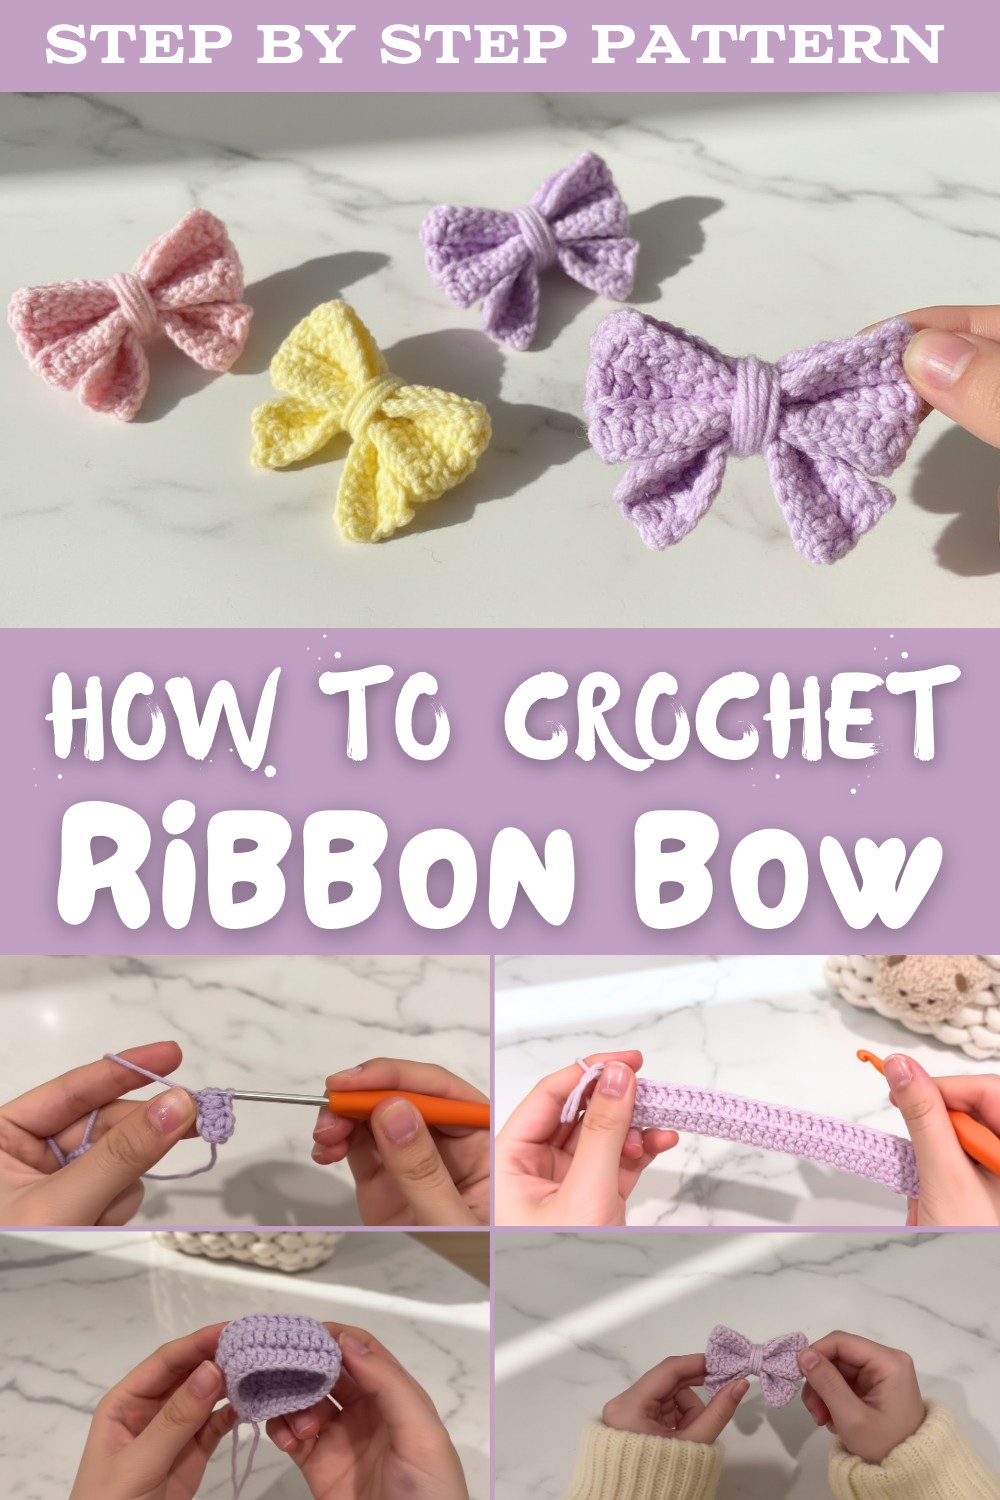
Cute Free Crochet Ribbon Bow Pattern to Use for Kids’ Accessories
Complete your projects with unique crochet ribbon bows for gifts, hairstyles, and home décor, customizing colors and sizes to suit any occasion.
Adding a delightful touch of whimsy to your everyday projects with just a bit of yarn and creativity. The Free Crochet Ribbon Bow Pattern allows you to craft the cutest little bows that can turn hair clips, gift wraps, or home décor into something extra special. These handcrocheted gems are as fun to make as they are versatile, perfect for turning any item into a personalized treasure.
Free Crochet Ribbon Bow Pattern for Gifts or Décor
Crochet ribbon bows offer endless possibilities. Style them as headbands for a playful look, or use them to add flair to party favors and festive decorations. With the freedom to choose your own colors and textures, each bow becomes unique.
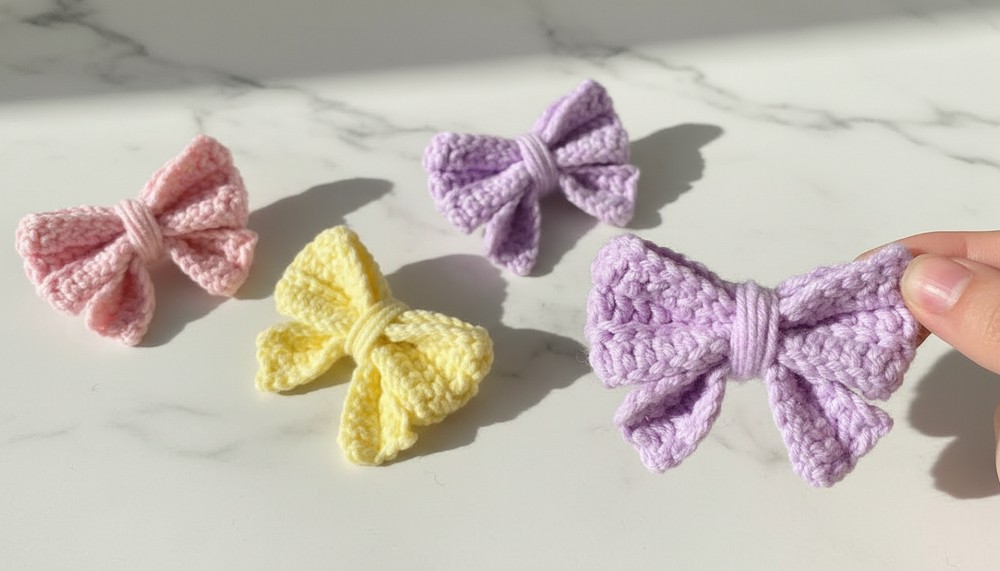
Plus, they're reusable and eco-friendly, making them a thoughtful choice for any occasion. Step into this crochet adventure, and let your creativity soar while adding a touch of charm to your world.
Crochet Ribbon Bow Pattern
Materials Required
- Yarn:
- Recommended: 5-ply milk cotton yarn (or any lightweight, smooth cotton yarn).
- Color: Yellow (or your color choice for the ribbon).
- Hook:
- 3.0mm crochet hook (or size appropriate for your chosen yarn).
- Accessories:
- Darning Needle: For sewing ends and assembling the ribbon.
- Scissors: To cut the yarn.
- Optional:
- Stitch markers (to track rounds if needed).
Skill Level
- Intermediate to Advanced.
Key Abbreviations (US Terminology)
- ch: Chain.
- st: Stitch.
- dc: Double Crochet.
- sl st: Slip Stitch.
- BL: Back Loop.
- yo: Yarn Over.
Special Notes
- The ribbon is made in two parts: the top loop bow and the tail piece at the bottom.
- Rows 2 and 3 use the Back Loop Only (BLO) technique to create ridges for a textured finish.
- Keep tension consistent; tighter stitches result in a neater ribbon.
- Read the pattern in its entirety before starting the project.
Pattern Instructions
Part 1: The Top Loop (Main Bow Section)
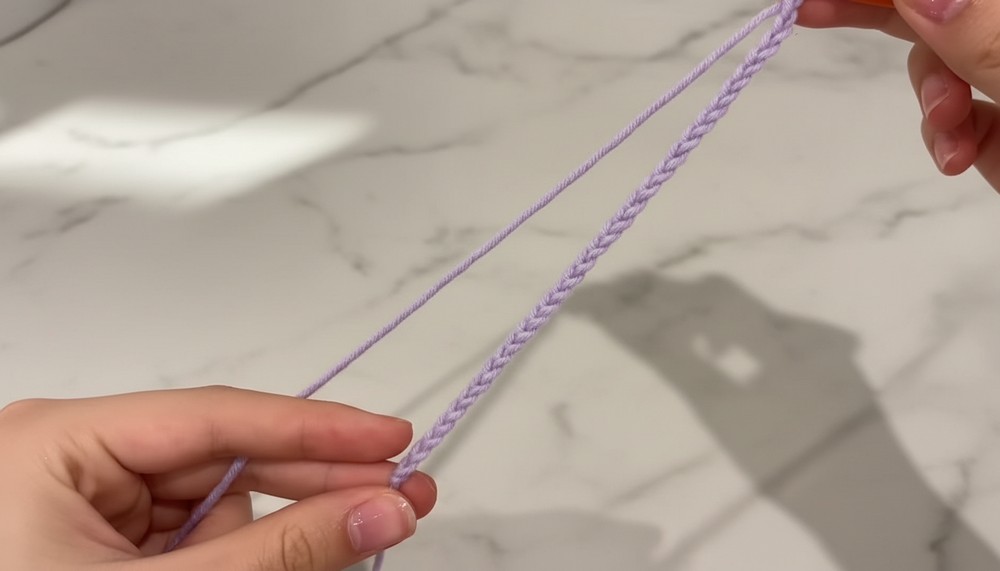
Foundation Chain:
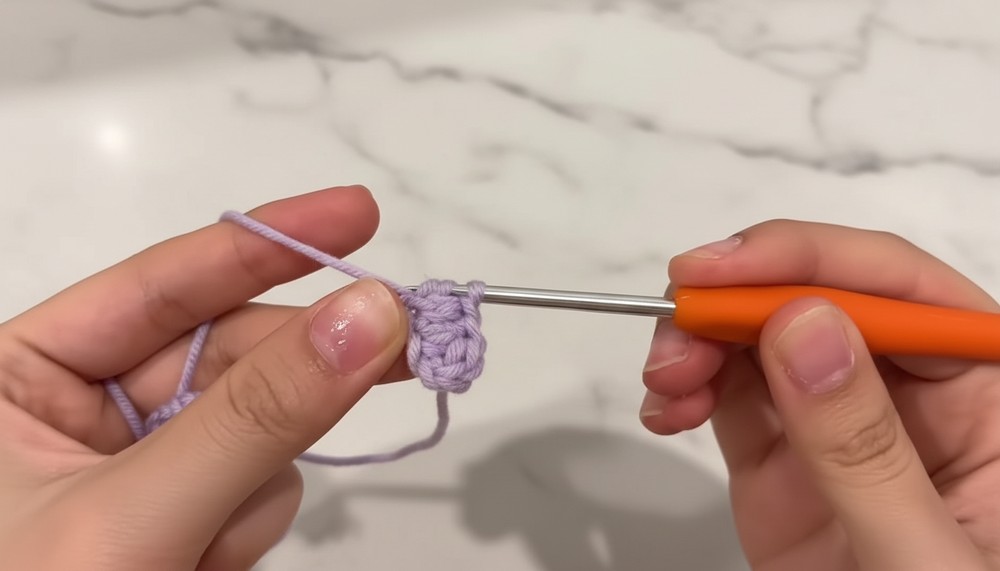
- Create a Slip Knot:
- Form a loop with the yarn, twist it, and pull the yarn tail through using your fingers. Insert the hook and tighten the loop around it.
- Chain 32:
- Yarn over (yo), pull through the loop on your hook. Repeat 32 times.
Size Adjustment Tip:
- If you want a smaller or larger bow, adjust the initial number of chains but ensure it remains an even number plus 2 (to give height for turning).
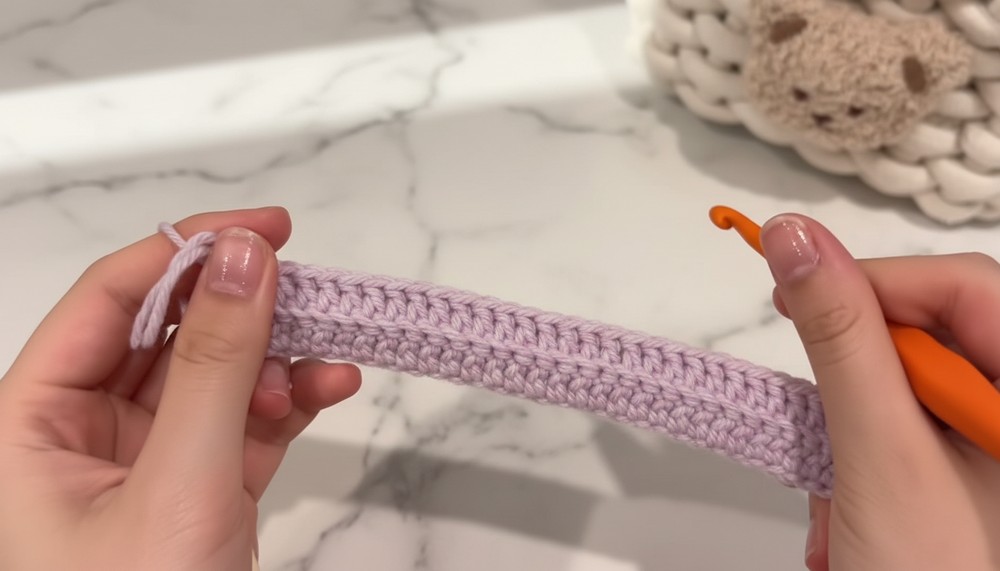
Row 1:
- Double Crochet (dc) across:
- Yarn over, insert the hook into the 3rd chain from the hook.
- Pull up a loop (3 loops on the hook).
- Yarn over, pull through the first 2 loops.
- Yarn over again and pull through the remaining 2 loops on the hook.
- Repeat this across for a total of 30 dc.
Row 2:
- Chain 2 (ch 2) to turn (counts as the starting height).
- Turn your work.
- Work 1 dc into the Back Loop Only (BL) of each stitch:
- Locate the V at the top of the first st. Insert the hook under the Back Loop (BL) only.
- Continue working 1 dc BLO across for 30 dc.

Row 3:
- Chain 2 (ch 2) and turn.
- Repeat as in Row 2: Work 1 dc BLO per stitch across for 30 dc.
Fasten Off:
- At the end of Row 3, chain 1 and pull up a large loop.
- Cut the yarn leaving a 6-inch tail for sewing later.
Part 2: The Bottom Tails
Foundation Chain:
- Make a Slip Knot and chain 17 (15 for the tail + 2 for turning height).
Row 1:
- Double Crochet (dc) across:
- Yarn over, insert the hook into the 3rd chain from the hook.
- Pull up a loop (3 loops on the hook), yarn over, pull through first 2 loops, yarn over, pull through remaining 2 loops.
- Repeat to the end for 15 dc total.
Row 2:
- Chain 2 (ch 2), turn your work.
- Work 1 dc BLO in each st across for 15 dc.
Fasten Off:
- At the end of Row 2, chain 1 and pull up a large loop.
- Leave a 6-inch tail for sewing.
Assembly:
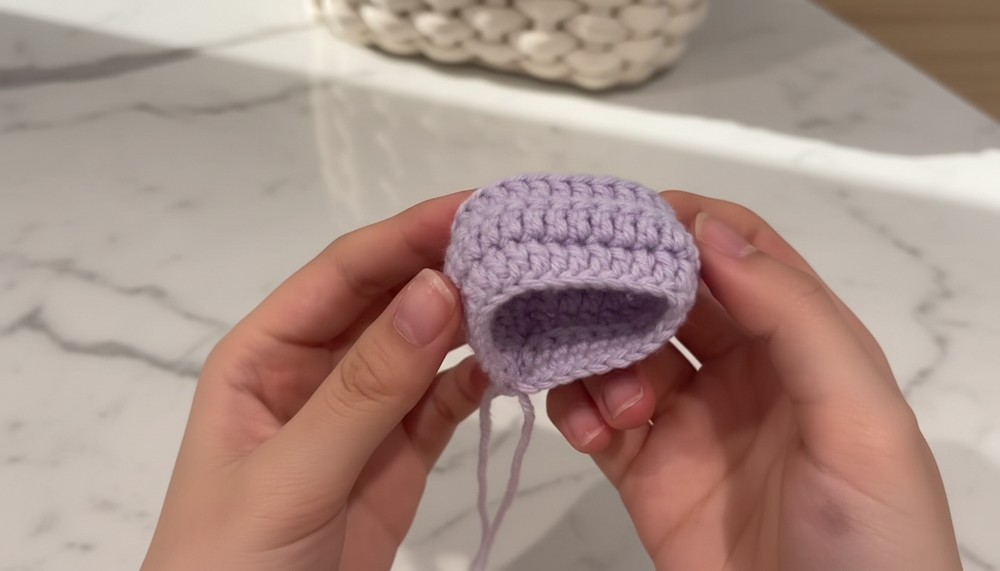
- Sew the Top Loop Together:
- Fold the top part of the bow (the loop section) in half with the right side out.
- Use the yarn tail to sew together the two edges. Secure tightly.
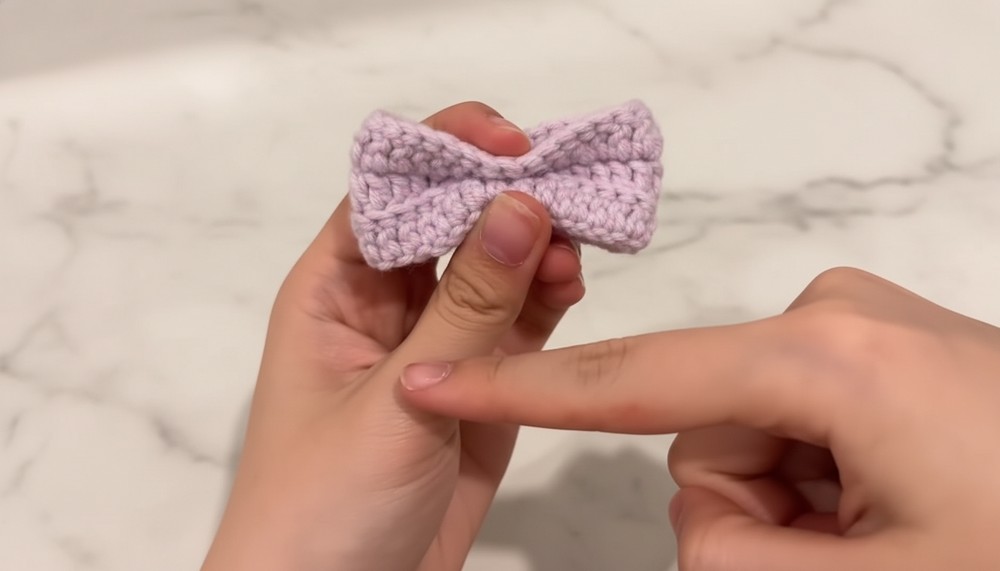
- Attach the Tail Section:
- Center the tail piece (bottom section) to align with the loop seam.
- Fold the loop section slightly while holding the tail in place for ease of wrapping.
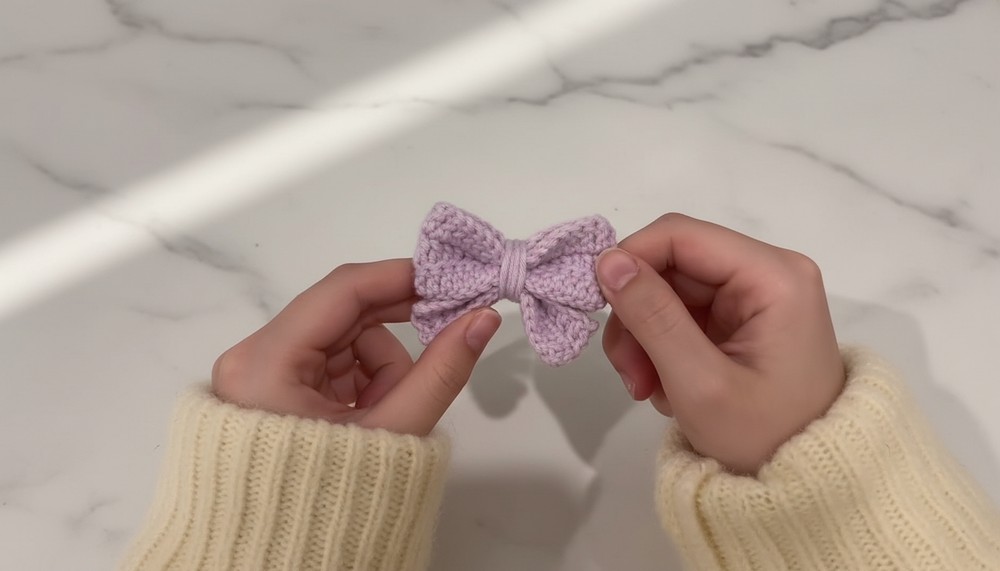
- Wrap and Secure Center:
- Take a new piece of yarn and wrap it tightly around the center to bind the top loop and tail sections together.
- Wrap a few times for stability and a clean finish.
- Weave in Ends:
- Thread the yarn ends from both sections through a darning needle.
- Weave them into the wrapped section neatly.
Finishing Touches
- Flip the Bow:
- Ensure the right side (textured rows) is facing outward.
- Shape the Tail:
- Adjust the tail piece for the desired angle or trim for a clean edge.

Conclusion
Congratulations on completing your no-tie crochet bow! This versatile pattern can be used for hair accessories, gift packaging, or home decor. The simple construction ensures a neat, polished finish, while the textured rows add depth.
Pattern Corrections
- Foundation Chain Adjustments: Ensure an even number of chains for uniform rows.
- Consistent Turning: Always chain 2 at the start of a new row for proper row alignment.
Helpful Tips
- Tension Matters: Keep an even tension, especially with back-loop stitches, to maintain the ribbon's uniform look.
- Customization:
- Use different yarn types (e.g., velvet or metallic) for unique textures.
- Experiment with yarn weights and hook sizes for various sizes.
- Ending Security: Double-check all stitches are secured and weave in ends well to prevent unraveling.