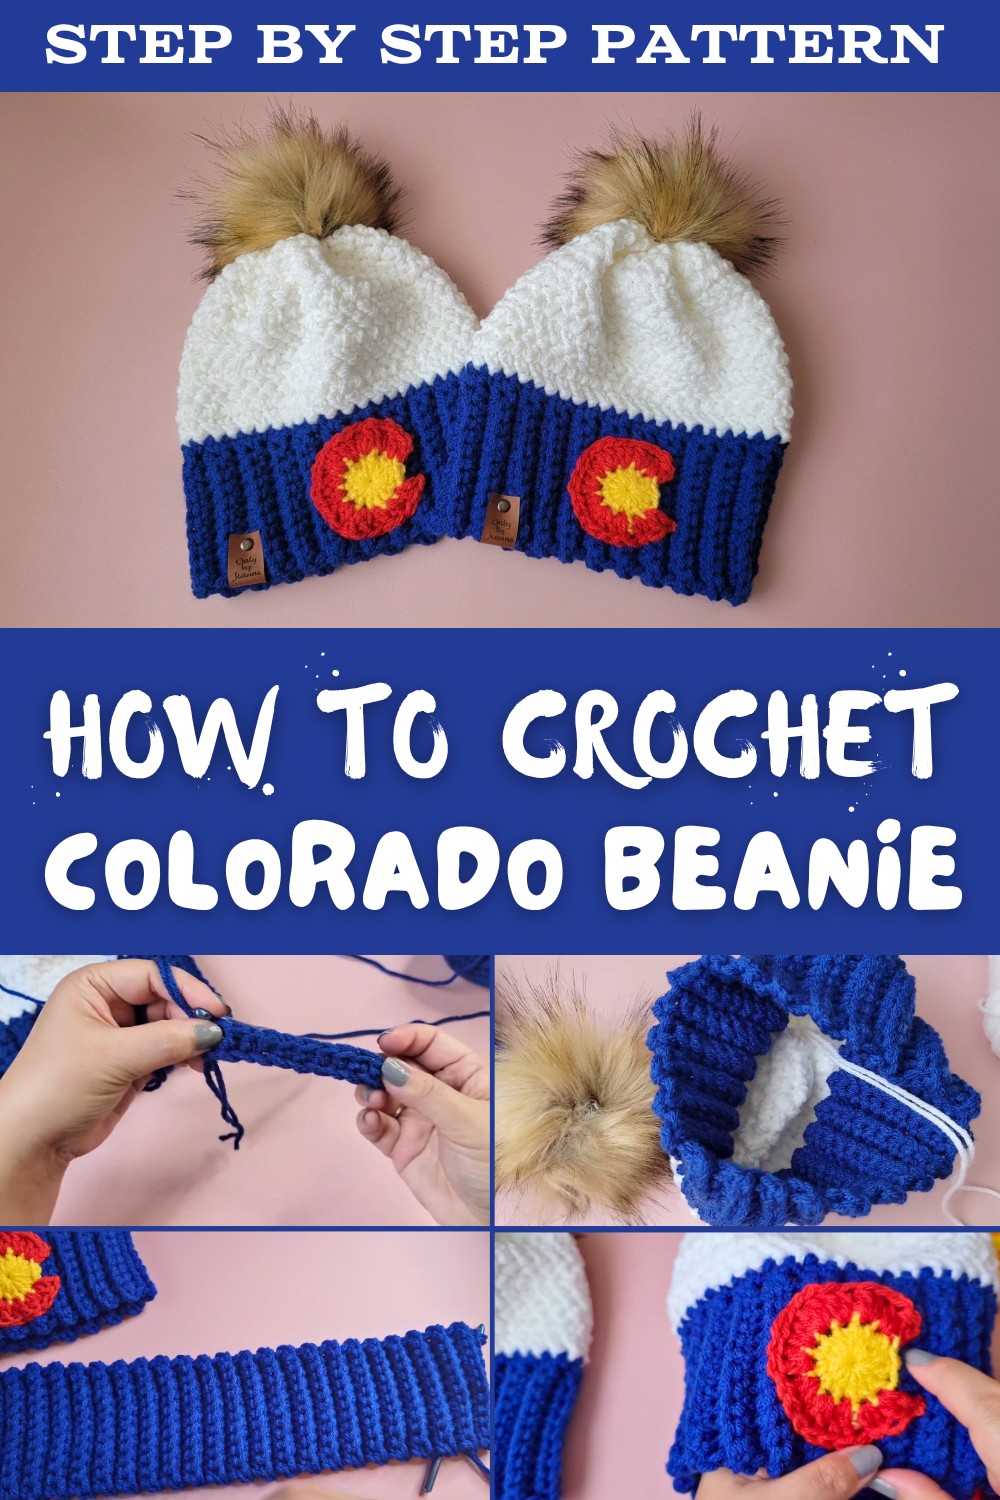
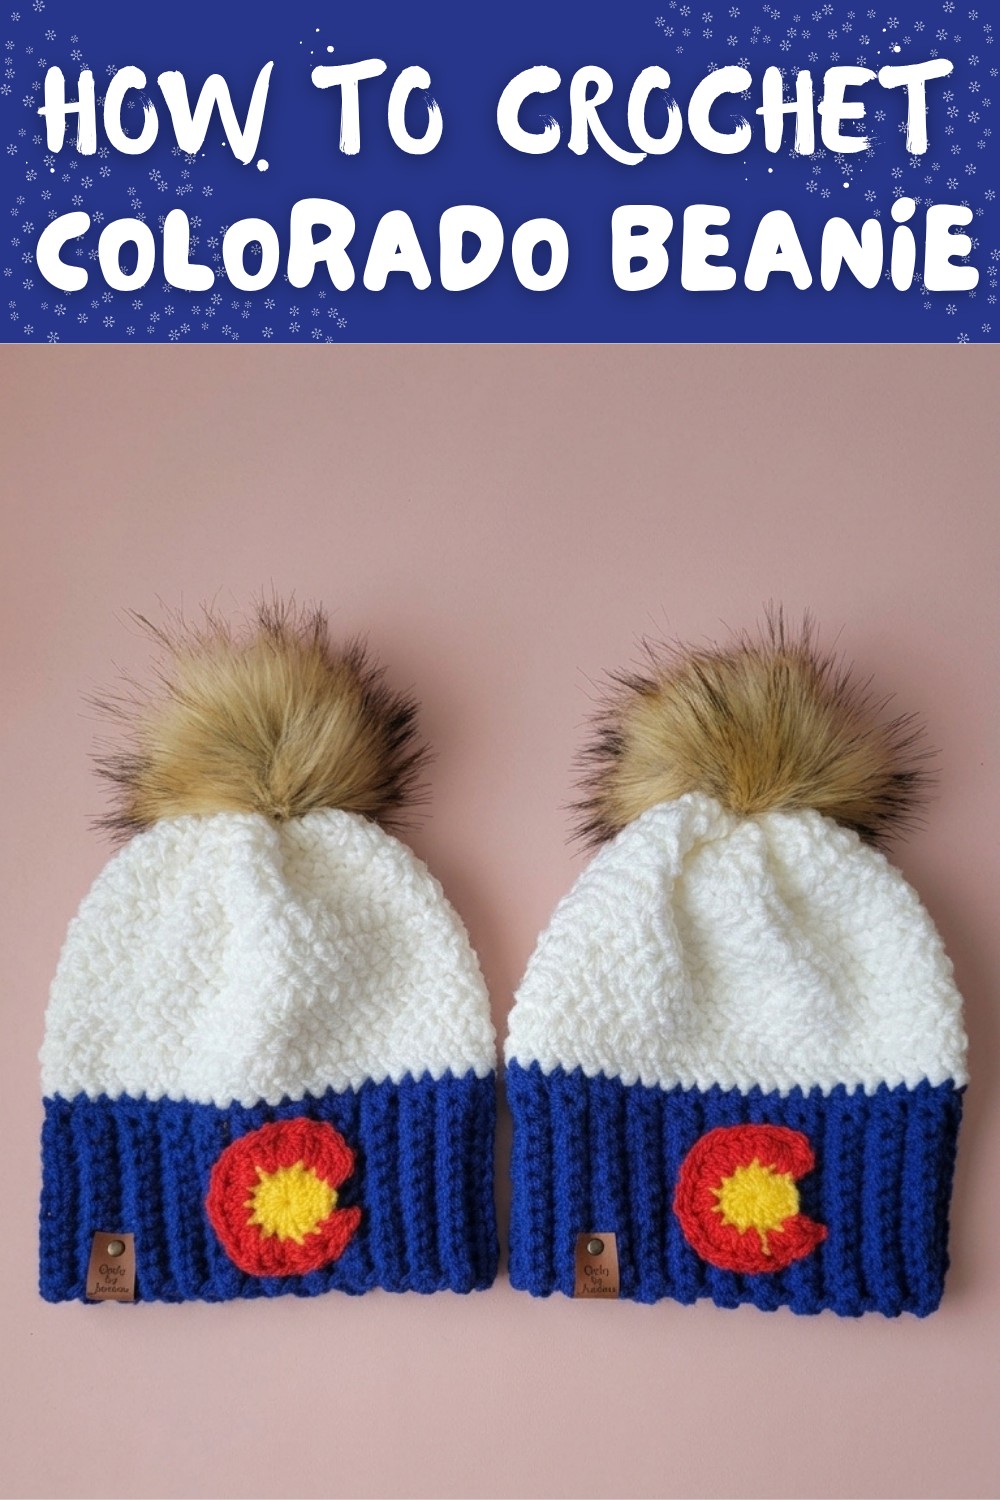
Easy Crochet Colorado Beanie Pattern (Free & Thick Design)
Inviting you to stitch up the Free Crochet Colorado Beanie Pattern that used herringbone texture, vibrant colors, and a playful detachable pom-pom for ultiate winter vibes.
This cozy and stylish beanie is a must-have for staying warm in the winter while adding a touch of unique flair. The Free Crochet Colorado Beanie Pattern is perfect for crafters who enjoy creating practical accessories with a beautiful, textured finish. Featuring the herringbone double crochet stitch, this pattern offers a sophisticated slanted design that stands out and adds depth to the hat. Created using worsted weight yarn with two strands, it's thick, soft, and durable, providing maximum warmth without compromising comfort. The beanie starts with a stretchy, snug-fit brim and works upward, making it customizable for different head sizes.
Free Crochet Colorado Beanie Pattern - Step-by-Step Tutorial
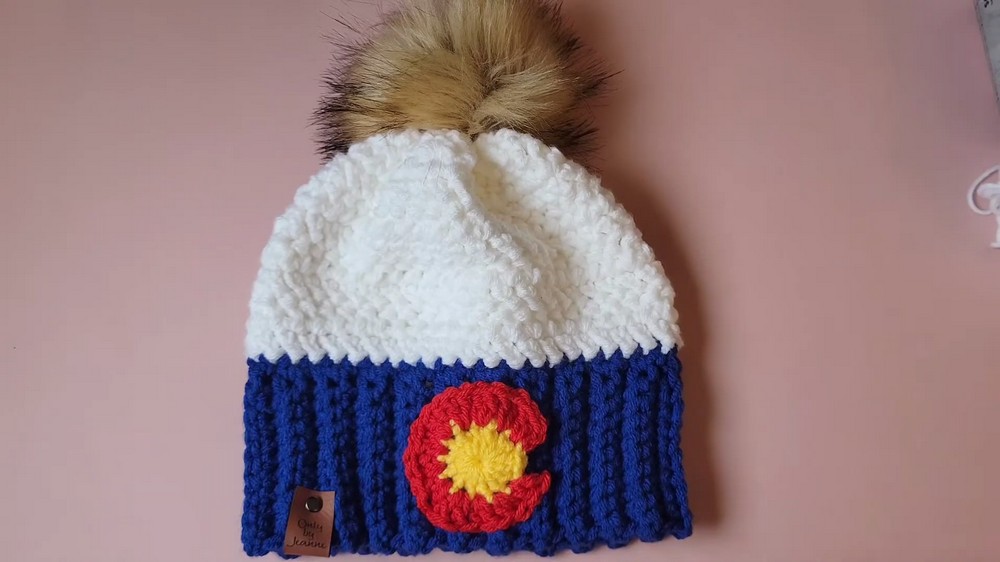
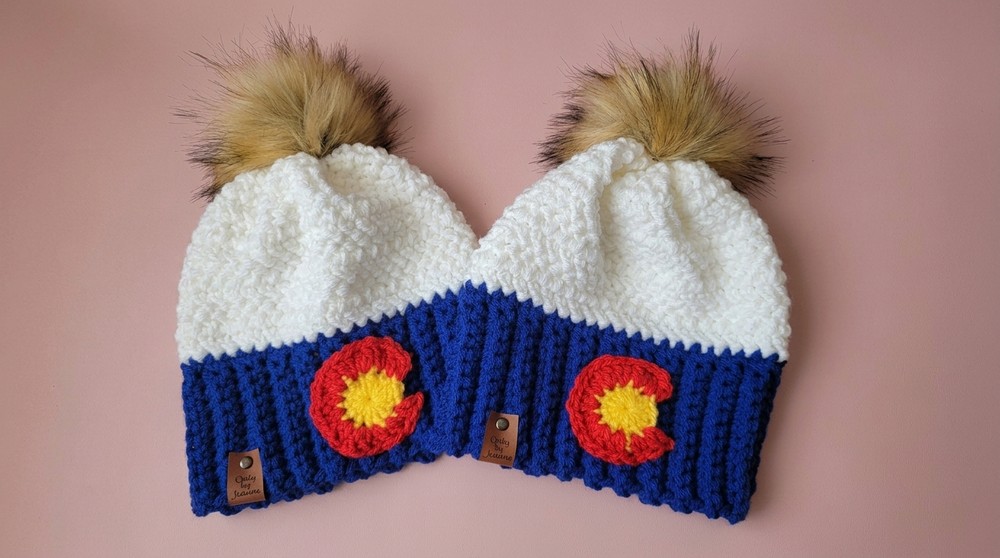
One of the standout features of this beanie is its detachable faux fur pom-pom, perfect for easy washing and giving it a modern and versatile look. You can also personalize it further by attaching leather tags or grommets for an elegant finishing touch. Its blue, white, yellow, and red Colorado-themed design is ideal for state pride, but the base pattern looks stunning in any color combination, even without the Colorado motif. This beanie makes a great gift or a fantastic item to sell at markets due to its trendy appearance and functional design. Create a keepsake that's equal parts practical and beautiful.
Herringbone Colorado Beanie Crochet Pattern
The Herringbone Colorado Beanie is a warm and stylish project made with the herringbone double crochet stitch to create texture and stretch. This step-by-step pattern uses double strands of worsted weight yarn to give the hat thickness and warmth. You can customize it with a removable pom-pom and even add a Colorado "C" applique if desired.
Skill Level
Intermediate
Pattern Details
- Finished Size: Adult (circumference: approx. 16 inches, stretches comfortably to 20 inches; height: approx. 9 inches).
- Terminology: US crochet terms.
- Construction: Worked from the brim up.
Materials Required
- Yarn:
- I Love This Yarn! from Hobby Lobby (or similar worsted weight, size 4, acrylic yarn).
- Colors:
- Blue (Main Color): Royal (Double strand).
- White: White (Double strand).
- Yellow: Yellow (Single strand - for the applique).
- Red: Red (Single strand - for the applique).
- Quantities:
- Blue: Approx. 140-160 yards.
- White, Yellow, and Red: Smaller amounts for the stripe and applique.
- Hook:
- 6.5 mm (K-10.5) crochet hook.
- Additional Tools:
- Scissors.
- Yarn needle for weaving ends.
- Pom-pom (optional; can use a removable snap-on fur pom-pom).
- Leather tag (optional).
- Grommets for the leather tag (optional).
Key Abbreviations
- ch - Chain.
- sc - Single Crochet.
- dc - Double Crochet.
- hb-dc - Herringbone Double Crochet (see Special Stitches).
- fp-sc - Front Post Single Crochet.
- sl st - Slip Stitch.
- st(s) - Stitch(es).
- BLO - Back Loop Only.
Special Stitches
- Herringbone Double Crochet (hb-dc):
- Yarn over, insert hook into the stitch, yarn over and pull up a loop (3 loops on hook).
- Pull the first loop through the second loop on your hook (2 loops remain).
- Yarn over and pull through the first loop (2 loops remain).
- Yarn over and pull through the remaining 2 loops.
This technique slants the double crochet for a unique texture.
- Back Loop Only (BLO) Single Crochet:
- Insert hook under the back loop of the stitch (furthest loop from you).
- Complete the single crochet.
Pattern Instructions
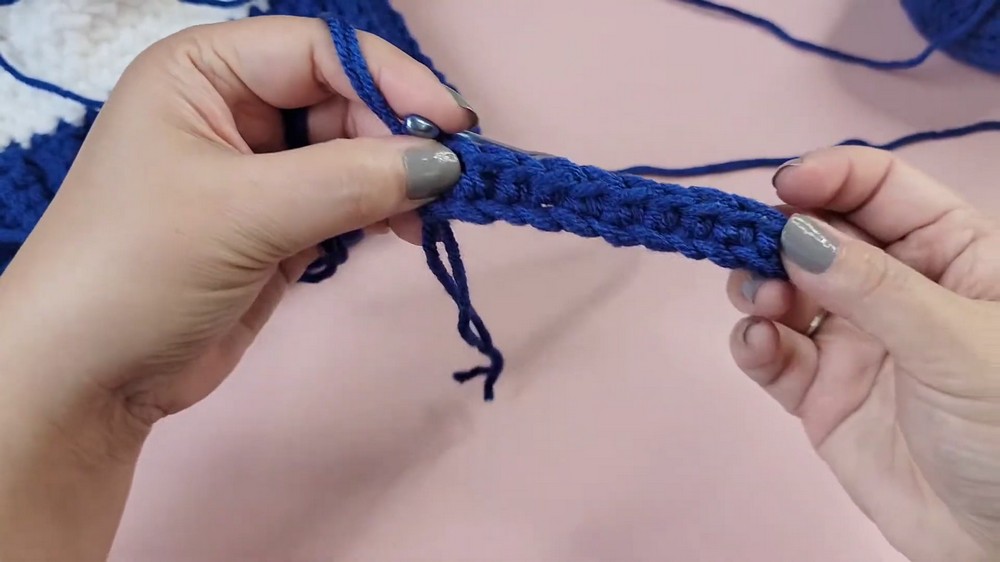
Step 1: The Beanie Brim
The brim is worked in rows using blue yarn with a double strand.
- Foundation Chain:
- With two strands of blue yarn, make a slipknot and chain (ch) 12.
- Row 1:
- Starting in the 2nd chain from the hook, work 1 sc into each chain across. (11 sc).
- Row 2:
- Ch 1, turn.
- Work 1 sc in the BLO of each stitch across. (11 sc).
- Repeat Row 2:
- Continue repeating Row 2 until you have 46 rows in total. (This fits an adult-size head and measures approximately 16 inches unstretched.)
- Slip Stitch Row:
- Fold the brim in half, lining up the short edges.
- Slip Stitch through both layers across to join the edges. (This forms a continuous circle for the brim.)
- Turn Inside Out:
- Flip the brim inside out so the seam is on the inside.
Step 2: Base Row of the Beanie Body
- Single Crochet Base Round:
- Ch 1. Work 1 sc evenly into the edge of each row of the brim for a total of 46 sc.
- Join the round with a sl st to the first sc.
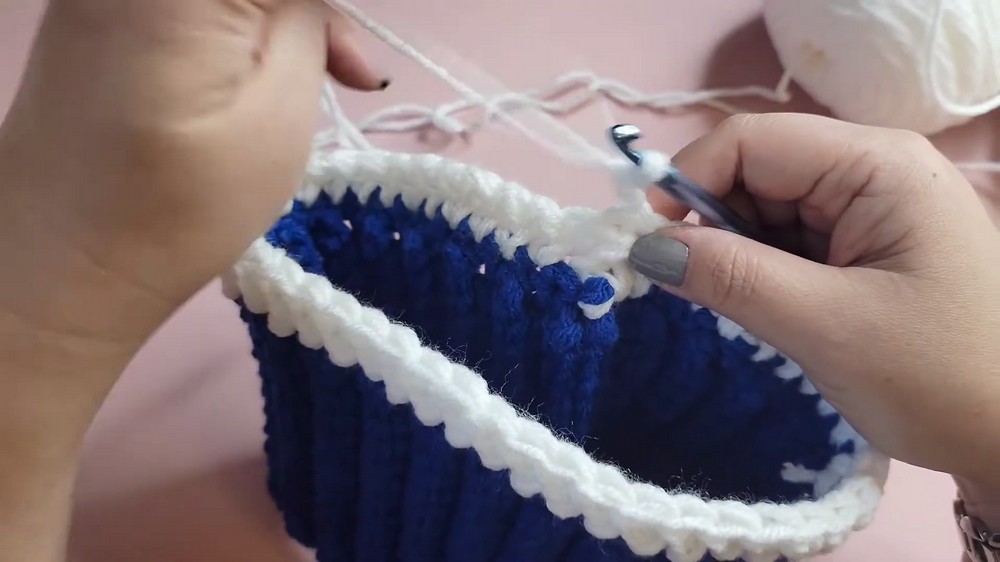
Step 3: Herringbone Double Crochet Body
Switch to a double strand of white yarn.
- Round 1:
- Attach white yarn and create a slip knot to secure.
- Ch 2 (does not count as a st).
- Work 1 hb-dc into each st around. (46 hb-dc).
- Join with a sl st to the top of the first hb-dc.
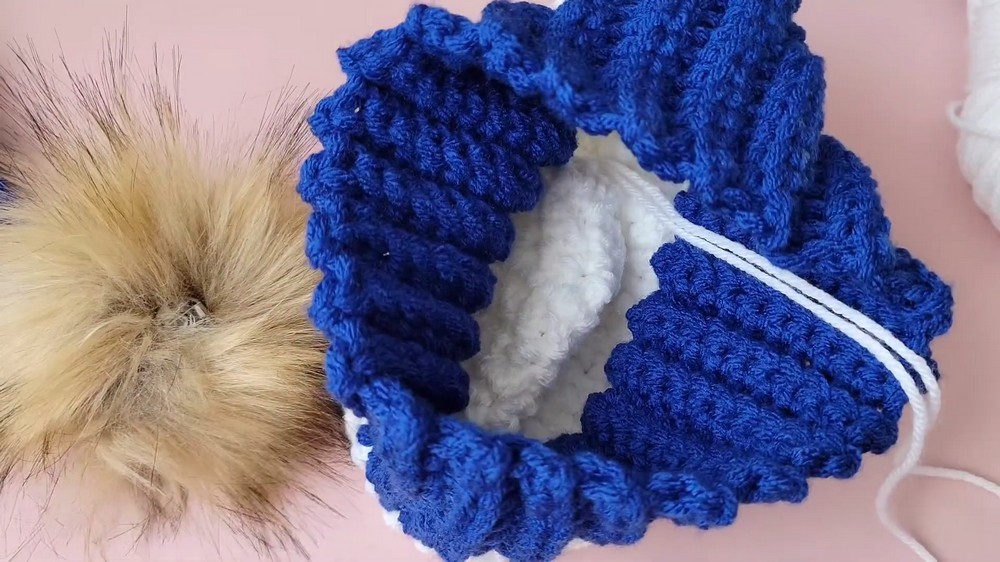
- Round 2:
- Ch 2, turn your hat inside out to reverse the direction of the herringbone slant.
- Work 1 hb-dc into each st around to create the alternate texture effect. (46 hb-dc).
- Join with a sl st to the top of the first hb-dc.
- Repeat Rounds 1 & 2:
- Continue the 2-round alternating pattern for a total of 9 rounds of hb-dc.
Step 4: Top Closure
- Tie Off:
- After completing the last hb-dc round, leave a long tail (approx. 12 inches) for sewing the top closed.
- Close the Hat:
- Thread the tapestry needle with the tail and weave it in and out of the top stitches.
- Pull tight to gather the top of the beanie.
- Secure the tail with a firm knot.
Step 5: Attach a Pom-pom (Optional)
- Sew a snap button to the top of the beanie if using a removable pom-pom.
- Attach the fur pom-pom securely.
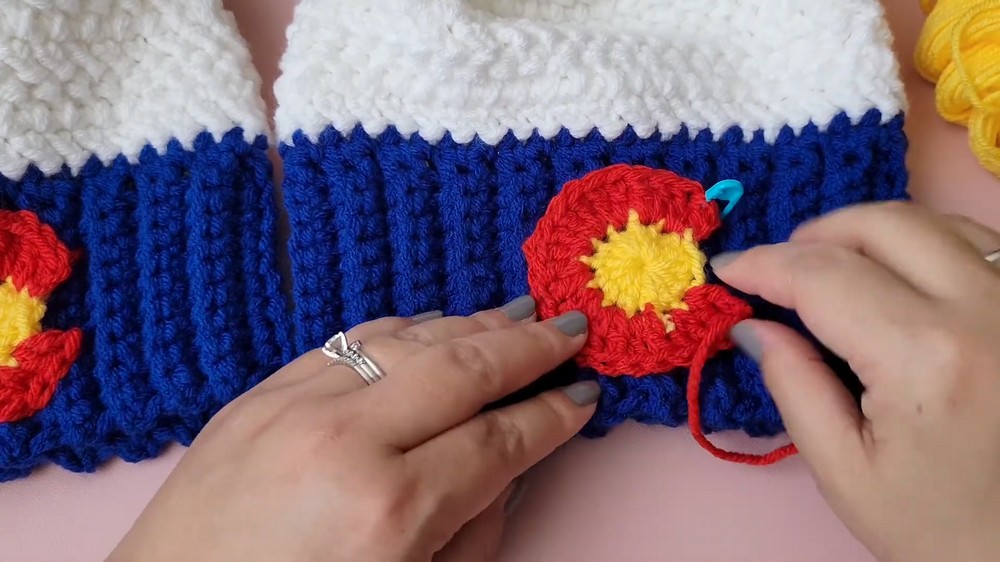
Step 6: Colorado "C" Applique (Optional)
- Yellow Circle:
- With yellow yarn, create a Magic Circle.
- Ch 2 (does not count as a st).
- Work 14 dc into the Magic Circle.
- Pull the tail to close the circle.
- Join with a sl st to the top of the first dc.
- Red Outer Circle:
- Change to red yarn. Join with a sl st to any st.
- Ch 2 (does not count as a st).
- Work 2 dc into each st around. (24 dc).
- Tie Off:
- Leave a long tail for sewing the "C" onto the hat.
- Sew It On:
- Position the "C" on the brim or body of the hat (use pins if necessary).
- Securely sew the applique to the hat using the tail and a tapestry needle.
Finishing
- Weave in all loose ends on the inside of the beanie. Use a tapestry needle for clean finishing.
- Attach an optional leather tag or other decorative elements for a personal touch.
Pattern Correction
- Brim Rows: The video mentions 56 rows for the brim, but the correct number is 46 rows for an adult-sized beanie. Customize the brim size as needed for smaller or larger sizes.
Tips
- Double Strand Management: Use yarn from both the center pull and the outside of the skein to make managing the double strand easier.
- Customization:
- For a slouchier hat, increase the length of the body by adding more herringbone rounds.
- For a shorter brim, reduce the number of rows.
- Consistency: Keep an even tension when working the herringbone stitch for a uniform texture.
Conclusion
Congratulations on completing your Herringbone Colorado Beanie! This beanie is a timeless classic-super warm, cozy, and stylish with its thick texture. Whether you opt for the Colorado applique or a plain design, this project makes a great gift or addition to your winter wardrobe.
If you'd like, share your creations on social media to inspire others! Add your pom-poms, leather tags, and personal touches to make every beanie uniquely yours.