
Easy Free Crochet Baby Bear Beanie Pattern
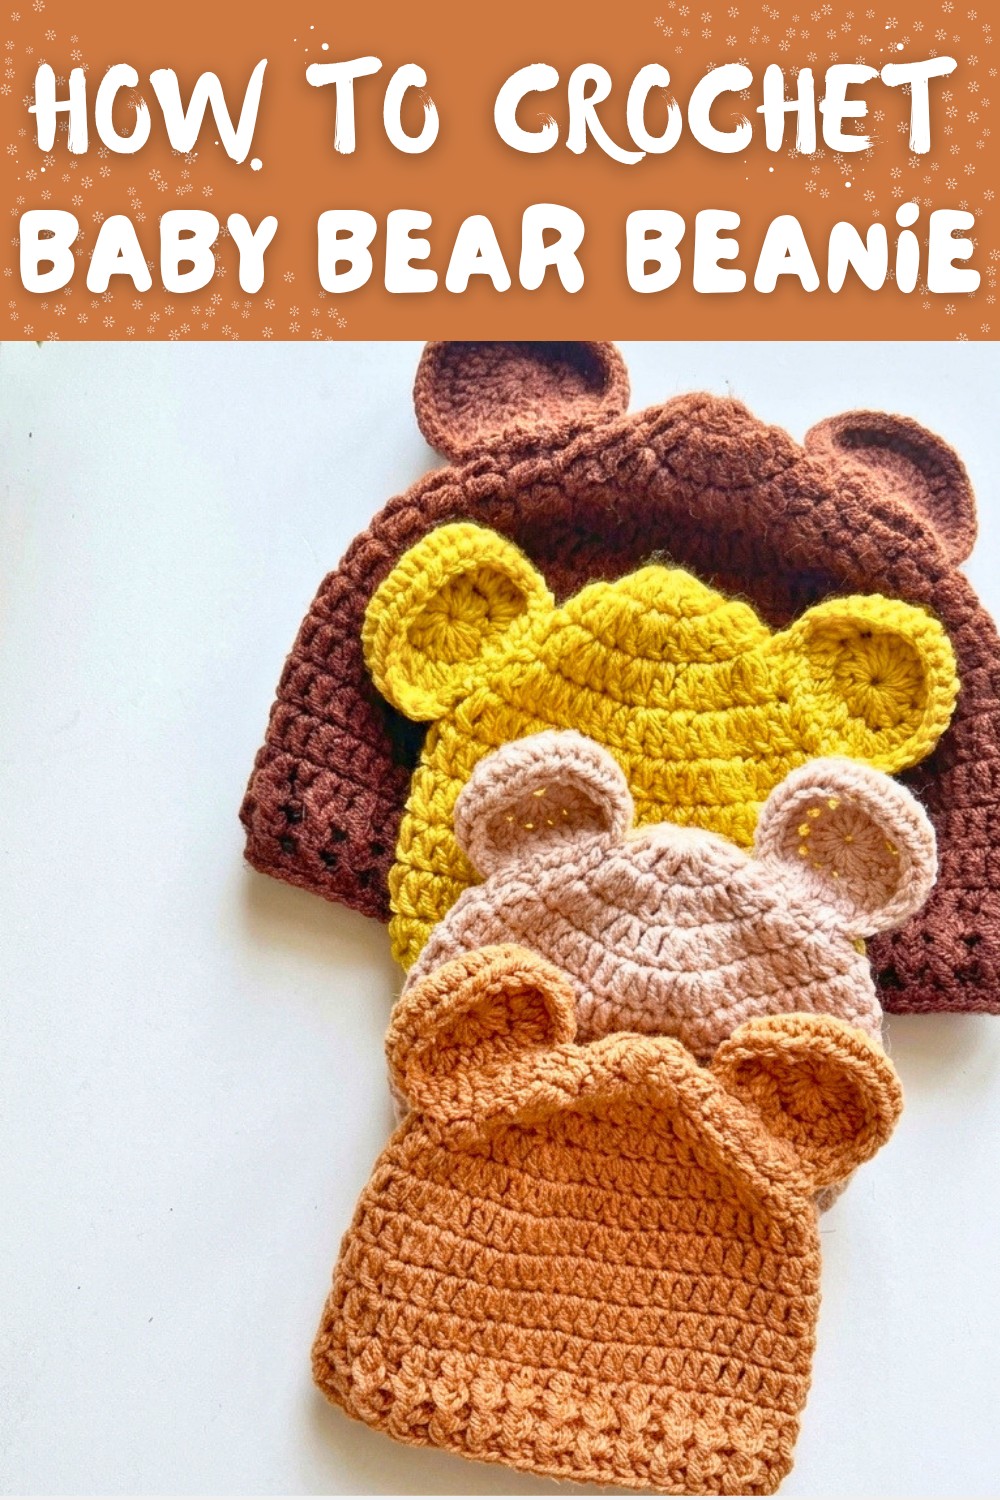
Keep little ones cozy with Free Crochet Baby Bear Beanie Pattern featuring soft texture cute bear style and warm comfort for baby outfits.
Protecting a baby's head warm is important, especially in cool weather. A soft hat offers gentle protection from chilly wind and helps maintain body heat. One charming choice that many enjoy is the Crochet Baby Bear Beanie pattern. This sweet little hat features adorable bear ears, giving babies a playful and cozy look that's sure to warm hearts.
Made with soft yarn, the beanie feels comfortable against delicate baby skin. Its stretchy crochet fabric allows for a snug but gentle fit, so the baby stays cozy without feeling restricted. This pattern is perfect for creating handmade gifts filled with care and personality. Plus, its timeless bear design pairs wonderfully with many baby outfits and can be combined with matching booties or mittens to complete a set.

Free Crochet Baby Bear Beanie pattern for cute newborn style
Beyond warmth, the beanie adds a fun element to everyday wear and photography sessions. It's easy to change yarn colors, making each hat unique-whether natural browns, gentle pastels, or bright vibrant hues. Ideal for new parents, photographers, or crocheters who enjoy making practical yet charming items, this project is beginner-friendly and quick to make.
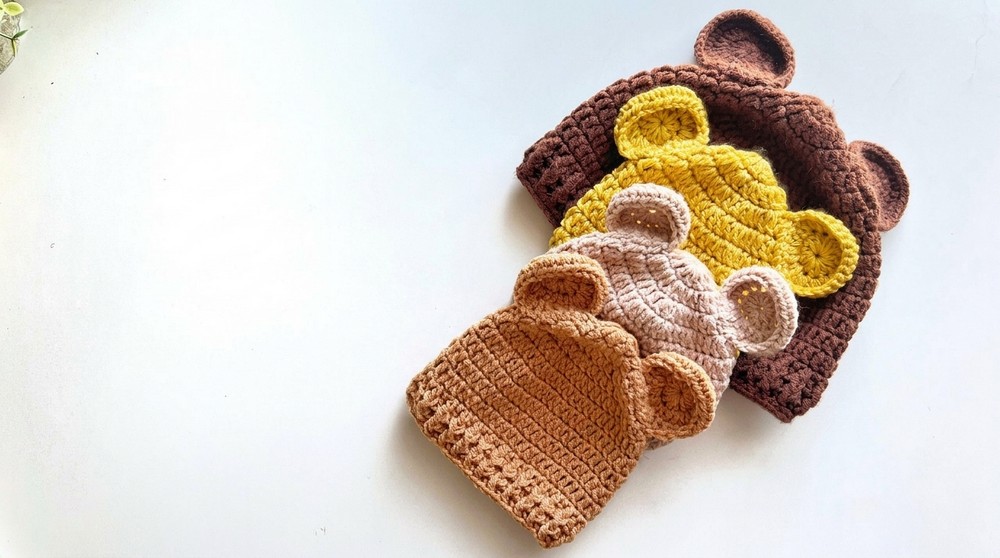
A Crochet Baby Bear Beanie is a wonderful blend of cuteness and function. It protects little heads, feels soft and stretchy, and brings joy through its playful style. For anyone looking to crochet a meaningful gift or add a special handmade touch to baby wardrobes, this pattern offers something both sweet and useful that babies and parents will love.
Baby Bear Beanie Crochet Pattern (0-3 Months Size)
Welcome to this delightful pattern to create an adorable baby bear beanie perfect for newborns up to 3 months. Using soft DK weight yarn and simple stitches, this cozy hat features charming bear ears that can be easily attached for a cute finish. This detailed and beginner-friendly guide leads you through every step to craft a handmade gift or keepsake your little one will cherish.
Preparing To Crochet Your Beanie
- Opt for DK weight (size 3) yarn; a cotton and acrylic blend is ideal for softness and durability.
- Approximately 50 grams of yarn is sufficient for this size.
- Crochet hook recommended: 3.5 mm (E/4 US).
- Stitch markers are helpful for keeping track of rounds but optional.
- Use a yarn needle for sewing the ears securely and weaving in ends.
- Work with relaxed tension to ensure a comfortable hat fit.
- This pattern begins with a slip knot and a chain ring but you may alternatively use a magic ring.
Design and Construction Details
- The crown is worked in rounds, starting from the center with double crochets and increasing each round.
- Increases are strategically placed over five rounds to shape the crown.
- After shaping, rounds of unaltered double crochet stitches build the hat's height.
- A textured ribbed edging is created using alternating front-post and back-post double crochet stitches.
- Bear ears are crocheted separately using half double crochet in the round, including increase rounds for shaping.
- Ears are sewn onto the hat positioned between rounds 2 and 4.
- This pattern includes instructions for multiple sizes, with this tutorial focused on newborn to 3 months.
Construction Overview
- Form a small circular crown with double crochet stitches, increasing stitch counts evenly across rounds.
- Build the hat's body by crocheting rounds without increases for height.
- Crochet ribbing with front and back post double crochets for a snug, flexible border.
- Create two bear ears separately, shaped by rounds of half double crochet with increases.
- Attach ears firmly to the hat body using yarn and needle securing.
Suitable Crochet Skill Level
This pattern is designed for beginner to intermediate crocheters comfortable with:
- Crocheting in the round
- Double crochet (dc) and half double crochet (hdc) stitches
- Increasing stitches evenly
- Front post and back post double crochet techniques
- Basic sewing and assembly
Finished Beanie Dimensions
- Head circumference approx. 14 inches (35 cm) for newborn to 3 months.
- Hat height: approximately 5.5 inches (14 cm) from crown tip to brim.
Materials List
- One skein DK weight (size 3) yarn (~50 g), cotton/acrylic blend recommended.
- Crochet hook 3.5 mm (E/4 US).
- Yarn needle for finishing.
- Optional stitch markers.
- Scissors.
Sizing Guidelines
- This pattern covers newborn to 3-month size; larger sizes have separate instructions referenced in the full pattern.
- Adjust hook or yarn weight to alter sizing with gauge considerations.
Gauge Information
- Approximate gauge:
- 14 double crochets x 8 rows = 4 inches (10 cm) using 3.5 mm hook and DK yarn.
- Gauge gives consistent fabric density but small variations will not impact overall fit drastically.
Abbreviations Used
- ch = chain
- sl st = slip stitch
- sc = single crochet
- dc = double crochet
- hdc = half double crochet
- fpdc = front post double crochet
- bpdc = back post double crochet
- inc = increase (two stitches in one stitch)
- dec = decrease (single crochet two stitches together)
Special Techniques Explained
- Increase (inc): Crochet two stitches in the same base stitch to widen the piece.
- Front Post Double Crochet (fpdc): Yarn over, insert hook from front around post of stitch, yarn over and complete dc. Creates raised ridges.
- Back Post Double Crochet (bpdc): Yarn over, insert hook from back around post, yarn over, finish dc. Creates recessed ridges.
- Slip Stitch (sl st): Used to join rounds without adding height.
- Half Double Crochet (hdc): Yarn over, insert hook, yarn over and pull through, yarn over and pull through all three loops on hook. Used for ear shaping rounds.
Step-by-Step Pattern Instructions
Crown and Body of Beanie
Round 1:
- Make slip knot. Chain 3 and join into ring with sl st (or use magic ring).
- Chain 2 (not a stitch), dc 10 times into center of ring.
- Join with sl st to top of first dc. (10 dc)

Round 2:
- Chain 2.
- 2 dc in each stitch around. (20 dc)
- Join with sl st.
Mark top of first dc with stitch marker.
Round 3:
- Chain 2.
- 1 dc in first stitch, 2 dc in next, repeat around. (30 dc)
- Join with sl st.
Round 4:
- Chain 2.
- 2 dc in first stitch, 1 dc in next 2 stitches, repeat around. (40 dc)
- Join with sl st.
Round 5:
- Chain 2.
- 1 dc in each of next 3 stitches, 2 dc in next stitch, repeat around. (50 dc)
- Join with sl st.
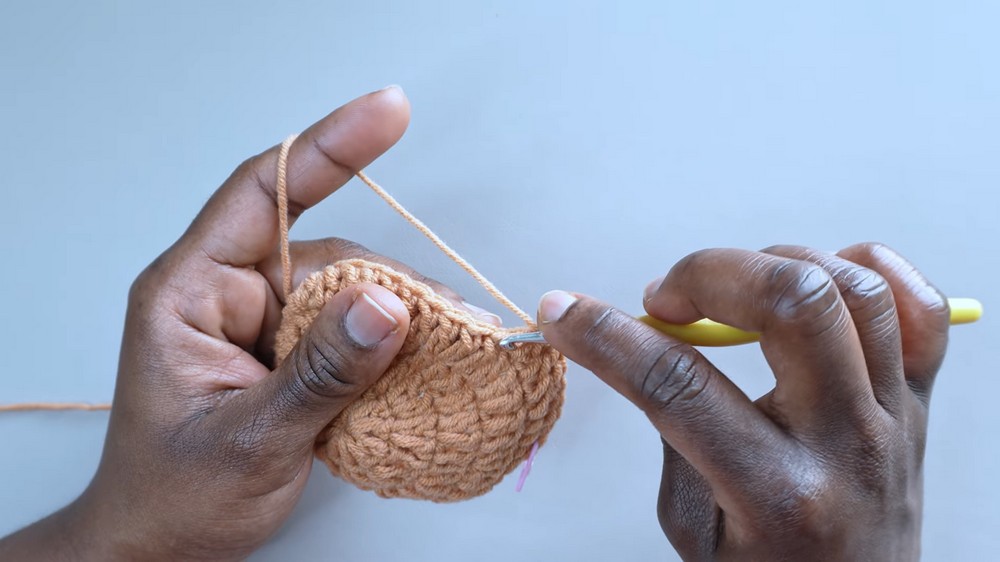
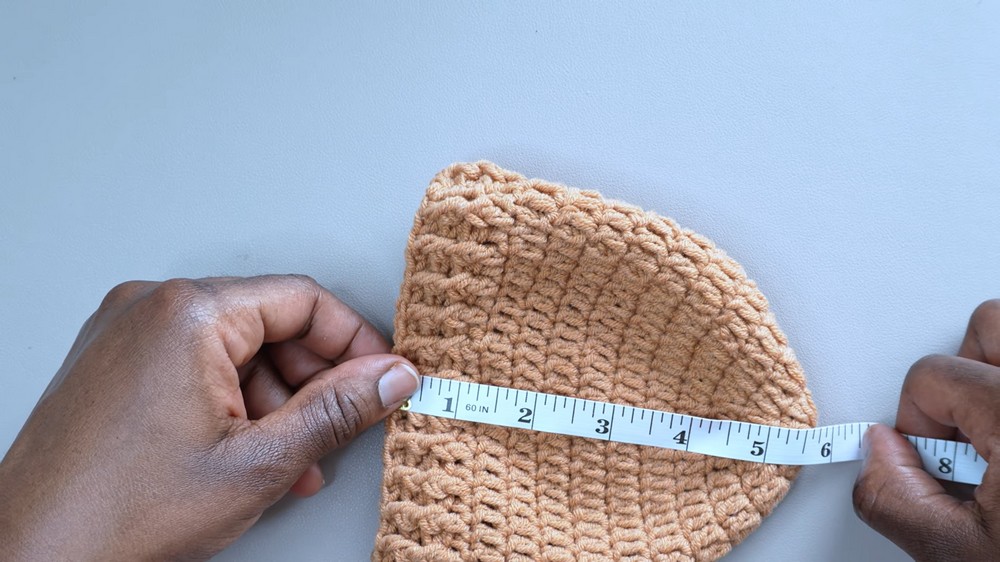
The crown should measure approximately 4.25-4.5 inches diameter.

Rounds 6-11:
- Chain 2.
- Dc in each stitch around. (50 dc each round)
- Join with sl st each round.
These rounds build hat height with no increases.
Ribbed Edging
Round 12:
- Chain 2.
- fpdc around next dc, bpdc around next dc, repeat to end.
- Join with sl st to first fpdc.
Round 13:
- Repeat Round 12 ribbing.
- Join with sl st.
- Fasten off yarn and weave in ends.
Bear Ears (Make Two)
Ear Round 1:
- Make slip knot. Chain 3, join to form ring.
- Chain 1 (does not count as stitch).
- Hdc 12 times into center of ring.
- Join with sl st.
Ear Round 2:
- Chain 1.
- 2 hdc in each stitch around. (24 hdc)
- Join with sl st.
Ear Round 3:
- Chain 1.
- Hdc in each stitch around. (24 hdc)
- Join with sl st.
- Fasten off, leaving a long tail for sewing.
Repeat for second ear.

Beginner-Friendly Explanation
- You start by making a small circle that grows larger with increases.
- Then you build height by crocheting rounds without increasing stitches.
- The ribbed edge gives flexibility to fit snugly.
- Separate small ears are crocheted and sewn on to look like bear ears on your baby's hat.
Final Assembly and Finishing Touches
- Use yarn needle to weave in all loose ends tidily.
- Position ears on the hat between rounds 2 and 4 vertically; align both ears evenly.
- Pin ears in place using sewing pins.
- Sew ears securely to the hat, ensuring they are stable and symmetrical.
- Optionally block the finished beanie to even stitches and shape fabric.
Common Issues and How to Fix Them
- Hat too tight: Use a larger hook or loosen tension slightly.
- Ears not symmetrical: Count stitches carefully on each ear and pin before sewing fully.
- Hat edges curling: Lower tension or block the hat properly after finishing.
- Uneven stitch count: Use stitch markers and count stitches after each round to avoid errors.
Additional Creative Ideas
- Make matching sets including mittens or booties using the same yarn and stitch patterns.
- Experiment with different yarn colors for unique bear looks.
- Add a pompom on top or embroidery details on ears for extra personality.
- Upscale to toddler sizes using the expanded pattern.
- Combine with matching blankets or sweaters for a full baby gift set.