
Easy Free Crochet Spooky Bag Pattern for Halloween Party
Simply enjoy making a fun accessory with this Free Crochet Spooky Bag Pattern and stitch a playful carryall perfect for Halloween candy, parties, and festive nights.
Not every bag needs to look plain or ordinary to be useful. That is why a Free Crochet Spooky Bag Pattern can add a fun and playful touch to everyday crafting. This bag often shows charming spooky details like a pumpkin smile, a tiny ghost face, or deep Halloween colors that make it look exciting but still friendly. The soft yarn and neat crochet stitches give the bag a cozy handmade appearance that easily catches attention.
Crochet Spooky Bag Pattern for Sweet Treat Bags

It can be used to carry candy during Halloween, hold small items, or decorate a room with a festive style. The pattern usually follows simple steps that guide the maker slowly, so even a beginner can try it without worry. By choosing different yarn colors, the bag can look brighter or more mysterious. In the end, this crochet spooky bag offers both usefulness and cheerful seasonal beauty in one small handmade piece.

Materials Needed
- Yarn:
- Milk Cotton Yarn in colors corresponding to each character (e.g., Black, Pacifika, Off White ).
- Black yarn for eyes and mouths.
- White yarn for decoration details (eyes).
- Hook:
- 3 mm crochet hook (perfect for Milk Cotton yarn).
- Notions:
- Stitch markers.
- Sewing snaps (for flap closure).
- Hot glue.
- Darning needle.
- Scissors.
- Optional Add-ons:
- White buttons for Coraline's eyes (if preferred over crochet eyes).
Gauge
Gauge is not crucial for this pattern, but for reference:
- Gauge Measurement: 10 stitches x 5 rows = 4 inches using double crochet.
Finished Size
Each finished pouch measures approximately:
- Circular Base Diameter: ~5 inches (13 cm).
- Height with hair flap: ~6 inches (15 cm).
Pattern Notes
- Terminology: This pattern uses US crochet terms.
- These pouches are worked in continuous rounds, except for parts where turning is required.
- Stitch markers are helpful for marking the first stitch of each round.
Step-by-Step Pattern
Part 1: Front and Back Panels (Base of Pouches)
For both pouches, Coraline and Wednesday, follow the same pattern, using the corresponding yarn colors.
Instructions for Front Panel:
- Round 1:
- Create a magic ring. Chain 2 (does not count as a stitch).
- Work 12 double crochet (dc) into the magic ring. (12 sts)
- Pull the tail to close the ring. Mark the first stitch with a stitch marker.
- Round 2:
- Chain 2.
- Increase round: Work 2 dc in each stitch around. (24 sts)
- Round 3:
- Chain 2.
- Pattern: 1 dc, 1 dc-inc, repeat around. (36 sts)
- Round 4:
- Chain 2.
- Pattern: 2 dc, 1 dc-inc, repeat around. (48 sts)
- Round 5:
- Chain 2.
- Pattern: 3 dc, 1 dc-inc, repeat around. (60 sts)
- Round 6:
- Chain 2.
- Pattern: 4 dc, 1 dc-inc, repeat around. (72 sts)

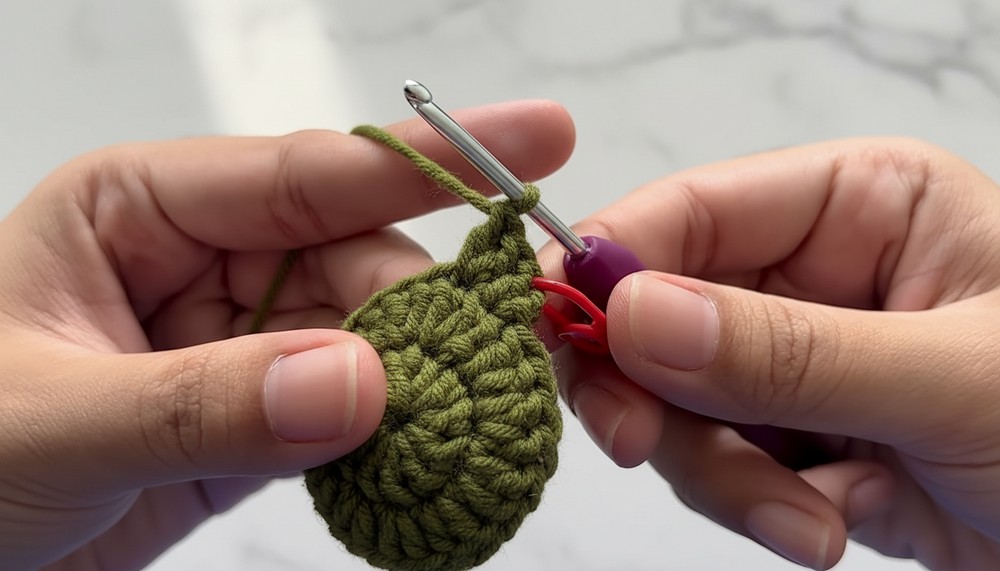

Front Panel Finishing:
- Once Round 6 is complete:
- Cut the yarn, leaving a tail for sewing.
- Hide the yarn tail with a darning needle.
Back Panel Instructions:
Follow the same steps as above to make the back panel.
- Do NOT cut the yarn at the end of Round 6; instead, leave a long tail for sewing.
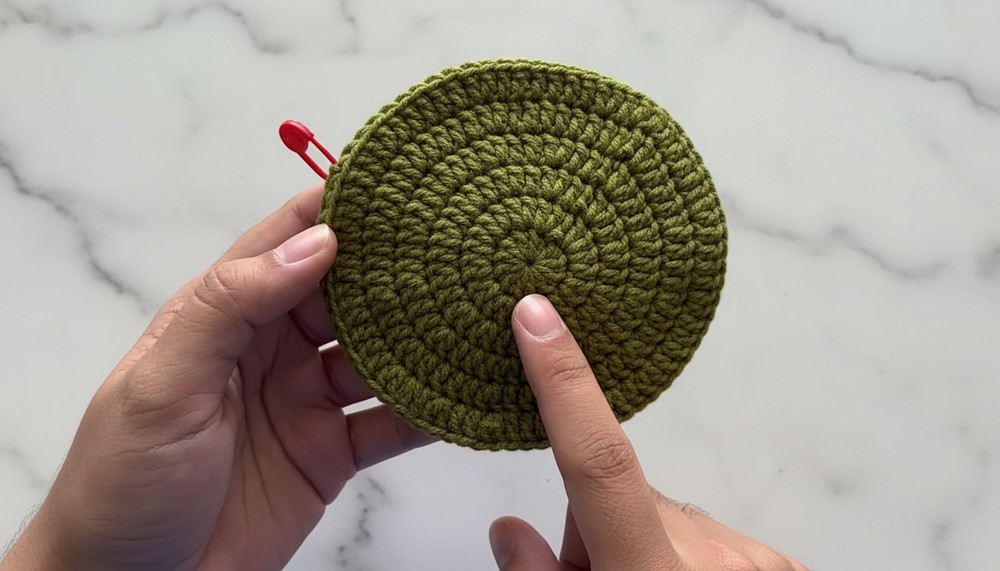
Part 2: Sewing Front and Back Panels Together
- Place the front and back panels together (wrong sides facing inwards).
- Use the yarn tail to sew the panels together:
- Work through the back loop of the back panel and the front loop of the front panel.
- Sew until 19 stitches are left unsewn (these will form the pouch opening).
- Secure the yarn and hide any remaining tails.
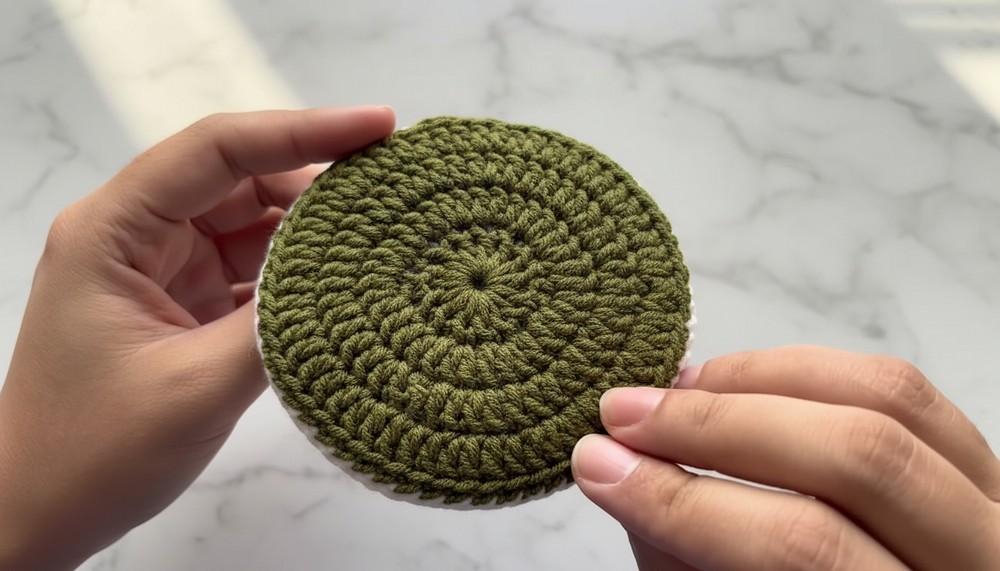
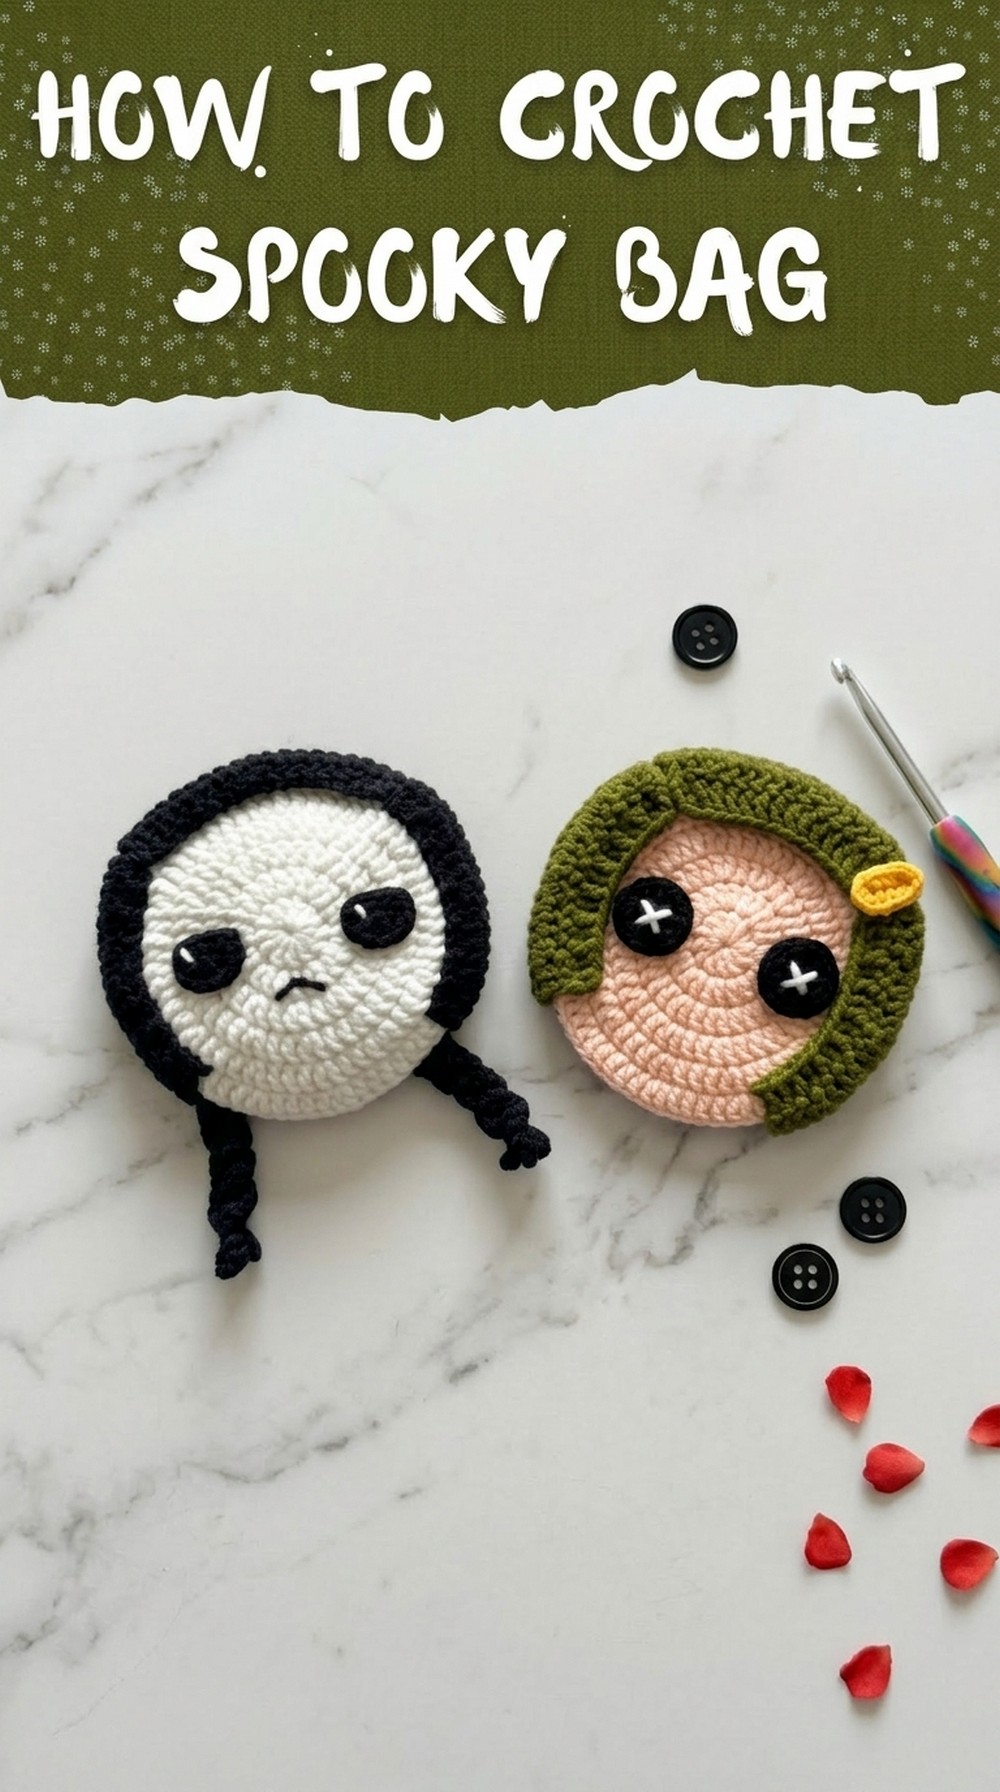
Part 3: Hair - Coraline
Coraline's hair consists of three parts: two sides and one middle section.
Side Hair:
- Mark 18 loops on the front of the back panel.
- Begin crocheting in the first loop:
- Round 1: Work 18 dc (1 dc per loop). Chain 2 and turn.
- Round 2: Pattern: Work 2 dc, 1 dc dec. Chain 2 and turn.
- Round 3: Work 15 dc, making 1 dc in each stitch.
Finish off, leaving a tail for sewing.
Middle Hair:
- Mark the 19 loops in the middle-opening section of the back panel.
- Begin crocheting in the first loop:
- Round 1: Work 19 dc (1 dc per loop). Chain 2 and turn.
- Round 2: Pattern: Work 2 dc, 1 dc dec, 4 dc, 1 dc dec, 5 dc, 1 dc dec, 2 dc. Chain 2 and turn.
- Round 3: Work 16 dc, making 1 dc in each stitch.

Finish off, leaving a tail for sewing.
Hair - Wednesday
Wednesday's hair includes her signature braids.
Side and Middle Hair:
Follow the same pattern used for Coraline, but make only Round 1 and Round 2 for each part. Do NOT crochet Round 3.
Creating Braids:
- For each braid, make 3 strands in marked loops near the side hair.
- Strand Instructions:
- Insert hook into a loop, pull through black yarn, and chain 15.
- Starting from the second chain, work:
- Slip stitch (x1).
- Single Crochet (x13).
- Sl st into the next loop. Repeat for the remaining strands.
- Once completed, braid the strands together, secure with black yarn at the base, and hide the tail.

Eye Instructions
Coraline Eyes (Button Style):
- Round 1: Make a magic ring.
- Work 8 sc into the ring. Pull tail tight. (8 sts)
- Round 2: Work 1 sc inc in each stitch. (16 sts)
- Add a white cross using white yarn threaded through round 1 and round 2.
Wednesday Eyes:
- Round 1: Make a magic ring. Work 4 sc into the ring. (4 sts)
- Round 2: Work 1 sc inc in each stitch. (8 sts)
- Add a small white dot using white yarn threaded near the center.
Hair Clip - Coraline
- Foundation: Make a slip knot and chain 5.
- Starting from the second chain from the hook, work:
- Round 1: 3 sc, 3 sc in last chain.
- Rotate to the opposite side of the chain and work: 2 sc, 2 sc in last chain.
- Sl st to the first stitch, leaving a tail. Fasten off and hide tails.

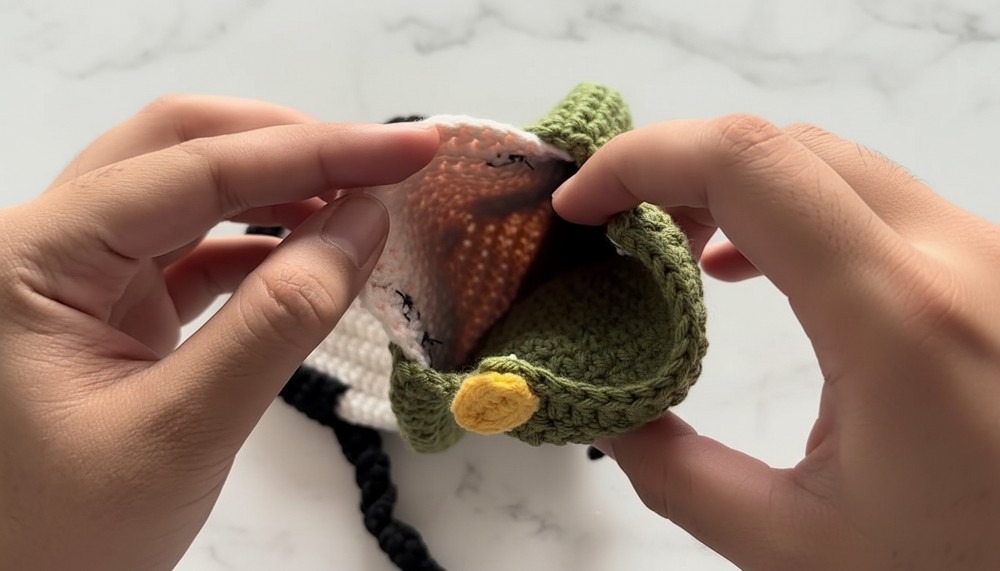
Flap Closure
- Attach snap fasteners to the middle hair section to create a pouch closure.
- Sew two snaps securely to the inside part of the flap. Repeat for Wednesday.
Assembly and Final Touches
- Glue Eyes:
- Use hot glue to attach Coraline's and Wednesday's eyes onto each pouch.
- Optional Mouth:
- Add a small smile or neutral black mouth for Wednesday using embroidery techniques.
Tips and Customization Ideas
- Color Variations:
- Experiment with spooky or pastel shades.
- Additional Embellishments:
- Add decorative buttons, glitter accents, or small appliques for fun themes.
Conclusion and Final Look
Congratulations! You've completed two stunning and spooky crochet pouches inspired by Coraline and Wednesday! These are perfect for Halloween treats, small personal items, or even cozy autumn decor.
Care Instructions:
- Spot-clean with warm water when necessary.
- Keep snaps secure and avoid excessive pulling.