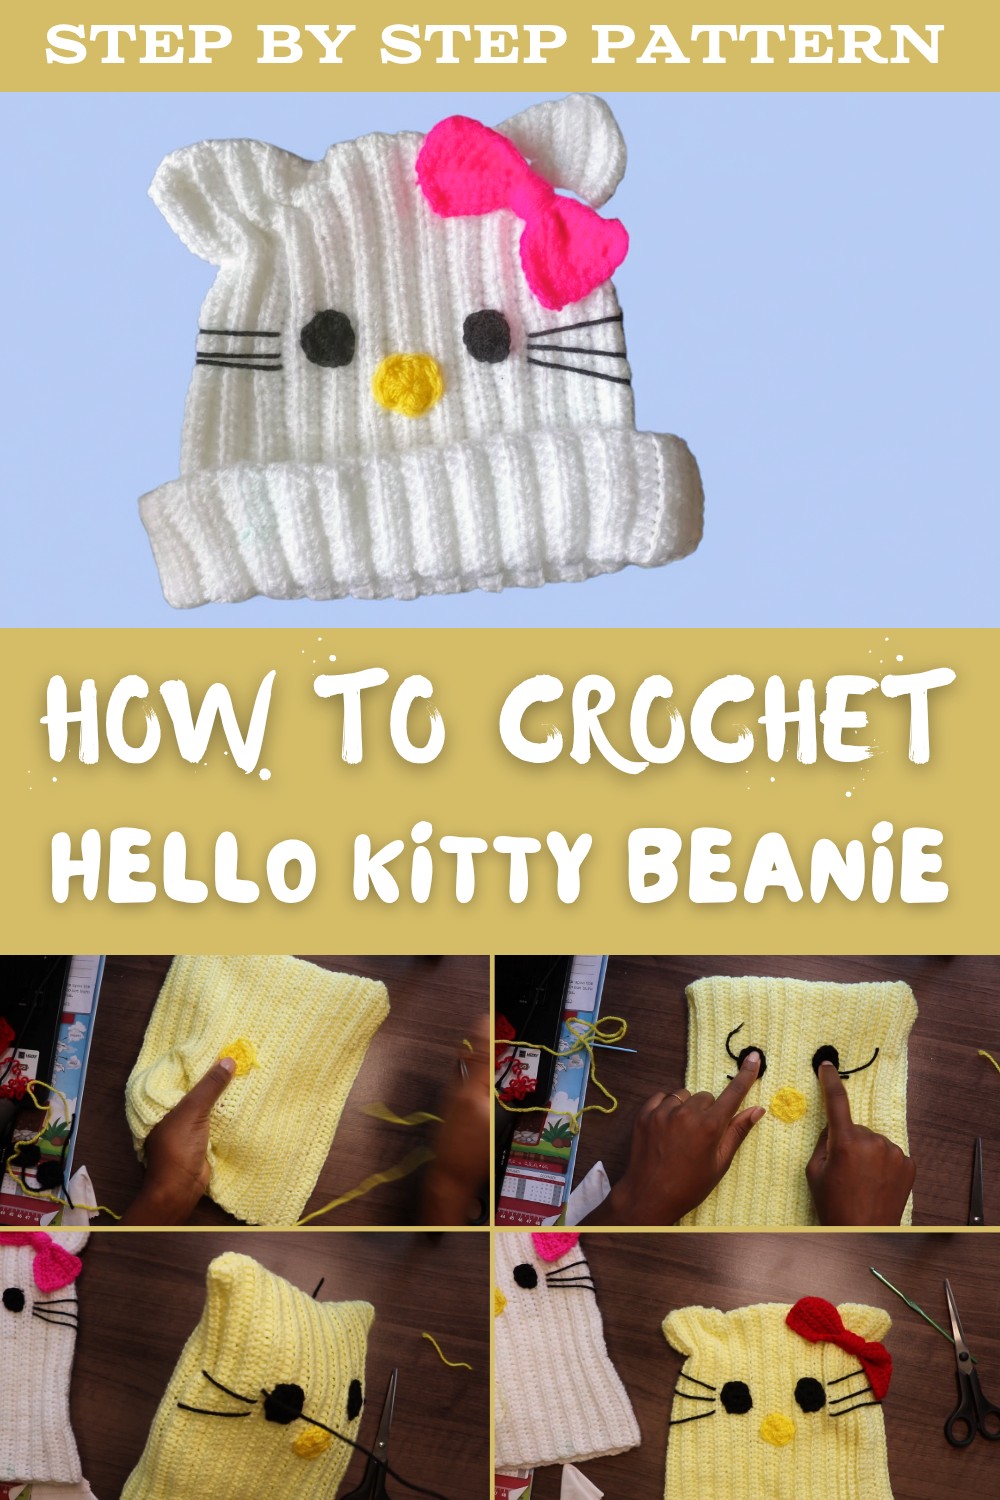
How to Crochet Hello Kitty Beanie With Free Pattern in Just a Few Steps
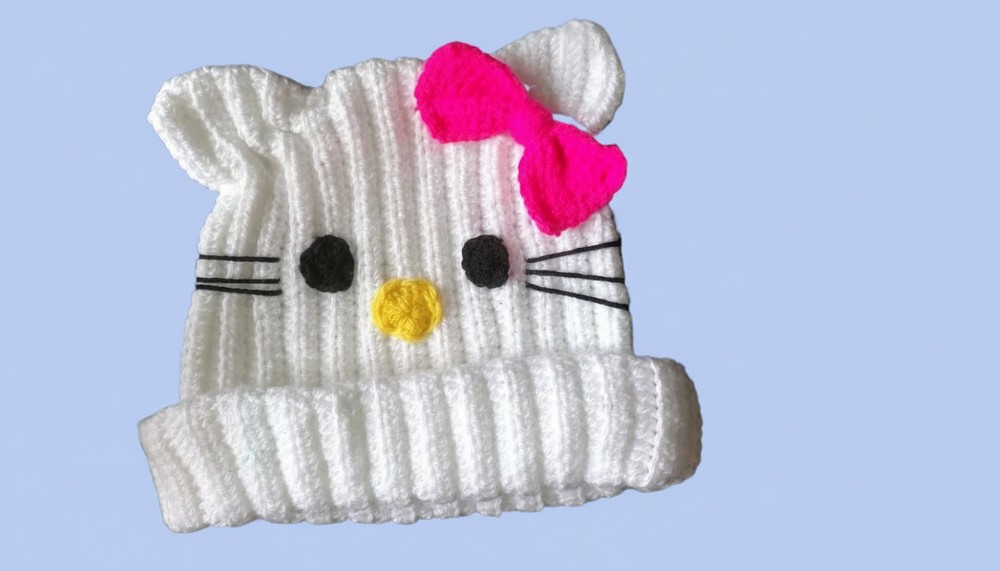
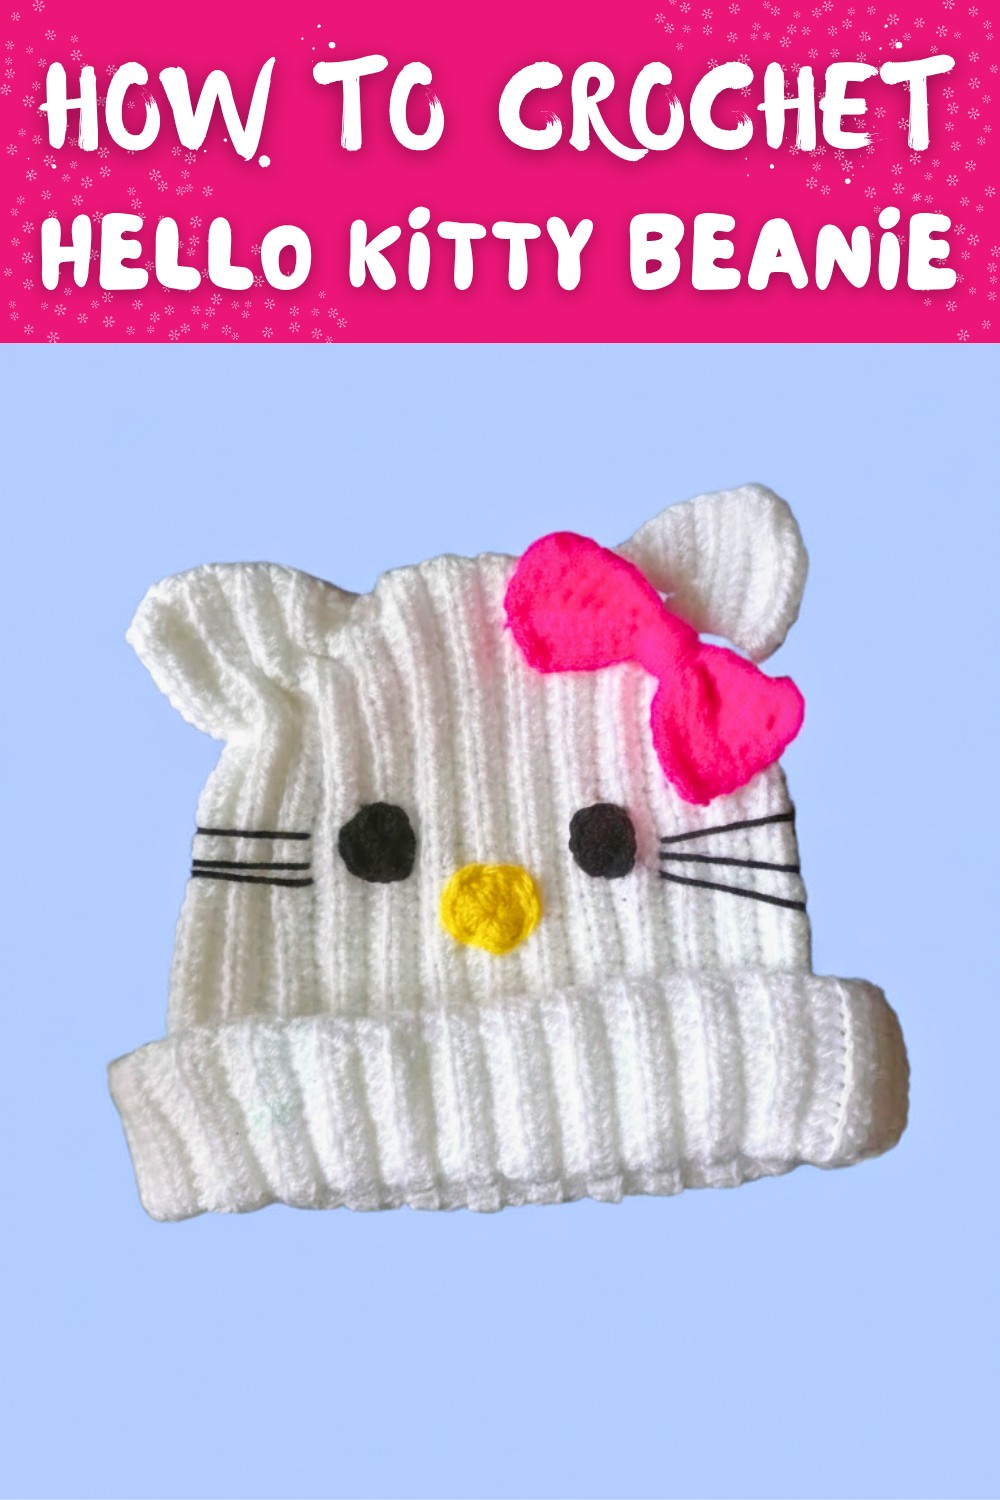
Stitch a charming Crochet Hello Kitty Beanie featuring playful ears and the iconic bow, perfect for expressing creativity and cozy style in every detail.
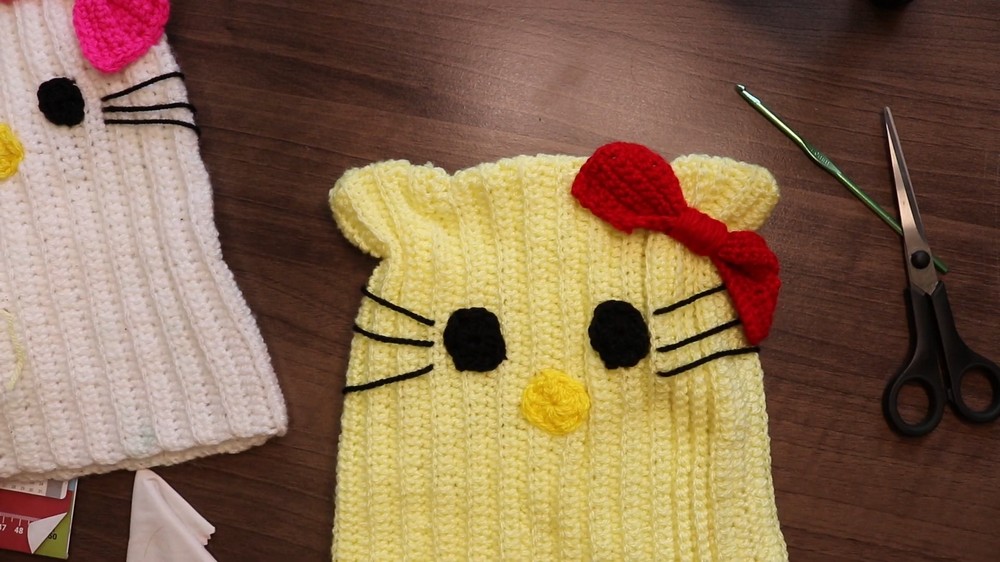
This adorable beanie blends playful charm with functionality, featuring cute ears, a signature bow, and endless options for customization. Perfect for adding a touch of fun to any wardrobe, it's ideal for crocheters who love creating unique, stylish, and cozy accessories.
Easy Hello Kitty Beanie Crochet Pattern Instructions You'll Love
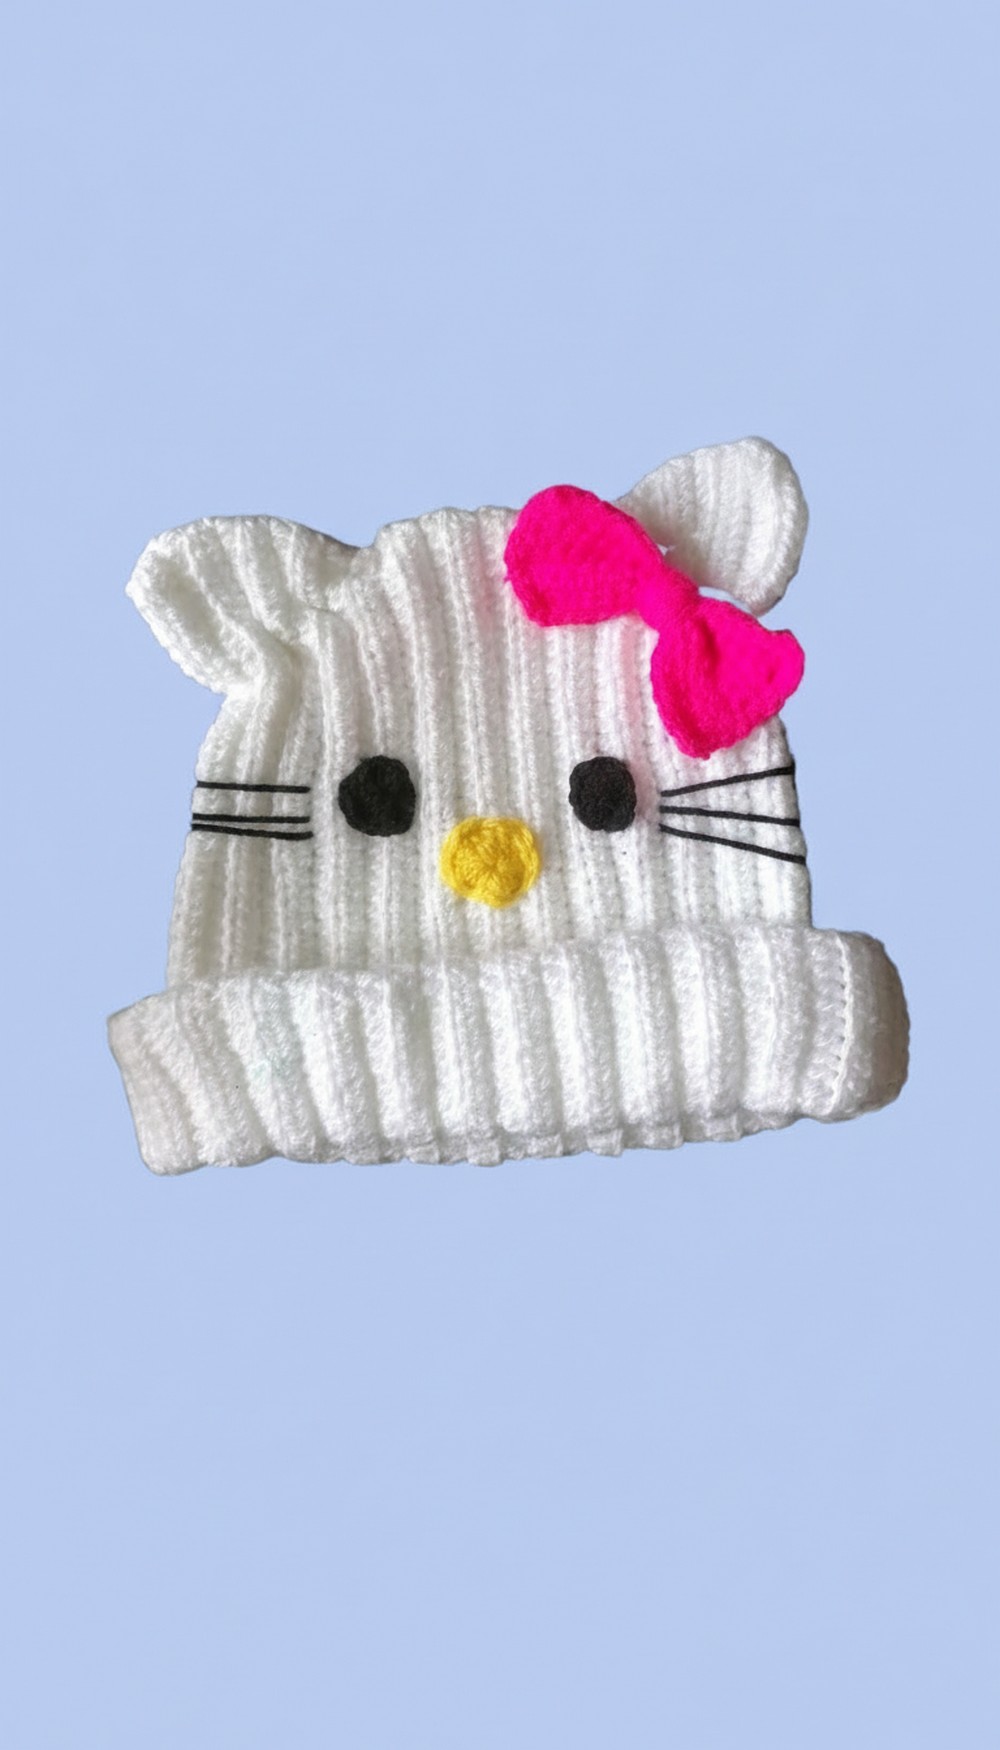
Whether made for personal use or as a thoughtful gift for a Hello Kitty fan, this project is both enjoyable and practical. Experimenting with different colors, textures, or embellishments allows for a truly one-of-a-kind design. With its iconic character details and warm, handmade appeal, this beanie is sure to bring smiles while showcasing creativity with every stitch.
Hello Kitty Beanie Crochet Pattern
Skill Level
Intermediate - Requires knowledge of basic crochet stitches, working in rows, back loop only (BLO), sewing elements onto the base, and shaping accessories such as ears and bows.
Finished Size
This pattern is suitable for a standard adult-sized beanie. Adjustments can be made to the stitch count for smaller or larger sizes.
Gauge
Not critical for this project. Ensure the width of the ribbing matches head circumference.
Materials
- Yarn:
- Medium Weight Yarn (#4): Any suitable acrylic yarn is recommended. Suggested colors:
- Main Color: Yellow or White for the base of the beanie.
- Black: For facial features like eyes and whiskers.
- Red: For the bow.
- Yellow: For the nose.
- Medium Weight Yarn (#4): Any suitable acrylic yarn is recommended. Suggested colors:
- Crochet Hook:
- 4 mm crochet hook (or appropriate hook for your yarn).
- Tapestry Needle:
- Used for sewing the accessories onto the beanie.
- Scissors:
- For cutting yarn.
Key Abbreviations (US Terminology)
| Abbreviation | Meaning |
|---|---|
| ch | Chain |
| sc | Single Crochet |
| hdc | Half Double Crochet |
| sl st | Slip Stitch |
| blo | Back Loop Only |
| rep | Repeat |
Special Notes
- Back Loop Only (BLO): This creates a textured ribbing effect.
- Assembly of Accessories: Sew facial features, ears, and bow securely to ensure a long-lasting project.
- Customization: Colors can be adjusted for a unique version of the kitty character while maintaining the overall design.
Pattern Instructions
Part 1: Beanie Base
1. Ribbing (Foundation):
- Start with the main color yarn for the base (yellow or white).
- Chain 51. This matches the height of the beanie.
- Add 1 additional chain to turn.
2. Row 1:
- Half double crochet (hdc) in the 2nd chain from the hook.
- Hdc across into each chain. (51 stitches)
- Chain 1 and turn your work.
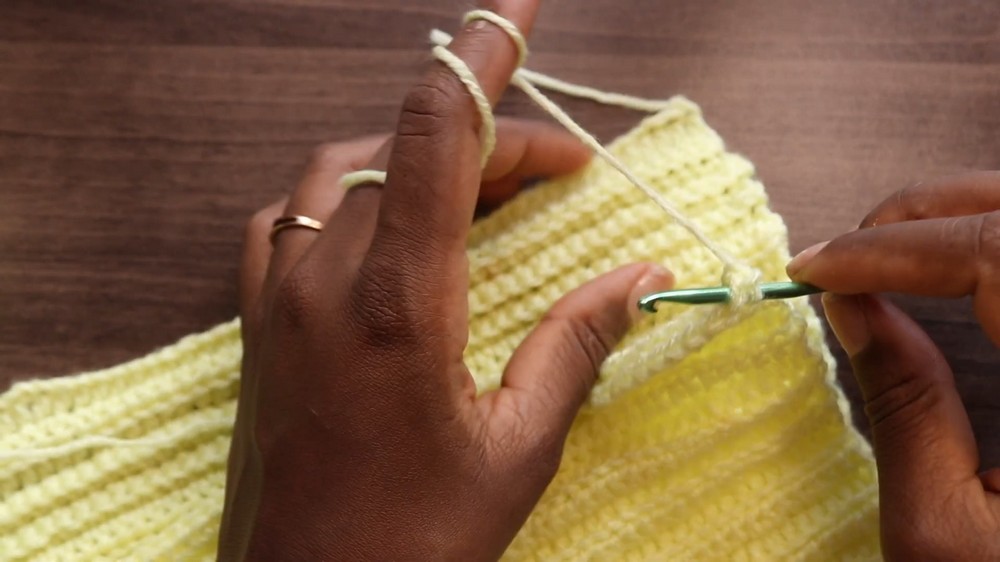
3. Row 2 (Back Loop Only):
- Work in blo: Insert hook into the back loop for each stitch (not both loops).
- Hdc across into the back loops. (51 stitches)
- Chain 1 and turn.
4. Rows 3-53:
- Repeat Row 2 for another 51 rows.
- Adjust stitch count for larger or smaller sizes as needed.
Note: As you work, the ribbing will grow into a long rectangular shape, which will be folded and joined to create the beanie's tubular structure.
5. Joining the Beanie:
- After completing 53 rows, fold the ribbing lengthwise (wrong sides together).
- Single crochet (sc) along the edge to join the two sides together into a cylinder shape.
- Fasten off and weave in ends.
Part 2: Accessories
1. Bow:
- Use red yarn for the bow.
- Chain 23 for the foundation chain.
Row 1:
- Sc across the chain. (23 stitches)
- Chain 1, turn.
Rows 2-7 (or Adjusted Thickness):
- Sc across in each row to create a long rectangle.
Edging:
- On Row 7, turn vertically and sc along all the outer edges of the rectangle (to create a clean border).
- Slip stitch at corners to create neat turns.
Shaping the Bow:
- Fold the rectangle like an accordion (three folds) to create the bow shape.
- Wrap yarn tightly around the center multiple times to secure the bow shape.
- Leave two long ends from the wrap for sewing onto the beanie later.
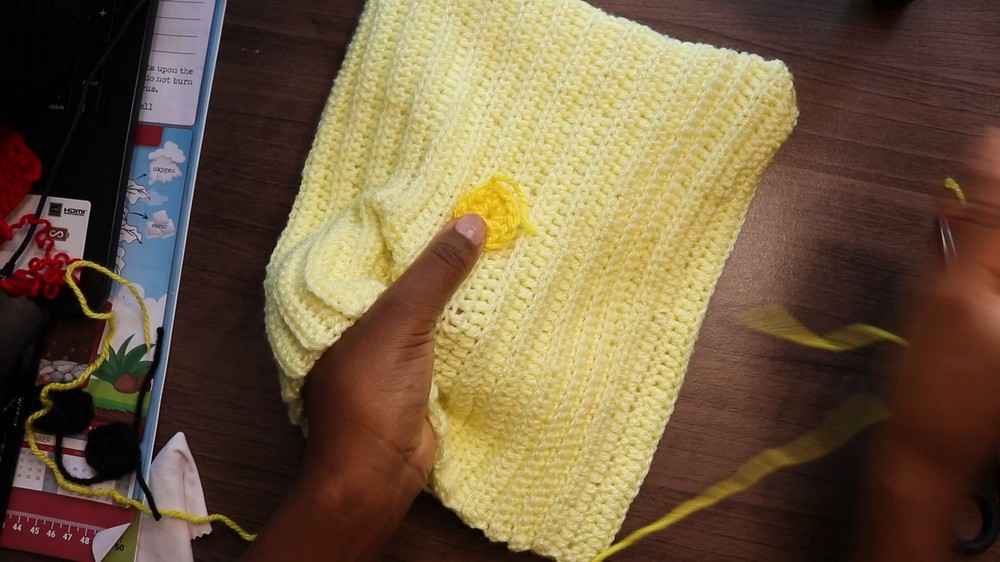
2. Nose (Circle):
- Use yellow yarn to create the nose.
- Work into a magic ring or chain 4 and sl st to form a ring:
- 12 dc into the ring; sl st to close the round.
- Fasten off and leave a long tail for sewing.
3. Eyes (Oval Shape):
- Use black yarn for the eyes.
- Chain 4.
Round 1:
- Work 3 dc into the 2nd chain.
- Work 2 hdc into the next chain.
- Work 3 dc into the last chain.
Round 2:
- Turn the work, and continue on the opposite side of the foundation chain.
- Work 2 hdc, then sl st to close.
- Fasten off and leave a tail for sewing.
Make 2 eyes.
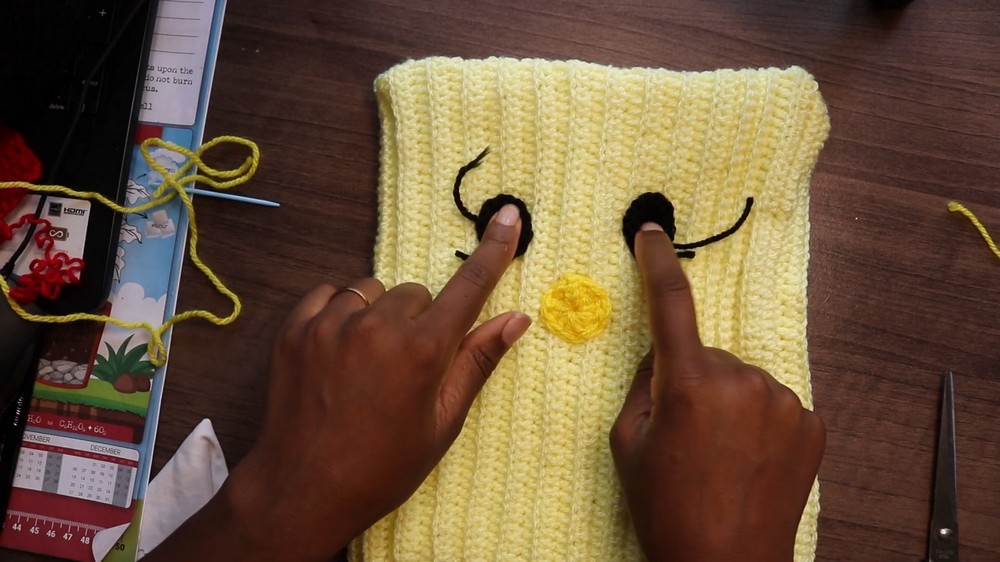
4. Whiskers:
- Use black yarn for the whiskers.
- Thread a tapestry needle and stitch 3 whiskers on either side of the nose, ensuring they are aligned below the eyes.
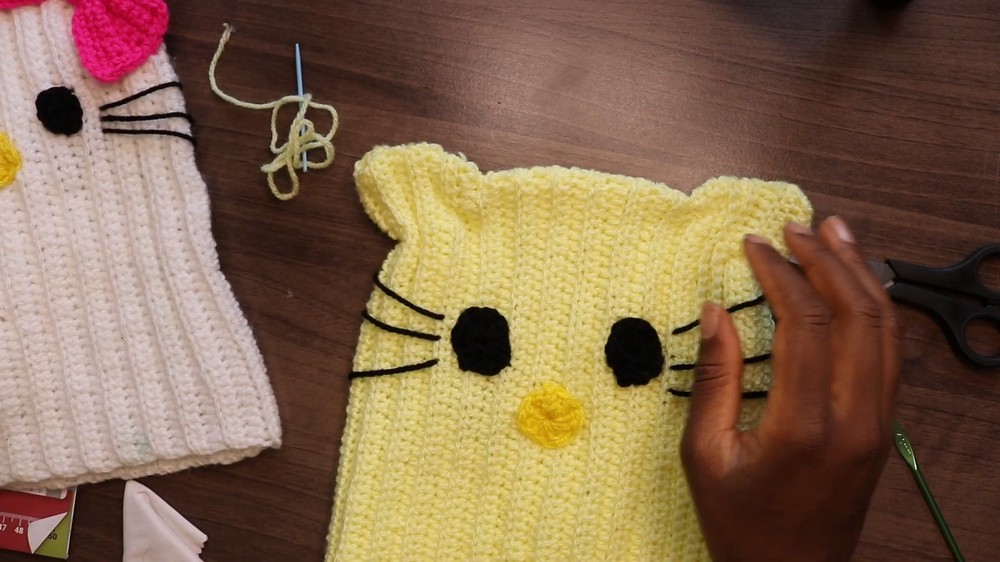
5. Ears:
- Use the main color yarn (yellow or white) for the ears.
- Identify the placement by counting seven rows above the beanie's edge.
Shaping the Ear:
- Using a tapestry needle, fold a triangular shape at the identified points.
- Secure the yarn with stitches to create firm ear shapes.

Part 3: Assembly
- Attach the Bow:
- Sew the bow securely above the whiskers and between the ears using the tails left over.
- Place & Attach the Features:
- Sew the nose centered, slightly above the midpoint of the beanie.
- Align, then sew on the two eyes on either side of the nose.
- Sew the whiskers below the eyes, ensuring symmetry.
- Finalize the Ears:
- Ensure both ears are aligned symmetrically.
Conclusion and Final Remarks
Congratulations on completing your Hello Kitty Beanie! This adorable accessory is perfect as a playful gift, cosplay item, or statement winter wear piece. The modular design of the beanie allows you to experiment with colors, themes, or sizing adjustments.
Pattern Corrections and Tips
- Loose Whiskers: Ensure whiskers aren't pulled too tight to allow sufficient stretch for the beanie.
- Symmetry: Use stitch markers to align facial features, whiskers, and ears evenly.
- Care Instructions: Hand wash in cold water to avoid stretching or fraying.