
Free Crochet Bow Bag Pattern That’s Ideal for Gifting
Add a pretty handmade accent to your outfits with this free crochet bow bag pattern and enjoy a stylish bag for daily carry.
In our daily lives, we all need something that can hold our essentials in an organized and stylish way. A bag that is not only practical but also reflects your personality is always a great addition to your wardrobe. This Bow Bag Pattern offers the perfect solution-a unique and elegant accessory that you can create with your own hands. Not only does it keep your belongings secure, but its charming bow shaped design makes it a fashionable statement piece for any occasion.
The Perfect Free Crochet Bow Bag Pattern for Every Style
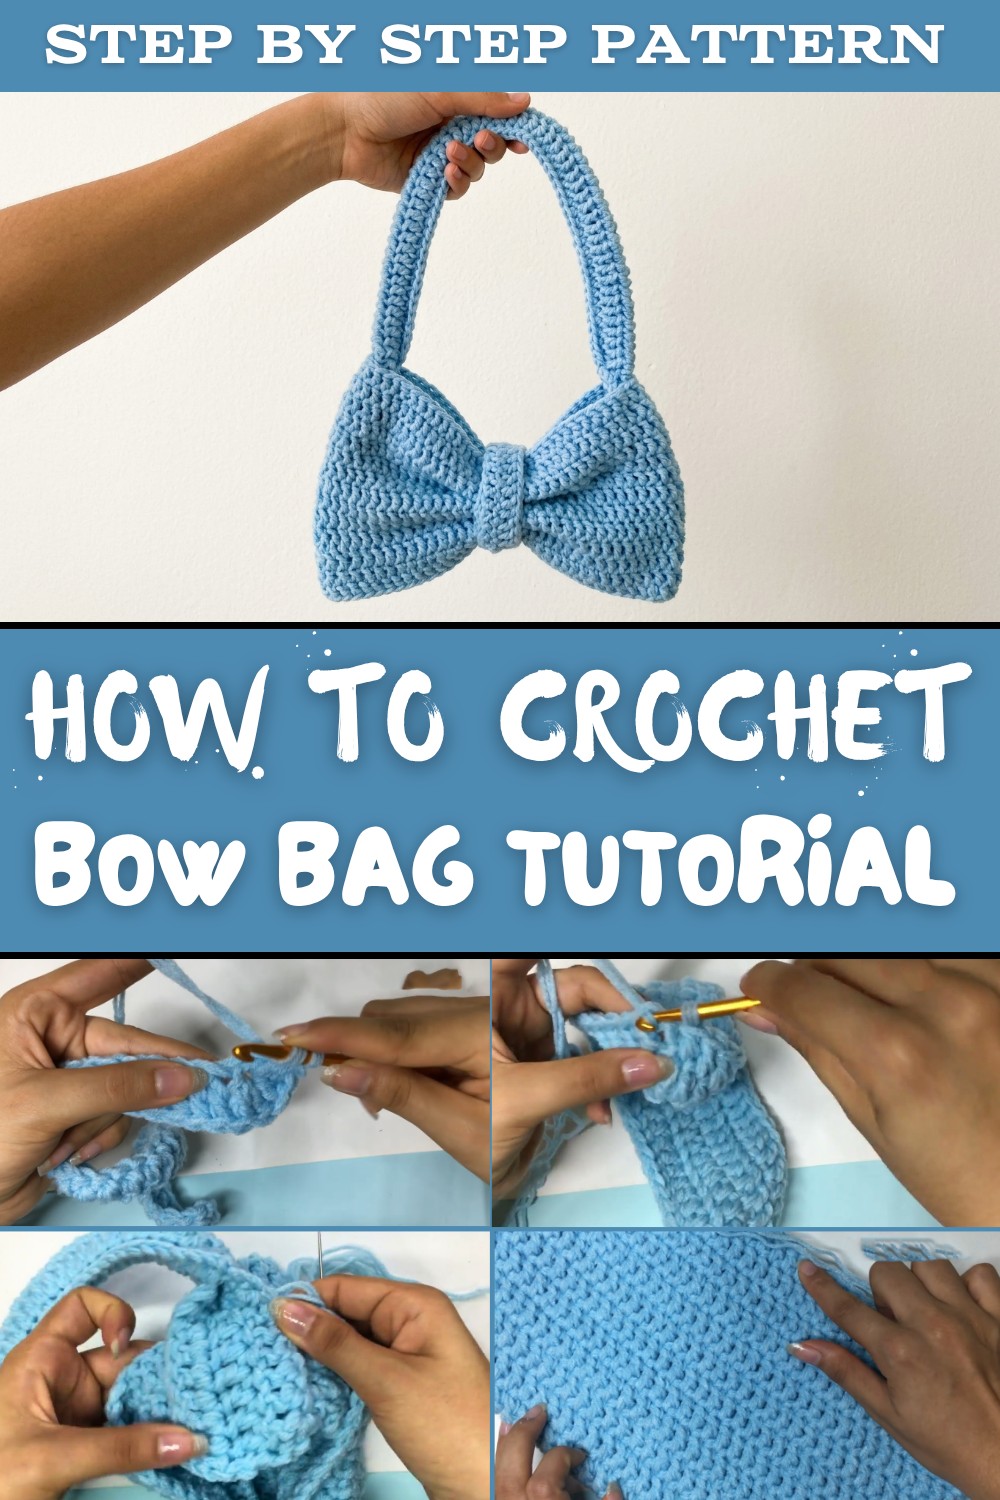
This bag is made using 3 mm acrylic yarn with three strands held together, creating a sturdy and durable fabric. It starts with a slipped ring, followed by 36 chain stitches as the base. The crochet steps are easy to follow: you'll use double crochets and add special touches like 5 double crochets together to create rounded edges. The bag's main part is built in 12 rounds, giving it a smooth, polished look. Its finished size is 30 cm x 18 cm, making it perfect to hold your essentials like keys, a wallet, or even a small notebook.
Using two strands of thread, you will sew it carefully to give the bag its beautiful bow style appearance. The bag also includes handles, which are formed by crocheting chains and double crochets to create a strap measuring 22 cm. You can even make a longer strap by crocheting 56 cm of chains for a cross body style.
This bag is not only stylish but also useful. It's ideal for everyday use, gifting to friends, or adding handmade charm to your style. It's customizable too-you can use different yarn colors or add decorative touches. Make this bow bag and enjoy the fun and satisfaction of creating something truly unique.
Crochet Pattern: Versatile Bow Bag
Materials Needed
- Yarn: 3 mm acrylic yarn, three strands held together for thickness and durability.
- Hook: Crochet hook suitable for 3 mm acrylic yarn when using three strands. A hook size between 5 and 6 mm generally works well.
- Thread for Sewing: Two strands of thread for assembling the bag components.
- Scissors: Sharp scissors to trim excess yarn neatly.
- Tapestry Needle: For sewing and weaving in ends.
Gauge
While gauge is not strictly critical for this project, it's helpful to achieve consistent stitches. Create a small swatch in double crochet (basic stitch) to ensure the fabric is sturdy but flexible.
- Gauge for 4 x 4 inch swatch: Approximately 16 stitches x 10 rows in double crochet.
Finished Size
- Bag Dimensions: 30 cm x 18 cm (main body).
- Optional Back Piece: 12 cm x 42 cm.
- Optional Strap Length: 56 cm.

Tips for Success
- Work Neatly: Pay attention to stitch consistency to ensure a polished and professional look.
- Handling Three Strands: Keep tension even across all strands of yarn while crocheting.
- Secure Assembly: Use tight sewing stitches to ensure durability during use.
- Shape Customization: You can make minor alterations to sizes based on preference or intended use (e.g., lengthening the strap, creating a larger compartment).
Pattern Instructions
Main Body of the Bag
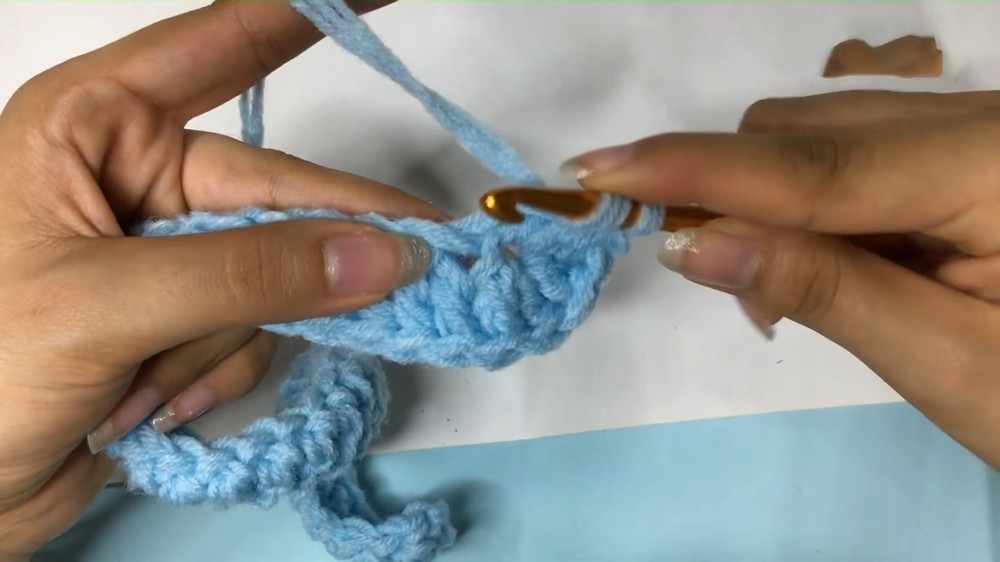
- Start with a Slipped Ring: Form a slip knot and create a foundation ring to begin your project.
- Foundation Chain:
- Chain 36 stitches.
- Skip the first 3 stitches and begin crocheting in the 4th chain.
- First Row:
- Create double crochets across the chain row.
- At the end of the row, place 5 double crochets together in the last chain to create a rounded edge.
- Second Row:
- Repeat double crochets across the row.
- For shaping, use 3 double crochets together at the end and secure with a slip stitch.
- Third Round and Onward:
- Begin with 2 chains, and work double crochets into each stitch along the row.
- Slip stitch at the end of each round.
- Repeat:
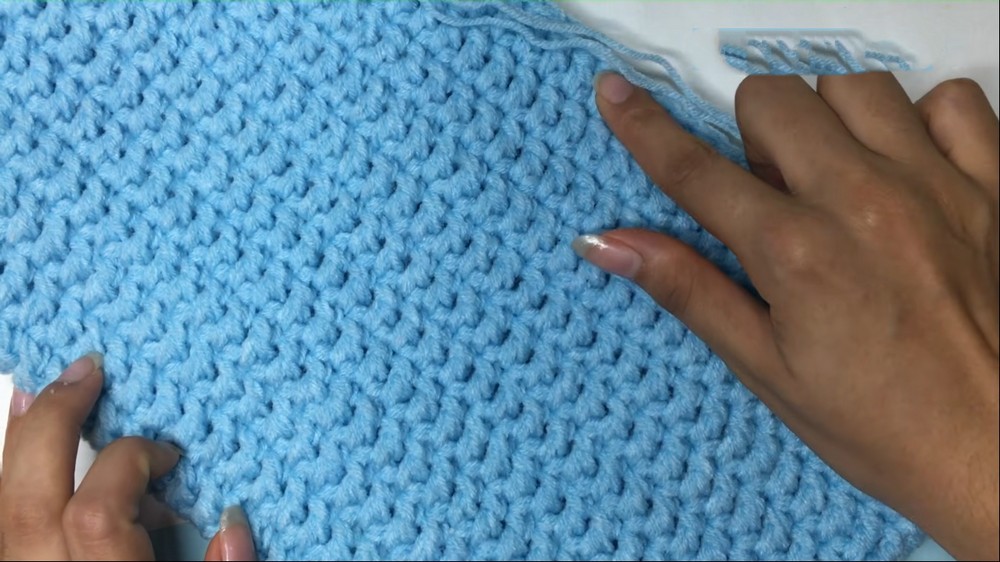
- Repeat Round 2 for a total of 12 rounds.
- Finish the Main Body:
- Slip stitch to secure the last round. Hide excess yarn by weaving tails neatly into the fabric with a tapestry needle.

Assembling the Bow
- Measuring:
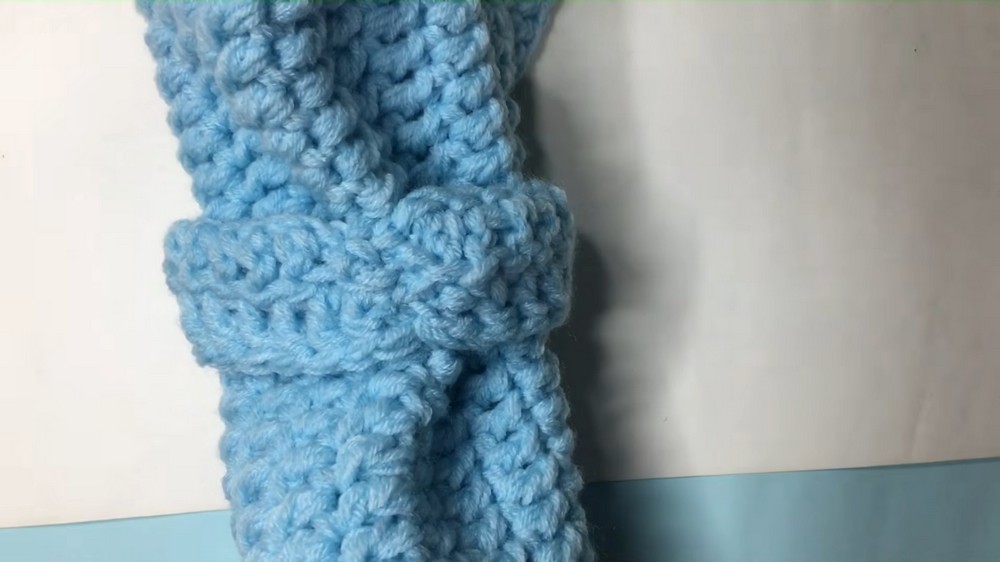
- Fold the fabric into a bow shape so it measures 30 cm x 18 cm.
- Sewing:
- Use two strands of thread to sew the fabric securely in the bow formation.
- Repeat the same folding and sewing steps on the opposite side for symmetry.

Creating the Strap
- Foundation Chain:
- Chain 28 stitches to start the strap.
- Skip the first 3 stitches and work double crochets into the remaining chains.
- Second Round:
- Chain 3 and crochet double crochets across the row. Repeat the process once more for added thickness and durability.
- Finished Strap:
- Ensure the strap measures 22 cm in length.
- Attaching the Strap:
- Sew the strap onto the edges of the folded bow, connecting it firmly to the bag.

Creating Border & Additional Handle
- Foundation Chain:
- Chain 70 stitches and crochet double crochets in each chain.
- Second Round:
- Similar to previous steps, chain 3 and work a second round of double crochets for added durability.
- Finished Dimensions:
- The border measures 5.5 cm when complete.
- Sew to Main Body:
- Fold the border into a loop and sew it securely to the bag, ensuring symmetry and proper alignment.
Optional Back Panel
- Foundation Chain:
- Chain 50 stitches and skip the first 3 to begin double crochets across the row.
- Subsequent Rows:
- After chaining 3 at the beginning of each row, continue working double crochets.
- Repeat for 7 rounds, leading to 8 rounds in total.
- Dimensions:
- Finished panel measures 12 cm x 42 cm.
- Adding to the Bag:
- Fold the panel in half and sew it to the back of the bow bag if you prefer this extra piece.

Special Techniques
- Slipped Ring:
- Creates a sturdy starter foundation for chain stitches.
- Pointed Edges:
- Use 5 double crochets together and point picots to form rounded or pointed edges as desired.
- Bow Formation:
- Proper folding and sewing will give a structured bow shape to the bag.
Customization Ideas
- Color Variations:
- Use different color combinations for the bow and handle segments. A two-tone or striped design adds more visual interest.
- Embellishments:
- Attach floral appliqués, buttons, or tassels for unique accents.
- Alternate Straps:
- Replace the crocheted strap with store bought ribbon, rope, or chain for a more polished look.
- Size Options:
- Adjust the foundation chain length and number of rows to create larger or smaller bags.
Conclusion & Important Remarks
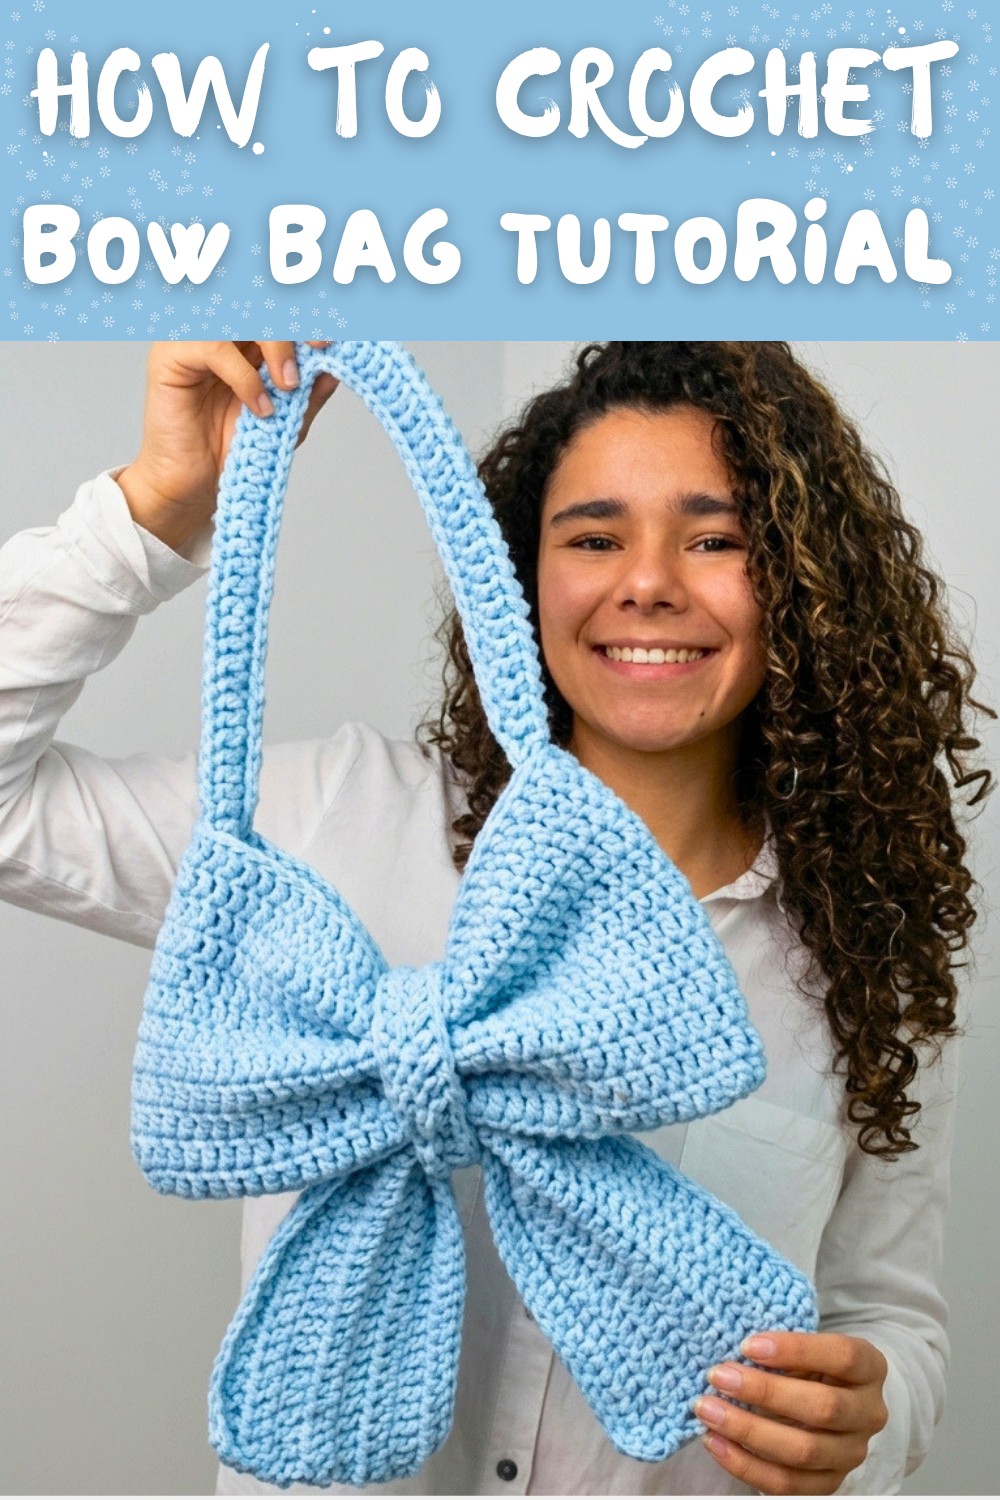
This elegant bow bag embodies both form and function with its sophisticated design and utility. The detailed pattern, from the intricate stitching to the secure sewing techniques, ensures a durable and eye catching accessory, while its customization potential allows for endless creative freedom. Whether used as a sophisticated evening clutch, casual shoulder bag, or sentimental handmade gift, your bow bag will undoubtedly turn heads.
Final Look:
Once completed, your bow bag will boast a stylish and elegant appearance with a structured bow motif at the center. The added straps and optional back panel elevate its design, making it practical and polished.
Important Notes:
- Take your time with assembly and ensure all components are securely sewn for durability.
- Test the sturdiness of the handles or straps to avoid any mishaps during use.
- Regularly trim away excess yarn and seal edges with care for a neat finish.
We hope this pattern inspires your creativity and lets you crocheting a beautiful project to showcase your skills. Don't forget to experiment with colors, textures, and embellishments for added flair. And remember, your handmade bow bag is more than just an accessory-it's a work of art.