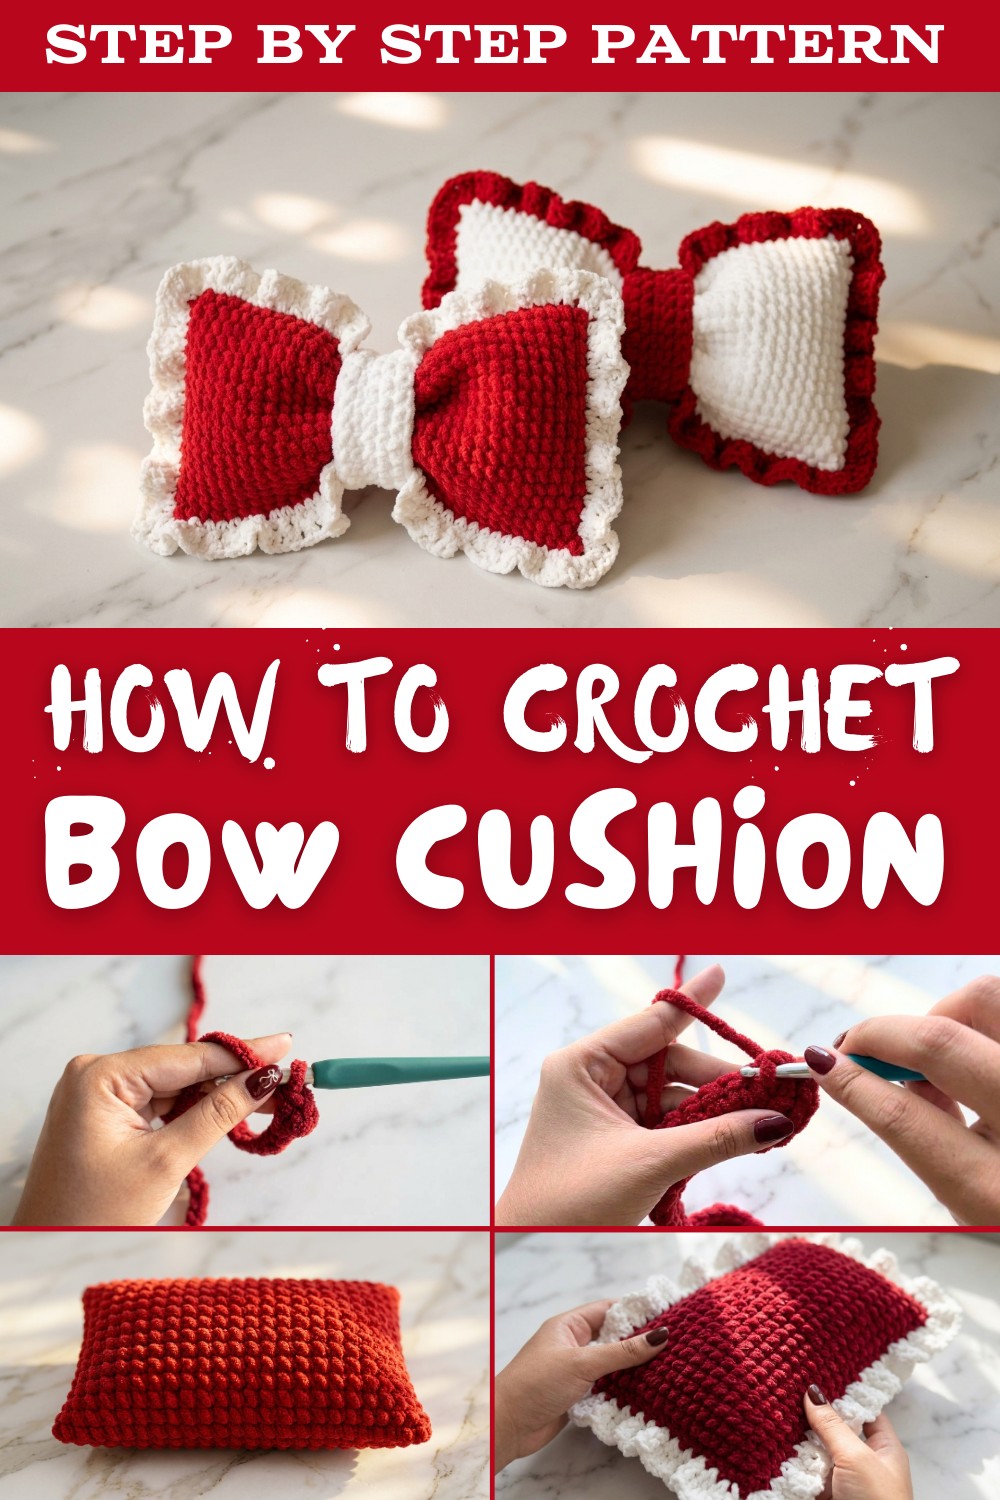
Free Crochet Bow Cushion Pattern to Add Charm to Any Space
Learn to make a beautiful and soft bow-shaped cushion with this free crochet pattern that is simple, and for decorating your home.
Adding a touch of charm and elegance to your home with a cozy bow-shaped cushion that's soft, stylish, and perfect for any room. This adorable pillow is not just beautiful; it also adds comfort and personality to your space. Its unique bow design makes it stand out and instantly grabs attention, whether placed on a chair, couch, or bed.
Free Crochet Pattern Bow Cushion with Easy Edging Techniques
With its lovely shape and soft texture, it's perfect for cuddling or simply brightening up your decor. Crocheted with gentle stitches and thoughtful details, this cushion is not only eye-catching but also easy to make. The bow design is both playful and sophisticated, matching any theme or occasion. Whether it's for everyday décor or a special gift idea, this cushion is the perfect mix of beauty, functionality, and delightful charm.


Aesthetic Crochet Bow Cushion Pattern
This delightful and simple bow cushion is a charming home decor piece that comes together quickly, thanks to its minimal stitches and easy techniques. Follow the step-by-step instructions to create your own!
Materials
Yarn:
- Main Cushion Body: Red Chanel yarn (or similar bulky weight yarn, weight 5 or 6).
- Edging: White milk cotton yarn (or any weight 3 yarn).
Hook:
- 8 mm crochet hook for the entire project.
Other Notions:
- Scissors.
- Stitch markers.
- Darning/Tapestry needle.
- Fiberfill for stuffing.
Skill Level
- Beginner to Intermediate: Basic understanding of working in rows and rounds, increasing/decreasing, and sewing. Suitable for beginners with some experience.
Key Abbreviations
- Ch: Chain.
- SC: Single Crochet.
- DC: Double Crochet.
- Sl St: Slip Stitch.
- Inc: Increase (two single crochet in one stitch).
- St/Sts: Stitch/Stitches.
Special Notes
- Stuffing Tips: Fiberfill is only added to the closed sides of the bow, leaving the middle flat for easier folding and shaping.
- Edging Consistency: Ensure your double crochets for the edging are evenly spaced to create a neat and polished look.
Pattern Instructions
Step 1: Pillow Base
Foundation Chain:
- Start with a slip knot.
- Ch 35 to form the base length of the cushion.

Row 1:
- Starting from the second chain from the hook, work 33 SC across (1 SC in each chain).
- Mark the first stitch with a stitch marker for reference.
- In the last chain, work 3 SC to create a rounded edge.
Row 2 (Working on the other side of the foundation chain):
- Work 32 SC across the opposite side of the foundation chain (1 SC in each chain).
- Be sure to carry the starting yarn tail along to secure it within the stitches.
- After about 5 stitches, you can trim the tail and continue without it.
- In the last stitch of the row, work 2 SC to complete the round.

Round 1 to Round 16:
- From Round 2 to Round 16, work 1 SC in each stitch around, ensuring you mark the first stitch of each round with a stitch marker.
- Tip: If you want a taller bow, you can add extra rows until the height is at least half the width of your foundation chain.
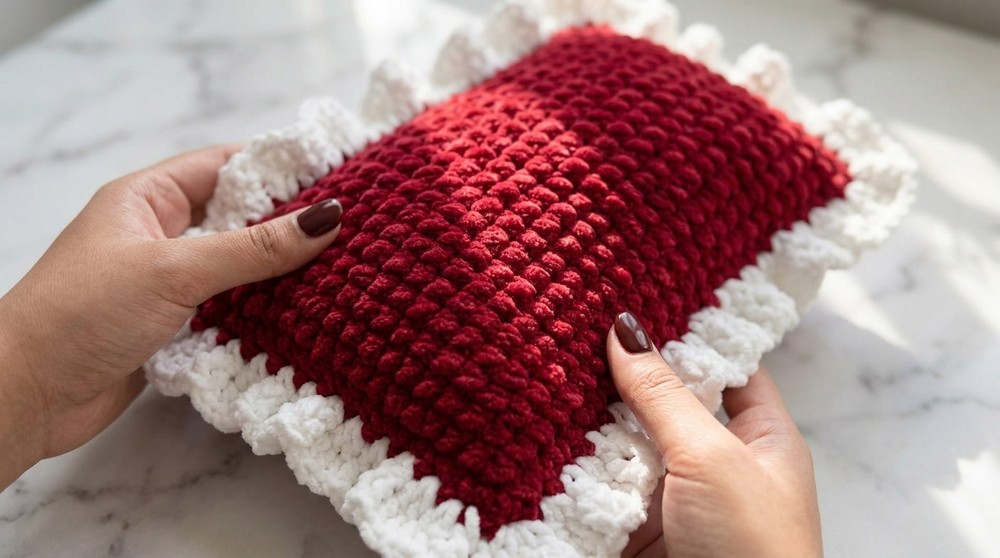
Closing the Cushion:
- After finishing round 16, stuff only the sides of the cushion (leave the middle empty).
- Begin closing the cushion:
- Insert your hook into the first and last stitches of each side and make 1 SC.
- Continue working SC stitches to close the entire round (35 stitches).
- Stuff as you go: Pause after a few stitches to add fiberfill gradually.
- Only fill the sides, leaving the middle flat for easier folding.
- When complete, fasten off with a long tail for sewing.
- Use a darning needle to sew the middle part of the cushion, securing the fiberfill in place.

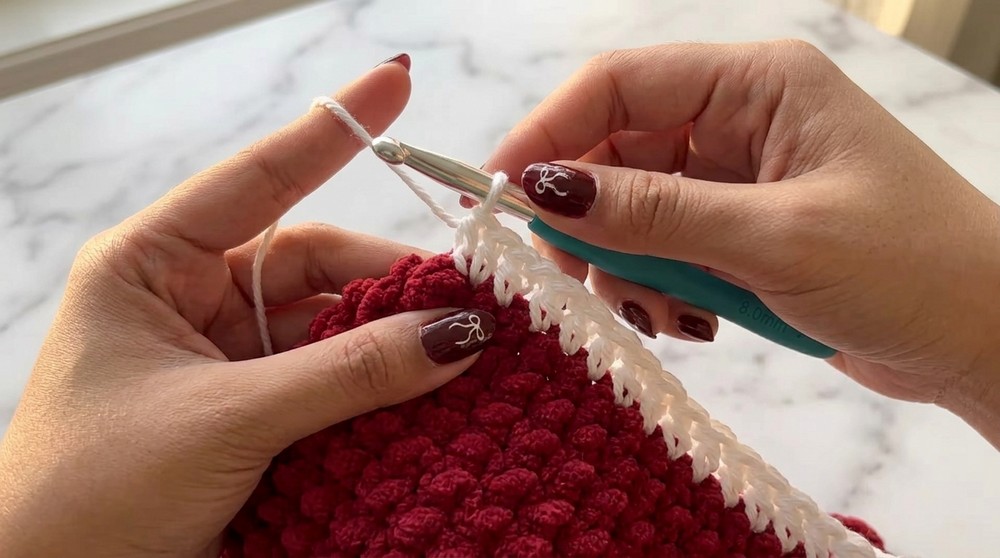
Step 2: Edging
- Attach milk cotton yarn to the marked stitch from Round 1.
- Work double crochet edging (DC):
- Ch 3, then work 1 DC + Ch 1 + 1 DC into the same stitch.
- Continue working (1 DC, Ch 1, 1 DC) in each subsequent stitch around.
- Corner Stitch Notes:
- At each corner, work (1 DC, Ch 1, 1 DC) twice in the same stitch to create a rounded corner.
- Shorter Sides:
- On the shorter sides of the cushion (the edges), insert your hook directly into the rows instead of individual stitches.
- Work 1 DC + Ch 1 + 1 DC into each row, evenly spacing 15 sets of stitches.
- For each subsequent corner and side, follow the same steps as above until you return to the starting point.
- Final Round: After the initial row of edging, work a second round by inserting the hook into the spaces between double crochets and repeating (1 DC, Ch 1, 1 DC).
- Complete the round and join with a slip stitch at the top of the Ch 3.
- Fasten off, leave a tail, and weave in all yarn ends neatly.
Step 3: Folding and Middle Wrapper
- Fold the Cushion in Half: Pinch the middle of the cushion to create the bow shape.
- Tie the Bow: Use milk cotton yarn to secure the fold:
- Wrap the yarn around the center 3-4 times, pulling tightly with each wrap.
- Double knot or triple knot securely at the back and trim if needed.
- Decorative Wrapper for the Center:
- Using Chanel yarn, start with a slip knot.
- Ch 24, then work 23 SC across starting in the second chain from the hook.
- Work 5 rows of SC without increases/decreases (1 SC in each stitch).
- Fasten off, leaving a long tail for sewing.
- Attach the Center Piece:
- Wrap the SC strip around the bow's center.
- Using the yarn tail, sew the ends together securely.
- Weave in and hide the ends for a clean finish.

Conclusion
Congratulations! Your aesthetic bow cushion is complete and ready for display. This playful, cozy design can brighten any room or be the perfect handcrafted gift.
Pattern Corrections
- Avoid overstuffing the sides, ensuring the cushion remains soft and flexible.
- Keep stitch markers in place for reference points during edging and middle sewing.
Tips for Best Results
- Consistent Stitching: Keep tension even, especially during edging, to ensure a uniform look.
- Customization: Experiment with colors and yarn textures for a variety of bow cushion designs.
- Care: Use a gentle hand wash or spot clean method to maintain the cushion's shape and texture.