
Free Crochet Bow Pattern That’s Versatile and Fun
Enhance your crochet projects with this free crochet bow pattern that adds a pretty detail to gifts, bags and accessories,
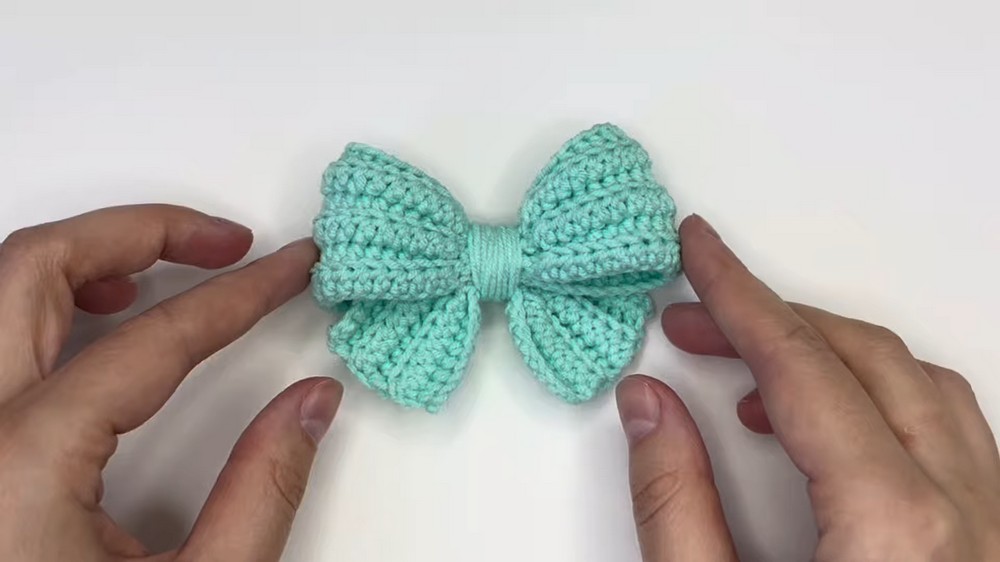
Are you looking for a cute and simple project? A crochet bow is the perfect choice. This Free Pattern is super easy and great for beginners. It is quick to make and does not require sewing, stuffing, or a magic ring. Anyone can do it, even if you are learning crochet for the first time. This bow looks soft, neat, and beautifully shaped. It has a lovely texture thanks to working in the back loops of the stitches, giving it a smooth and elegant appearance. The bow is not only pretty but also very useful. You can attach it to hairbands, gift wrapping, bags, or clothes. It can make any item look creative and special.
The Easiest Free Crochet Bow Pattern for Everyone
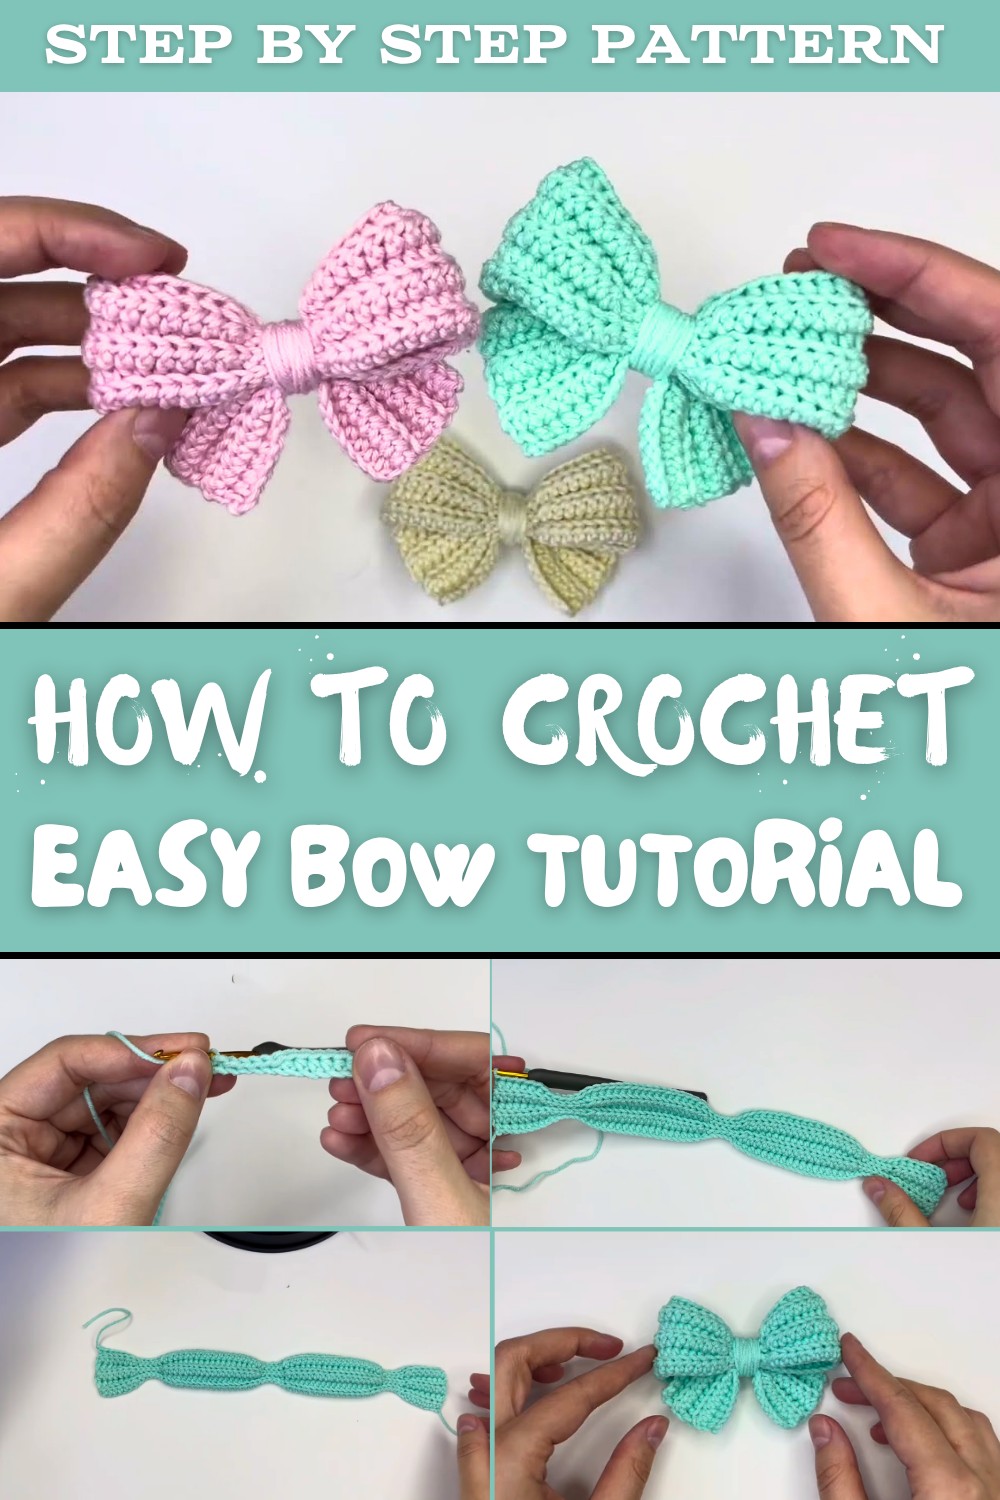
Making this bow is a simple process. You start with just a slip knot and chain 68 stitches. Then, follow a pattern of half double crochets, slip stitches, and single crochets. The design is built row by row, making it easy to follow along without feeling overwhelmed. What makes this bow unique is how it is shaped. After finishing the crochet, all you have to do is fold the piece, bring the ends together, and wrap the center with yarn to form a cute bow.
The best part is that the pattern allows you to add your own creativity. You can change the size of the bow, use different colors of yarn, or even make small or large bows for different projects. It's quick, practical, and a great way to use leftover yarn for a sustainable crochet. Create your own crochet bow and enjoy the process of making something fun and lovely. This project is perfect for anyone who loves beautiful, handmade decorations and gifts.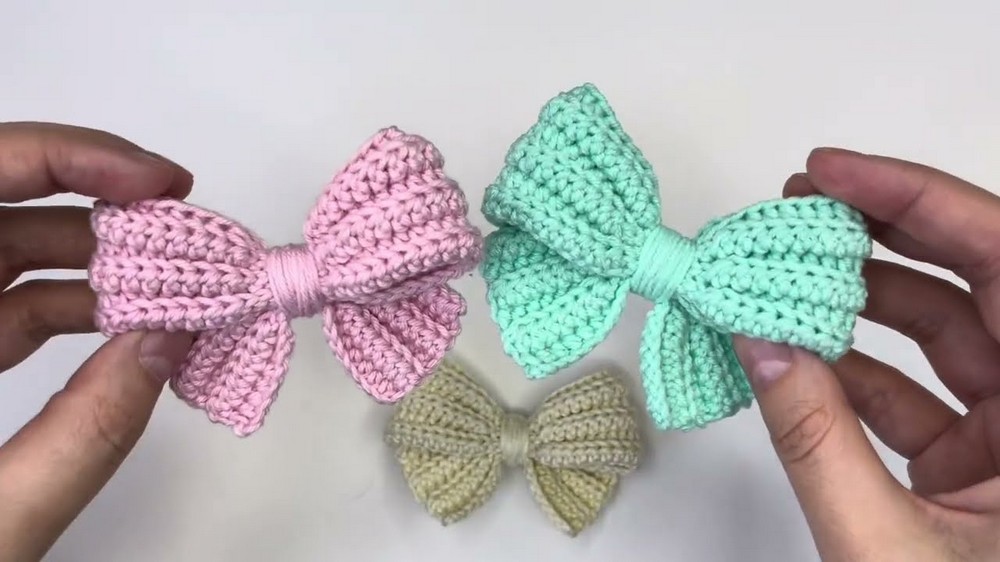
Crochet Bow Pattern
Materials Needed
- Yarn: Medium weight yarn (recommended: cotton yarn for sturdiness or acrylic yarn for flexibility).
- Hook Size: 4mm crochet hook or a size compatible with your yarn.
- Additional Tools:
- Stitch markers (optional, to guide the middle segment)
- Scissors
- Yarn needle for weaving in ends
Gauge
Gauge is not strictly important for this project. However, as a reference:
4" x 4" / 10 cm x 10 cm = 14 half double crochets x 10 rows using the suggested medium weight yarn and hook size.
Finished Size
- Approximate Dimensions: When shaped, the bow measures 5 inches (12.7 cm) wide and 2.5 inches (6.35 cm) tall.
Tips for Customization
- Sizing:
- For a smaller bow, reduce the starting chain and stitch counts proportionally while following the same rhythm of stitches.
- For a larger bow, increase the initial chain length by increments of the pattern repeat (1 turning chain + groups of 7 HDC, 6 slip stitches, and 18 HDC).
- Texture Options: Experiment with yarn weights and types (e.g., velvet yarns for luxury appeal or chunky yarns for dramatic effect).
- Color Variations: Use contrasting colors while wrapping the center to create a bold statement.
- Applications: Add your bow to headbands, hair clips, gift wrapping, accessories, or as decorative accents on clothing or bags.
Abbreviations
- ch: Chain
- sc: Single crochet
- sl st: Slip stitch
- HDC: Half double crochet
- st(s): Stitch(es)
- YO: Yarn over
Pattern Instructions
Slip Knot and Foundation Chain
- Begin by making a slip knot. Chain 68 to form the foundation chain. Add 1 turning chain.
Row 1: Starting the Bow
- Skip the first chain. Begin working in the second chain from the hook.
- Work 1 HDC into each of the next 7 chains (this creates one edge of the bow).
- Work 6 sl sts into the next 6 chains.
- Work 1 HDC into each of the next 18 chains.
- Work 6 sl sts into the next 6 chains.
- Work 1 HDC into each of the next 18 chains.
- Work 6 sl sts into the next 6 chains.
- Finish the row with 7 HDC into the last 7 chains.
- Ch 1 and turn your work.

Row 2: Texture Using Back Loop Only
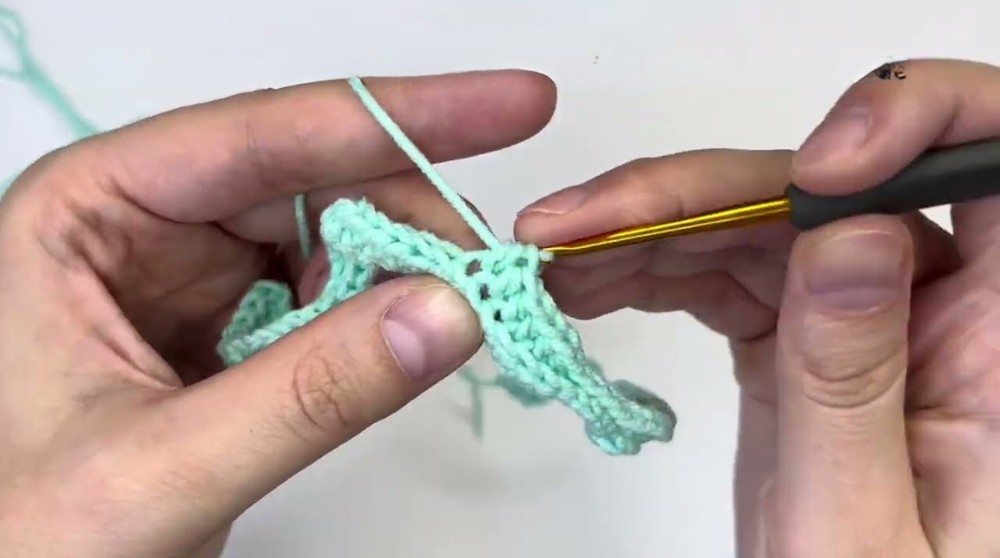
- From Row 2 onward, work into the back loop only of each stitch. This technique creates a softer texture while allowing the bow to be flexible enough for shaping.
- Row 2 follows the same sequence of stitches as Row 1:
- 7 HDC, 6 sl sts, 18 HDC, 6 sl sts, 18 HDC, 6 sl sts, 7 HDC.
- After completing the row, ch 1 and turn your work.

Rows 3 to 5
Repeat Row 2 exactly. Ensure you follow the back loop only rule throughout these rows to maintain the textured pattern. For repetitive rounds, you may pause the video or refer to Row 2 instructions.
Row 6: Edging the Bow
This final row will slightly adjust the edges for a polished look:
- Start with 7 sc into the first 7 stitches (instead of HDC).
- Work 6 sl sts into the next 6 stitches.
- Continue with the following sequence: 18 HDC, 6 sl sts, 18 HDC, 6 sl sts.
- Finish the row with 7 sc into the last 7 stitches (instead of HDC).
- Fasten off and weave in all loose ends using a yarn needle.


Shaping the Bow
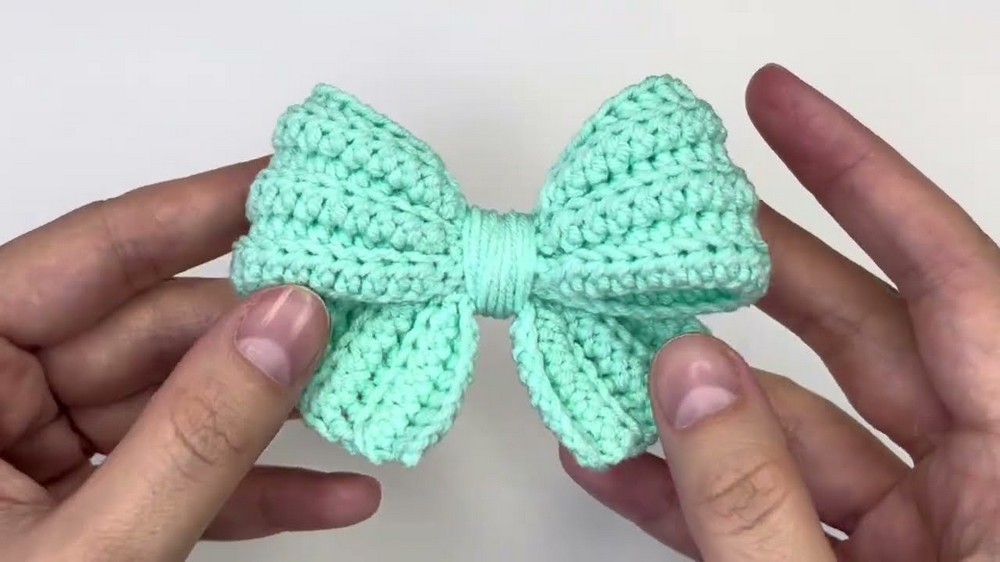
- Fold the Strip: Bring the two ends of the crochet strip toward the center, forming a bow shape. Adjust the folds until the desired aesthetic is achieved.
- Wrap the Center: Take a long strand of yarn and tightly wrap it around the central portion of the bow multiple times. This secures the folds and defines the bow shape.
- Secure the Wrap: Use your yarn needle to weave the wrapping strand into the back side of the bow, securing the ends. Trim the excess yarn neatly, ensuring that the weaving and knots are tight.
- Final Adjustments: Smooth out the edges of the bow and adjust the wrapping as needed for a clean, uniform appearance.
Special Techniques
- Back Loop Only Stitching
- Insert your hook into the back loop of the stitch rather than through both loops. This adds flexibility and texture, while enabling soft folds for shaping the bow.
- Slip Stitch Rows
- The slip stitches add structure and rhythm to the base strip, enabling well defined areas for shaping without bulking up the material.
- Ensure your stitches are consistent (not overly tight) to prevent puckering.
- Wrapping for Stability
- Wrapping the center of the bow tightly is vital to its overall appearance. You may replace the wrapping yarn with an elastic or thread for alternate uses (e.g., bow hair ties).
Tips for Enhancing the Crochet Bow
- Embroidery and Beading: Decorate the finished bow with tiny embroidered designs or sew on beads to elevate its appeal.
- Two Tone Bow: Use one color for the crochet strip and another for the wrapped center to create a stylish contrast.
- Add a Clip: Attach a metal clip or pin backing to transform the bow into hair accessories or brooches.
- Bulkier Designs: For a statement piece, crochet using chunkier yarn and larger hook sizes.
- Seasonal Colors: Experiment with festive themes, such as red and green for Christmas, pastels for Easter, and bright tones for summer accessories.

Conclusion & Final Remarks
Your crochet bow is now complete! The finished product is soft, textured, and versatile. Whether you use it as a hair accessory, gift decoration, or embellishment for clothing and projects, this bow is the perfect finishing touch to your handmade projects.
To ensure a polished look, take time to properly shape the bow and weave in all loose ends securely. For beginners, practicing slip stitches and back loop only crochet techniques beforehand will simplify these steps.
This design is customizable in size, stitch count, and color. It provides endless opportunities to experiment and personalize your crochet skills.
Remember, crochet is as much about the crochet as it is about creativity. Let this bow be a charming and functional reminder of the joy crocheting brings. If you ever make this bow, feel free to share it and tag your creations.