
Free Crochet Brushes Purse Pattern for Travel Days
Give your makeup brushes a lovely home with this Free Crochet Makeup Brushes Purse Pattern that is not only fun to create but also simple and incredibly useful for everyday organization.
Do you want a stylish way to keep your brushes safe and tidy? With the free crochet brushes purse pattern, you'll learn how to make a beautiful, handy, and easy to carry case. This pattern is ideal if you love crochet and want to create something useful with your own hands. The purse is a perfect size for storing makeup brushes, pencils, or even small items. It's clear, simple, and easy to follow, making it suitable for everyone, even beginners. This purse stands out because of its charming appearance and practical design. It has a soft and textured body with a clean finish. The use of colorful yarn makes it fun and lively, but you can choose any color you like to make it match your personality.
Free Crochet Brushes Purse Pattern That Keeps Brushes Safe
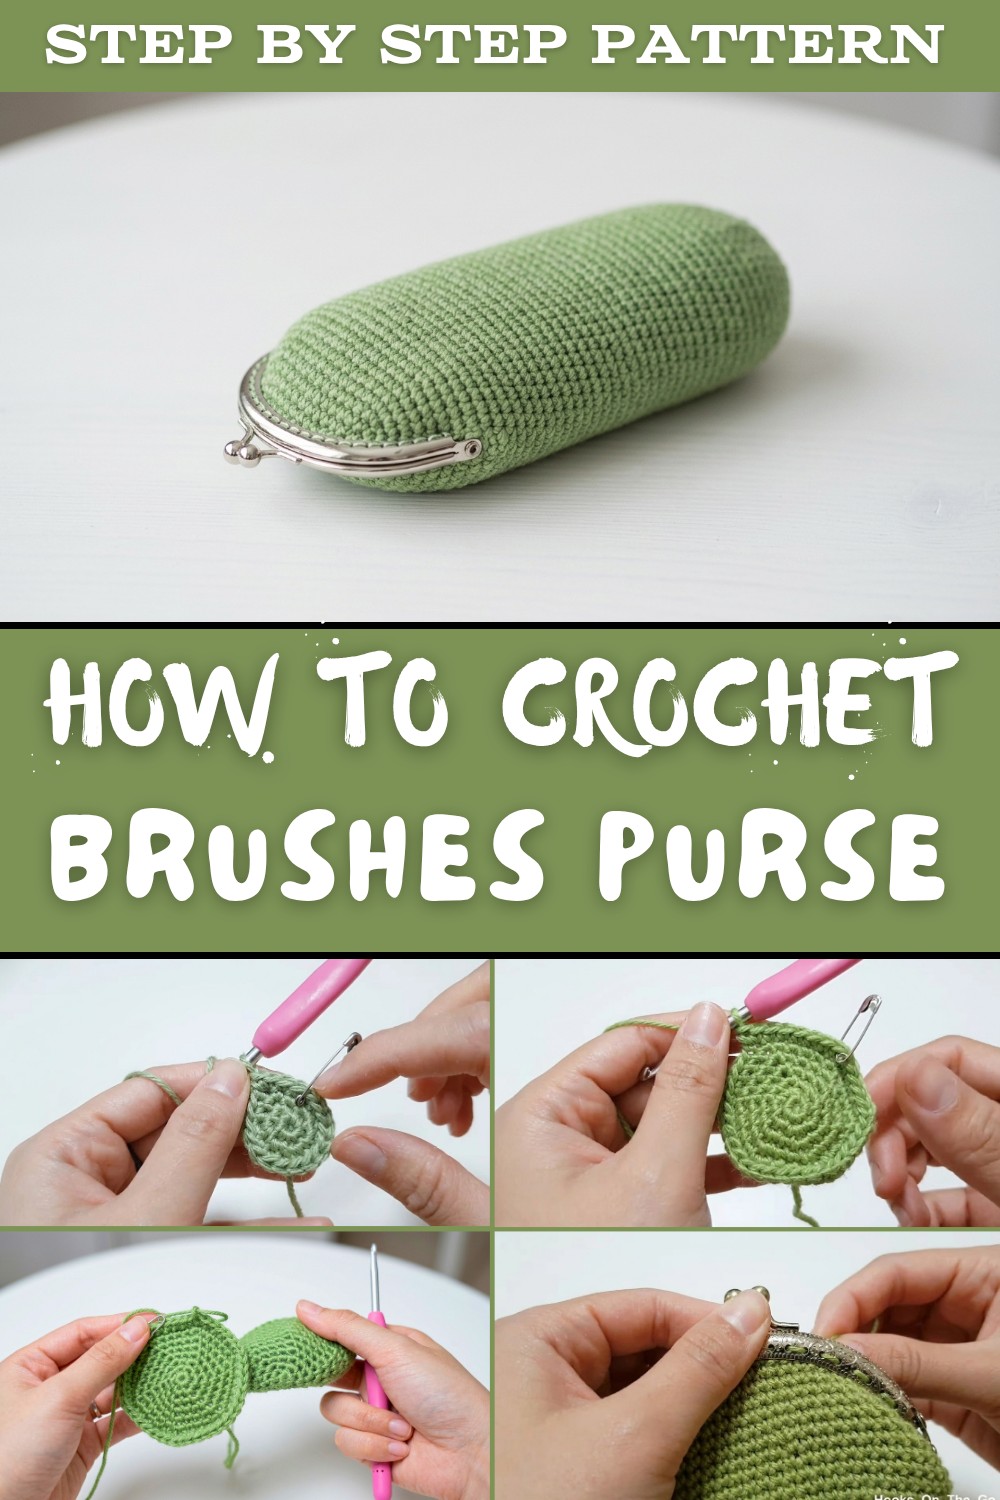
You'll use basic crochet techniques like single crochet stitches, making this a wonderful project for new crocheters. The metal clasp adds a nice finishing touch that makes the purse look polished and professional. You can customize it easily by adding a lining with fabric to make the purse sturdier. You can even decorate it with beads or buttons to make it extra unique. The end product is lightweight, compact, and versatile, making it perfect for traveling or everyday use.
Creating something like this is not only exciting but also practical. Once completed, you'll have a beautiful handcrocheted purse that's functional and great for keeping your brushes or pencils organized. Whether you're crochting for yourself or making gifts for friends, this crochet project will leave you feeling proud of what you've made. Grab your yarn, hook, and thread, and start your crochet journey today.
Finished Size
The finished crochet makeup brush purse is designed to fit an 8 cm metal clasp, offering enough space to store makeup brushes, pencils, or other small items. Depending on the yarn and the tension of your stitches, the size may vary slightly but will generally accommodate small tools and items comfortably.
Materials Needed
To create this crochet purse, gather the following materials:
- 8 cm metal purse clasp: The frame that holds the purse securely.
- Safety pin or stitch marker: To mark the last stitch of each round for accuracy.
- Needle and thread: For attaching the purse clasp (choose a thread color matching your yarn or clasp).
- 4 mm crochet hook: Perfect for working with medium weight yarn.
- Yarn: Use 100% acrylic yarn or cotton yarn in any color of your choice. Cotton yarn provides a sturdy texture for purses.
- Scissors: For cutting yarn and thread.
Gauge
Gauge is not crucial for this project, but uniform tension is essential for a neat finish. Aim for medium tight single crochet stitches to ensure a snug fit for the metal clasp.
Tips Before You Begin
- Prepare Your Workspace: Organize your materials and use good lighting to spot stitches easily.
- Experiment with Colors: Use a single color for a classic look or alternate colors for stripes.
- Consider Lining: You can sew a fabric lining inside to enhance durability.
- Take Your Time: Crocheting a purse involves precision, especially when attaching the clasp.
Special Techniques
- Magic Ring: Begin your circular base with a magic ring for a clean and compact start.
- Increasing Stitches: Work two single crochets into one stitch to widen your rounds effectively.
- Continuous Rounds: Crochet without slip stitches between rounds to avoid visible seams.
Pattern Instructions
Follow the steps below to create an adorable crochet purse:
Step 1: Create the Magic Ring
Begin by forming a magic ring. Cross the yarn to create a small loop and insert your hook into the loop. Pull the working yarn through and chain 1 to lock it in place.
Step 2: Round 1 (Basic Foundation)
Work 6 single crochets into the magic ring. Gently pull the yarn tail to tighten the ring into a neat circle. Place a stitch marker at the last stitch of the round to keep track of rounds easily.
Step 3: Round 2 (First Increase)
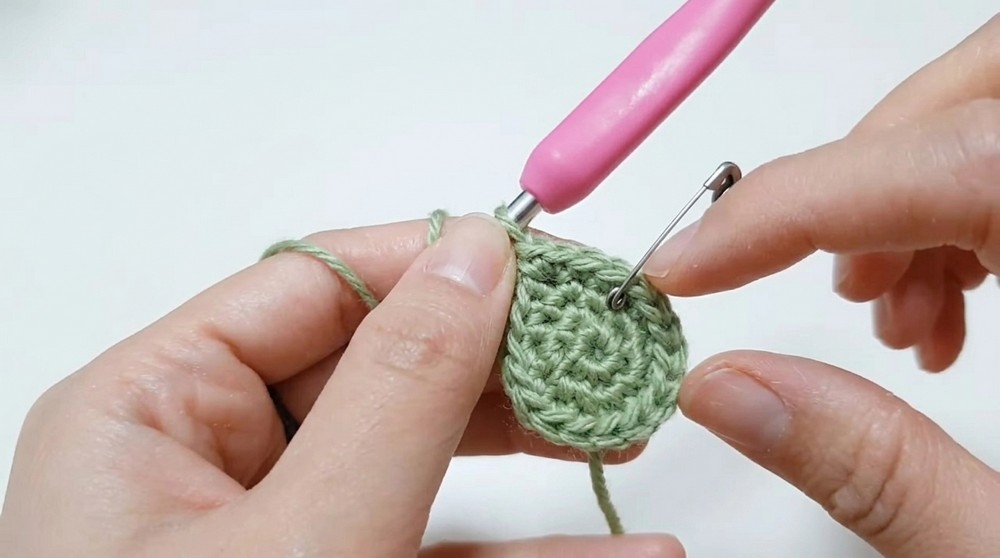
Work 2 single crochets in each stitch around the base (increase in every stitch). At the end of the round, you will have 12 single crochets.
Step 4: Round 3
This round alternates between:
- 1 single crochet in the first stitch.
- Increase (2 single crochets in one stitch) in the next stitch.
Repeat this pattern all the way around. At the end of Round 3, there should be 18 single crochets.

Step 5: Round 4
Alternate the following pattern:
- 1 single crochet in the next 2 stitches.
- Increase in the third stitch.
Repeat this pattern around the circle. At the end of Round 4, there should be 24 single crochets.

Step 6: Round 5
Alternate the following pattern:
- 1 single crochet in the next 3 stitches
- Increase in the fourth stitch
Continue working around. At the end of this round, there will be 30 single crochets.
Step 7: Round 6
Alternate the pattern:
- 1 single crochet in the next 4 stitches.
- Increase in the fifth stitch.
Repeat this around the circle. At the end of Round 6, there should be 36 single crochets.
Step 8: Round 7
Work the following pattern:
- 1 single crochet in the next 5 stitches.
- Increase in the sixth stitch.
Continue to alternate around the entire round. At the end of Round 7, you will have 42 single crochets.
Step 9: Round 8
Alternate the pattern:
- 1 single crochet in the next 6 stitches.
- Increase in the seventh stitch.
Work this pattern around the round. By the end, there will be 48 single crochets.
Step 10: Single Crochet Rounds
Work 48 rounds of single crochet without increasing or decreasing. These rounds will elongate the purse body to give it the desired height. Maintain even tension to ensure your stitches are consistent.

Once completed, fasten off the yarn at the end of the body and leave a tail for sewing.
Step 11: Attaching the Metal Clasp
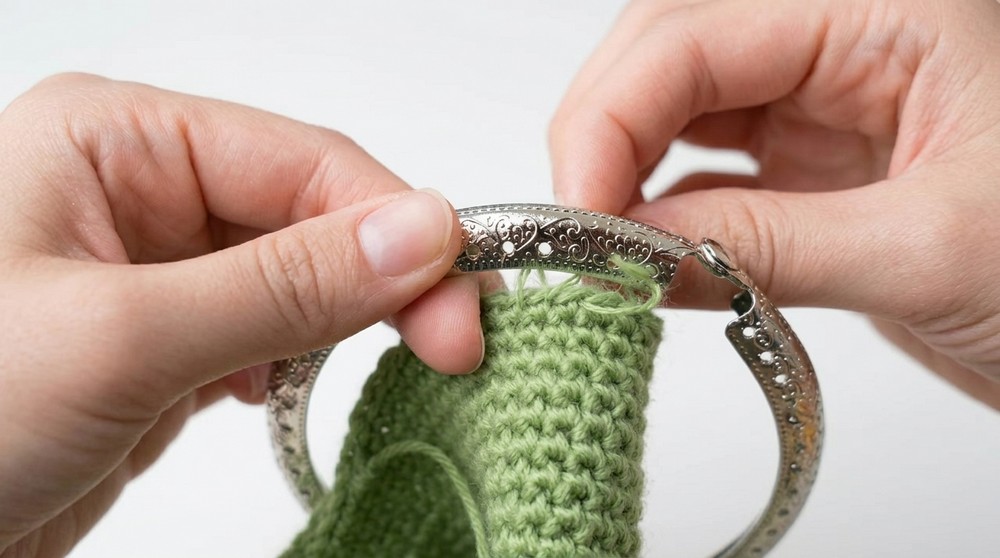
- Open the metal clasp and align it with the crocheted purse. Decide whether to center the clasp or position it slightly on the side.
- Using a needle and thread, attach the clasp with an in and out sewing technique. Insert the needle through the crochet stitches and the clasp's groove to secure it.
- Continue sewing along the edges evenly, ensuring the clasp is firmly attached.
- Once finished, tie off the thread securely and trim any excess.

Optional Customizations
- Fabric Lining: Add a lining inside using durable fabric to protect and organize small items.
- Color Patterns: Alternate yarn colors every few rounds for a striped or gradient effect.
- Embellishments: Decorate the purse with buttons, small crocheted flowers, or beads for a personalized touch.
Final Steps and Finishing Touches
At the end of the last stitch of the purse and after attaching the clasp, weave in all loose ends. Inspect the purse for consistency in tension and alignment. Ensure it is sturdy and functional.

Final Look
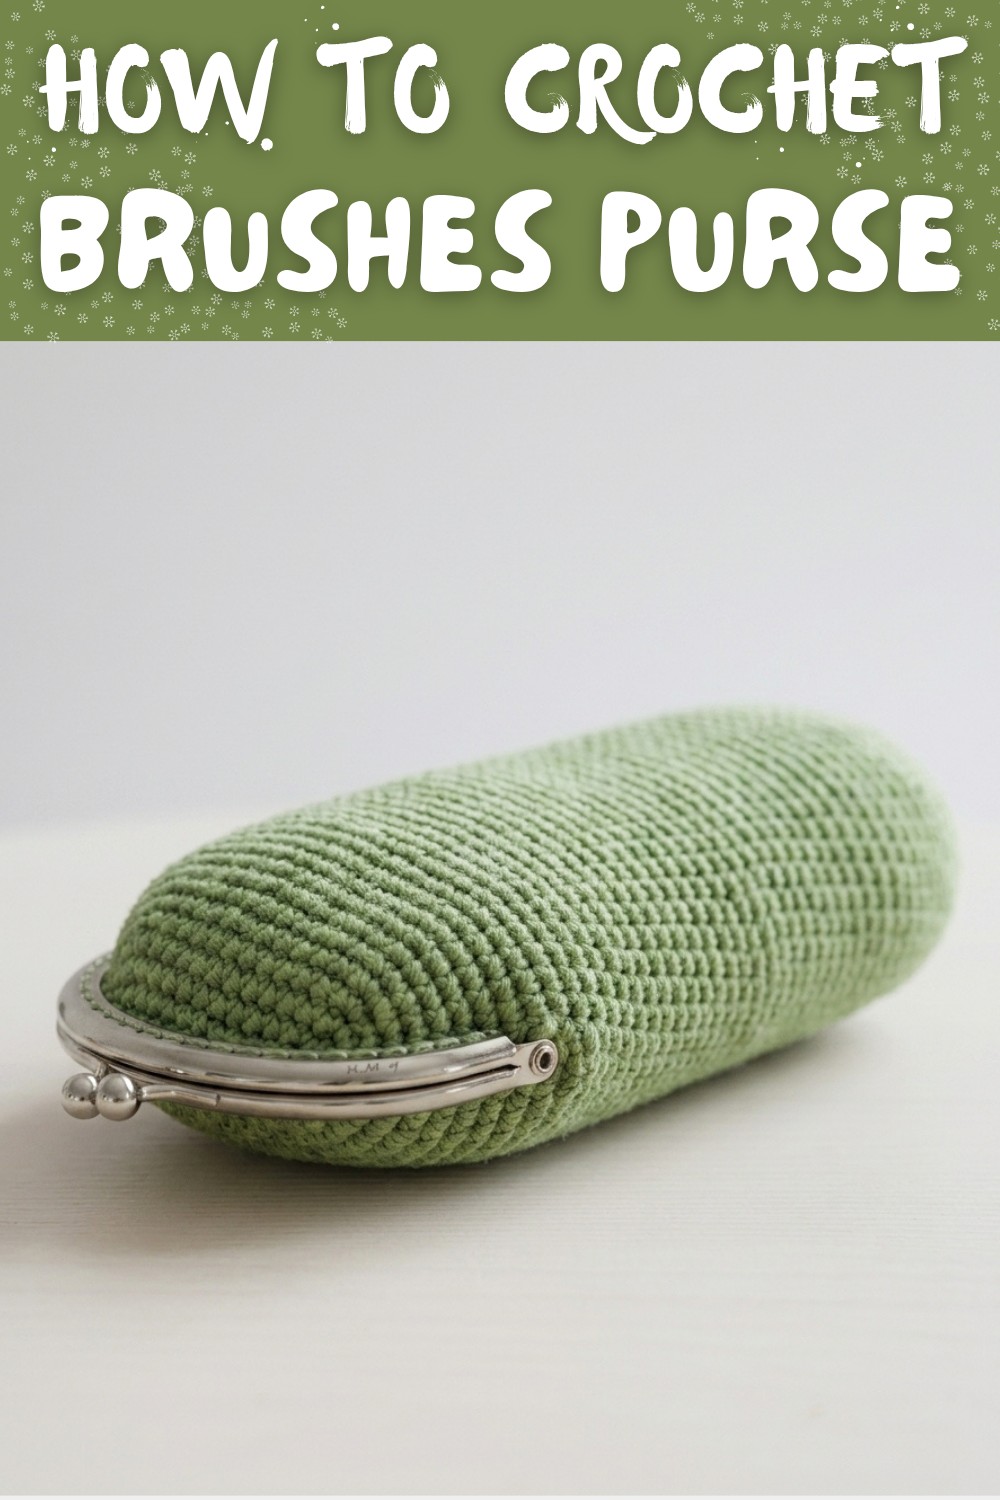
Once finished, your crochet purse should feature a compact and aesthetic design with a clean, rounded structure. The metal clasp offers a polished and professional touch, making the purse suitable for storing makeup brushes, pencils, lipsticks, or other small items. The purse is lightweight, portable, and stylish-a practical yet elegant accessory for everyday use.
Conclusion
This crochet purse pattern provides a creative and functional way to explore your crochet skills while creating a useful accessory. The foundation technique, increasing rounds, and single crochet rounds are beginner friendly, while the final clasp attachment steps make the project feel complete and polished.
Experiment with colors, add unique touches, or make multiple pieces as gifts. Whatever you choose, this project is a great blend of art and utility. Enjoy crocheting your makeup brush purse and brighten your day with your handmade work.
Reminder
- Ensure your stitches are even for a polished finish.
- Add customization to make your crochet purse unique to you.
- Check that the clasp is securely attached for durability.