
Free Crochet Bucket Hat With Ruffles Pattern That Shine
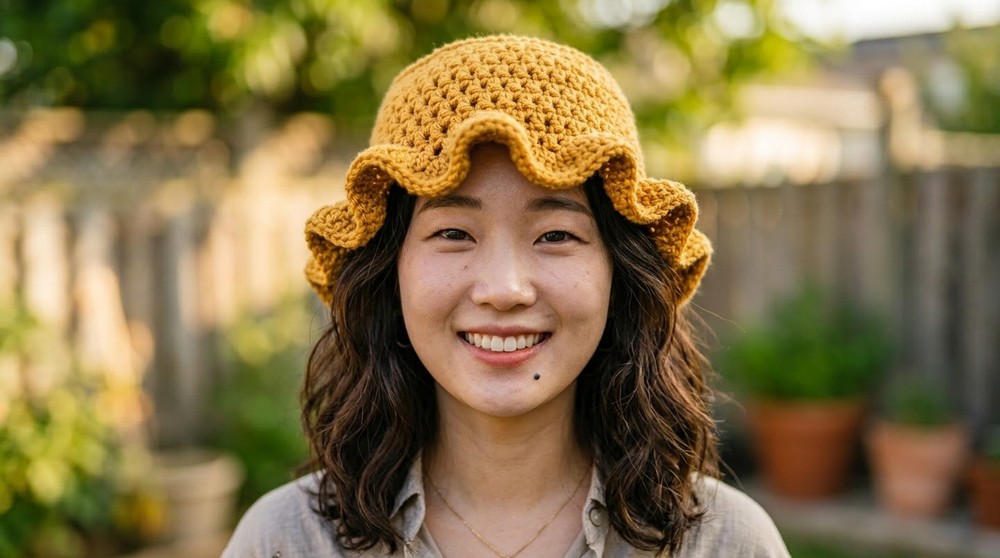
Top off every sunny outfit with this Free Crochet Bucket Hat With Ruffles Pattern, a cute and trendy accessory that adds flair to your look while keeping you comfortable warm days.
The first time you wear this handmade hat, you'll feel happy and amazed, like it was made just for you. Its soft shape and fun ruffles make any outfit look even better, and you'll want to wear it all the time. The gentle ruffles move nicely in the breeze, and the hat fits so well that it feels both stylish and comfortable. With this simple Free Crochet Bucket Hat With Ruffles Pattern, you can easily make something so pretty and useful. The bucket hat also keeps the sun off your head while making sure you stay fashionable.
Free Crochet Bucket Hat With Ruffles Pattern to Match Your Favorite Dresses

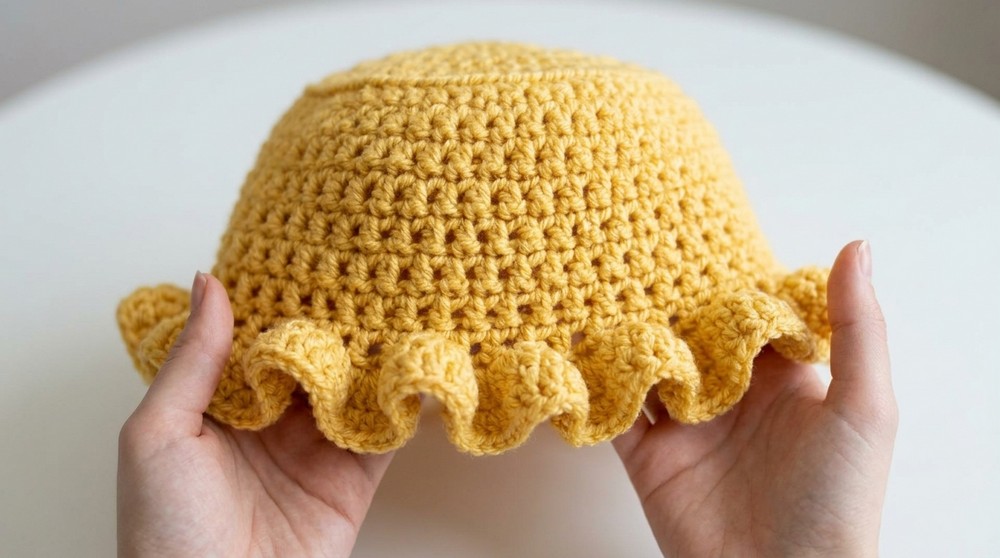
The design starts with a magic ring, a clever technique that creates a clean and sturdy beginning for the hat's circular shape. The double crochet stitches used in every step ensure the hat is soft, lightweight, and flexible, making it comfortable to wear all day. Adding ruffles at the brim takes the hat's look to another level, giving it a unique and playful feel that matches any summer outfit.
In summary, the crochet bucket hat with ruffles is a fun and charming project that builds your confidence while teaching you a useful skill. Create your own today and enjoy the beauty, practicality, and style of this amazing hat design.
Materials You'll Need:
- Yarn: Use a medium weight (worsted) yarn suitable for hats; around 150-200 yards.
- Example: Acrylic or cotton yarn for durability and comfort.
- Crochet Hook: Size H (5.0 mm) or recommended size for your yarn choice.
- Scissors: For cutting the yarn at the end.
- Tapestry Needle: For weaving in the ends.
- Measuring Tape: To ensure accurate measurements for your hat.
Gauge:
- To achieve an accurate fit:
- 4 inches = 14 double crochet (DC) stitches and 8 rows.
- Make a sample swatch and compare your measurements to ensure your tension matches the pattern.
Finished Size:
- Crown diameter: Approximately 6.5 inches.
- Hat circumference: About 21-24 inches (standard adult size).
- Hat height: Customize based on head size (average: 7-8 inches).
Special Techniques Used:
- Magic Ring (Adjustable Ring): Used to start the project cleanly and securely.
- Back Loop Double Crochet (BLO DC): Adds flexibility and texture to the hat's brim.
- Increases: To expand the crown size in a circular motion.
Step by Step Instructions:
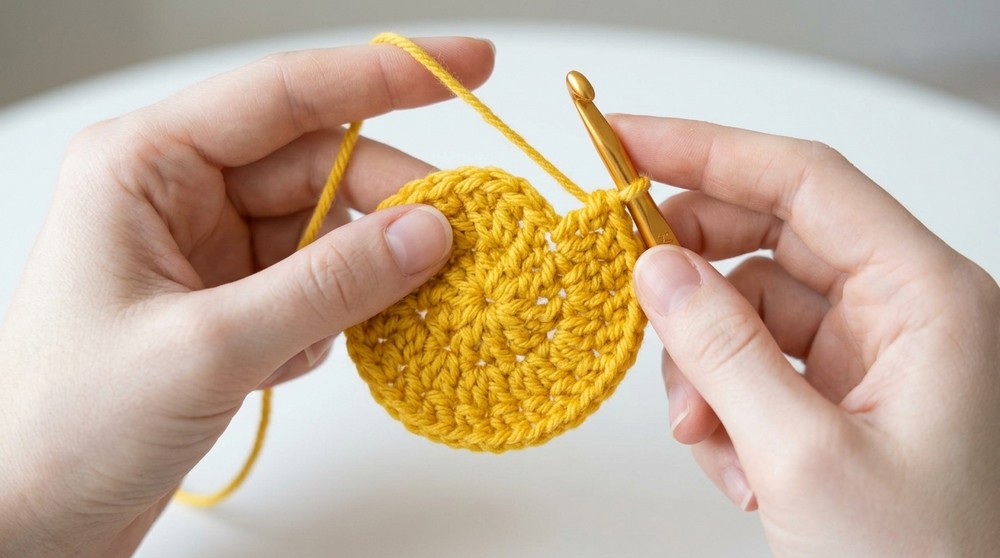
1. Start with the Magic Ring and First Row
- Create a magic ring:
- Wrap yarn around your fingers and form a loop.
- Pull a slip knot through the loop but keep it loose enough to work into.
- Chain 2: Acts as the starting height for your double crochets.
- Work 10 Double Crochet (DC) stitches into the ring:
- Yarn over, insert the hook into the magic ring, pull through a loop (3 loops on the hook).
- Yarn over, pull through the first 2 loops, yarn over again, and pull through the final 2 loops.
- Repeat the DC stitch 10 times.
- Pull the tail end of the ring to close the circle tightly.
- Slip stitch into the first DC to close the round.
- At this stage, you should have a neat, flat circle.
2. Second Row (Increase Row 1)
- Chain 2 (counts as the first stitch for height).
- Work 2 Double Crochet stitches into each stitch from the previous row.
- Insert 2 DC stitches into the same stitch to increase.
- At the end of this row, you should have 20 stitches total.
- Slip stitch into the first DC stitch to close the row.

3. Third Row (Increase Row 2)
- Chain 2.
- Pattern:
- Work 1 DC stitch into the first stitch of the row.
- In the next stitch, work 2 DC stitches into the same space (this is an increase).
- Repeat: 1 DC in the first stitch, 2 DC in the next.
- Continue the pattern all the way around the circle.
- Slip stitch to close the row.
- At this point, you should have 30 stitches total.
4. Fourth Row (Increase Row 3)
- Chain 2.
- Pattern:
- Work 1 DC into each of the first 2 stitches.
- In the third stitch, work 2 DC into the same space for an increase.
- Repeat all the way around: 1 DC, 1 DC, then 2 DC in the next stitch.
- Slip stitch to close the row.
- You should now have 40 stitches.
5. Subsequent Increase Rounds
- Continue increasing until the crown of the hat measures 6.5 inches in diameter (or fits snugly over the top of the head).
- For each additional round:
- Increase the number of single DC stitches between the increases:
- Example for next rounds:
- Row 5: Work 3 DC stitches, then 2 DC in the next stitch.
- Row 6: Work 4 DC stitches, then 2 DC in the next stitch.
- Example for next rounds:
- Increase the number of single DC stitches between the increases:
- Once your crown is the correct size, proceed to work the midsection without any further increases.
6. Midsection (Straight Rows)
- The midsection forms the sides of the hat, which taper down for a snug fit.
- Chain 2 and switch to Back Loop Only Double Crochet (BLO DC):
- Yarn over, insert your hook through the back loop only of the stitch below.
- Complete the DC stitch as usual.
- Working in the back loops creates a ridge like effect, allowing the fabric to flex and form a curve.
- Complete one row of BLO DC stitches around the circle without increasing.
- Slip stitch to close the row.

7. Build the Length
- For the remaining rows in the midsection:
- Work regular double crochet stitches (not BLO DC) for a smoother finish.
- Continue until the total height of the hat (from crown to brim) matches your desired measurement.
- For an average adult hat, this is roughly 7-8 inches in total.
8. Finishing
- Once the desired length is reached:
- Cut the yarn, leaving a 6 inch tail.
- Pull through the last loop to secure the end.
- Use a tapestry needle to weave in the loose ends securely between stitches.
- Trim the excess yarn, ensuring there are no visible ends.

Optional Customizations
- Add a Pom Pom: Attach a yarn or faux fur pom pom to the top of the hat for a fun look.
- Stripes or Color Changes:
- Switch yarn colors between rows to create stripes.
- To avoid visible joins, change colors at the end of a row while slip stitching.
- Brim Variations:
- Add a ribbed brim using front and back post double crochets (FPDC and BPDC).
- Create a folded brim by extending the midsection and folding it outward.
Tips for Success
- Test Gauge: Ensure your stitches match the given gauge to guarantee proper fit.
- Use Stitch Markers: Mark the beginning and end of each row to track progress easily.
- Adjust for Custom Sizing:
- Measure the wearer's head circumference and adjust the crown diameter accordingly.
- Add or reduce midsection height for a snug or looser fit.
- Maintain Tension: Keep your tension consistent to avoid uneven sections.

Conclusion
Congratulations on completing a versatile and stylish crochet hat. By following these straightforward steps, you've created a customizable accessory that can be tailored to any style or season. Whether you gift it or wear it yourself, this hat is sure to make a cozy and fashionable addition to anyone's wardrobe.
Final Look
Your hat should showcase:
- A smooth, rounded crown.
- Flexible, textured sides.
- A polished and professional finish with no loose ends.