Free Crochet Butterfly Keychain Pattern for Beginners
Flutter into fun with this Free Crochet Butterfly Keychain Pattern, that's perfect for adding tiny, colorful butterflies to keys, bags, or cute gifts.
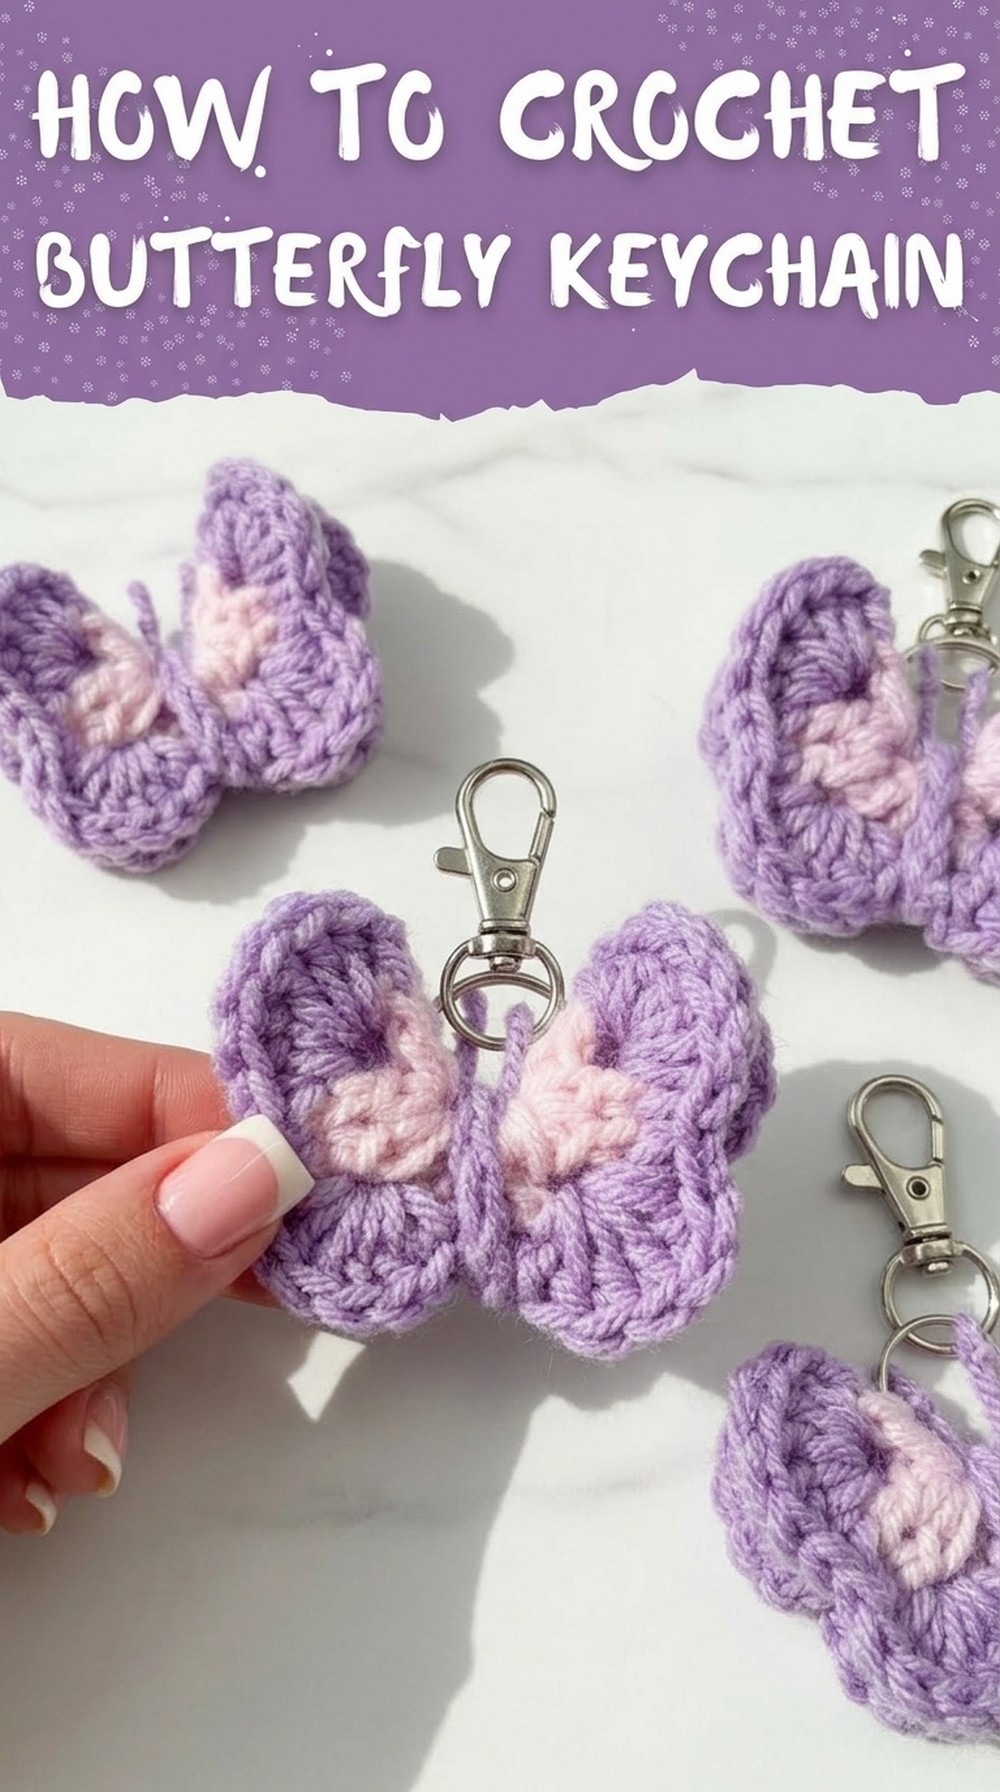
Not every keychain has to look boring or plain to be useful. The Free Crochet Butterfly Keychain Pattern brings charm and color to something as simple as your keys or bag. This tiny butterfly usually has soft, rounded wings with bright or pastel yarn shades that make it cheerful and lively. Its neat crochet stitches give it a polished handmade look, while the gentle yarn texture makes it pleasant to touch.
Cozy Free Crochet Butterfly Keychain Pattern for Pocket-Sized Fun

It can be used to decorate a bag, hang on a set of keys, or even serve as a small thoughtful gift that spreads happiness. The pattern follows easy steps with simple stitches, making it possible for a beginner to create a delicate, professional-looking butterfly. By choosing different yarn colors, each butterfly can look unique and vibrant. In the end, this crochet butterfly keychain is a small handmade piece full of beauty, color, and playful charm.

Easy Crochet Butterfly Pattern Step-by-Step
Materials Required
- Yarn:
- Worsted weight (4) acrylic yarn in two colors:
- Color 1 (base color for the wings).
- Color 2 (contrasting color for the body and antennas).
- Worsted weight (4) acrylic yarn in two colors:
- Hook:
- 4mm crochet hook.
- Additional Tools:
- Scissors.
- Tapestry needle (optional, for weaving in yarn ends).
- Keychain ring (optional, for making the butterfly into a keychain).
Special Techniques
- Slip Knot: To start your crochet work.
- Chain (ch): The foundation of your project.
- Slip Stitch (sl st): Used to join rounds and for a seamless finish.
- Single Crochet (sc): Creates a compact, tight stitch.
- Double Crochet (dc): Forms taller, looser stitches used for the wings.
- Basic Color Change: Switching yarn colors for a two-tone effect.
Finished Size
- Approx. 3-4 inches across, depending on yarn tension and hook size.

Pattern Instructions
Step 1: Start the Butterfly Body
- Make a Slip Knot:
- Wrap the yarn around your fingers to form an "X." Insert your hook under the first strand, pull up the second strand through the loop, and tighten to form the slip knot.
- Chain 10 (ch 10):
- Yarn over and pull through the loop on the hook. Repeat until you have 10 chains.
- Form a Circle:
- Join the first and last chains by making a slip stitch (sl st) into the first chain. This creates a small loop (your base).
- Trim Excess Yarn Tail (optional):
- If the starting yarn tail is getting in the way, trim it slightly for easier handling.


Step 2: Create the First Round (Wings Foundation)
- Chain 2 (ch 2):
- This will count as your first stitch.
- Make 2 Double Crochets (dc) Into the Center of the Circle:
- Double Crochet (dc): Yarn over, insert the hook into the circle, yarn over, pull up a loop (3 loops on hook). Yarn over, pull through the first 2 loops, then yarn over again and pull through the last 2 loops.
- Repeat this process to create 2 double crochets.
- Chain 2 (ch 2):
- Adds spacing between clusters of stitches.
- Repeat Double Crochet Clusters:
- Continue the sequence of 2 double crochets (dc) followed by chain 2 (ch 2) into the center of the circle until you have 8 clusters in total.
- Close the Round:
- Make a slip stitch (sl st) into the top of the first double crochet to close the round.


Step 3: Color Change for the Second Round
- Tie Off the First Yarn:
- Chain 1, cut the yarn, and pull the tail tightly through the chain to secure.
- Attach the Second Color:
- Insert your hook into any chain 2 space from the previous round. Pull the new yarn through to create a loop.
- Chain 1 (ch 1) to secure the new color.

Step 4: Form the Butterfly Wings
- Chain 2 (ch 2) Again to Begin the Round.
- Make 5 Double Crochets Into the Same Chain 2 Space:
- Yarn over, insert the hook into the chain 2 space, and create 5 double crochets (dc).
- Single Crochet Between Double Crochet Sets:
- Locate the 2 double crochets from the previous round (between the chain 2 spaces).
- Make 1 single crochet (sc) into the top of each double crochet before moving to the next chain 2 space.
- Repeat the Pattern for Each Chain 2 Space Around:
- Make 5 double crochets (dc) in the chain 2 space.
- Make 1 single crochet (sc) into each of the 2 double crochets between clusters.
- Finish the Round:
- After reaching the last chain 2 space, and completing the final set of 5 double crochets, join the round by making a slip stitch into the top of the first double crochet from the round.


Step 5: Form the Butterfly Body
- Chain 15 (ch 15):
- Work this chain without cutting the yarn.
- Fold the butterfly wings in half, bringing the opposite chain 2 spaces together.
- Wrap the Chain:
- Wrap the chain tightly around the center of the folded butterfly twice to form the body.
- Secure the Chain:
- Slip stitch into the bottom of the butterfly (where the single crochets are) to attach the chain securely.
- Tie Off:
- Chain 1, cut the yarn, and pull through the loop. Weave the remaining tail into the wings or body.
Step 6: Add the Antenna
- Cut a Small Length of Yarn:
- Use the second yarn color and cut an 8-10-inch piece of yarn for the antenna.
- Tie Knots at Both Ends:
- Tie a knot about 1 inch in from both ends to represent the tips of the antennae.
- Attach the Antenna:
- Thread the yarn under the chain wrapping the body and tie a tight knot to secure it in place.
- Trim the ends to your desired length.

Finishing Steps & Final Look
- Secure All Yarn Tails:
- Weave in any loose ends using a tapestry needle or the hook.
- Trim Excess Yarn:
- Cut any extra yarn closely to avoid messy ends.
- Form the Butterfly Shape:
- Adjust the wings if needed and flatten them to reveal the butterfly's shape.
- Optional Keychain Hook:
- Insert a keychain ring through the yarn wrapping the body for a functional charm.
Tips & Suggestions
- Customization:
- Change the colors for the wings and body for varied butterflies. Try gradient yarns for a unique effect.
- Size Variation:
- Increase or decrease hook sizes for larger or smaller butterflies.
- Layer Effect:
- Create multiple butterflies and stack them for a 3D effect by stitching them together.
- Uses:
- Attach to keychains, bags, or hats. Use them as appliqués for blankets or pillows.
Final Words
Congratulations on completing your butterfly! This fun and quick project is perfect for refining your crochet skills while making something beautiful. Use your crochet butterflies to embellish gifts, create decorations, or keep them as charming keepsakes.