
Crochet Tutorial: Free Crochet Carrot Hat Pattern with Steps
Try this Free Crochet Carrot Hat Pattern to stitch a fun, vibrant, and cozy hat! Ideal for all levels, it features a charming carrot motif and a snug fit.
This playful and charming headwear is the perfect project for crochet lovers looking to try something fun and unique. Using a Free Crochet Carrot Hat pattern, you can create a cozy hat with a cute, textured design featuring a vibrant orange vegetable motif. The beauty of this pattern lies in its simplicity yet creative details-combining orange and green leftover yarn, it captures the essence of freshness and playfulness. Whether it's a gift for kids, a fun accessory for photoshoots, or a cheerful addition to a holiday outfit, this hat offers so many possibilities.
Adorable Free Crochet Carrot Hat Pattern with Appliqué Details
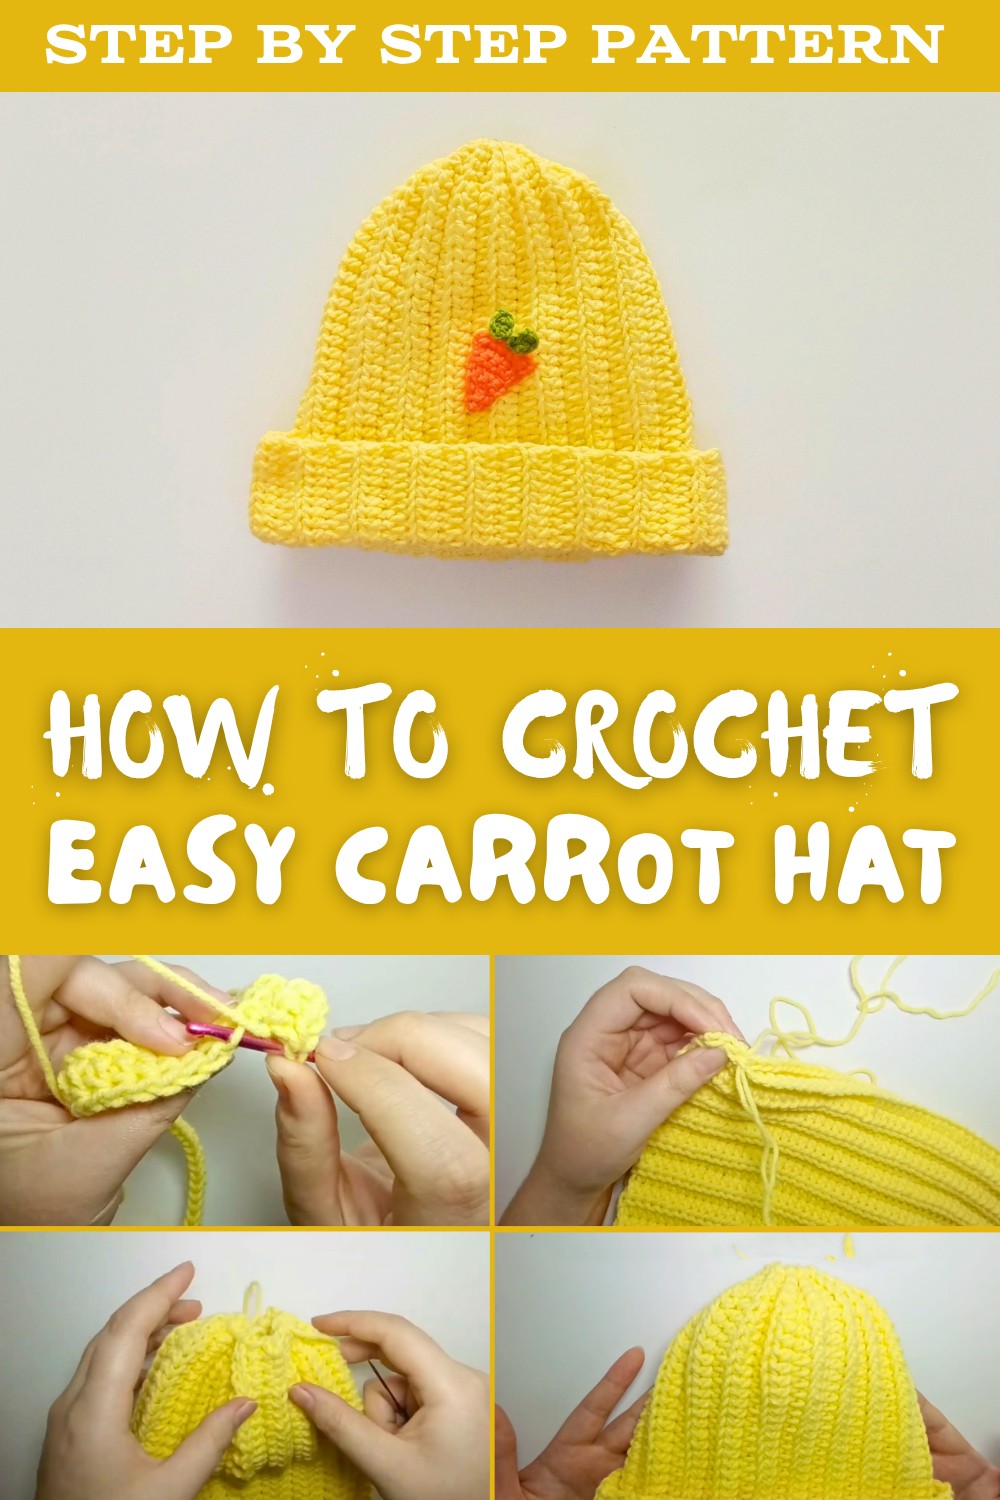
The step-by-step process involves basic stitches like single crochet and half double crochet, making it achievable even for beginners. The brim adds extra charm and ensures a snug fit, while the decorative carrot applique attached to the side takes the design to the next level. The pattern allows for versatility, offering size adjustments for various ages and preferences.
With just a 4.5mm crochet hook, scissors, darning needle, and a bit of yarn, anyone can bring this fun project to life. The result? A whimsical hat that's practical, adorable, and unique-a true standout among DIY crochet ideas. Suitable for any crochet enthusiast, this project is both stylish and memorable.

Crochet Carrot Hat with Applique - Detailed Pattern
Skill Level
Intermediate - Requires proficiency in working with loops, alternating stitches, shaping, sewing, and applique creation.
Materials
- Yarn:
- Approximately 70g yarn for the hat (choose any soft DK/sport-weight yarn for a comfortable fit).
- Green and orange scrap yarn for the carrot applique.
- Hook:
- 4.5mm crochet hook (or adjust according to yarn type).
- Additional Tools:
- Tapestry needle (for seaming and sewing applique).
- Scissors (for trimming yarn tails).
Key Abbreviations (US Terminology)
- ch: Chain
- sc: Single crochet
- hdc: Half double crochet
- sl st: Slip stitch
- back loop only (blo): Insert the hook into the back loop of the stitch only.
- increase: Two stitches worked into the same stitch.
Pattern Notes
- Construction: The pattern begins with the hat base worked in rows. The brim is naturally integrated using single crochets on one side. The hat is seamed, cinched, and flipped right-side out before adding the applique.
- Customization: Adjust row count for different head sizes.
- Special Techniques:
- Back Loop Only: Creates texture and stretch.
- Applique Construction: The carrot and its leaves are crocheted separately and sewn onto the hat.
Step-by-Step Instructions
Part 1: Hat Base
Step 1 - Begin Base
- Chain 47 (for a hat with a brim).
- For a hat without a brim, chain 40 instead.
- Add Turning Chain: Chain 1 more, which will serve as the turning chain (this does not count as a stitch).
Step 2 - Row 1
- Skip the turning chain and begin working into the second chain from the hook:
- Work 4 sc.
- Half Double Crochets (hdc):
- Continue working hdc across until the end of the row.
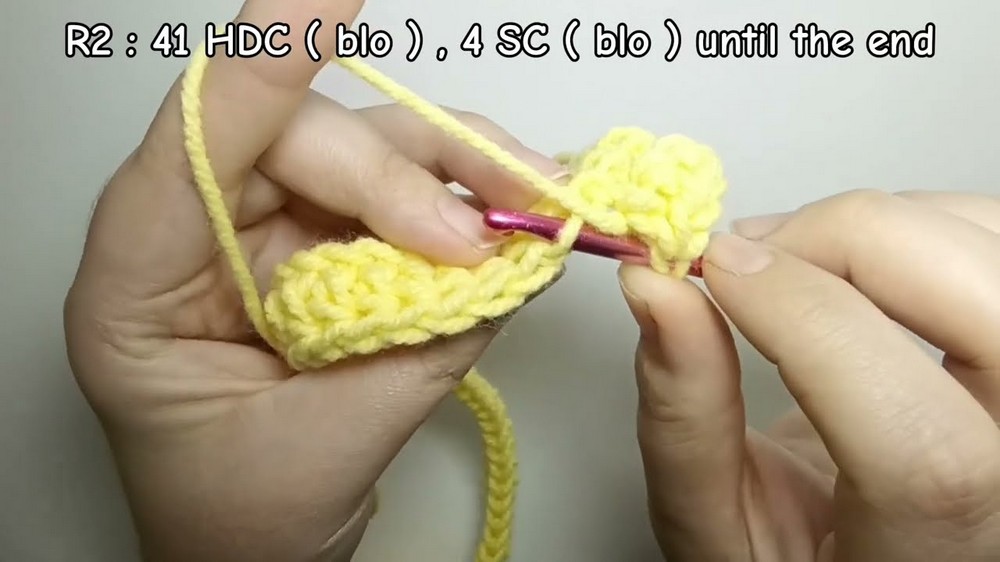
Step 3 - Row 2
- Chain 1, turn work.
- Work hdc blo across the row until the last 4 stitches.
- In the final 4 stitches: sc blo, creating a textured edge.
Step 4 - Continue Rows
- Repeat Rows 1 and 2 alternately until the hat measures approximately 46 rows (or adjust to fit your head circumference).
- As a guide:
- Always work hdc blo until the last 4 stitches, switching to sc blo in those stitches.
- Keep turning your work at the end of each row with chain 1.

Step 5 - Join Side Seams
- Fasten off yarn, leaving a long tail to sew the seam.
- Thread the tail onto a tapestry needle.
- Fold the piece in half and seam the edges together by:
- Insert the needle into one stitch from each side.
- Work slip stitch-like motions evenly across the seam for a neat finish.

Step 6 - Close Top
- Using the same tail and needle, work around the top edge of the hat:
- Insert the needle into every 2-3 stitches along the edge.
- Pull tightly to cinch the top hole closed.
Step 7 - Reinforce Closure
- If the hole is not fully closed, reinforce by sewing across the gap a few more times.
- Weave in all ends securely.
Part 2: Carrot Applique
Carrot Body
- Orange Yarn:
- Make a slip knot and chain 3.
- Row 1:
- Skip 1 chain and work 2 sc into the remaining chains.
- Row 2:
- Turn your work, chain 1.
- Work single crochet increase in each stitch (this means work 2 sc in the same stitch).
- At the end of Row 2, you should have 4 sc.
- Row 3:
- Turn your work and chain 1.
- Work sc normally across the row (no increases).
- Rows 4 and 5:
- Work sc across until the last stitch.
- In the last stitch: single crochet increase.
- Continue this increase at the end of Rows 4 and 5.
- Row 6:
- Work sc normally across the row.
- Row 7:
- Work sc across until the last stitch.
- In the last stitch: single crochet increase.
- Fasten Off:
- Leave a long yarn tail for sewing.

Carrot Leaves
- Green Yarn:
- Make a slip knot and chain 3.
- Row 1:
- Skip one chain and work 1 sc, 1 hdc into the remaining chains.
- Fasten Off:
- Leave tails for sewing.
- Assembly:
- Tie the leaf tails together securely at the base to form an anchored point.

Attach Leaves to Carrot
- Thread one of the tails onto a needle.
- Sew the leaf assembly onto the carrot's upper edge.
- Weave in the ends.
Part 3: Attach Applique to Hat
- Choose your preferred spot for the carrot applique on the hat.
- Use the carrot tail (orange yarn) to sew the applique securely onto the hat using backstitch or slip stitch-like motions.
- Sew down the body and ensure it is attached firmly.
- Weave in ends to hide them.
Finishing
- Flip the Hat:
- Turn the hat inside out to reveal the right side.
- Ensure the sewn carrot applique faces outward.
- Weave in Ends:
- Secure all stray yarn tails.
- Trim excess yarn.

Final Words
Congratulations! Your charming carrot hat is now complete. This quirky design is perfect for gifting, wearing during colder months, or adding a playful touch to your wardrobe.
Tips for Success
- Adjust Size:
- Measure as you progress to ensure the hat fits correctly. Add or reduce rows as necessary.
- Reinforce Seams:
- Sew tightly to avoid gaps in the side seams or top closure.
- Applique Variations:
- Experiment with other shapes (e.g., fruits or animals) to create different themes for the hat.
- Stretch Control:
- Use t-shirt yarn or similar materials with stretch for a snug fit.
- Care for Finished Hat:
- Hand wash gently to preserve the yarn and applique details.