
Free Crochet Checkered Bucket Hat Pattern for Street Style
Opt for stylish headwear with Free Crochet Checkered Bucket Hat Pattern, offering bold design, sun comfort and breathable wear for daily use.
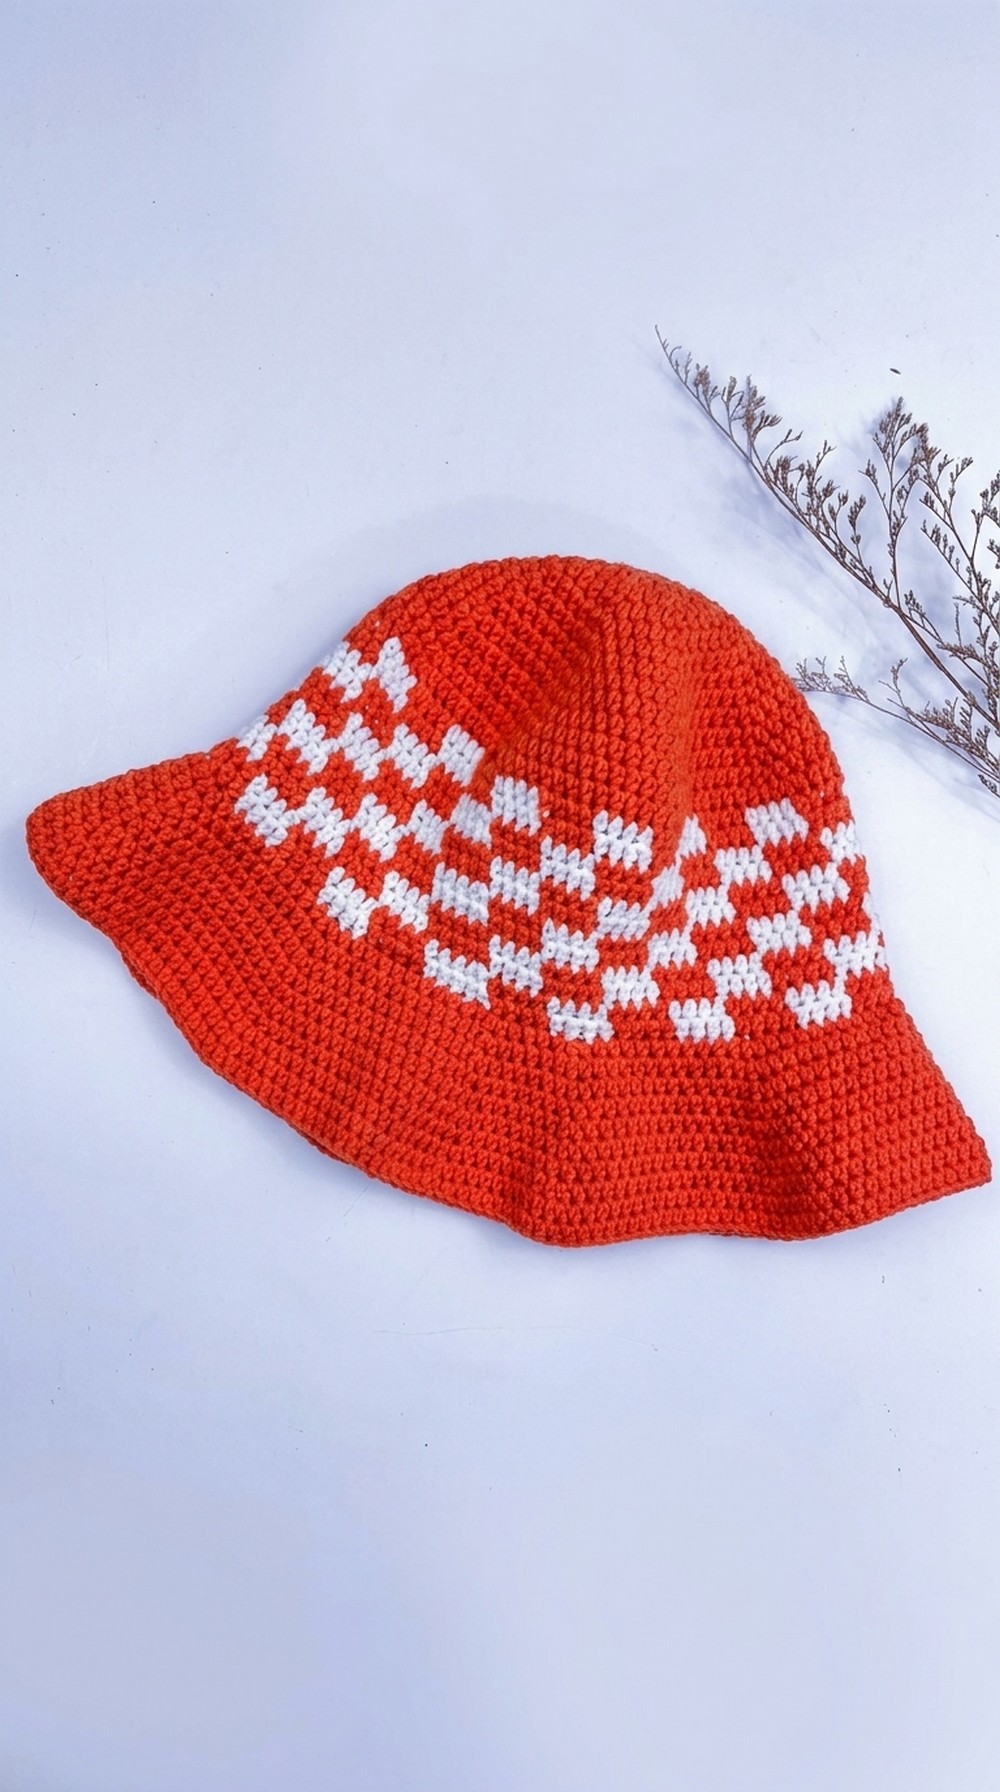
A dull and lifeless hat can make any outfit feel unfinished and fail to protect you well from the sun's heat. That is why the Crochet Checkered Bucket Hat pattern is a great choice for adding both style and function to your wardrobe. This pattern guides you through making a hat with a unique checkered design using two colors, creating a lively and modern look. It is easy to follow and perfect for anyone who wants to crochet a useful and fashionable accessory.
Free Crochet Checkered Bucket Hat Pattern for Fashion Lovers
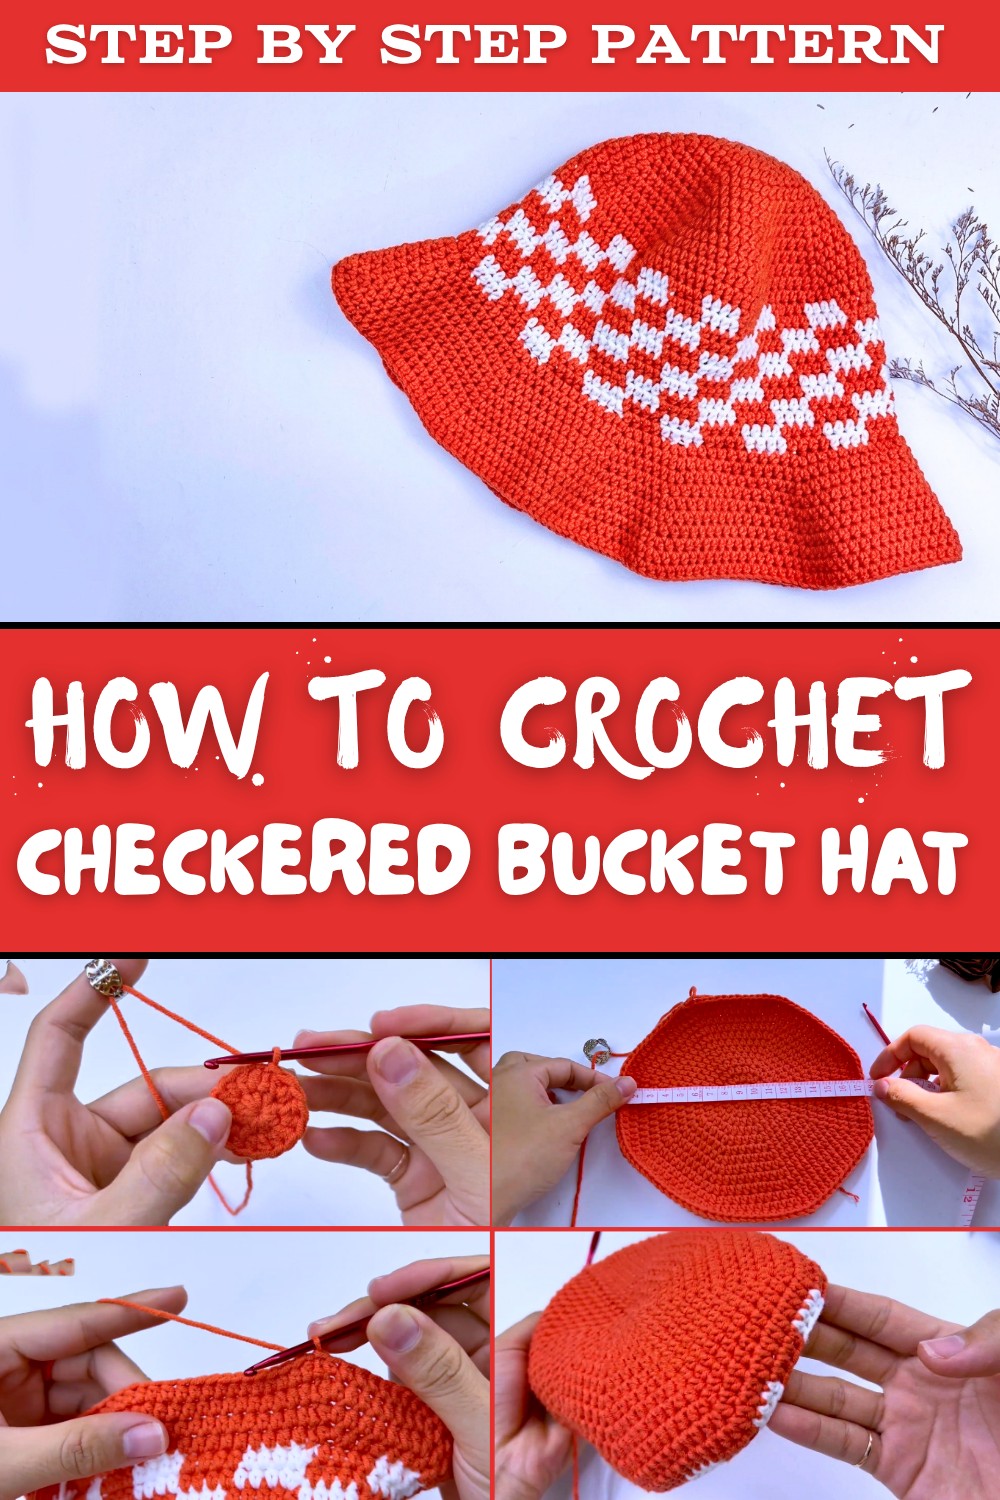
Wearing a hat made from this pattern helps shield your face and neck from harsh sunlight, keeping you cool and comfortable during hot days. Beyond its practical benefits it also boosts your creativity by letting you select colors that match your taste and personality. The bucket shape offers excellent coverage while remaining lightweight and breathable, which makes it ideal for outdoor activities like walking in the park or relaxing at the beach.
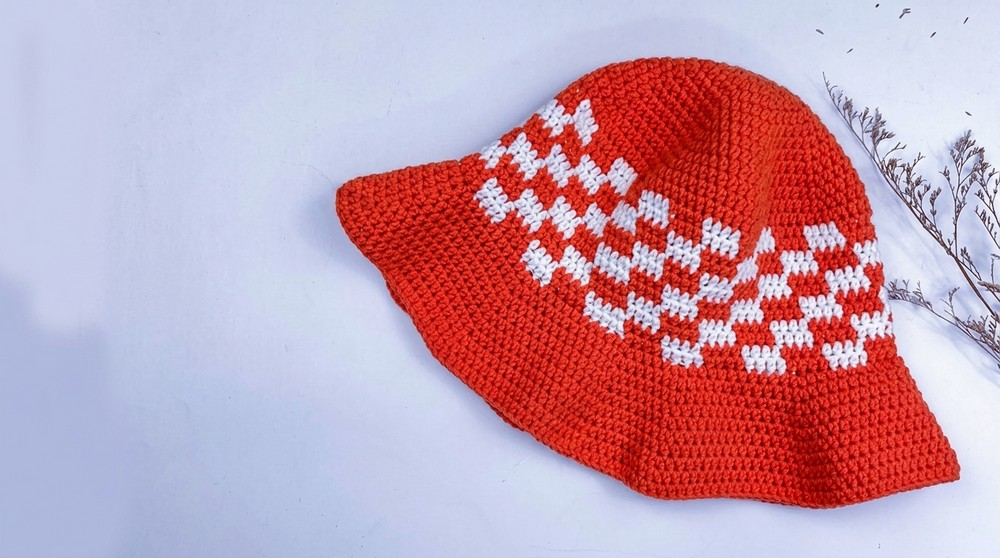
This pattern is a wonderful way to develop your crochet skills and practice patience as you work stitch by stitch. It is suitable for beginners and experienced crocheters alike who want a quick and satisfying project. The texture of the hat feels soft and pleasant on the skin ensuring you enjoy wearing it often. Plus it makes a thoughtful handmade gift that shows effort and care.
Overall the Crochet Checkered Bucket Hat pattern adds charm and usefulness to your collection by turning yarn into a stylish sunshade. It transforms a simple piece of headwear into a personal and unique creation that brightens up any day. With this easy-to-follow pattern you get more than just a hat you get a small treasure crocheted with your own hands.
Checkered Bucket Hat Crochet Pattern
A stylish checkered bucket hat worked with color changes and textured stitches. This easy-to-follow pattern is perfect for beginner crocheters looking to expand their skills, featuring basic stitches combined with simple techniques like magic ring, half double crochet, and color switching.
Before You Start
- Familiarize yourself with the following crochet techniques: Magic Ring, Chain (ch), Half Double Crochet (hdc), Slip Stitch (sl st), Front Loop work, and Increase stitches.
- Use a 3.5 mm (US E) crochet hook and a yarn with 5 ply thickness. Approximately 125g of yarn is required.
- Choose two contrasting colors for the checkered effect.
- Prepare scissors and a darning needle for weaving in ends.
- Carry the yarn strand along the inside when switching colors to keep your work neat.
- Hold your yarn in a way that feels comfortable and consistent for you to maintain tension.
Pattern Notes
- Worked in continuous rounds with slip stitch joins after each round.
- Color changes occur frequently to create the checkered pattern - usually after every 4 stitches.
- Stitches are worked mainly in the front loop to enhance the textured look, especially on the brim.
- The pattern starts from the top of the hat (crown) and works downwards, ending with a flared brim.
- Gauge is not strict but keeping consistent tension will help achieve the intended size.
- You will be changing colors throughout the body section, so carry your unused yarn neatly inside the hat.
How This Crochet Pattern Is Made
- Begin with a magic ring and work the crown in increasing rounds of half double crochet stitches.
- Continue with color-changing half double crochet rounds to form the body of the hat with a checkered design.
- Finish with expanded brim rounds that include increases worked in front loops for structure and shape.
- Weave in ends securely and block if desired for a polished finish.

Skill Level
Beginner to Intermediate beginner. Suitable if you know basic stitches and are comfortable with changing colors while crocheting.
Finished Size
- Small to Medium adult head size with approximately:
- Crown diameter: 17 cm (6.6 inches)
- Body height: 8 cm (3 inches)
- Brim width: approximately 7.5 cm (3 inches, estimated)
Materials
- Approx. 125 grams of 5 ply yarn (two colors)
- 3.5 mm (US E) crochet hook
- Scissors
- Darning/tapestry needle for weaving in ends
Gauge
Gauge is not critical but an approximate gauge is:
- Half Double Crochet (hdc) in the round: 16 stitches = 4 inches (10 cm) when worked with 3.5mm hook and yarn.
Maintain consistent tension throughout.
Stitch Abbreviations
- ch = chain
- hdc = half double crochet
- sl st = slip stitch
- st(s) = stitch(es)
- inc = increase (2 hdc in the same stitch)
- FO = front loop only
Special Stitches
Magic Ring
Create an adjustable loop to start rounds worked in the round, allowing you to pull tight and close the center.
Increasing Half Double Crochet (hdc inc)
Make 2 hdc stitches in the same stitch to increase the stitch count evenly.
Working in Front Loop Only (FLO)
Insert your hook only under the front loop of a stitch instead of both loops. This technique creates a textured effect.
Crochet Pattern Instructions
Crown (Top of the Hat)
Round 1:
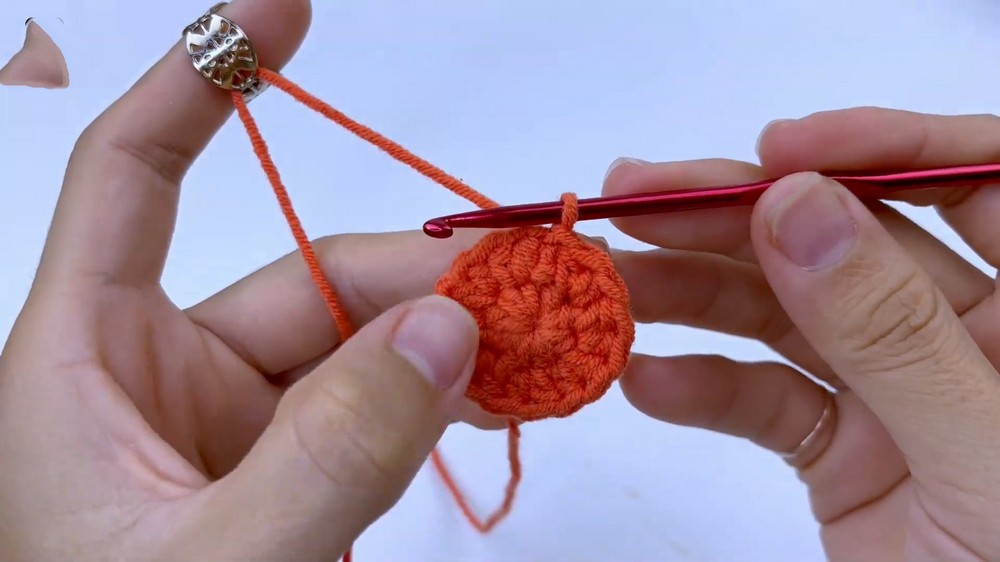
- Make a Magic Ring.
- Ch 1, work 8 hdc into the ring.
- Pull the tail to close the ring tightly.
- Sl st to first hdc to join.
- Stitch count: 8
Round 2:
- Ch 1.
- Hdc inc in every stitch around (2 hdc in each stitch).
- Sl st to join.
- Stitch count: 16
Round 3:
- Ch 1.
- Hdc in the first stitch, hdc inc in the next stitch. Repeat from * to * around.
- Sl st to join.
- Stitch count: 24
Round 4:
- Ch 1.
- Hdc in next 2 stitches, hdc inc in next stitch. Repeat 8 times.
- Sl st to join.
- Stitch count: 32
Round 5:
- Ch 1.
- Hdc in next 3 stitches, hdc inc in next stitch. Repeat 8 times.
- Sl st to join.
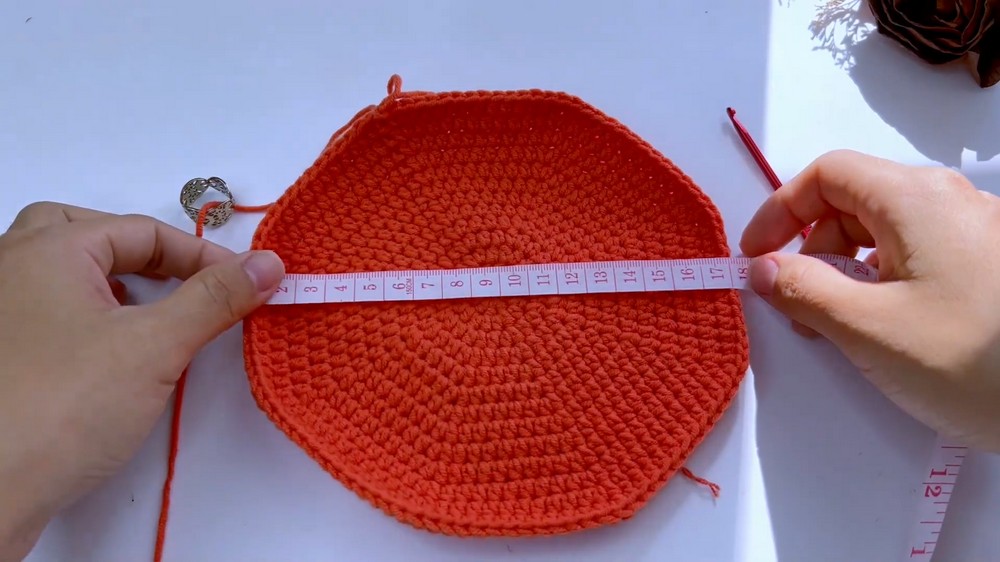
- Stitch count: 40
At this point your crown should measure about 17 cm (6.6 inches) across.
Body (Checkered Design)
Round 1:
- Ch 1.
- Hdc in next 4 stitches, switch color on the 4th stitch, hdc in next 4 stitches. Repeat around.
- Sl st to join.
Note: When switching colors, carry the yarn along the inside of the work to avoid too many ends.
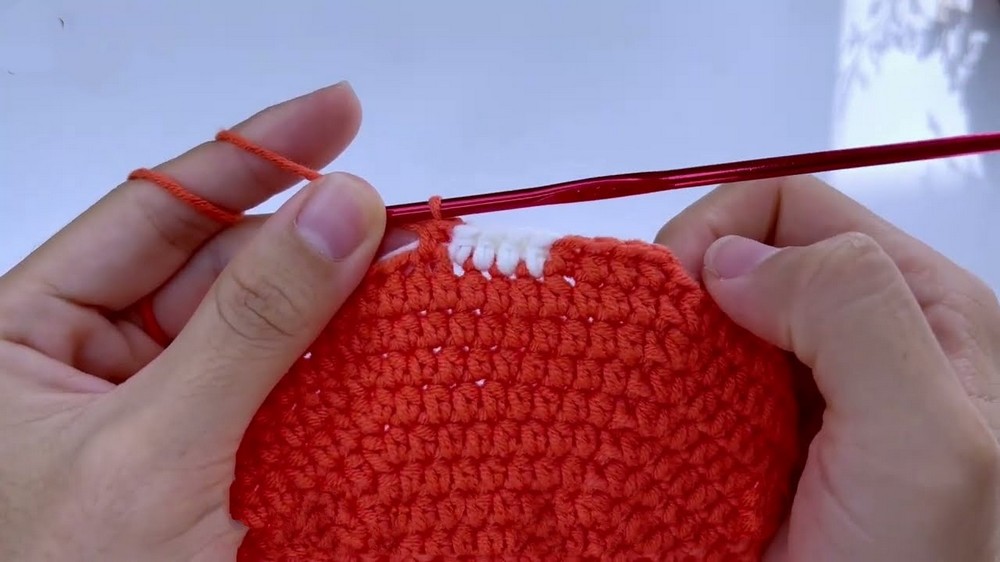
Round 2 to Round 12:
- Repeat Round 1 instructions. Always switch color at the 4th stitch when indicated to create the checkered blocks. Carry strands yarn inside.
- Sl st join at the end of each round, switching color if necessary.
The body section height will measure about 8 cm (3 inches).

Brim (Flared Edge)
Round 1:
- Ch 1.
- Hdc in next 10 stitches, hdc inc in next stitch. Repeat 8 times.
- Then make 4 hdc in next 4 stitches, hdc inc in next stitch, all worked in front loops only (FLO).
- Sl st to join.
- Stitch count: 102
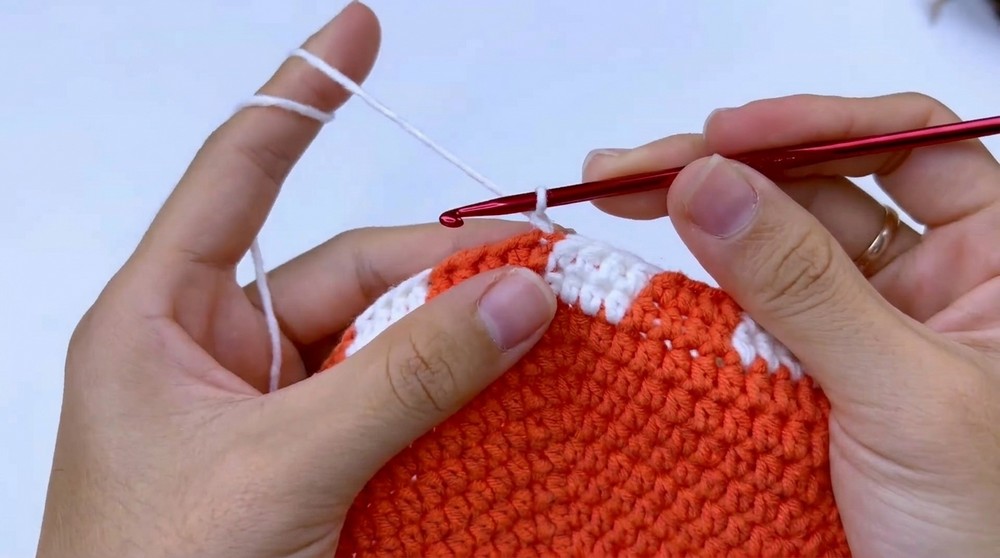
Round 2:
- Ch 1.
- Hdc in next 11 stitches, hdc inc in next stitch. Repeat 8 times.
- Make 5 hdc in next 5 stitches, hdc inc in next stitch.
- Sl st to join.
- Stitch count: 111
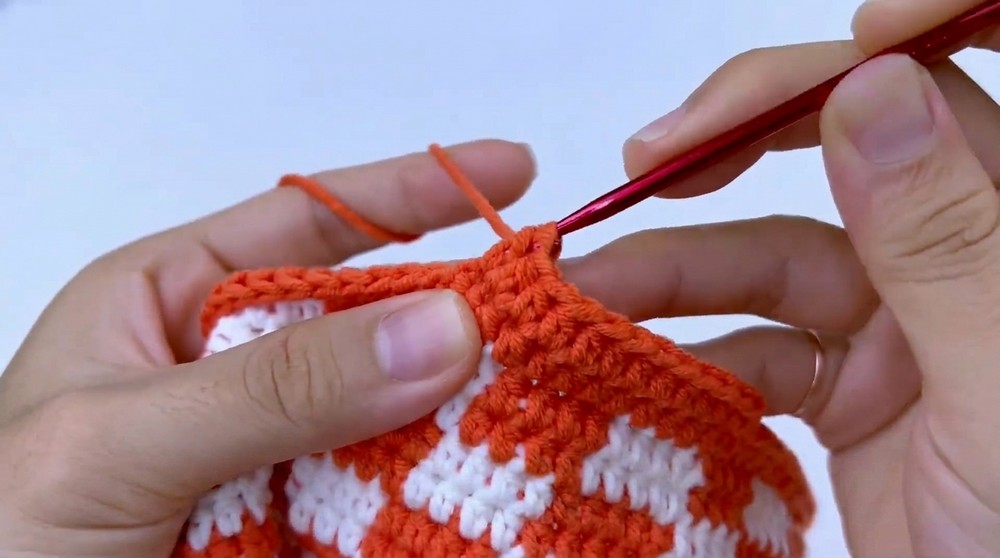
Round 3:
- Ch 1.
- Hdc in every stitch around in front loops only.
- Sl st to join.
- Stitch count: 120

Explanation for Beginners
- For beginners, the magic ring is the start at the center of the hat; pulling on the tail tightens the hole in the middle.
- Increasing rounds add stitches evenly to keep the hat growing flat for the crown.
- By changing colors every few stitches in the body, a checkered pattern emerges. Always carry the unused yarn inside to keep your work neat.
- The brim rounds have increases too but are worked in the front loops only to create a slightly textured edge that flares out.
Assembly and Finishing
- Cut yarn leaving a long tail after the brim last round.
- Use a darning needle to weave in all yarn tails securely on the inside of the hat.
- Shape the hat gently with your hands and block lightly if needed to maintain shape.
- Avoid excessive stretching or washing to keep the hat's structure intact.
Troubleshooting Guide
- Problem: Hole too large in magic ring center.
Solution: Pull the ring tighter before joining the first round and secure the short tail along the inside when weaving in. - Problem: Color changes are loose or look messy.
Solution: When switching color, tighten the new yarn and carry unused yarn along the inside instead of cutting after each change. - Problem: Brim curls up.
Solution: Check tension on the brim rounds and consider blocking or adding a light weight while drying.
Creative Uses
- Use this same checkered stitch pattern to make matching scarves or headbands.
- Try different color combinations for a fun personalized look.
- Adjust the brim length for sun hats or bucket hats in various sizes.
- Add a decorative pompom or button to the top for flair.
- This pattern is excellent for creating coordinated baby or toddler hats by adjusting the size.