
Free Crochet Cherry Pattern to Add Fun to Your Projects
Bring the magic of sweet cherry charm to life with this free crochet cherry pattern perfect for adorable projects, vibrant decorations, and exciting creations everyone will love.
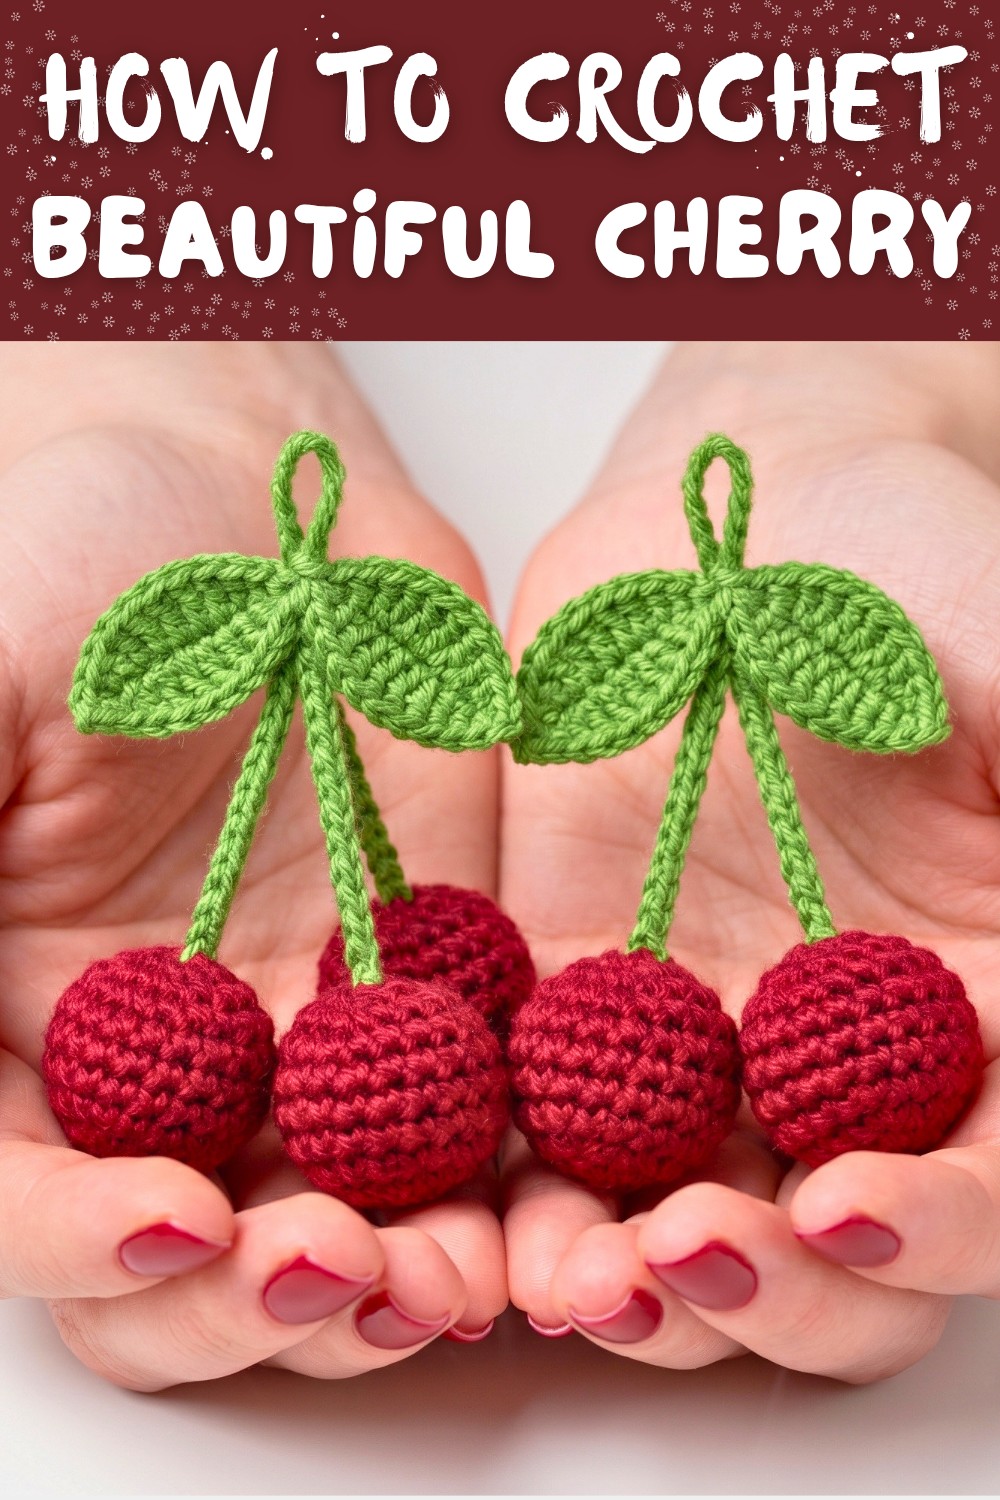
Refresh your crochet collection by making a sweet and cheerful fruit toy that's as fun to create as it is to show off. This bright red crochet cherry design features two plump, glossy berries with a long green leaf stem that looks just like a fresh pick from an orchard. Its realistic and vibrant look is perfect to use as a bag charm, keychain, or even as a stylish zipper pull for your jacket or school backpack.
Easy Crochet Cherry Pattern Everyone Will Love - It's Free

New to crochet? No problem. This free crochet cherry pattern is super beginner friendly and easy to follow. You'll create cherries with a soft, stuffed cushion texture and a neat, twisting top loop that's both lightweight and durable. The hidden stitch lines ensure that this crochet not only looks seamless but holds its shape beautifully, even during playtime or after a gentle wash.
This project needs only basic tools - thin red and green yarns, a simple crochet hook, and some stuffing - making it an affordable and fun way to practice crocheting round shapes. Its bright and lively appearance makes it perfect for gifting, or even to add a pop of color to your own accessories.

Crochet Cherry Pattern
Finished Size
The finished size of each cherry is approximately 2 inches (5 cm) in diameter with leaf and chain attachments measuring differently based on your preferences.
Materials Required
- Pink Yarn: For creating the cherry (recommended yarn weight: medium/4).
- Green Yarn: For crafting the leaf and stem.
- Hook Size: 3.0 mm crochet hook.
- Scissors: For trimming excess yarn.
- Needle: For sewing and weaving ends.
- Stitch Marker: To identify the first stitch of each round.
- Cotton Filling or Scrap Yarn: To stuff the cherries.
- Gauge: Gauge is not critical for this pattern, but ensure your stitches are tight to avoid holes in the fabric.
Pattern Instructions
Cherry
- Magic Ring Setup
Using pink yarn, create a magic ring. Chain 1 to secure. - Round 1: Single Crochet
Make 6 single crochets (SC) into the magic ring. Pull the ring tight to close the center. Use a slip stitch to join the last SC with the first SC. (6 SC) - Round 2: Increase Round
Chain 1. Place two single crochets in each stitch around, totaling 12 single crochets. Use a slip stitch to finish the round. (12 SC) - Round 3: Alternating Increases
Chain 1. Work 1 single crochet into the first stitch, then 2 single crochets into the next stitch. Repeat this sequence (1 SC, 2 SC) around. You should now have 18 single crochets. Use a slip stitch to end the round. (18 SC) - Rounds 4 & 5: Stabilize
Chain 1. Work 1 single crochet in each stitch around. Slip stitch to complete the rounds. (18 SC each round) - Round 6: Decrease with Alternation
Chain 1. Work 1 single crochet into the next stitch, then make a decrease by crocheting two stitches together (2 SC → 1 SC). Repeat this sequence around (1 SC, Decrease). Slip stitch to end. (12 SC) - Round 7: Full Decrease
Chain 1. Decrease across all the stitches by crocheting two stitches together until there are 6 stitches left. Slip stitch to close. (6 SC) - Stuffing
Fill the cherry with cotton stuffing or leftover yarn scraps before closing the last few stitches. - Weave Ends
Cut the yarn, leaving a small tail, and weave it neatly into the cherry to hide it.


Leaf
- Chain Foundation
Using green yarn, chain 15 stitches. - Leaf Shape
- First row: Single crochet into the second chain from the hook. Half double crochet (HDC) in the next stitch, then double crochet (DC) into the next three stitches.
- Middle of the row: Work 3 double crochets into the next stitch.
- Continue with HDC and SC until the end of the row.
- Slip stitch to finish.
- Reverse Side
Repeat the same stitch pattern on the opposite side of the chain to form a symmetrical leaf. - Finish and Weave Ends
Cut the yarn and secure the leaf. Use the needle to weave in any remaining ends.


Assembly
- Chain for Attachment
Create a long chain using green yarn (approximately 30 stitches). This chain serves as the stem connecting cherries and leaves. - Attach Cherry and Leaf
- Use a needle to sew or attach the leaves and chain to the cherries securely.
- Make sure the chain doesn't slip loose by knotting and weaving ends tightly.
Special Techniques
- Magic Ring: Wrap yarn around your finger to create a loop. Insert the hook, pull yarn through, and secure with chains.
- Invisible Decrease: Insert hook into the front loops of two stitches, yarn over, pull through both loops and complete the stitch.
Customization Ideas
- Color Variations: Experiment with different fruit colors like red, yellow, or orange for cherries.
- Size Changes: Adjust the number of rounds to make bigger or smaller cherries.
- Additional Features: Add extra leaves or beads to enhance the design.
Tips for Crocheting
- Maintain Tension: Ensure consistent tension throughout to avoid uneven shapes.
- Use Stitch Markers: Mark the first stitch of each round for seamless progression.
- Practice Magic Ring: Perfecting the magic ring technique will give you cleaner and neater results.
Conclusion
This cherry crochet pattern is a delightful and easy project suitable for beginners and advanced crocheters alike. The cheerful design can be customized into various accessories, providing a fun way to enhance your crafting skills. Whether as a gift or personal decoration, these cherries are sure to stand out with their vibrant look.
Important Remarks
Once completed, your cherry design should have a charming, handmade appeal. These adorable creations look great attached to bags, hairbands, or even sold as unique accessories. Always secure your stitches tightly and weave in all ends for a polished finish.