
Free Crochet Doily Coaster Pattern That Wow Every Guest
Give your drinks a pretty place to sit with this Free Crochet Doily Coaster Pattern-it's about adding beauty and charm to your special moments
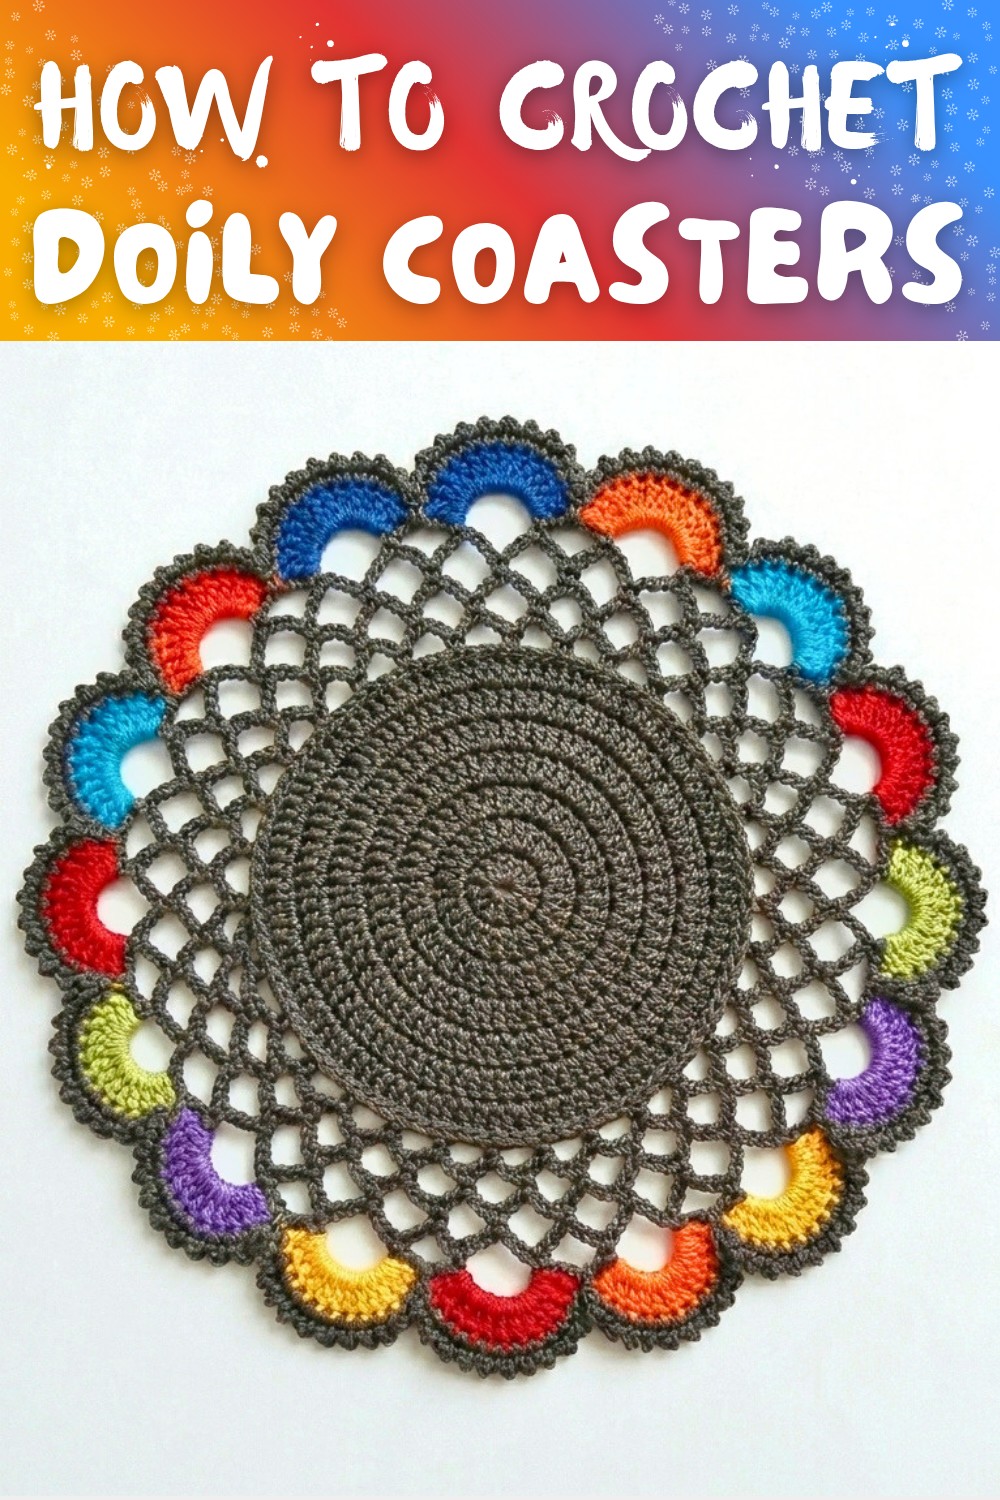
Bright shades and a playful design bring life and cheer to your space, making it a fun project for anyone who loves adding a touch of creativity to their home. This Crochet Doily Coaster Pattern has a delicate and elegant design, created using simple stitches like chains, double crochets, and single crochets. The pattern forms a beautiful circular shape with decorative open spaces that give it a light and airy feel. Its size is approximately 13 inches, making it ideal as a coaster for mugs, small plants, or even as a centerpiece for small tables.
Stunning Free Crochet Doily Coaster Pattern to Style Your Space
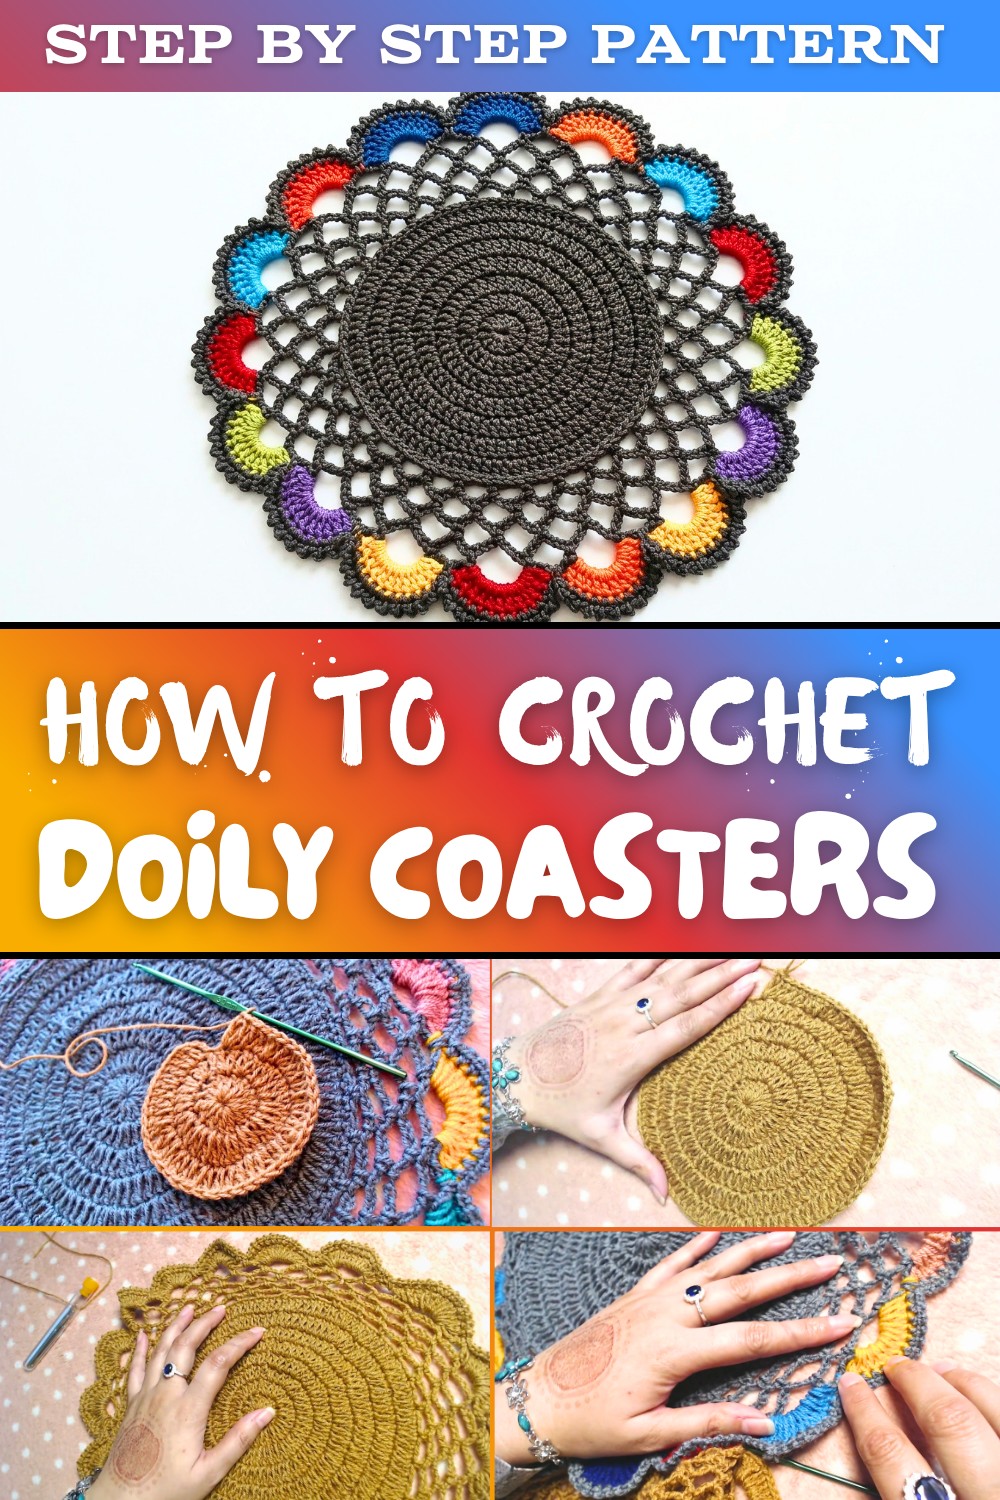
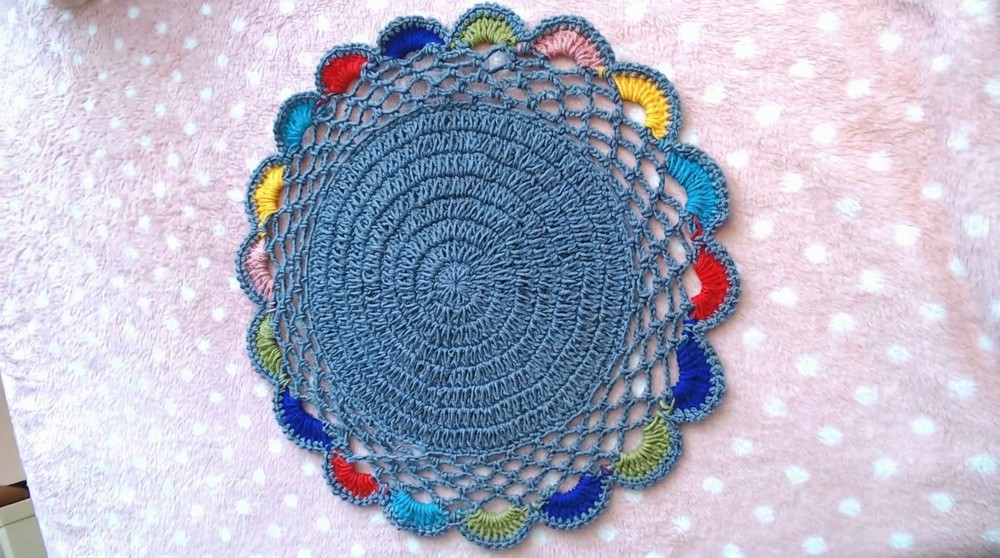
You can customize the doily by using different yarn colors for a unique look. Cotton yarn is recommended because it holds its shape well, but you can also use other thin yarns for different textures. A 3mm crochet hook works best to make the stitches neat and tidy.
This pattern is a mix of dense and lacy stitches, resulting in a timeless piece with elegant details. The stitches create a pattern that is lovely to look at and easy to follow. Whether you leave it in one color or change colors in certain rounds, your finished doily coaster will look professional and stylish.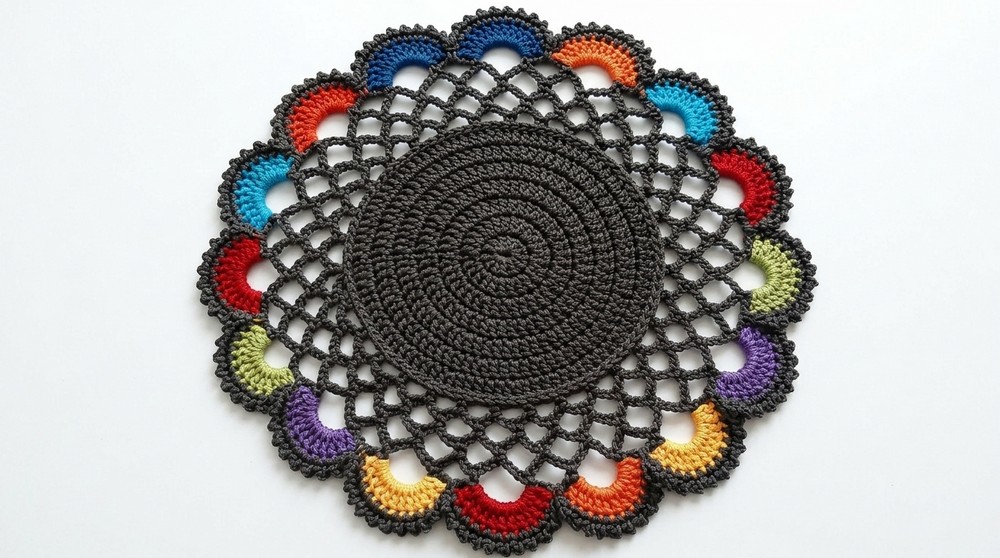
You can gift these doilies to friends or family or use them to decorate your home. The simple yet creative design ensures they fit any occasion. Start crocheting now and enjoy creating something beautiful and useful. Let your creativity shine with this free crochet doily coaster pattern.
Crochet Doily Coaster Pattern
Materials
To crochet this doily, you will need:
- Thin Yarn (Recommended: Cotton Yarn): Cotton yarn is ideal for doilies due to its durability and structure. Acrylic yarn may also be used but won't produce the same crisp texture.
- 3mm Crochet Hook: A smaller hook ensures tight and neat stitches, perfect for doilies.
- Scissors: To cut off yarn tails after completing the pattern.
- Tapestry Needle: For weaving in ends and securing the project.
Abbreviations
Common crochet abbreviations used in this pattern are:
- Ch: Chain
- Sl St: Slip Stitch
- SC: Single Crochet
- DC: Double Crochet
Detailed Instructions
1. Round 1: Form the Center
- Begin with a slip knot, placing it on your hook.
- Ch 4, then use Sl St into the first chain to form a small center ring.
- Ch 3 (This will not count as the first DC).
- Work 14 DC into the ring. Ensure you keep your stitches evenly spaced in the ring.
- Slip stitch into the top of the first DC to complete the round. Total stitches: 14 DC.
2. Round 2: Start the Increases
- Begin by Ch 3 (does not count as a DC).
- Into each stitch, work 2 DC.
- Repeat this pattern of 2 DC in each stitch around.
- Slip stitch into the top of the first DC to close the round. You now have 28 DC in total.
3. Round 3: Gradual Increases
- Ch 3 (not counted as DC).
- Into the first stitch, work 1 DC, and into the next stitch, work 2 DC.
- Repeat the pattern of 1 DC, 2 DC in every alternate stitch.
- Slip stitch into the first DC to complete the round. You'll now have 42 DC.
4. Rounds 4-8: Continuing the Increases
Each subsequent round will follow a similar increasing pattern:
- Round 4: Work 1 DC, 1 DC, 2 DC-repeat around and slip stitch to join. Total stitches: 56 DC.
- Round 5: Work 1 DC, 1 DC, 1 DC, 2 DC-repeat around and slip stitch to join. Total stitches: 70 DC.
- Round 6: Work 1 DC, 1 DC, 1 DC, 1 DC, 2 DC-repeat around for 84 DC.
- Round 7: Work 1 DC into the next 5 stitches, followed by 2 DC-repeat around for 98 DC.
- Round 8 (Final Increase Round): Work 1 DC into the next 6 stitches, followed by 2 DC-repeat around. Total stitches: 112 DC.


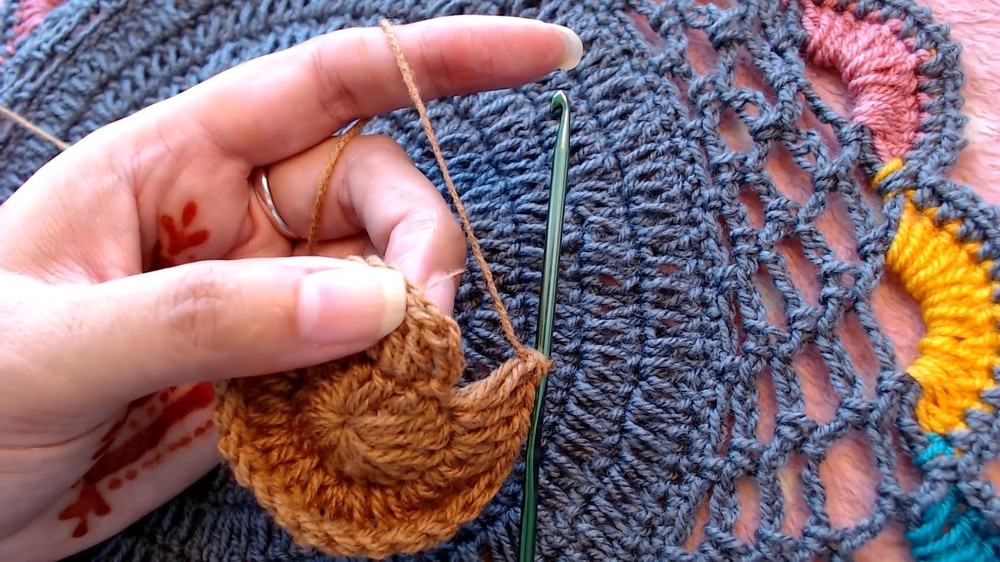
Optional: If you'd like to introduce color changes for a vibrant look, consider switching colors in this round.

5. Rounds 9-13: Lacy Net Pattern
This section of the pattern adds a delicate lacy feel to the doily.
- Round 9:
- Ch 1, SC into the first stitch.
- Ch 4, skip 2 stitches, and SC into the next stitch.
- Repeat the pattern of Ch 4, skip 2 stitches, SC around the doily.
- For every eighth segment, replace Ch 4 with Ch 5, skipping 3 stitches for gentle shaping.
- Slip stitch into the first SC to close this round.
- Round 10: Repeat the pattern from Round 9. Maintain the same arrangement of chain spaces.
- Round 11: Follow the instructions from Round 9 to create consistent lace structure.
- Round 12: Extend chains to Ch 6:
- Ch 6, SC into the next chain space. Repeat around.
- Complete the round with a slip stitch into the first SC.
- Round 13: Repeat Round 12 to add height to the lace effect.
Ensure you finish each repeat by slip stitching back into the starting point.
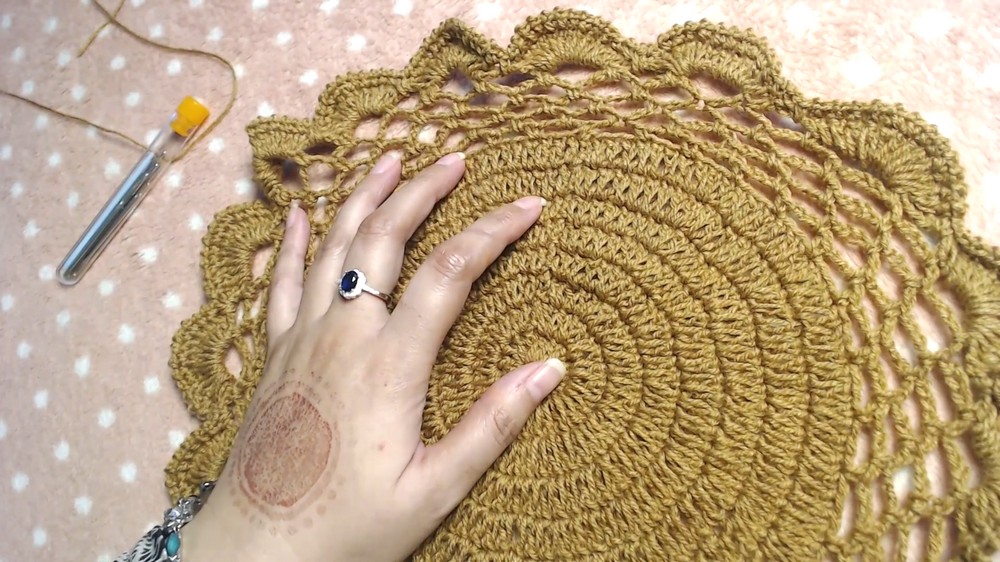
6. Round 14: Dense Double Crochet Decoration
This round transitions back to dense stitches for the decorative border.
- Move directly to the next chain space.
- Work 12 DC into the first chain space.
- Into the next chain space, work 1 SC.
- Repeat the pattern of 12 DC, SC in alternating chain spaces until you work your way around the entire round.
7. Round 15: Final Border
- Ch 1, SC into the first DC.
- Ch 1, SC into the next DC. Repeat into each double crochet space: SC, Ch 1, SC.
- After the last double crochet, Ch 1 and SC into the chain space where the previous round's SC is located (this neatly overlaps the SC from the previous round).
- Continue working Ch 1, SC into all double crochets and chain spaces around until the circle is complete.

Finishing the Pattern
- When you complete the last SC of Round 15, Ch 1 and slip stitch into the first SC of this round to join.
- Carefully cut the yarn, leaving an adequate tail. Pull the tail through the final loop to secure.
- Weave in the ends using a tapestry needle for a clean and professional finish. Tuck the tail neatly into the back of the doily.

Final Notes and Measurements
The completed doily measures approximately 13 inches in diameter (depending on yarn thickness and hook size). This beautiful handmade piece can be used as a coaster, decorative table accessory, or even as a thoughtful gift for loved ones.
Tips for Maintaining Your Crochet Doily
- Blocking: Lightly dampen the doily and pin it to a blocking board in its ideal shape. Let it air dry to preserve its structure.
- Cleaning: Always hand wash with mild detergent in cold water-no wringing. Lay flat to dry to prevent distortion.
- Storage: To maintain its shape, keep the doily flat or rolled gently between tissue paper for storage.
- Customization: Play with different yarn colors or add beads for texture and elegance.
Final Words
This crochet doily coaster pattern blends dense stitches with decorative lace rounds to create a timeless piece of art. It's perfect for adding charm to your space or gifting to someone special. Whether you're new to crochet or looking for a simple yet elegant project, this pattern is engaging and achievable.
Enjoy your crocheting experience, and don't hesitate to personalize the design with colors or accents.