
Free Crochet Fall Maple Leaf Pattern – Perfect Autumn Decor
Decorate seasonal projects with a Free Crochet Fall Maple Leaf Pattern featuring warm autumn charm perfect for home decor accents and gifts.
The changing colors of autumn bring a warm and cozy feeling to the air. Many enjoy decorating their homes and accessories with symbols of fall that remind them of nature's beauty. A handmade leaf design inspired by this season adds a special touch to any project or space. Its unique shape and rich colors bring the charm of fall indoors and create a welcoming environment. This kind of decoration is simple yet striking and can be used in many creative ways.
Unique Free Crochet Pattern for a Fall Maple Leaf Accent
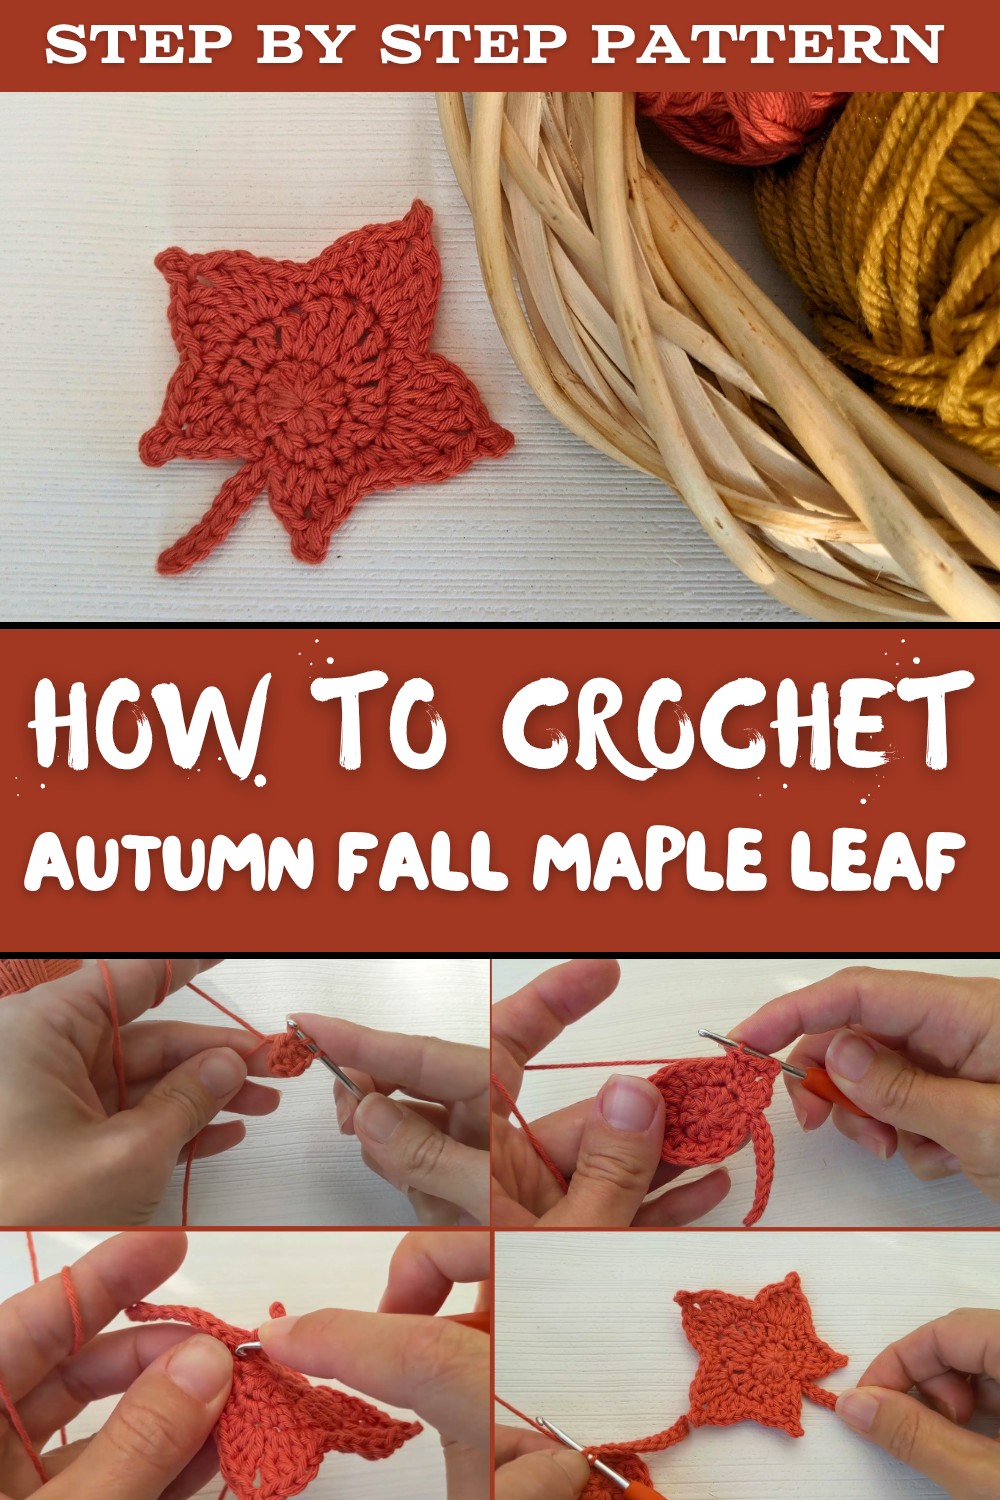
Using the Crochet Fall Maple Leaf pattern lets you crochet a delicate and detailed leaf that looks like it was picked right from a tree. The pattern guides you through creating each jagged edge and vein carefully so the finished leaf looks realistic and beautiful. Because it's handmade it has a unique charm that store-bought decorations often lack. You can make leaves in different sizes and colors to suit your style or match other autumn decor.
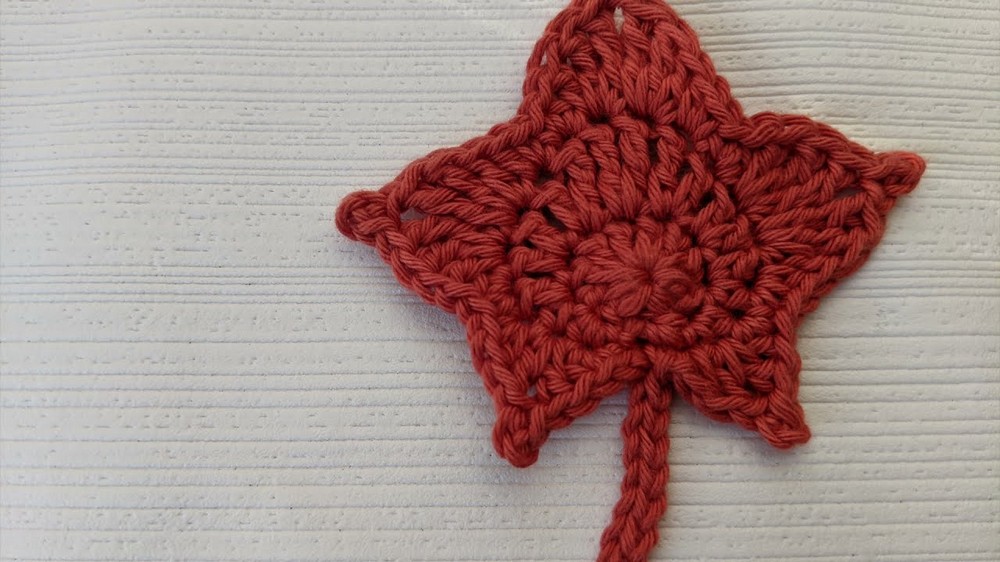
Beyond decorating the home these crocheted leaves can be attached to scarves hats or bags to add a seasonal flair to your outfits. They also work well as appliques for blankets table runners or wall hangings. The process of crocheting these leaves is calming and enjoyable providing a creative outlet for anyone looking to try something new. Learning this pattern improves your crochet skills while resulting in a lovely piece to keep or gift.
The Crochet Fall Maple Leaf pattern is perfect for embracing the spirit of autumn. Its uses range from decorative accents to wearable art and it offers both practical and emotional benefits. By creating these leaves you celebrate the season's beauty with a personal and artistic touch that is sure to brighten any day.
Crochet Maple Leaf Pattern
Before You Start
- Choose a medium-weight yarn (such as worsted weight) in colors inspired by autumn leaves - reds, oranges, yellows, or browns work beautifully.
- A crochet hook size around 4 mm (G/6) is recommended; however, use the size that achieves your preferred tension.
- Familiarize yourself with basic crochet stitches: chain (ch), slip stitch (sl st), single crochet (sc), half double crochet (hdc), double crochet (dc), and treble crochet (tr).
- Prepare scissors and a yarn needle for cutting yarn and weaving in ends.
- Maintain even tension throughout the project for a neat and consistent leaf shape.
- The leaf is crocheted flat in multiple parts which will be worked separately and then joined seamlessly during the process.
- This pattern works well for beginner and intermediate crocheters looking to practice shaping and stitch height variations.
- Keep your pattern handy and follow steps carefully; take breaks as needed.
Pattern Overview and Notes
- The leaf consists of five distinct parts: a circular base, an elongated oval section, a stem, and five points (two smaller points and three larger ones).
- The circular base forms the foundation of the leaf.
- The elongated oval expands the shape by gradually increasing stitch height towards the widest point, then decreasing to taper.
- The stem is a straight chain of stitches, slip stitched back to the base for stability.
- Five points are attached along the edge to mimic the lobed structure of an autumn leaf.
- Stitch height and placement vary to achieve leaf shaping and dimension.
- The leaf is worked flat with rounds joined by slip stitches or row endings using slip stitches.
- Pattern uses US crochet terminology.
- Magic loop or chain ring can be used to start the initial circle.
Construction Summary
- Begin with a small circle created by double crochets worked into a ring.
- Work an elongated oval shape by sequencing combinations of sc, hdc, dc, and tr stitches, increasing then decreasing stitch heights.
- Crochet a sturdy stem by chaining and slip stitching back to the base.
- Crochet leaf points alternating between smaller and larger sizes with picot edging for detail.
- Join each part with slip stitches to ensure an integrated leaf shape.
- Finish by fastening off and weaving in yarn ends.
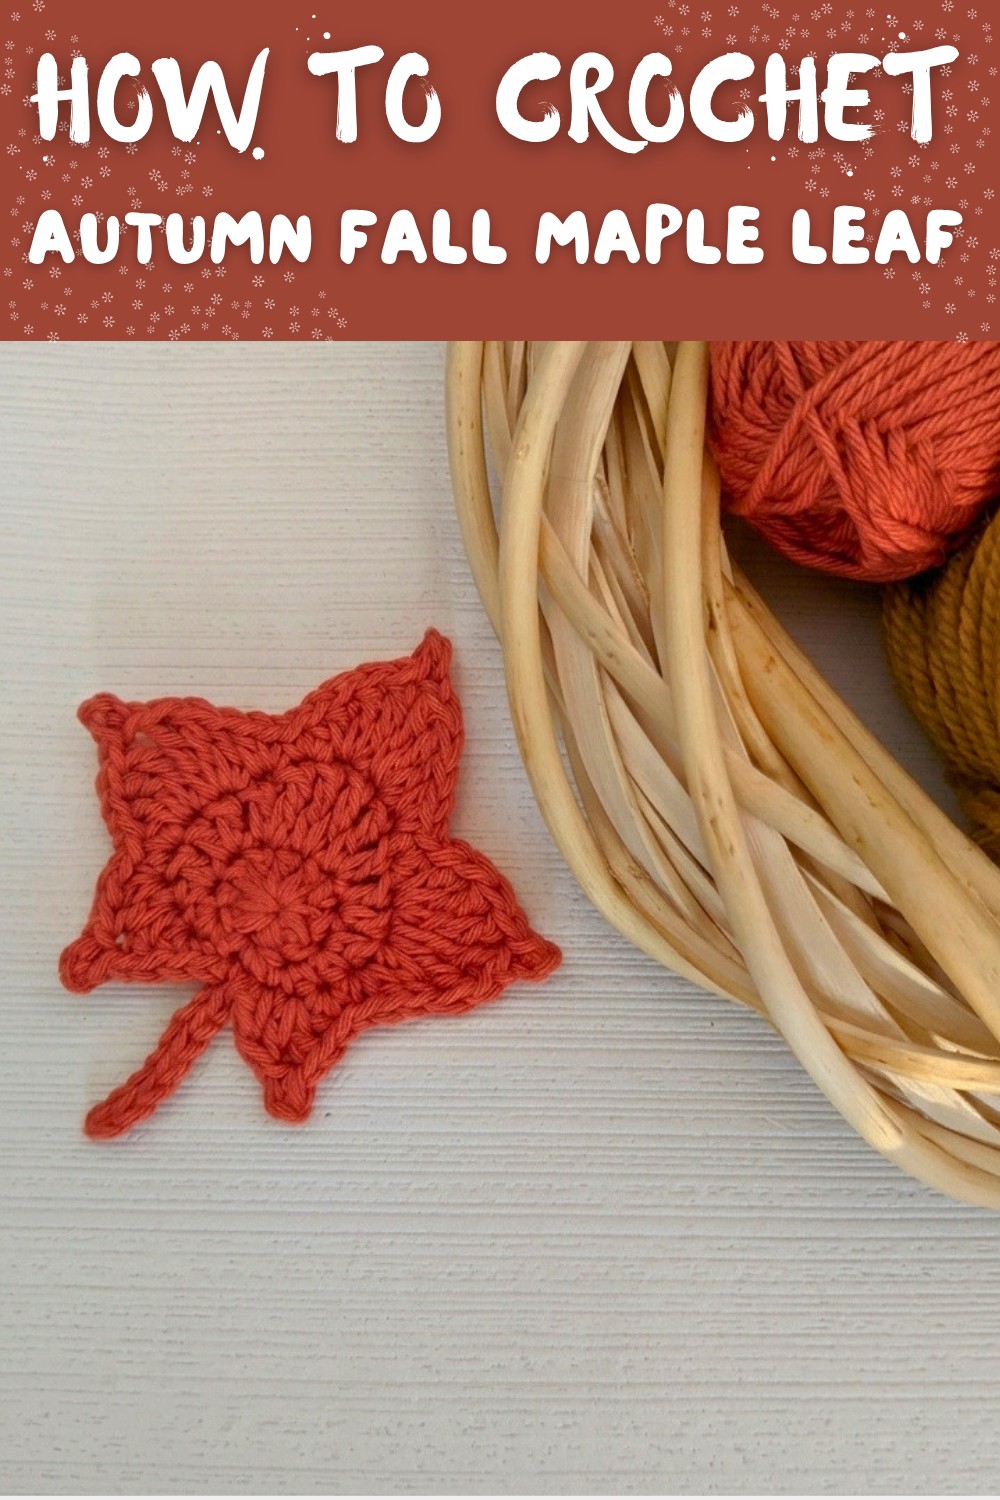
Skill Level
Suitable for beginners with basic knowledge of crochet stitches and some shaping experience; intermediate crocheters will find this relaxing and rewarding.
Finished Size
Approximately 6 inches (15 cm) long (including stem) and about 4 inches (10 cm) wide at the broadest points; slight variations depend on yarn and hook size.
Materials Needed
- Medium weight (#4) yarn in your choice of autumn colors
- 4.0 mm (G/6) crochet hook (or size to match your tension)
- Scissors
- Tapestry/yarn needle for weaving ends
Gauge
- Gauge is not critical for this decorative leaf pattern but consistent tension is advised for proper shaping.
- Optional: 10 dc stitches in the initial circle round approximately 2 inches wide.
Stitch Abbreviations (US Terminology)
- ch - chain
- sl st - slip stitch
- sc - single crochet
- hdc - half double crochet
- dc - double crochet
- tr - treble crochet (yarn over twice before insertion)
- picot - see special stitches section
Special Stitches
Picot:
- Chain 3, then insert hook into the 3rd chain from the hook and make a slip stitch. This creates a small decorative loop characteristic of leaf tips.
Pattern Instructions
Part 1: Circular Base
Round 1:
- Ch 4, join with sl st into the first ch to form a ring (or use magic loop).
- Ch 3 (counts as first dc), work 9 dc into the ring.
- Join with sl st to the top of initial ch 3 - 10 dc total.
Explanation:
This round forms the starting circle for your leaf, establishing the foundation with ten double crochet stitches worked into a small ring.

Part 2: Elongated Oval Section
Row 1:
- Ch 1, sc in same stitch as join.
- Sc in next stitch.
- Hdc in next stitch.
- Hdc in next stitch.
- Dc in next stitch.
- Dc in next stitch.
- Tr in next stitch.
- 2 Tr in next stitch.
- Tr in next stitch.
- Dc in next stitch.
- Hdc in next stitch.
- Hdc in next stitch.
- Sc in next stitch.
- Sl st in next stitch to finish the row.
Explanation:
This row progressively increases stitch height towards the middle (reaching treble crochets) to create the widest point of the leaf, then decreases again to taper.

Part 3: Stem
- Ch 10.
- Skip 1 ch, then sl st back along the chain to join stem back to the main body of the leaf.
- Sl st into base stitch to secure the stem to the oval piece.
Explanation:
The stem is a sturdy chain reinforced by slip stitches worked back along, anchoring it firmly to the leaf.

Part 4: Leaf Points
You will crochet five points along the top edge of the leaf: two small points and three large points.
Small Point (Make 2)
- Sc in next stitch.
- Sc, then hdc in the next stitch.
- Dc in next stitch.
- Ch 3, sl st into the 3rd ch from the hook to make a picot.
- Dc in the same stitch as the picot.
- Hdc in next stitch.
- Sc in next stitch.
Explanation:
The small points use shorter stitch heights for a delicate, tapered tip with a neat picot finish.

Large Point (Make 3)
- Sc in next stitch.
- Sc and hdc both in the same stitch.
- Dc in next stitch.
- 2 tr in next stitch (yarn over twice for each tr).
- Ch 3, sl st into the 3rd ch from hook to create the picot.
- 2 tr in next stitch.
- Dc in the next stitch.
- Hdc in next stitch.
- Sc in next stitch.
Repeat the above steps for each of the three large points.
Explanation:
Large points have taller stitches and a more pronounced shape, highlighted by picots that give a signature maple leaf look.
Part 5: Finishing the Leaf Points
After completing all leaf points:
- Sl st to the base of the stem to finish the leaf shape.
- Fasten off, leaving a tail for weaving.
Explanation:
Joining the last slip stitch to the stem base secures all parts together and completes the leaf profile.
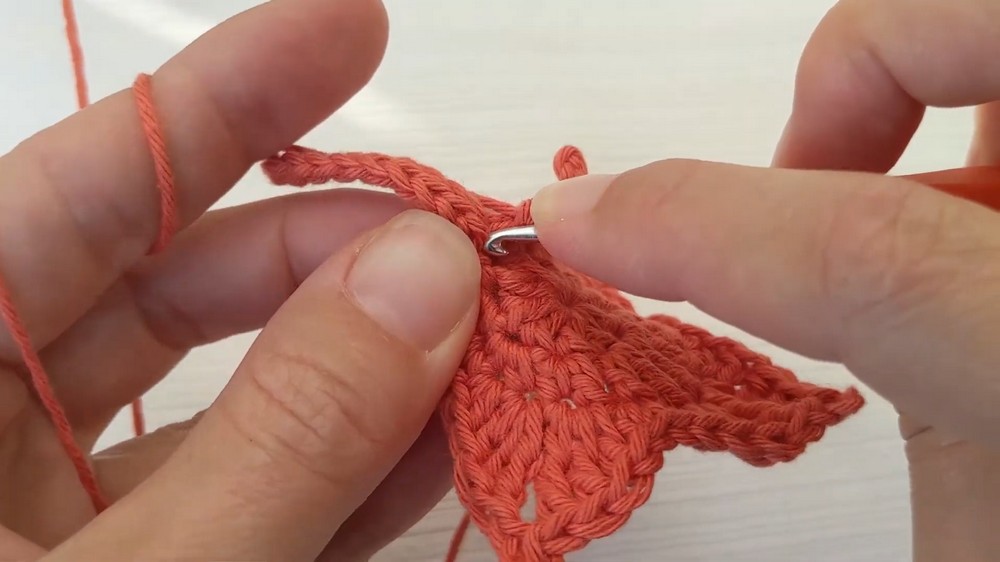
Assembly and Finishing
- Cut yarn and pull through to fasten off securely.
- Use a yarn needle to neatly weave in all loose ends on the backside of the leaf.
- Optionally, gently block the leaf by pinning it to shape and lightly steaming or spritzing with water to even edges.
- Let dry flat for a smooth finish.

Troubleshooting Guide
- Uneven leaf edges or lopsided shape: Count stitches carefully to ensure increases and decreases are placed as instructed.
- Tight or loose picots: Practice making picots with consistent tension to avoid distortion of points.
- Stem curling or pulling away from leaf: Maintain moderate tension on chains and slip stitches; avoid pulling yarn too tight.
Creative Uses for Your Crochet Maple Leaf
- Autumn-themed garlands or wreath decorations.
- Applique on hats, scarves, bags, or sweaters.
- Key rings or bag charms using a keyring attachment.
- Seasonal table décor or napkin rings.
- Framed artwork or wall hangings.
- Gift embellishments or tags.